
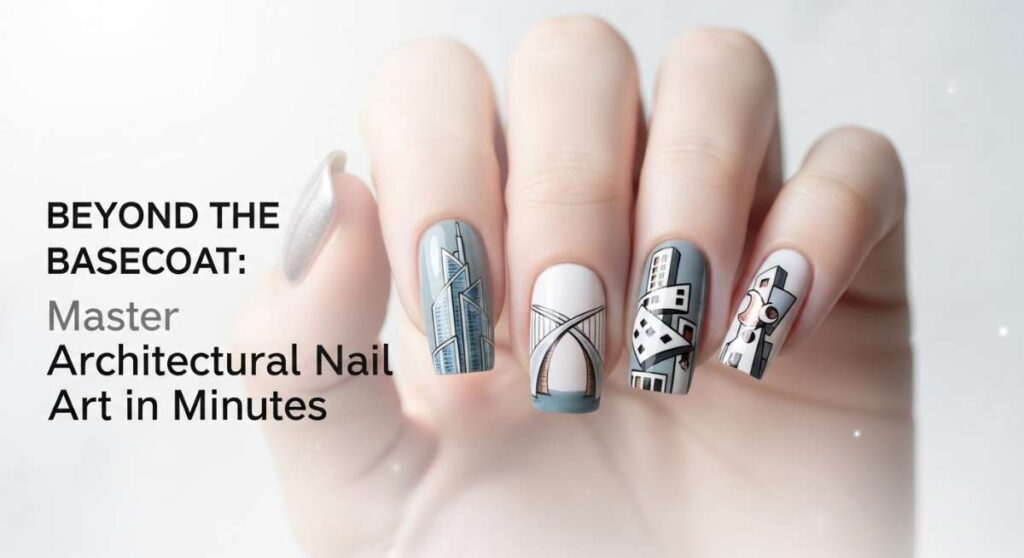
Beyond the Basecoat: Master Architectural Nail Art in Minutes
Hello, my loves! There is something so incredibly grounding about taking a moment for ourselves, isn’t there? In the rush of the world, I find my peace in the quiet click of a polish bottle and the gentle rhythm of a brush stroke. It’s more than just aesthetics; it’s a soft, cloud-like embrace for your soul, a tiny canvas where you can paint your dreams and your mood for the week. Today, I want to walk you through some of my favorite architectural designs that look complex but feel like a warm hug to create.
We are moving past the simple single-shade look and leaning into the beauty of structure. Whether you’re sipping a latte or typing away at your desk, these designs are meant to make you look down and smile, feeling that spark of creativity right at your fingertips. Let’s dive into these little moments of art together, shall we?
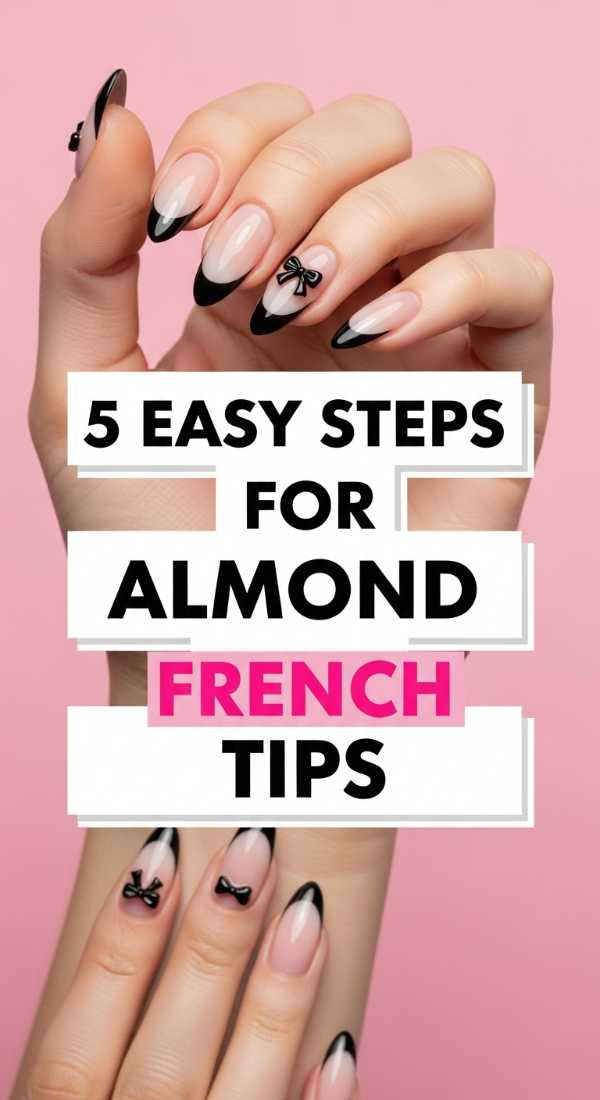
5 Easy Steps for Almond French Tips
Why to love these Nails:
The almond French tip is the ultimate symbol of quiet luxury. It elongates your fingers with a gentle, tapering curve that feels both modern and timelessly romantic. It’s like wearing a silk slip for your hands—effortlessly chic and soft.
Essential Items:
- Sheer nude base polish
- Crisp white tip polish
- Fine-liner nail art brush
- Clean-up brush with acetone
- Glossy top coat
How to Prepare:
- Apply two thin layers of your sheer nude base and let dry completely.
- Find the center point of your nail tip and mark it with a tiny white dot.
- Draw a thin line from the left side-wall toward the center dot, following the natural curve.
- Repeat on the right side to create a symmetrical ‘smile’ line.
- Fill in the tip with white polish and seal with a high-shine top coat.
Budget Range
- Essie ‘Mademoiselle’ ($10.00)
- Beetles Nail Art Liners ($8.99)
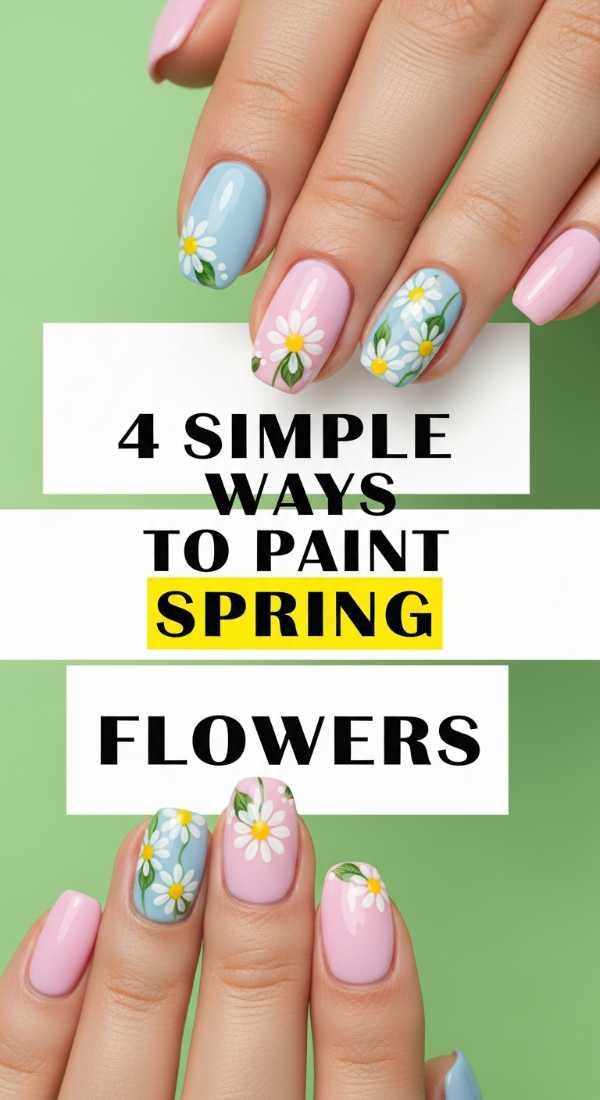
4 Simple Ways to Paint Spring Flowers
Why to love these Nails:
Spring flowers are like a breath of fresh air after a long winter. They bring a whimsical, garden-party energy to your look that is impossible not to love. It’s a tiny reminder that growth is beautiful and blooming is inevitable.
Essential Items:
- Pastel yellow and white polishes
- A dotting tool (or a toothpick!)
- Clear base coat
How to Prepare:
- Start with a clean, prepped base and a clear or pale pink coat.
- Place one yellow dot in the center of where you want your flower.
- Place five white dots around the yellow center to form petals.
- Drag a toothpick through the white dots toward the center for more detail.
Budget Range
- OPI ‘Suzi Shops & Island Hops’ ($11.50)
- Dual-ended Dotting Tools ($4.50)
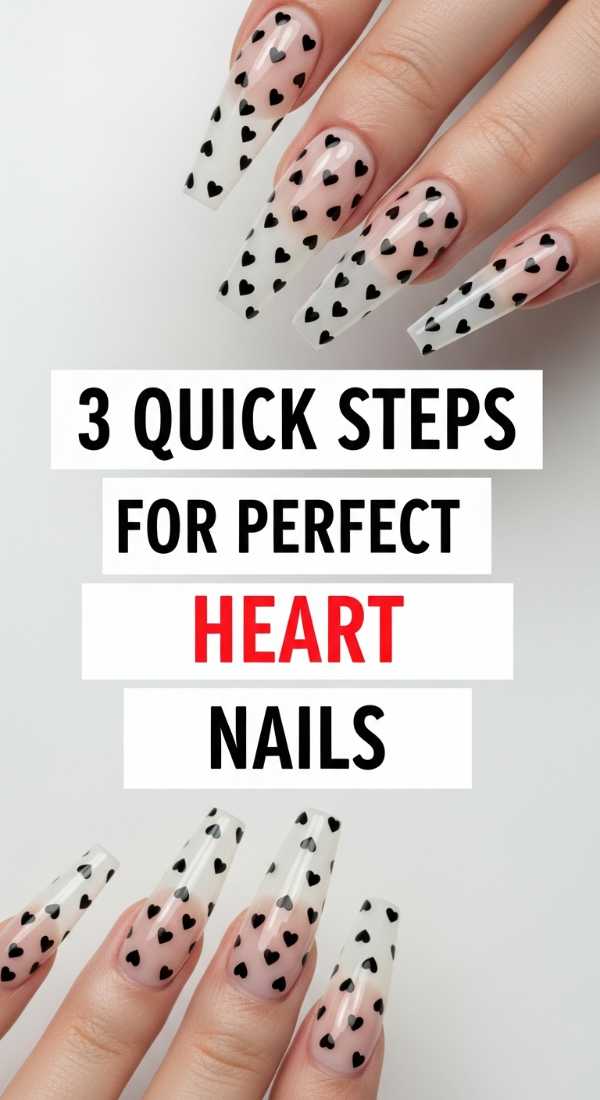
3 Quick Steps for Perfect Heart Nails
Why to love these Nails:
Heart nails are a literal love letter to yourself. They are playful, sweet, and surprisingly sophisticated when done with a minimal touch. They remind us to lead with love in everything we do, starting with our own self-care.
Essential Items:
- Deep red or soft pink polish
- A toothpick
- Steady surface for your elbow
How to Prepare:
- Place two dots of polish side-by-side on the nail where you want the top of the heart.
- Using your toothpick, drag the bottom of each dot downward to meet in a ‘V’ shape.
- Fill in the center to smooth out the heart shape and let it set.
Budget Range
- Sally Hansen Insta-Dri in ‘Red-io Active’ ($7.49)
6 Easy Tricks for Espresso Coffee Nails
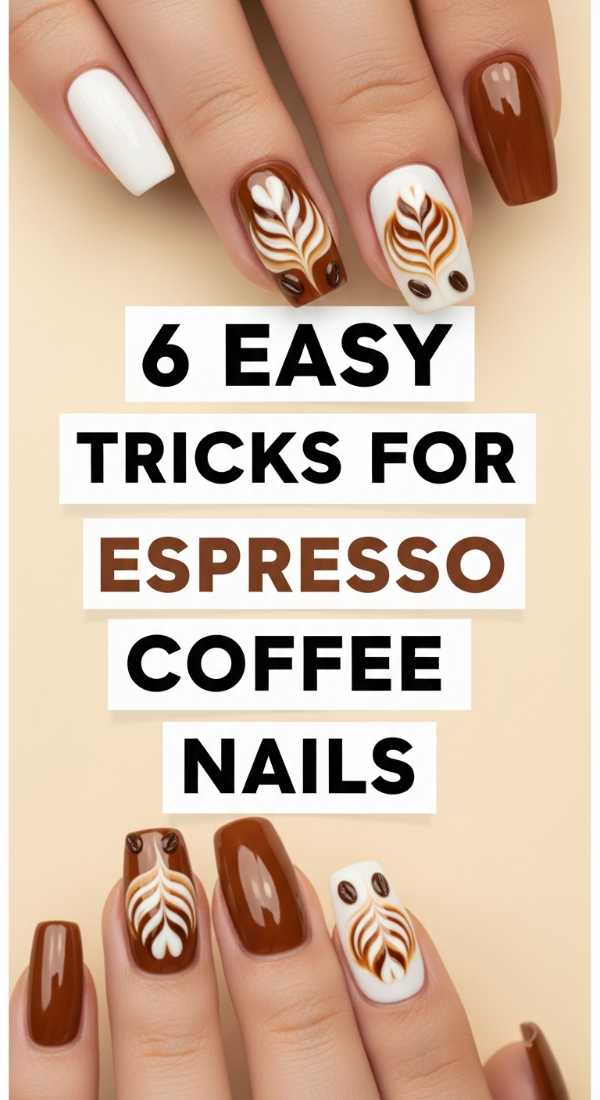
Why to love these Nails:
There is nothing quite as cozy as the smell of fresh coffee, and these espresso nails capture that moody, caffeinated magic. They are rich, warm, and ground your look in earth tones that feel like a soft cashmere sweater for your fingertips.
Essential Items:
- Dark mocha brown polish
- Creamy tan polish
- Makeup sponge
- Matte or glossy top coat
How to Prepare:
- Apply the tan polish as your base.
- Sponge a bit of mocha polish onto the tips for a gradient effect.
- Use a thin brush to swirl the mocha into the tan while wet for a ‘latte art’ look.
- Apply a second layer of swirl for depth.
- Clean the edges carefully.
- Seal with a matte top coat for a modern, velvety finish.
Budget Range
- Holo Taco ‘Espresso Your Feelings’ ($13.00)
- Wedge Makeup Sponges ($3.00)
4 Steps to Master Plaid Nail Designs
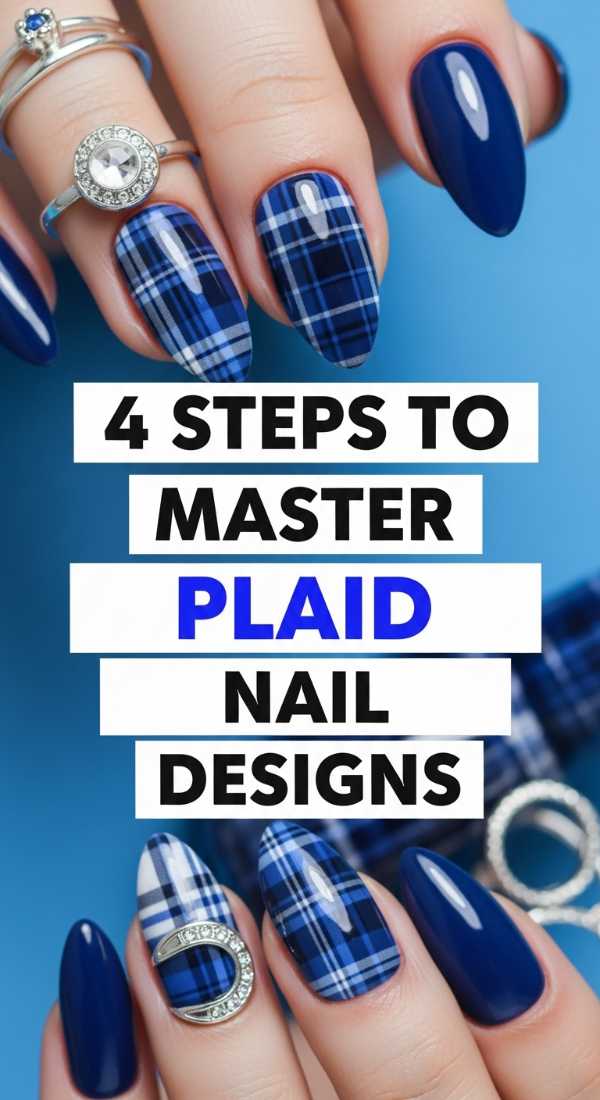
Why to love these Nails:
Plaid is the ultimate architectural pattern—it’s all about balance and structure. It feels academic, cozy, and perfectly curated. It’s a great way to show off your precision while keeping things looking classically ‘clueless’ and cute.
Essential Items:
- Opaque base color
- Two contrasting liner polishes
- Striping tape (optional)
How to Prepare:
- Apply your base color and let it dry until it’s no longer tacky.
- Paint two vertical lines using your first contrasting color.
- Paint two horizontal lines crossing over the vertical ones.
- Add a single, very thin line of your second contrast color in the gaps for dimension.
Budget Range
- Zoya Professional Lacquer ($12.00)
- Nail Art Striping Tape ($5.00)
5 Simple Steps for Cute Bow Designs
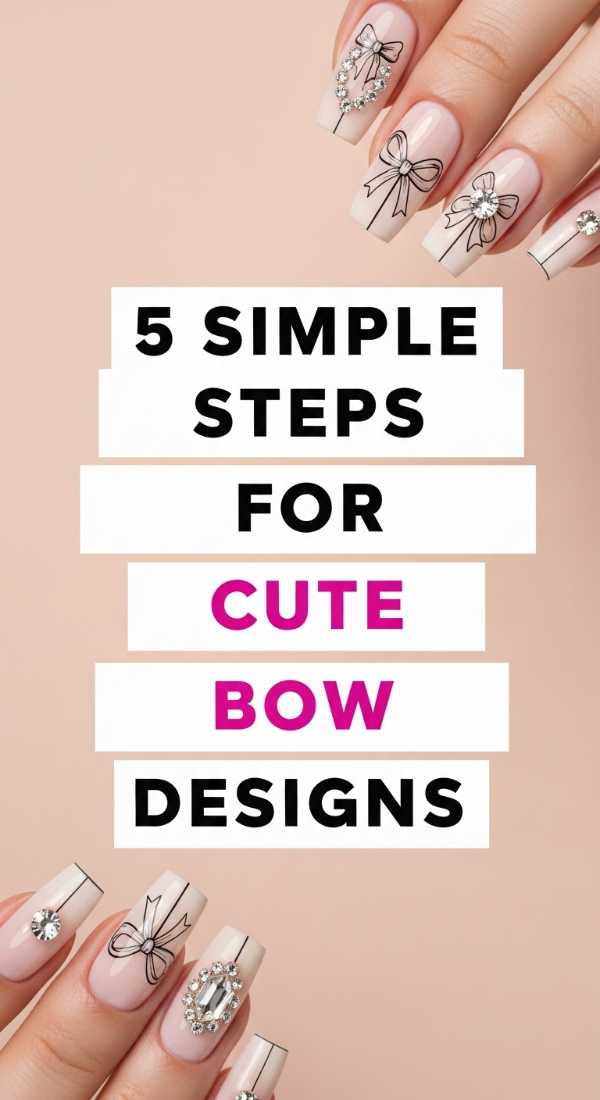
Why to love these Nails:
Bows are the ‘it’ accessory of the season, and having them on your nails is like wrapping a gift for yourself every day. They add a touch of coquette aesthetic that is soft, feminine, and utterly charming.
Essential Items:
- Soft ribbon-pink polish
- Black or white liner polish
- Small detail brush
How to Prepare:
- Paint a small dot in the center of the nail.
- Draw two small triangles pointing toward the dot.
- Round the edges of the triangles to look like loops.
- Add two flickering ‘tails’ descending from the center dot.
- Add a tiny white highlight on the loops for a 3D effect.
Budget Range
- Essie ‘Slippers and Heels’ ($10.00)
- Detailer Brush Set ($6.00)
3 Easy Ways to Style Almond Nails
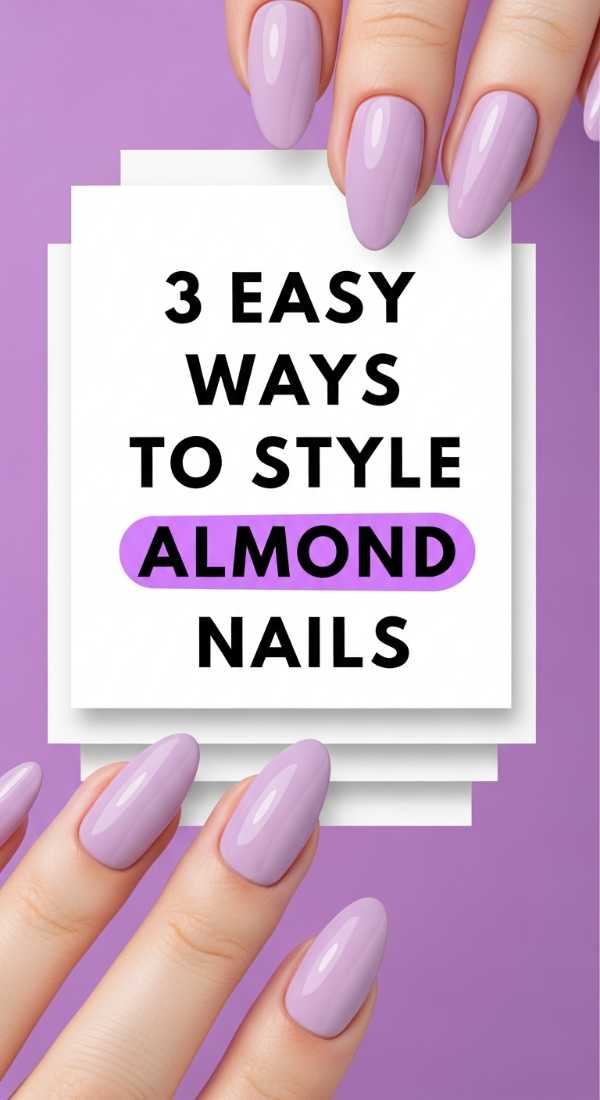
Why to love these Nails:
The almond shape is incredibly flattering for all hand types. It’s the architectural foundation of modern nail art, providing the perfect length for creativity without being unmanageable in your daily life.
Essential Items:
- Glass nail file
- Buffing block
- Cuticle pusher
How to Prepare:
- File the sides of the nail at an angle toward the center.
- Round off the tip into a soft point, avoiding any sharp edges.
- Buff the surface gently to ensure a smooth canvas for polish.
Budget Range
- Bona Fide Glass Nail File ($8.50)
7 Simple Tips for a Spring Manicure
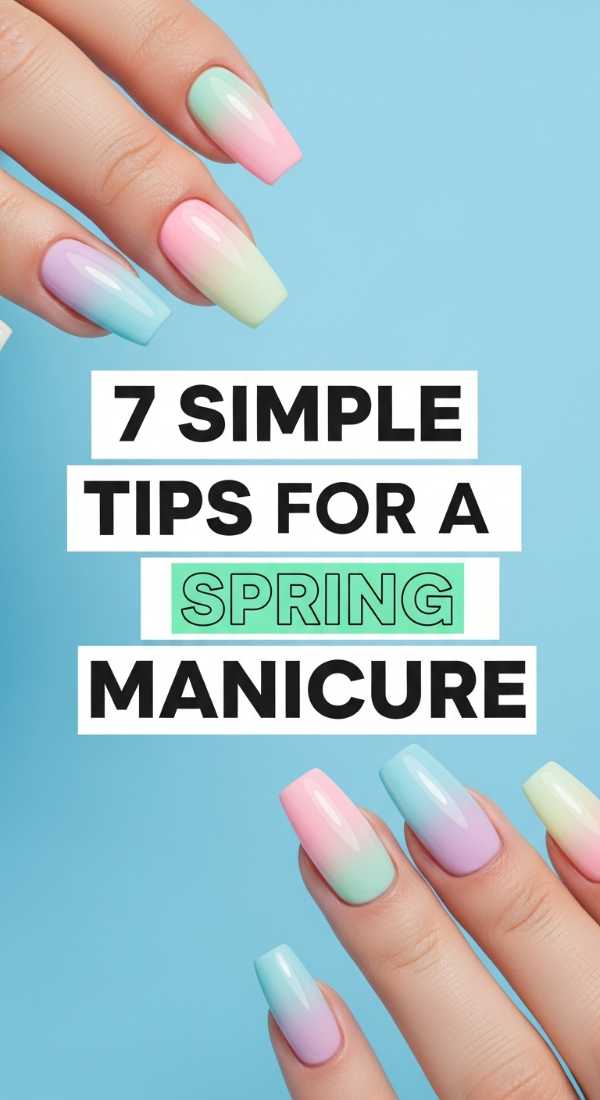
Why to love these Nails:
A spring manicure is about renewal. It’s the shedding of winter’s dryness and the welcoming of hydration and light. It’s a ritual that says ‘I am ready for new beginnings.’
Essential Items:
- Exfoliating scrub
- Cuticle oil
- Bright pastel polish
- Base and top coat
How to Prepare:
- Gently scrub hands to remove dead skin.
- Push back cuticles after a warm soak.
- Apply cuticle oil and massage in.
- Dehydrate the nail plate with alcohol.
- Apply a strengthening base coat.
- Choose a color that reminds you of a blooming garden.
- Finish with a UV-protectant top coat.
Budget Range
- CND SolarOil ($9.50)
- Tree Hut Sugar Scrub ($8.00)
4 Quick Steps to Chic Minimal Nails
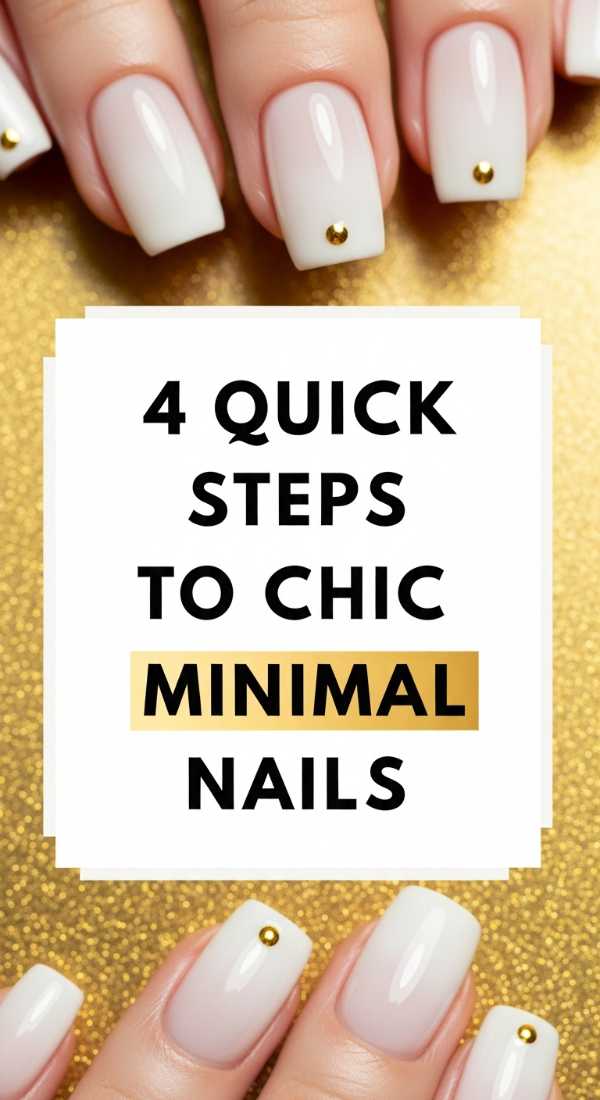
Why to love these Nails:
Minimalism is the ultimate sophistication. These nails prove that you don’t need to shout to be heard. They are the ‘clean girl’ aesthetic in a bottle—polished, intentional, and calm.
Essential Items:
- Sheer pink or clear polish
- A single dark accent color
- Fine-point tool
How to Prepare:
- Apply two coats of sheer polish for a ‘your nails but better’ look.
- Place a single, tiny dot at the base of each nail, just above the cuticle.
- Alternatively, paint one thin vertical line down the center of the ring finger.
- Seal with a high-gloss finish.
Budget Range
- Cirque Colors ‘Rose Jelly’ ($14.00)
5 Expert Secrets for a Glossy Finish
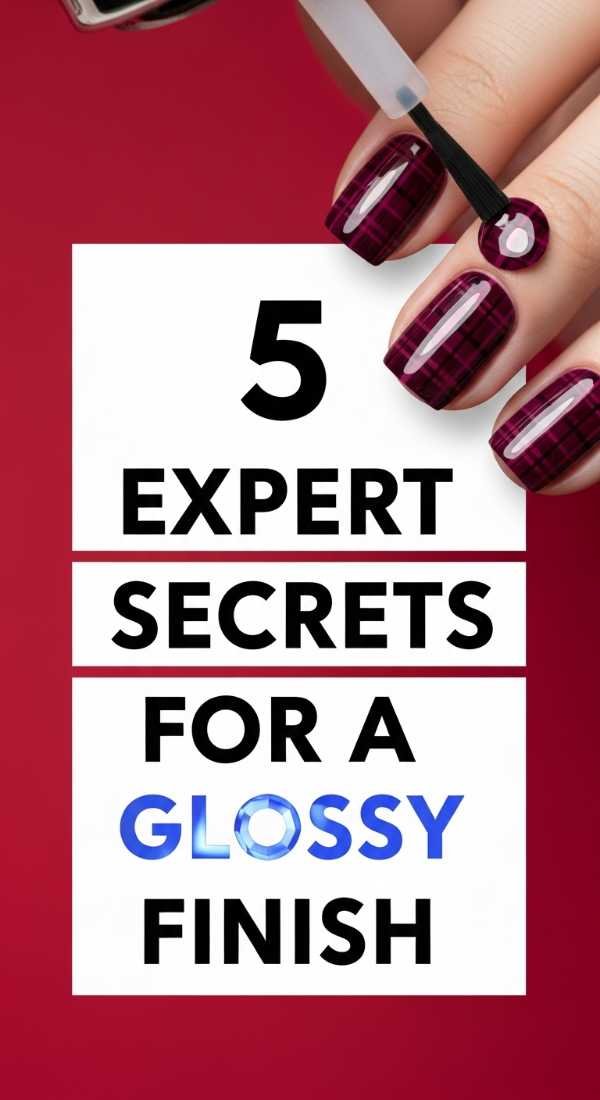
Why to love these Nails:
A high-gloss finish is the difference between ‘I did these at home’ and ‘I just left the most exclusive salon in the city.’ That mirror-like shine makes every color pop and feels like luxury at your fingertips.
Essential Items:
- No-wipe gel top coat (or quick-dry lacquer)
- Nail lamp (if using gel)
- Isopropyl alcohol
How to Prepare:
- Ensure your color layers are completely dry to avoid bubbling.
- Apply the top coat in three smooth strokes: center, left, right.
- ‘Cap’ the free edge by running the brush along the very tip of the nail.
- If using gel, cure for the full recommended time without interrupting.
- Finish with a swipe of alcohol to remove any residual tackiness and reveal the shine.
Budget Range
- Seche Vite Dry Fast Top Coat ($9.95)
- SunUV LED Lamp ($25.00)
Bringing it all Together
My loves, I hope you feel inspired to take a few minutes for yourself today. Whether you choose a simple minimal dot or a full plaid masterpiece, remember that the beauty lies in the process. Your hands do so much for you—they create, they comfort, they hold. Treat them with the kindness they deserve. I can’t wait to see what you create. Tag me in your photos and let’s spread a little more color and warmth in the world together.
Frequently Asked Questions
Q: How can I make my DIY manicure last longer?
A: The secret is in the prep! Always dehydrate your nails with a bit of rubbing alcohol before applying your base coat to remove natural oils. Also, remember to ‘cap the tips’ with your top coat to prevent chipping.
Q: What if I don’t have a steady hand for nail art?
A: Don’t worry! Use your dominant hand to do the work, and for your non-dominant hand, try moving the nail under the brush rather than moving the brush itself. It’s a game-changer!
Q: Are glass files really better than emery boards?
A: Yes, absolutely! Glass files seal the keratin layers at the edge of the nail, preventing peeling and splitting, whereas emery boards can be a bit too abrasive and ‘tear’ the nail edge.