

Backyard Bliss: Simple Outdoor Decor Projects You Can Do This Weekend
There is a specific kind of magic that happens when the sun begins to dip below the horizon, casting a honey-colored glow over your own backyard. It’s that moment when the air cools just enough to make a light sweater feel like a hug, and the only sound is the gentle rustle of leaves or the clink of an ice cube in a glass of lemonade. We all crave that sanctuary, a place where the stresses of the workweek dissolve into the grass beneath our feet, yet so often our outdoor spaces feel like an afterthought—a collection of plastic chairs and unfinished corners.
But what if I told you that your dream retreat is hidden inside a few discarded wooden pallets and a Saturday afternoon? Creating a luxurious, soul-soothing outdoor space doesn’t require a massive renovation budget or a team of contractors. It’s about the tactile joy of raw wood, the smell of fresh sawdust, and the satisfaction of seeing something beautiful emerge from your own hands. This weekend, we’re reclaiming our patios and gardens, turning humble materials into pieces that invite us to slow down, breathe deeply, and soak in the bliss of home.
How to Build a Pallet Table for a Rustic Home Aesthetic
Why we love this
There is an undeniable warmth to the rustic aesthetic that makes any outdoor space feel instantly lived-in and loved. When you build a pallet table, you aren’t just making furniture; you’re creating a centerpiece that smells of cedar and sun-warmed pine. The rugged texture of the reclaimed wood provides a stunning contrast to soft garden greenery, making every morning coffee feel like a getaway to a mountain lodge. We love how the natural imperfections—the nail holes and the weathered grain—tell a story of sustainability and craftsmanship that store-bought furniture simply cannot replicate.
Essential Elements:
- Two heat-treated (HT) wooden pallets
- Power drill and wood screws (2.5 inch)
- Crowbar and hammer for disassembly
- Four heavy-duty 4×4 posts for legs
- Wood glue and carpenter’s square
How to make it
- Begin by inspecting your pallets for the ‘HT’ stamp, ensuring they are safe for home use. Use a crowbar to carefully pry apart the top slats of one pallet to use as ‘filler’ for the gaps in your main tabletop pallet.
- Measure the gaps between the slats on your primary pallet and cut the reclaimed boards to fit perfectly. Apply a bead of wood glue along the stringer and tap the filler boards into place for a solid, gap-free surface.
- Secure the filler boards by drilling pilot holes to prevent splitting, then drive wood screws through the boards and into the underlying frame. Ensure the heads are slightly countersunk.
- Flip the assembly over and mark four square corners for your legs. Cut your 4×4 posts to a height of 18 inches for a coffee table or 30 inches for a dining height.
- Attach the legs using heavy-duty wood screws driven at an angle (pocket holes are best if you have a jig) to ensure the table doesn’t wobble. Check for squareness at every corner before the final tightening.
How to Style Outdoor Pallet Tables for the Perfect Summer Garden Party
Why we love this
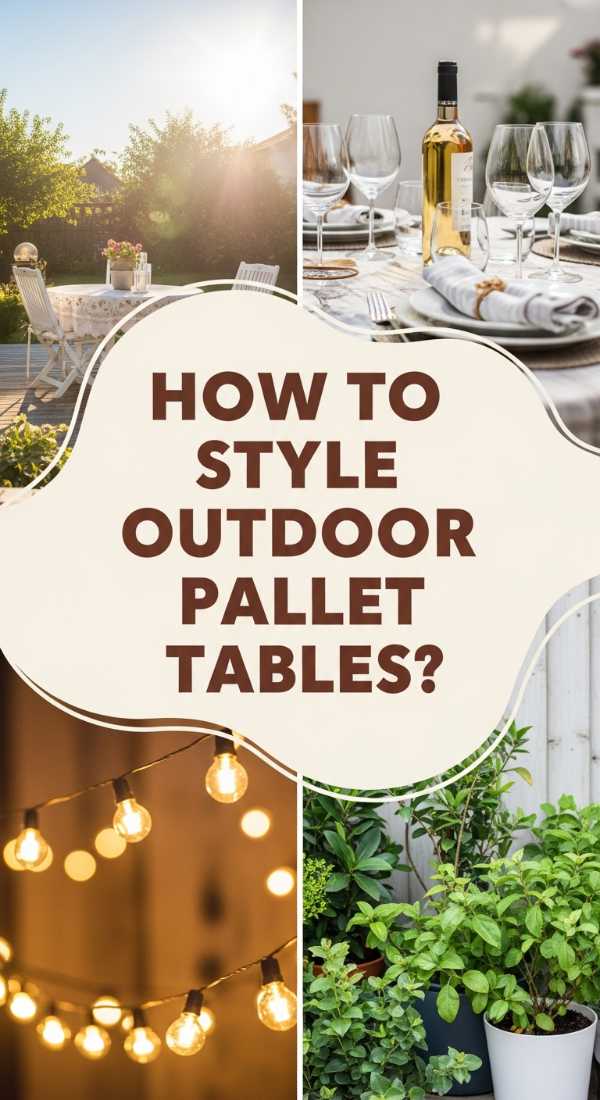
Styling is where the utility of a pallet table meets the romance of a summer evening. Imagine a table draped in light linen, the fabric catching the breeze while the scent of fresh rosemary and lavender wafts from small terracotta pots placed as centerpieces. The contrast between the rugged, dark wood of the table and the delicate shimmer of glassware creates a sophisticated ‘high-low’ vibe that feels effortlessly chic. It turns a simple backyard gathering into an intentional celebration of the senses, where the texture of the wood under your palms feels grounding and the visual layers of color invite guests to linger long after the stars come out.
Essential Elements:
- Linen or cheesecloth table runner
- Assorted glass hurricane lanterns
- Potted herbs (basil, rosemary, mint)
- Cloth napkins in earthy tones
- String lights or fairy lights
How to make it
- Start with a clean, dry surface and drape a linen runner down the center, allowing it to bunch slightly for a relaxed, organic feel. Avoid ironing the linen; the natural wrinkles add to the boho-chic aesthetic.
- Position your largest elements first, such as a central floral arrangement or a large hurricane lantern, slightly off-center to create visual interest and a focal point that isn’t too symmetrical.
- Layer in your ‘scent’ layer by placing small pots of fragrant herbs at varying heights. Use old bricks or small wood scraps hidden under the runner to create these different elevations.
- Scatter smaller votive candles in groups of three around the larger items. Ensure the glass is clear to reflect the flickering light, which creates a warm, dancing glow across the wood grain.
- Finish by tucking a small sprig of greenery into each folded cloth napkin. This tactile detail greets each guest with a sensory cue that they are in a space designed for comfort and connection.
How to Finish Wood Pallet Tables for an Expensive Designer Look
Why we love this
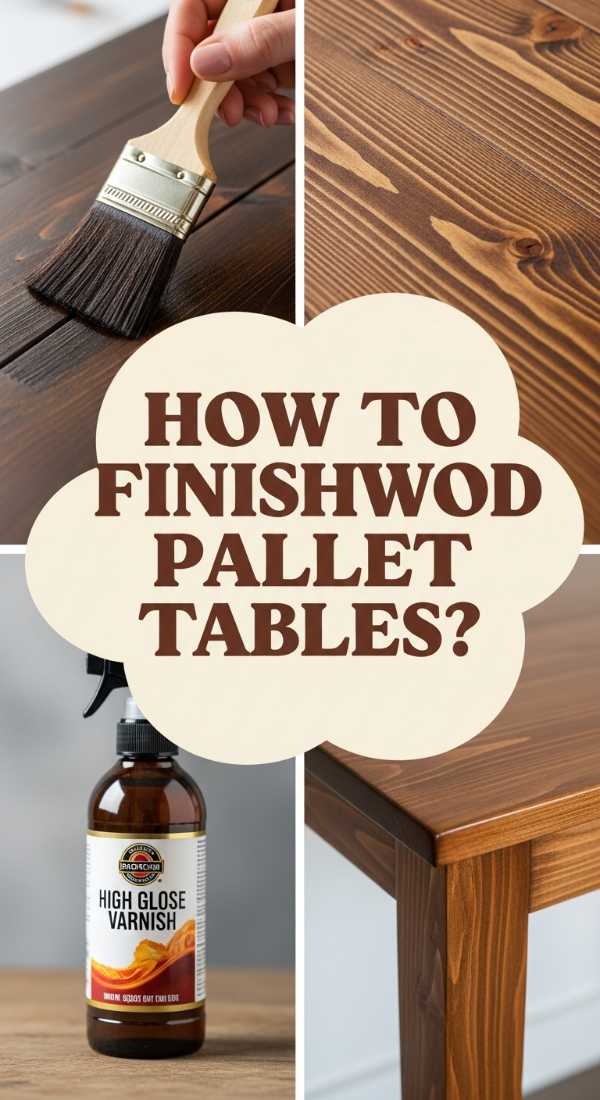
The secret to taking a pallet from ‘junk’ to ‘journal-worthy’ lies in the finish. A high-end designer look is achieved through the depth of color and the subtle sheen of a professional sealant that highlights the wood’s hidden character. When you apply a rich walnut or weathered gray stain, the thirsty fibers of the pallet soak up the pigment, revealing swirling patterns and knots that look like expensive reclaimed teak. We love the silky, cool touch of a well-applied topcoat, which transforms the rough-hewn surface into a sophisticated piece of art that withstands the elements while looking like it belongs in a high-end coastal boutique.
Essential Elements:
- Pre-stain wood conditioner
- Oil-based wood stain (Walnut or Ebony)
- Polyurethane or Spar Urethane topcoat
- High-quality natural bristle brush
- Tack cloth for dust removal
How to make it
- Wipe the entire table down with a damp cloth and then follow with a tack cloth to ensure every microscopic speck of dust is removed; any debris left behind will ruin the smooth finish.
- Apply a generous coat of pre-stain wood conditioner. Let it sit for 15 minutes and wipe off the excess. This step is critical for pallets, as they are often made of softwoods that take stain unevenly and become ‘blotchy’.
- Stir your stain thoroughly (never shake, as this creates bubbles) and apply it in the direction of the grain using long, even strokes. Let it sit for 5-10 minutes depending on how deep you want the color, then wipe away the excess with a clean rag.
- Allow the stain to dry for at least 24 hours. Once dry, apply your first coat of Spar Urethane. Use a high-quality brush and move slowly to avoid introducing air bubbles into the liquid.
- Lightly sand the first coat with 320-grit sandpaper once dry, wipe clean, and apply a second coat. This ‘build’ creates that deep, expensive-looking luster and provides a waterproof barrier.
How to Create Pallet Table Ideas for Minimalist Living Spaces
Why we love this
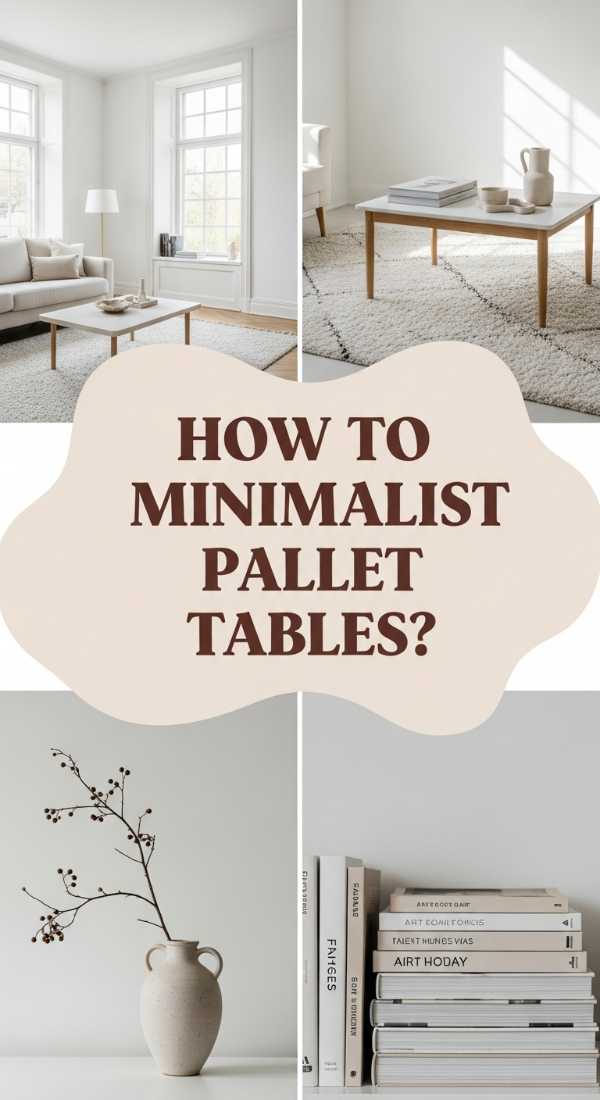
Minimalism isn’t about having nothing; it’s about having the right things, and a minimalist pallet table brings a breath of fresh air to any living space. By focusing on clean lines and a monochromatic palette—typically a crisp, chalky white—the table becomes a functional sculpture. We love the way the shadows play between the slats in a bright room, creating a rhythmic pattern that feels calm and orderly. It’s a design choice that prioritizes light and space, providing a sturdy surface that feels visually weightless and allows the surrounding architecture to shine.
Essential Elements:
- All-white chalk paint or matte exterior paint
- Low-profile hidden casters
- Wood filler for nail holes
- Fine-grit sanding sponges
- Single sculptural element (like a white ceramic vase)
How to make it
- To achieve the minimalist look, you must hide the ‘industrial’ origins. Fill every single nail hole and deep gouge with a high-quality wood filler, overfilling slightly as it will shrink when drying.
- Once the filler is dry, sand the entire surface until it is perfectly level. The goal is a seamless appearance where the slats meet the frame.
- Apply two thin coats of a matte white chalk paint. Chalk paint is ideal because it hides imperfections and dries to a soft, velvet-like texture that feels incredible to the touch.
- Instead of traditional legs, install four low-profile casters to the underside corners. This keeps the table low to the ground, adhering to minimalist proportions, and allows for easy movement in a flexible living space.
- Keep the top nearly bare. Place one single, high-quality item—such as a single branch in a tall vase—to maintain the ‘less is more’ philosophy that defines this style.
How to Craft a Pallet Table DIY for Your Dream Sunroom Retreat
Why we love this
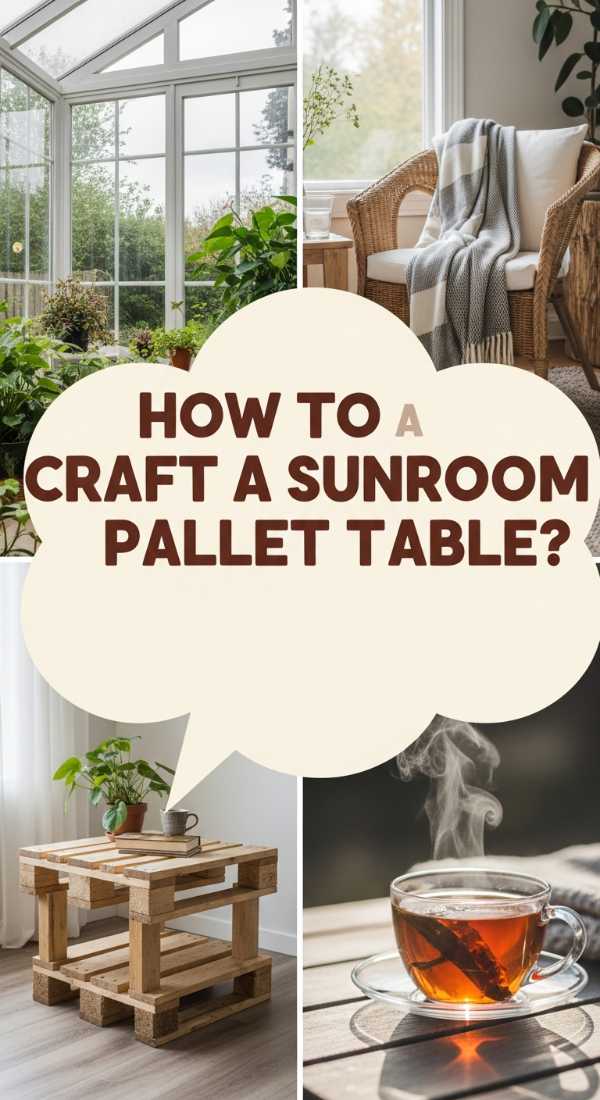
A sunroom is a bridge between the indoors and the wild, and a pallet table is the perfect companion for this transition. There’s a specific joy in watching the sunlight dance across the honeyed tones of the wood while you’re tucked away in a cozy chair. This version of the table is built for comfort and lingering; it’s where you rest your tea while the rain drums on the glass, or where you stack your favorite gardening books. We love how the organic nature of the pallet wood complements indoor plants, creating a lush, greenhouse-like atmosphere that feels like a permanent vacation right inside your home.
Essential Elements:
- Sanded and sealed pallet top
- Four vintage-style hairpin legs
- Clear satin lacquer finish
- Soft-close drawer slides (optional for a custom touch)
- Assorted indoor succulents for decoration
How to make it
- For a sunroom, you want a more refined ‘indoor’ feel. Select a pallet with unique grain patterns and sand it down through the grits until it feels as smooth as a dining table.
- Apply a clear satin lacquer rather than a stain. This preserves the ‘blonde’ look of the wood, which keeps the sunroom feeling bright and airy rather than heavy and dark.
- Flip the table and attach four black steel hairpin legs. These legs provide a mid-century modern flair that elevates the pallet from ‘rustic’ to ‘designer’ instantly.
- Ensure the legs are positioned exactly 2 inches from each corner to provide the best balance and aesthetic symmetry.
- Place the table in the sunniest corner of the room and surround it with oversized floor cushions. This creates a low-profile lounge area that encourages relaxation and afternoon naps in the sun.
How to Repurpose Wood Pallets for Functional Balcony Furniture
Why we love this
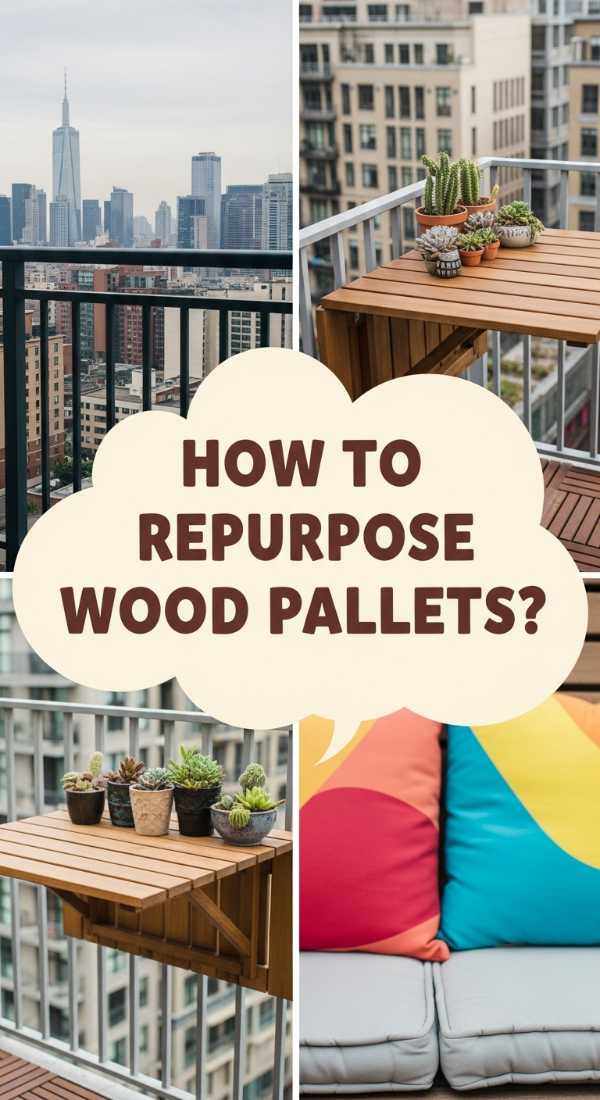
Balcony living often feels limited by space, but repurposing pallets allows you to maximize every square inch with custom-sized furniture that feels bespoke. There’s something incredibly satisfying about turning a narrow, concrete balcony into a vertical garden oasis using a slim pallet table as the anchor. The smell of fresh potting soil combined with the sturdy, reliable feel of the wood creates a pocket of nature in an urban environment. We love how the slats of the pallet can be used to hang small planters, turning your furniture into a multi-functional piece of living art that makes the city noise fade into the background.
Essential Elements:
- Narrow ‘half’ pallet or customized slim frame
- Folding bracket hinges (for wall-mounting)
- Outdoor weather-shield paint
- S-hooks for hanging tools or plants
- Weatherproof outdoor rug
How to make it
- Measure your balcony depth carefully. Most standard pallets are too wide, so use a circular saw to cut a pallet in half lengthwise, following the center stringer for a narrow ‘bar-height’ profile.
- Sand all edges aggressively. In small spaces, you are more likely to brush up against the furniture, so every corner must be rounded and smooth to the touch.
- If space is extremely tight, use heavy-duty folding shelf brackets to mount the pallet top directly to the balcony railing or wall. This allows you to fold the table down when not in use.
- Apply a high-quality weather-shield paint in a color that matches your balcony’s trim. This ensures the wood won’t rot or warp when exposed to wind and rain at higher elevations.
- Utilize the gaps between the top slats to drop in ‘S-hooks’. These are perfect for hanging small lanterns or herb pots, keeping the tabletop clear for your drinks and snacks.
How to Paint Pallet Tables for a Vibrant Boho Patio Vibe
Why we love this
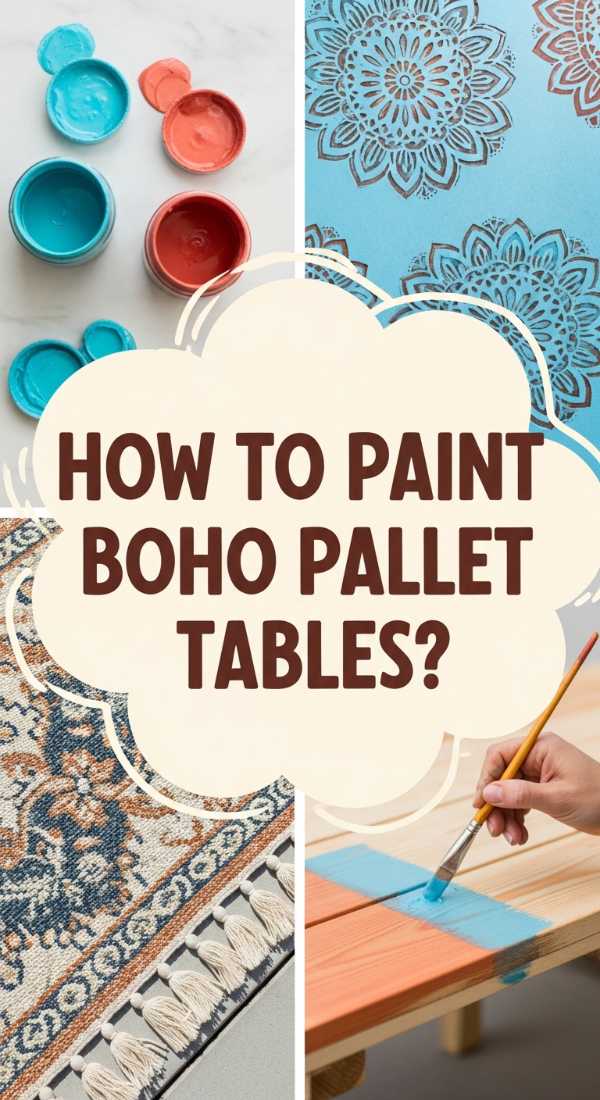
Boho style is all about the explosion of color, pattern, and personality, and a painted pallet table is the ultimate canvas for this expression. Picture a patio bathed in shades of turquoise, terracotta, and sunshine yellow, where the furniture is as vibrant as the flowers in the garden. We love the tactile experience of stenciling intricate mandalas onto the wood, the paint catching in the grain to create a beautiful, layered depth. It’s a joyful, energetic approach to decor that celebrates creativity and makes every outdoor meal feel like a festive garden party under the Mediterranean sun.
Essential Elements:
- Outdoor acrylic paints in various bright colors
- Mandala or geometric stencils
- Sponge dabbers for paint application
- Clear outdoor varnish (glossy)
- Multi-colored outdoor cushions
How to make it
- Start with a base coat of a solid, bright color like deep teal or burnt orange. Apply two coats to ensure the wood is fully covered and the color is saturated.
- Once the base is dry, tape your stencil firmly to the center of the table. Use a sponge dabber with a contrasting color (like gold or white) and tap lightly—too much paint will bleed under the stencil.
- Repeat the pattern around the edges of the table to create a ‘frame’ effect. The repetition of the geometric shapes creates a professional, intentional design.
- For a true boho look, use a dry brush technique with a third color to lightly ‘distress’ the edges, giving the table a vintage, world-traveled feel.
- Seal the entire masterpiece with three coats of high-gloss outdoor varnish. The gloss will make the colors ‘pop’ and protect your artwork from fading in the harsh UV rays of the sun.
How to Assemble Pallet Tables for Sustainable Backyard Lounging

Why we love this
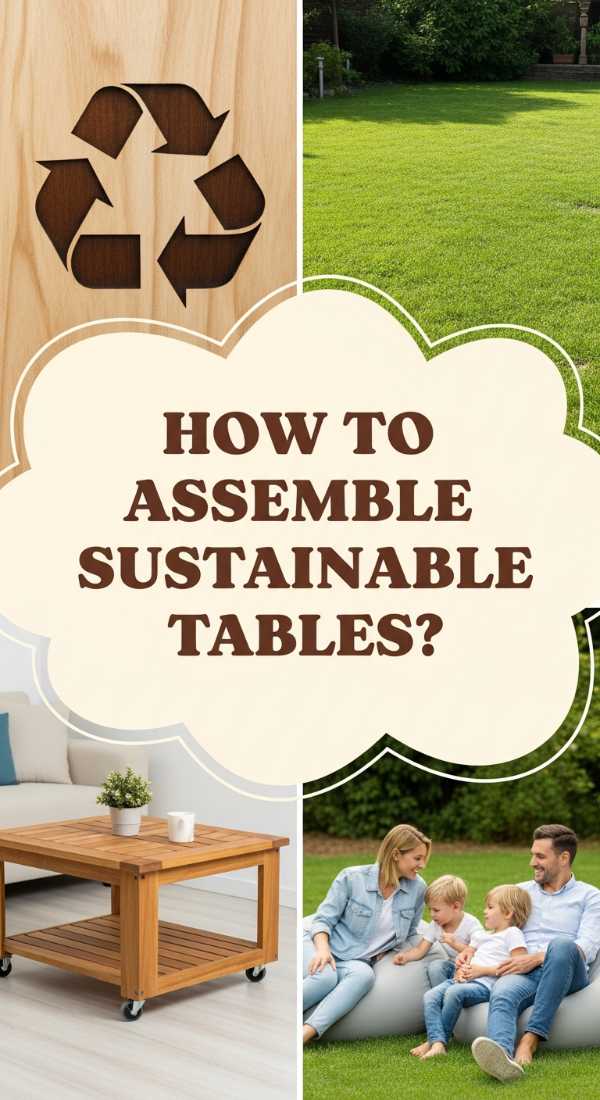
Sustainability never looked so good. There is a profound sense of peace that comes from knowing your relaxation space was created with zero waste and eco-friendly intentions. This assembly method focuses on the ‘stacked’ look, which provides a heavy, grounded feel to your lounging area—perfect for those long, lazy afternoons where the only goal is to watch the clouds pass by. We love the earthy, honest scent of untreated wood (protected by eco-oils) and the way the low profile of the stacked pallets keeps you close to the cooling grass and the natural rhythm of your garden.
Essential Elements:
- Six matching HT pallets (for stacking)
- Long galvanized carriage bolts
- Linseed oil or Hemp oil (eco-friendly finish)
- Large outdoor floor pillows
- Natural fiber rug (jute or sisal)
How to make it
- Select six pallets of identical dimensions. Stack them in two piles of three to create two modular sections that can be pushed together or kept separate.
- To prevent the stacks from shifting, drill holes through the corner blocks of all three pallets in a stack and secure them using long galvanized carriage bolts with washers and nuts.
- Instead of chemical stains, rub the wood with pure Linseed oil. This is a non-toxic finish that deeply penetrates the wood, enhancing its natural color and providing moisture resistance while being safe for the soil.
- Sand the edges of the top pallet only, leaving the lower levels slightly more ‘raw’ to emphasize the industrial-sustainable aesthetic.
- Top the stacks with extra-thick outdoor cushions or a customized foam pad covered in canvas. This creates a massive, ‘daybed’ style lounger that is perfect for sustainable, low-impact living.
How to Decorate Wood Pallet Tables for Cozy Autumn Evenings
Why we love this
When the air turns crisp and the leaves begin to crunch, the pallet table transforms into the heart of the home’s outdoor ‘hygge’. There is nothing quite like the sight of a wooden table topped with glowing pumpkins, thick wool throws, and the amber flicker of a centerpiece fire bowl. We love the sensory richness of this setup: the smell of woodsmoke, the warmth of a ceramic mug against your palms, and the way the dark wood of the table seems to glow in the twilight. It’s about creating a cozy cocoon that allows you to enjoy the garden even as the seasons shift toward winter.
Essential Elements:
- Tabletop portable fire pit or ethanol burner
- Chunky knit wool blankets
- Miniature pumpkins and gourds
- Copper mugs for hot cider
- Outdoor-safe string lights with warm ‘Edison’ bulbs
How to make it
- Center the experience around a tabletop fire bowl. Ensure the pallet surface is protected by placing a thick stone slab or a heat-resistant trivet under the burner.
- Drape chunky knit throws over the benches or surrounding chairs. The contrast between the rough wood and the soft wool is the epitome of autumn comfort.
- Create a ‘runner’ using natural elements: scatter dried leaves, pinecones, and small gourds along the length of the table in an undulating, organic line.
- Use copper accents, like mugs or lanterns. The metal reflects the firelight and provides a warm color palette that complements the changing trees.
- Hang warm Edison-style string lights directly above the table. The low-hanging, golden light creates an ‘outdoor room’ feel, making the space feel enclosed, intimate, and incredibly cozy.
How to Sand Pallet Table Surfaces for a Smooth Professional Finish
[IMAGE_10]
Why we love this
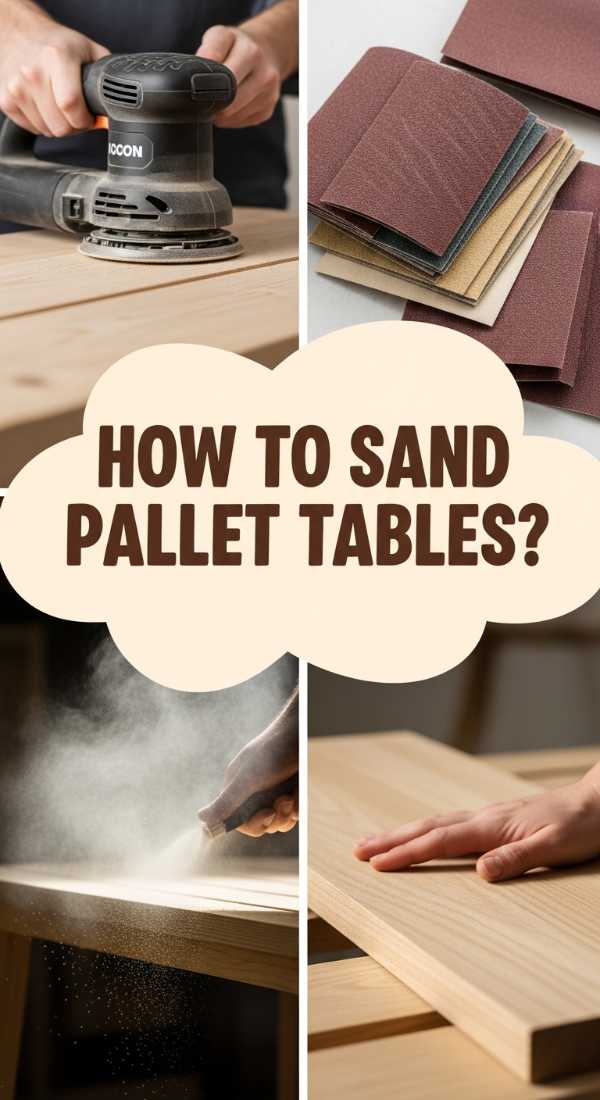
Sanding is the meditative bridge between a raw, splintery pallet and a piece of furniture that feels like silk under your fingertips. There is a deep satisfaction in watching the grey, weathered ‘skin’ of the wood fall away to reveal the bright, fresh grain beneath. A professionally sanded surface doesn’t just look better; it invites touch. We love the way a perfectly smooth tabletop catches the light, showing off the intricate textures of the wood without the danger of a single splinter. It’s the hallmark of a DIYer who cares about quality, turning a weekend project into a family heirloom.
Essential Elements:
- Random orbital sander
- Sandpaper grits: 60, 80, 120, and 220
- Dust mask and safety goggles
- Vacuum with brush attachment
- Contour sanding sponge (for tight spots)
How to make it
- Start with the 60-grit sandpaper. This is the ‘muscle’ phase where you remove the rough mill marks, stamps, and splinters. Move the sander slowly and steadily; let the machine do the work without pressing down too hard.
- Vacuum the surface thoroughly between every grit change. If a single grain of 60-grit sand stays on the table when you move to 120-grit, it will leave deep scratches that are impossible to hide later.
- Progress to 80-grit, then 120-grit. At the 120-grit stage, the wood will begin to feel soft and look much lighter in color. This is the most important grit for ensuring an even stain later.
- Finish with 220-grit for a ‘butter-smooth’ feel. By the time you finish this stage, the wood should have a slight natural sheen even without any finish applied.
- Use a flexible sanding sponge to get into the gaps between the slats and around the edges of the corner blocks. These often-overlooked areas are where splinters hide, so detail work is key to a professional result.
Conclusion: Your Weekend Project, Your Forever Retreat
Building and decorating your own pallet furniture is more than just a DIY project; it is an act of reclamation. You are taking something discarded and giving it a new life, and in doing so, you are creating a space that facilitates connection, relaxation, and joy. Whether you choose the vibrant colors of a boho patio or the clean lines of a minimalist sunroom, the effort you put in this weekend will pay dividends in every sunset watched and every cup of coffee enjoyed in your new backyard bliss. So grab your sander, pick out your favorite stain, and start building the sanctuary you deserve.