
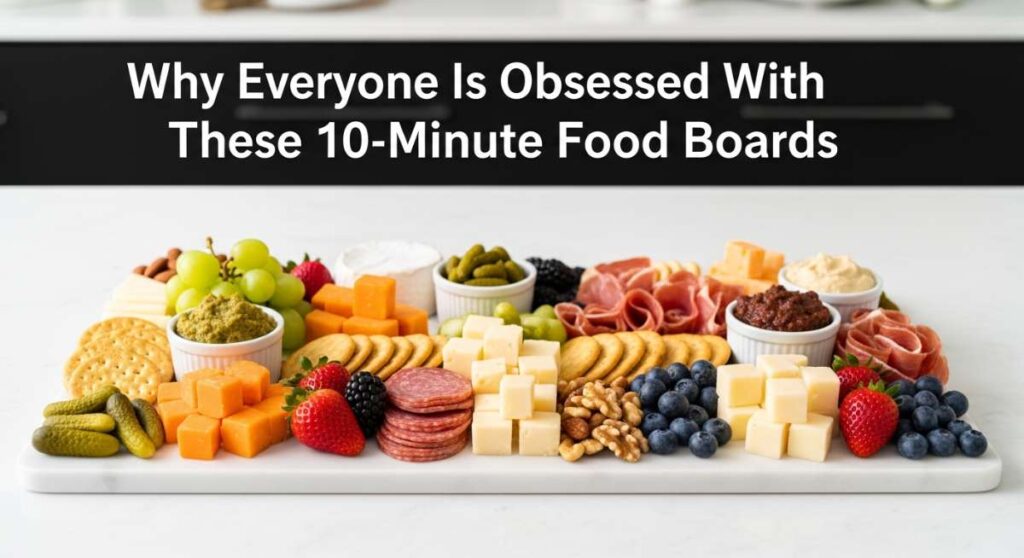
Why Everyone Is Obsessed With These Easy 10-Minute Food Boards
We’ve all been there—standing in front of the fridge at 6:00 PM, feeling that familiar wave of decision fatigue wash over us. The idea of cooking a formal, three-course meal feels like a mountain we aren’t quite ready to climb. That’s exactly why the food board revolution has taken over our social feeds and our kitchen counters; it’s the ultimate permission slip to eat beautifully without the stress. There’s something deeply soul-soothing about a spread that feels abundant, colorful, and completely customizable to your mood.
These boards aren’t just about aesthetics; they are about reclaiming your time and making nutrition feel like an indulgence rather than a chore. Whether you’re hosting a few best friends for a wine night or just trying to survive a busy Tuesday, assembling a tray of vibrant, nutrient-dense components feels like a little act of self-care. It’s about the tactile joy of grazing—the crunch of a fresh radish, the creaminess of a perfectly prepped dip, and the smoky aroma of roasted protein all coming together in one effortless masterpiece.
Mastering Juicy Meal Prep Chicken

Why we love this
There is nothing quite like the aroma of golden-brown chicken breast hitting a hot skillet, filling the kitchen with a savory, herbaceous scent that promises a week of delicious meals. When done right, the meat is incredibly tender, yielding easily to the fork while retaining a succulent moisture that carries the bright notes of lemon and garlic. Each bite offers a satisfying contrast between the slightly crisp, seasoned exterior and the velvet-soft interior, making it the perfect versatile anchor for any food board or salad bowl you can imagine.
Ingredients
- 2 lbs boneless, skinless chicken breasts
- 2 tablespoons extra virgin olive oil
- 1 teaspoon smoked paprika
- 1 teaspoon garlic powder
- Salt and freshly cracked black pepper to taste
- Fresh lemon wedges and parsley for garnish
How to make it
- Start by patting the chicken breasts completely dry with paper towels; this is the secret to achieving a golden sear rather than steaming the meat. If the breasts are uneven in thickness, place them between parchment paper and gently pound them to a uniform 1-inch thickness using a meat mallet or rolling pin.
- In a small bowl, whisk together the olive oil, paprika, garlic powder, salt, and pepper to create a thick paste. Rub this mixture thoroughly over every inch of the chicken, ensuring an even coating that will create a flavorful crust.
- Preheat a heavy-bottomed cast-iron skillet or stainless steel pan over medium-high heat for about 3-4 minutes until it is shimmering but not smoking. Place the chicken in the pan, ensuring they aren’t crowded; you should hear a loud, immediate sizzle.
- Cook undisturbed for 5-6 minutes. Resist the urge to peek! You want the chicken to naturally release from the pan when a deep golden crust has formed. Flip the breasts and cook for another 5-7 minutes.
- Use a meat thermometer to check for an internal temperature of 165°F (74°C). Once reached, immediately remove the chicken to a cutting board and let it rest for at least 8-10 minutes. This allows the juices to redistribute back into the fibers, ensuring every slice is dripping with flavor.
Fresh Mason Jar Salad Secrets
Why we love this
Opening a mason jar salad feels like uncovering a hidden garden, where the colors are vivid and the textures remain incredibly crisp even days after assembly. The genius lies in the layering, which keeps the delicate greens high and dry away from the zesty dressing pooling at the bottom. As you shake it out onto a board, the aroma of sharp balsamic and earthy chickpeas wafts up, promising a crunch that is loud, satisfying, and utterly refreshing—a true symphony of garden-fresh flavors in every single forkful.
Ingredients
- 1/2 cup balsamic vinaigrette or lemon-tahini dressing
- 1 cup cherry tomatoes, halved
- 1 cup sliced cucumbers
- 1/2 cup chickpeas, rinsed and dried
- 1/2 cup crumbled feta cheese
- 3 cups chopped romaine or kale
- 2 tablespoons sunflower seeds
How to make it
- The foundational rule of mason jar salads is the ‘wet-to-dry’ hierarchy. Begin by pouring 2-3 tablespoons of your chosen dressing into the very bottom of a wide-mouth quart-sized mason jar. This ensures the dressing never touches the greens until you are ready to eat.
- Add your hardiest vegetables next; these act as a barrier. Drop in the cherry tomatoes and cucumbers. These ingredients actually benefit from marinating in the dressing, soaking up the acidity and salt without losing their structural integrity.
- Layer in your protein or legumes, like the chickpeas. Following this, add your creamy or soft elements like feta cheese or goat cheese. Keeping the cheese away from the dressing prevents it from becoming unpleasantly mushy.
- Pack the leafy greens (romaine or kale) into the remaining space at the top. Use your hand to press them down firmly; the less air in the jar, the longer the salad stays fresh. Finish with a sprinkle of seeds or nuts on the very top.
- Seal the lid tightly and refrigerate for up to 5 days. When you are ready to serve on your food board, simply give the jar a vigorous shake to coat everything and tip it out into the center of your spread.
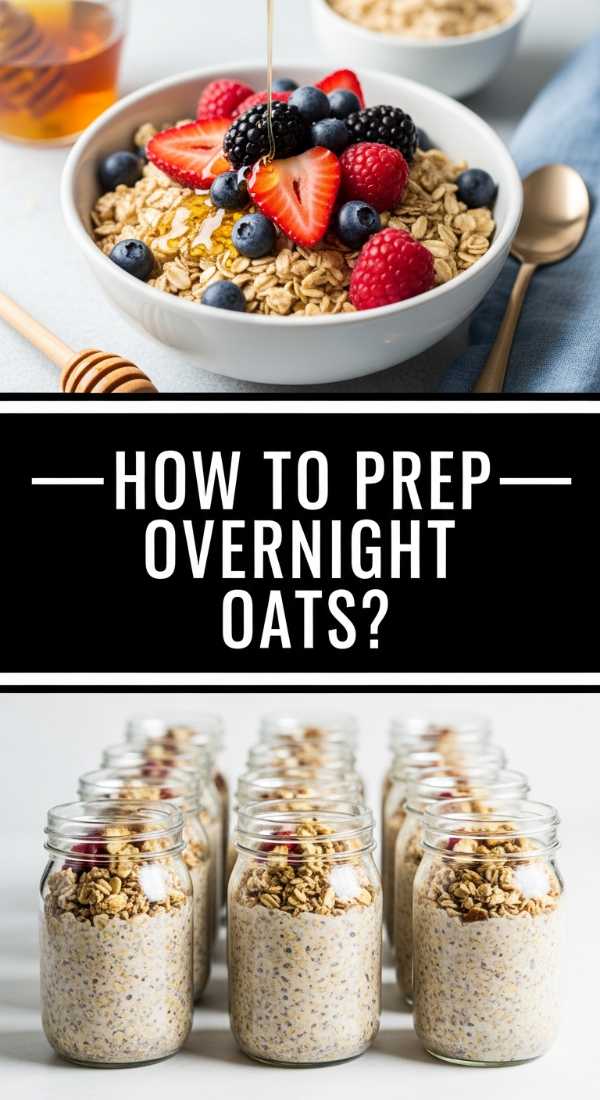
Creamy Overnight Oats Tutorial
Why we love this
Waking up to a jar of creamy overnight oats is like finding a gift from your past self, a velvet-textured treat that feels more like dessert than a healthy breakfast. The oats swell overnight, absorbing the sweet almond milk and the floral notes of vanilla, creating a consistency that is thick, rich, and cooling on a warm morning. Topped with a handful of bursting blueberries and a drizzle of honey, it provides a sensory balance of soft, chewy, and sweet that makes the start of any day feel luxurious and calm.
Ingredients
- 1/2 cup rolled oats (old fashioned)
- 2/3 cup unsweetened almond or oat milk
- 1 tablespoon chia seeds
- 1/4 cup Greek yogurt
- 1 tablespoon maple syrup or honey
- 1/2 teaspoon pure vanilla extract
- Fresh berries and nut butter for topping
How to make it
- In a small glass jar or container, combine the dry rolled oats and chia seeds. The chia seeds are essential here as they act as a natural thickener, absorbing up to ten times their weight in liquid to create that signature pudding-like texture.
- Pour in the almond milk, Greek yogurt, maple syrup, and vanilla extract. The yogurt adds a necessary tang and a boost of protein, while the vanilla provides an aromatic depth that elevates the oats from bland to gourmet.
- Stir the mixture vigorously with a spoon, ensuring you scrape the bottom corners where the chia seeds tend to clump. Once well-mixed, let it sit for 5 minutes, then give it one final stir to ensure a smooth, even distribution of ingredients.
- Screw the lid on tightly and place the jar in the refrigerator for at least 6 hours, though overnight is ideal for the softest texture.
- In the morning, the oats will have thickened significantly. If they are too thick for your preference, splash in a little extra milk. Top with fresh fruit and a swirl of nut butter right before placing the jar onto your breakfast board.
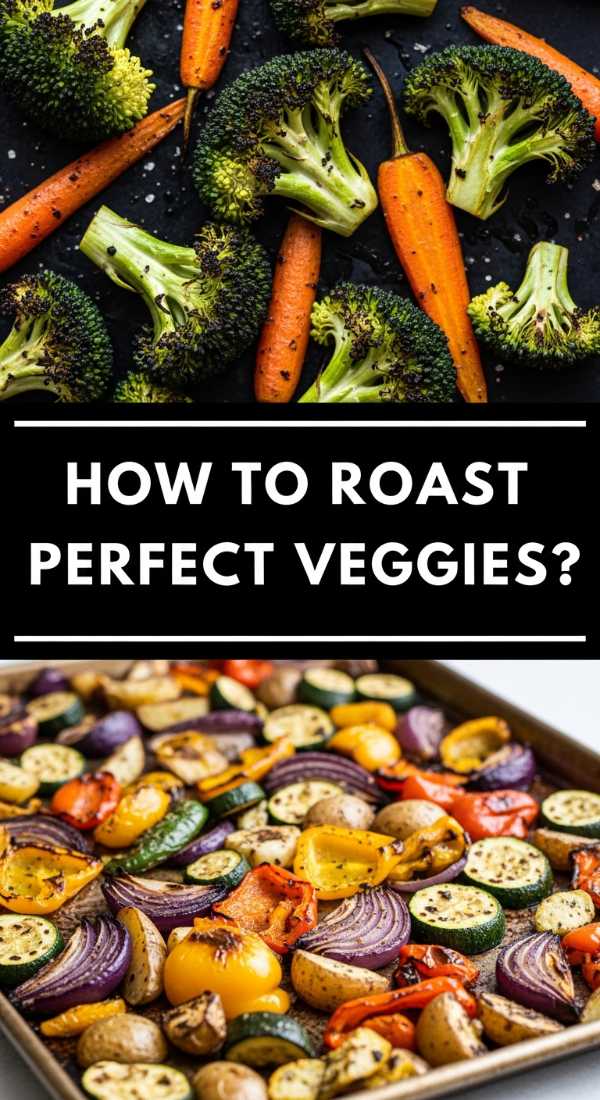
Crispy Roasted Vegetable Guide

Why we love this
There is a specific, smoky magic that happens in the oven when vegetables transform from raw and fibrous to caramelized and candy-sweet. The edges of broccoli florets become shatteringly crisp, while sweet potatoes turn tender and custardy inside, releasing an earthy aroma that makes the entire house feel like a cozy sanctuary. These roasted gems add a warm, grounded element to a food board, offering a deep umami flavor that balances out fresh fruits and cold dips perfectly.
Ingredients
- 1 head of broccoli, cut into florets
- 2 large sweet potatoes, cubed small
- 1 red bell pepper, sliced
- 3 tablespoons avocado oil (high smoke point)
- 1 teaspoon dried oregano
- 1/2 teaspoon sea salt
- 1/4 teaspoon red pepper flakes
How to make it
- Preheat your oven to 425°F (220°C). High heat is non-negotiable for roasting; it allows the exterior of the vegetables to brown and crisp through the Maillard reaction before the insides become overcooked and mushy.
- Place all your prepped vegetables on a large rimmed baking sheet. Drizzle with avocado oil. It is crucial to use an oil with a high smoke point to prevent it from breaking down and tasting bitter at high temperatures.
- Toss the vegetables thoroughly with your hands to ensure every single crevice is coated in oil and spices. Spread them out into a single layer. If the pan is too crowded, the vegetables will steam instead of roast; use two pans if necessary.
- Slide the tray into the center rack of the oven. Roast for 20-25 minutes. At the halfway mark, use a wide spatula to flip and toss the vegetables, ensuring even browning on all sides.
- Look for deeply browned, charred edges on the broccoli and a soft, yielding texture in the sweet potatoes. Remove from the oven and serve warm or at room temperature on your board for a rustic, flavorful touch.
Balanced Buddha Bowl Assembly
Why we love this
A Buddha bowl is a celebration of harmony on a plate, bringing together a kaleidoscope of colors that look as good as they feel to eat. You get the nutty, chewy base of grains, the crisp snap of raw radishes, and the buttery smoothness of ripe avocado, all tied together by a drizzle of creamy sauce. It’s a meal that feels intentional and complete, providing a steady energy that keeps you fueled without the mid-afternoon slump, making every bite a mindful exploration of flavor and texture.
Ingredients
- 1 cup cooked quinoa or farro
- 1/2 cup shredded carrots
- 1/2 cup sliced cucumber
- 1/2 avocado, sliced
- 1/4 cup edamame or black beans
- 2 tablespoons tahini dressing
- Microgreens and sesame seeds for garnish
How to make it
- Start with your base layer of grains. Use quinoa for a light, protein-packed fluffiness or farro for a denser, nuttier chew. Ensure the grains are seasoned with a pinch of salt and a squeeze of lime while they are still warm to maximize flavor absorption.
- Divide the bowl into sections visually. Place the grains in the center or as a bottom layer, then begin arranging your colorful components around the perimeter. This creates the ‘rainbow’ effect that makes Buddha bowls so viral and appetizing.
- Add your ‘crunch’ factor with shredded carrots and sliced cucumbers. Position the sliced avocado near the center; its creamy texture acts as a natural bridge between the crisp vegetables and the dry grains.
- Incorporate your plant-based protein, like steamed edamame or rinsed black beans, tucked into one of the sections. This ensures every forkful contains a balance of macronutrients.
- Drizzle the entire assembly with a generous amount of tahini dressing or a ginger-soy vinaigrette. Finish with a flourish of microgreens and a sprinkle of toasted sesame seeds to add professional-looking detail and a final layer of subtle flavor.
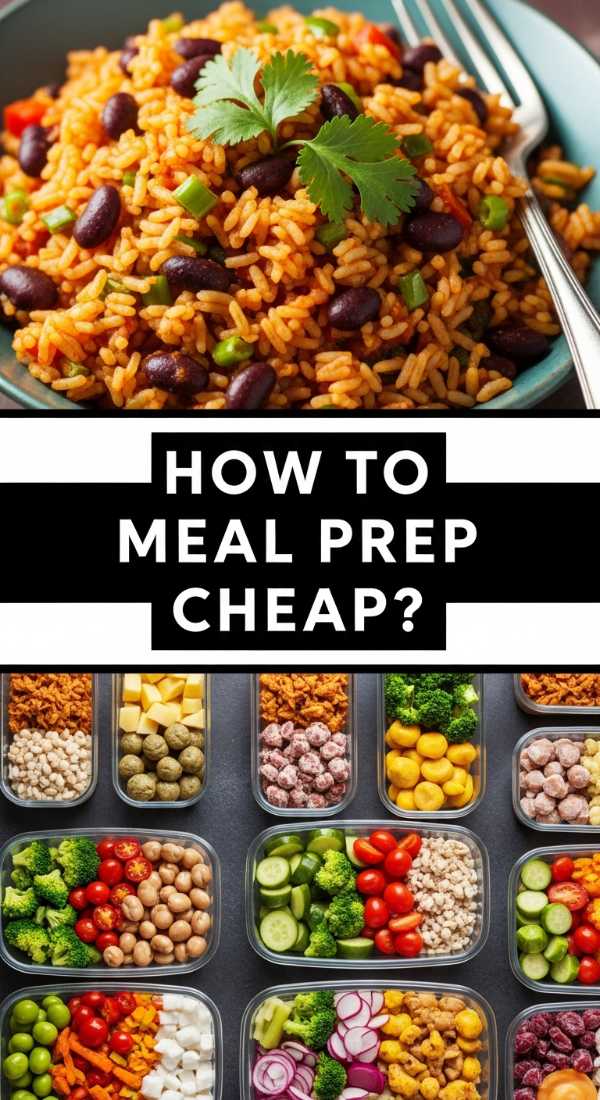
Budget Friendly Meal Prep Tips
Why we love this
There is a profound sense of satisfaction that comes from looking at a fully stocked fridge and knowing you’ve saved money without sacrificing a single ounce of flavor. Budget-friendly prep is about the art of transformation—taking humble pantry staples like lentils, rice, and cabbage and turning them into a feast of textures and savory notes. It smells like home-cooked comfort and feels like financial freedom, proving that a gourmet food board experience doesn’t require a gourmet price tag, just a bit of creative layering.
Ingredients
- Dried lentils or canned beans
- Bulk bag of brown rice or jasmine rice
- Seasonal root vegetables (carrots, potatoes)
- Large head of cabbage
- Generic store-brand olive oil and basic spices
- Frozen peas or corn
How to make it
- The first rule of budget prep is ‘Shop the Pantry First.’ Before heading to the store, audit your spices and grains. Build your board themes around what you already have to minimize waste and spending.
- Buy in bulk for items with long shelf lives. Grains, beans, and seeds are significantly cheaper when purchased in larger quantities and form the hearty ‘fillers’ that make your food boards feel substantial and satisfying.
- Focus on seasonal produce. Visit local farmer’s markets or check the sales flyer at your grocery store. Seasonal vegetables are not only cheaper but are at their peak flavor and nutritional density, meaning you need fewer expensive seasonings to make them taste incredible.
- Master the art of the ‘Sheet Pan Stretch.’ Roast a large batch of potatoes or carrots with cheap, dried herbs like rosemary or thyme. These bulky, inexpensive items take up beautiful space on a food board and provide lasting satiety.
- Repurpose leftovers with intention. That leftover roasted chicken can be shredded and tossed in a simple buffalo sauce for a completely new flavor profile on the next day’s board, ensuring you never get bored while keeping your wallet full.
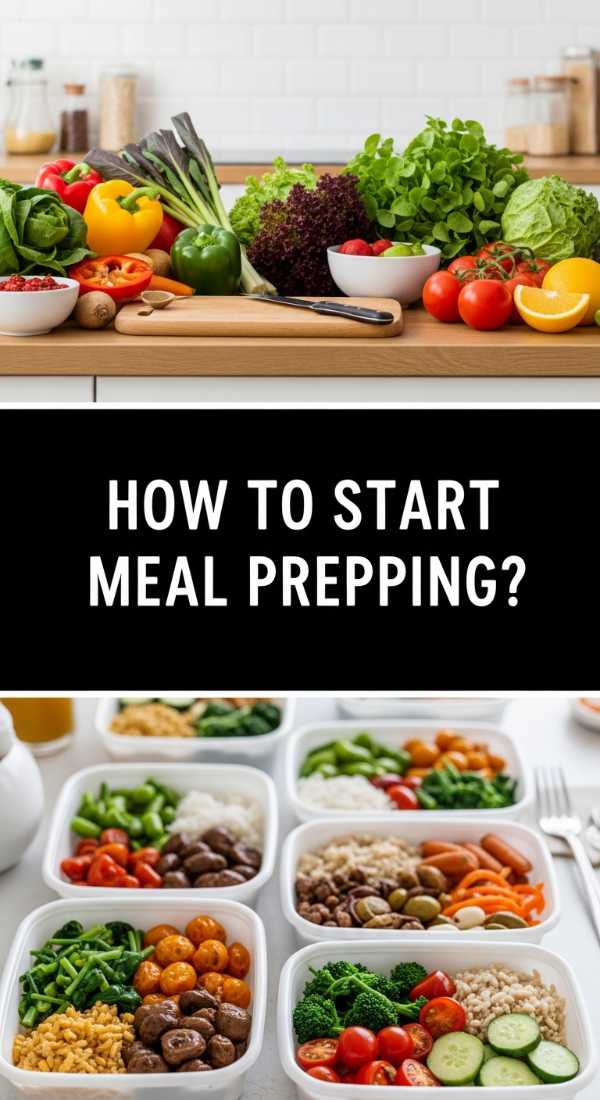
Beginner Meal Prep Roadmap
Why we love this
For the uninitiated, the kitchen can feel like a chaotic place, but this roadmap turns that chaos into a rhythmic, calming ritual. It’s the feeling of confidence as you realize you don’t need professional chef skills to create something beautiful and nourishing. As you chop, stir, and portion, the scents of fresh herbs and simmering grains create a sense of order and accomplishment. It’s about the peace of mind that comes from knowing your future self is already taken care of, one simple step at a time.
Ingredients
- 3 basic proteins (eggs, chicken, beans)
- 2 types of grains (rice, quinoa)
- 4 different colored vegetables
- 2 versatile sauces (hummus, vinaigrette)
- Set of clear glass containers
How to make it
- Start small to avoid burnout. Choose just two recipes for your first week rather than trying to prep twenty different meals. Pick one breakfast (like overnight oats) and one versatile protein (like the juicy chicken) to build your confidence.
- Dedicate a specific ‘Prep Power Hour.’ Set a timer for 60 minutes on a Sunday afternoon. Turn on your favorite podcast or playlist to make the time feel like an enjoyable ritual rather than a chore.
- Multi-task efficiently using all your appliances. Have the grains simmering on the stove, the vegetables roasting in the oven, and the eggs boiling in a pot simultaneously. This ‘active prep’ phase maximizes your output in a short window of time.
- Focus on ‘Component Prep’ rather than ‘Meal Prep.’ Instead of assembling full meals, prep individual building blocks. Keep roasted veggies in one container, grains in another, and protein in a third. This allows you to build different food boards every day based on your current cravings.
- Invest in quality storage. Using clear glass containers allows you to see the vibrant colors of your food, which makes you more likely to actually eat what you prepped. Label your containers with the date to keep everything organized and safe.
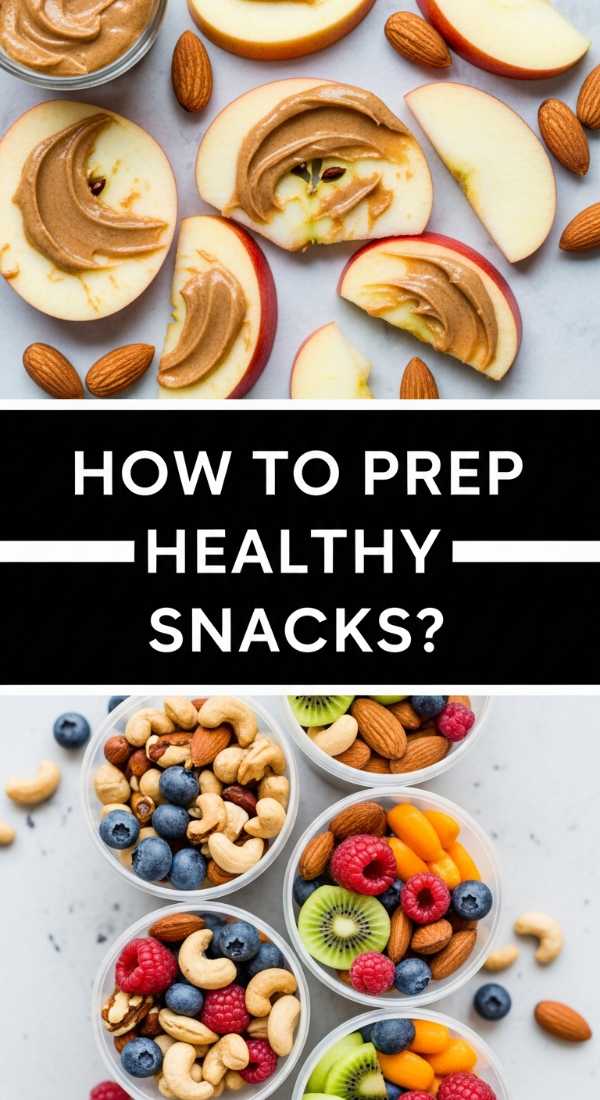
Healthy Snack Prep Ideas
Why we love this
We’ve all had those mid-afternoon moments where hunger hits and the nearest bag of chips starts looking like a five-star meal. Healthy snack prep is the ultimate defense against the ‘hanger’ monster, offering a tray of vibrant, crunchy, and salty-sweet options that revitalize your energy. The crisp snap of a celery stick dipped into silky, nutty almond butter, followed by the tart explosion of a dried cranberry, creates a sensory playground that keeps your palate excited and your blood sugar stable until dinner.
Ingredients
- Hard-boiled eggs
- Sliced bell peppers and celery
- Handful of raw almonds and walnuts
- Individual portions of hummus
- Apple slices with cinnamon
- Turkey roll-ups with mustard
How to make it
- Hard-boil a dozen eggs at the start of the week. For the perfect ‘jammy’ yolk, boil for 6.5 minutes; for a firm, prep-friendly yolk, go for 9 minutes. Immediately plunge them into an ice bath to make peeling effortless and prevent that unsightly green ring.
- Pre-wash and slice your high-water-content vegetables like peppers and cucumbers. Store them in a container with a damp paper towel at the bottom to keep them hydrated and ‘snappy’ for up to four days.
- Portion out nuts and seeds into small, reusable silicone bags. This prevents mindless over-snacking and makes it easy to grab a handful to add to a food board or take on the go.
- Prepare ‘Protein Roll-ups.’ Lay a slice of high-quality turkey breast flat, spread a thin layer of mustard or hummus, and roll it tightly around a slice of pickle or a cheese stick. These are incredibly satisfying and provide a quick hit of savory protein.
- Store apple slices in a container with a splash of lemon water. The acidity prevents browning, keeping the fruit looking fresh and appetizing on your board. Dust them with cinnamon right before serving for an aromatic, blood-sugar-balancing boost.
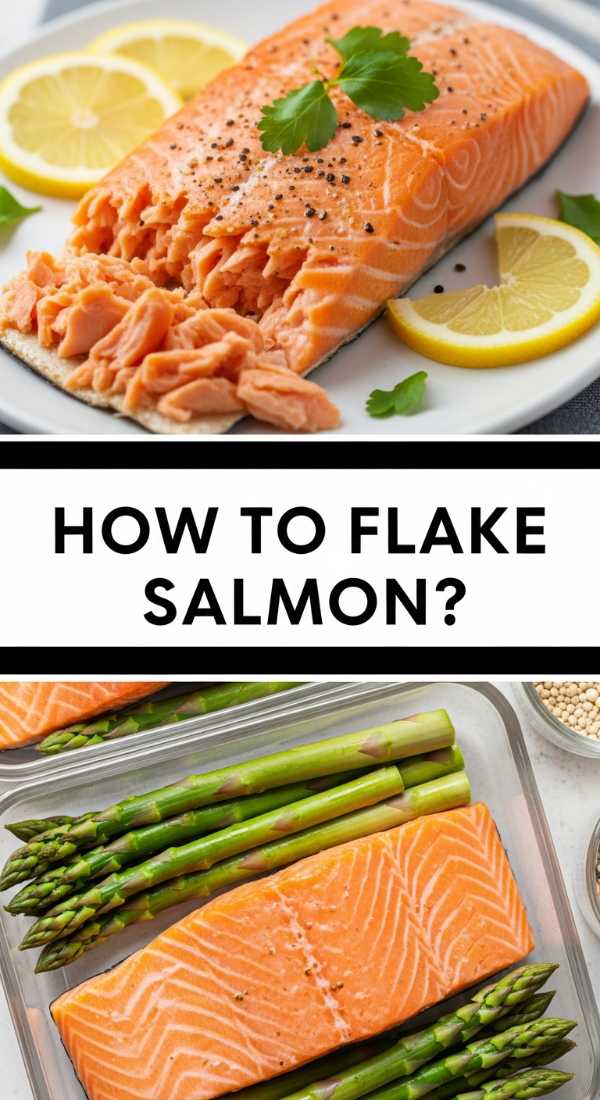
Flaky Salmon Meal Prep Secret

Why we love this
Salmon is the crown jewel of any food board, offering a rich, buttery texture that practically melts on the tongue. When prepped with the ‘low and slow’ secret, the fish retains its vibrant coral hue and an incredible moistness that is often lost in high-heat cooking. The subtle scent of citrus zest and fresh dill highlights the natural sweetness of the fish, making it feel like a high-end bistro dish that you can enjoy in the comfort of your own home, paired with crisp crackers and a dollop of Greek yogurt.
Ingredients
- 1 lb side of salmon (or individual fillets)
- 1 tablespoon olive oil
- 1 organic lemon, zested and sliced
- 2 sprigs fresh dill
- 1/2 teaspoon coarse sea salt
- 1/4 teaspoon cracked black pepper
How to make it
- Remove the salmon from the refrigerator 20 minutes before cooking to bring it to room temperature. This ensures the fibers don’t tighten up too quickly when hitting the heat, resulting in a much more tender flake.
- Preheat your oven to a gentle 300°F (150°C). While high heat is great for veggies, ‘slow-roasting’ is the secret to salmon that never tastes dry or ‘fishy.’ It preserves the delicate fats and proteins for a silky finish.
- Place the salmon on a parchment-lined baking sheet. Rub the surface with olive oil, then season generously with sea salt, pepper, and lemon zest. Lay fresh lemon slices and dill sprigs directly on top of the fish to infuse it with aromatics.
- Bake for 15-20 minutes. You are looking for the fish to just barely flake when pressed with a fork. It should still look slightly translucent in the very center; it will continue to cook slightly from residual heat once removed from the oven.
- Once cooled, flake the salmon into large, rustic chunks. Store these in an airtight container. Because it was slow-roasted, it tastes incredible cold or at room temperature, making it the perfect sophisticated addition to a Mediterranean-style food board.
Quick Stir Fry Meal Prep
[IMAGE_10]
Why we love this
The high-heat energy of a stir-fry is infectious, bringing a bold, umami-rich aroma to your kitchen that signals a meal full of life and flavor. You get the charred, slightly sweet notes of snap peas and the savory punch of ginger and garlic coating every surface. It’s a fast-paced way to cook that preserves the vibrant colors and the ‘al dente’ bite of the vegetables, providing a warm, savory component for your boards that feels both comforting and incredibly clean.
Ingredients
- 1 lb thin-sliced steak or firm tofu
- 2 cups mixed stir-fry vegetables (snap peas, carrots, bok choy)
- 2 tablespoons soy sauce or liquid aminos
- 1 tablespoon toasted sesame oil
- 1 tablespoon fresh grated ginger
- 2 cloves minced garlic
- 1 teaspoon honey
How to make it
- Prep is everything in stir-frying because the actual cooking happens in minutes. Slice your protein and vegetables into uniform, bite-sized pieces so they cook at the same rate. Whisk together the soy sauce, ginger, garlic, and honey in a small bowl to create your sauce.
- Heat a wok or large skillet over high heat until a drop of water flicked onto the surface dances and evaporates instantly. Add the sesame oil, swirling to coat the pan.
- Add your protein first. Let it sear undisturbed for 60 seconds to develop a brown crust, then toss frequently until just cooked through. Remove the protein from the pan and set it aside to prevent overcooking.
- Add the vegetables to the hot pan. Stir-fry vigorously for 2-3 minutes. You want them to be blistered and bright, but still retain a firm snap. If the pan looks dry, add a teaspoon of water to create a quick burst of steam.
- Return the protein to the pan and pour the sauce over everything. Toss for 30-60 seconds until the sauce bubbles and thickens into a glossy glaze that clings to every ingredient. Serve hot or store for a savory, reheat-friendly addition to your weekly boards.
Conclusion: Your New Kitchen Routine
The beauty of these 10-minute food boards lies in their flexibility. They remind us that eating well doesn’t have to be a performance; it can be a simple, tactile, and joyful expression of flavor. By mastering these foundational meal-prep secrets, you’re not just making dinner easier—you’re transforming your relationship with your kitchen. So grab a board, pick your favorite components, and start building your own edible art. Your taste buds (and your schedule) will thank you.