
There is a unique kind of magic that happens when you stop looking at your home as just a building and start seeing it as a living, breathing reflection of your soul. We’ve all been there—scrolling through endless feeds of perfectly curated spaces, feeling that tiny spark of inspiration that says, ‘I could do that.’ Whether it’s the way the morning light hits a new reading nook or the grounding scent of freshly cut cedar in the garden, these transformations are about more than just aesthetics; they are about reclaiming our environment to serve our joy.
In this guide, I’m taking you through my absolute favorite DIY upgrades that have gone viral for a reason. These projects aren’t just about ‘fixing up’ a house; they are about crafting experiences. From the tactile satisfaction of organized glass jars to the rhythmic sound of a backyard water feature, we are diving deep into the sensory details that make a house feel like a sanctuary. Grab your coffee and your tool belt—it’s time to transform your space into the haven you’ve always dreamed of.
How to Build a Custom Play Space for Creative Outdoor Fun

Why we love this
There is nothing quite like the sound of genuine, unbridled laughter echoing through a backyard, and a custom play space provides the perfect stage for those memories. Imagine the scent of fresh-cut pine and the smooth, cool touch of sanded wood under little hands as they explore their own miniature kingdom. This project transforms a flat patch of grass into a textured landscape of imagination, where the vibrant colors of outdoor-safe fabrics and the earthy grit of a dedicated sand pit invite hours of tactile, screen-free exploration that feels both nostalgic and fresh.
Essential Elements:
- Pressure-treated 4×4 posts for structural integrity.
- Cedar planks for a rot-resistant finish.
- Heavy-duty landscape fabric for the ground base.
- Play-grade sand or rubber mulch for soft landings.
- Custom canvas canopy for shade and aesthetic charm.
- Climbing holds or a weather-proof slide attachment.
How to make it
- Level the site meticulously using a string level and shovel to ensure a stable foundation; any slope greater than two inches can compromise the structure.
- Excavate the area to a depth of four inches, lining the basin with heavy-duty landscape fabric to prevent weed growth while allowing for drainage.
- Set your primary 4×4 corner posts into the ground using concrete footings, ensuring they are perfectly plumb and spaced exactly according to your blueprint.
- Frame the base platform with 2×6 joists, securing them with galvanized lag bolts for maximum weight capacity.
- Lay the cedar decking planks with 1/8-inch gaps to allow for wood expansion and water runoff, then sand the entire surface with 120-grit sandpaper until it feels like silk.
- Attach safety features like handrails and climbing holds, checking every bolt twice to ensure there are no sharp edges or loose fittings.
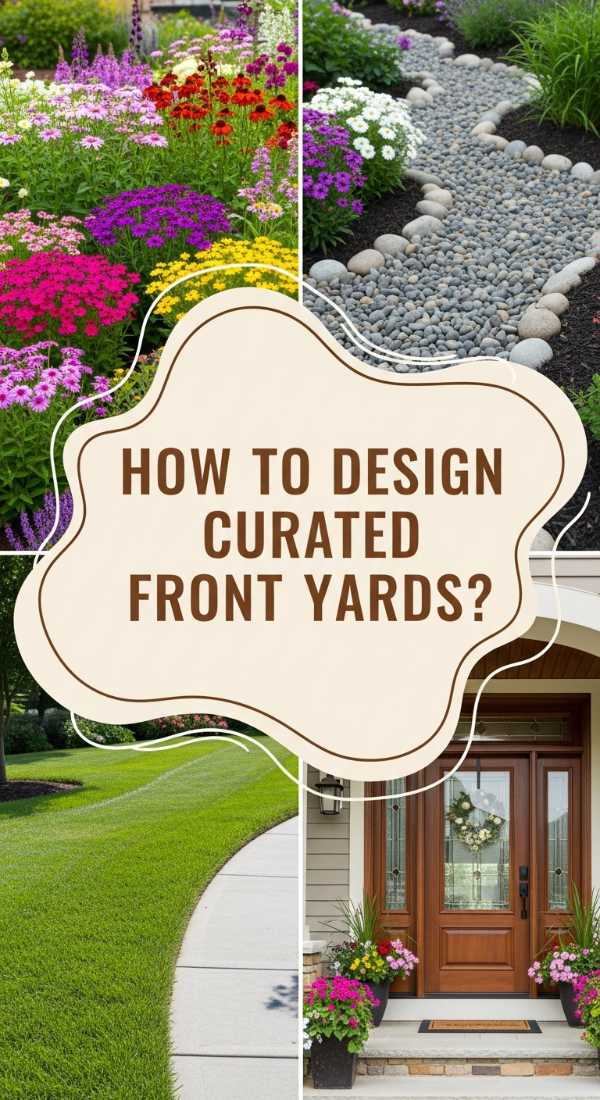
How to Design Curated Front Yards for Instant Curb Appeal
Why we love this
The front yard is your home’s first handshake with the world, and a curated design offers a warm, welcoming embrace before you even reach the door. We love the visual rhythm created by layering heights—from the low-creeping thyme that releases a subtle herbal aroma when stepped on, to the structural elegance of a well-placed Japanese Maple. The sight of crisp, dark mulch against vibrant green foliage provides a high-contrast, professional look that feels expensive and intentional, turning a simple walk to the mailbox into a sensory stroll through a boutique garden.
Essential Elements:
- Native perennial plants for low-maintenance beauty.
- Architectural lighting (pathway and uplights).
- Steel or stone garden edging for clean lines.
- Decorative mulch or river rocks.
- A statement house number sign or modern mailbox.
How to make it
- Sketch a bird’s-eye view of your yard to plan for ‘layers,’ placing taller shrubs at the back near the foundation and shorter groundcovers near the walkway.
- Remove existing sod using a manual edger or sod cutter, ensuring you create deep, intentional curves rather than straight lines for a more organic feel.
- Amend the soil with organic compost, tilling it to a depth of six inches to ensure your new plants have nutrient-rich ‘rooms’ to grow into.
- Position your ‘anchor’ plants first, such as evergreen shrubs, then fill in with seasonal perennials, keeping them in their nursery pots until you are satisfied with the visual balance.
- Install low-voltage LED lighting along the path, burying the wire three inches deep and positioning the heads to graze the foliage of your favorite plants.
- Apply a three-inch layer of dark wood mulch, keeping it two inches away from plant stems to prevent rot while locking in moisture and suppressing weeds.
How to Transform Reclaimed Wood for Sustainable Garden Storage
![]()
Why we love this
There is a soulfulness in reclaimed wood that brand-new lumber simply cannot replicate—the weathered grey patina, the visible grain, and the stories told through old nail holes. When transformed into garden storage, it bridges the gap between the wild nature of your backyard and the structure of your home. We love the rugged, tactile texture of the timber and the earthy, sun-baked scent it emits on a warm afternoon. It turns a utilitarian storage box into a piece of functional art that feels grounded, sustainable, and deeply connected to the environment.
Essential Elements:
- Reclaimed pallet wood or barn timber.
- Stainless steel outdoor-rated screws.
- Heavy-duty strap hinges for a rustic look.
- Waterproof wood sealant (clear or matte finish).
- A circular saw and a power drill.
How to make it
- Source high-quality reclaimed wood, ensuring it is heat-treated (marked ‘HT’) rather than chemically treated for safety and longevity.
- Deconstruct the wood carefully using a pry bar, then remove all old nails and staples using pliers to prevent injury and tool damage.
- Plan your dimensions based on your largest garden tools; cut the vertical corner supports first to establish the height and stability of the box.
- Assemble the frame using pocket-hole joinery for a clean look, or face-screw the boards for a more industrial, rustic aesthetic.
- Sand the surfaces lightly to remove splinters while preserving the natural weathered ‘character’ of the wood grain.
- Apply two coats of a high-quality UV-rated sealant, allowing 24 hours between coats to ensure the wood is fully protected against the elements while maintaining its silver-grey charm.
How to Create a Backyard Oasis for Ultimate Evening Relaxation

Why we love this
When the sun dips below the horizon, a backyard oasis transforms into a sanctuary of soft light and cooling breezes. We are obsessed with the glow of Edison bulbs overhead, casting a warm amber hue over plush, weather-resistant cushions that invite you to sink in and stay a while. The crackle of a small fire pit adds a rhythmic soundtrack to the evening, while the scent of jasmine or lavender planted nearby creates a natural aromatherapy experience. It’s the ultimate way to decompress, turning your own backyard into a five-star retreat.
Essential Elements:
- Outdoor sectional or deep-seat lounge chairs.
- Festoon or string lighting.
- Portable or built-in fire pit.
- Outdoor rug with a soft, woven texture.
- Large potted palms or privacy screens.
How to make it
- Define the ‘room’ by laying down a large, durable outdoor rug which anchors the furniture and provides a soft surface for bare feet.
- Arrange seating in a conversational U-shape around a central focal point, like a fire pit or a low coffee table, to encourage social interaction.
- Hang string lights in a zig-zag pattern overhead, using tall wooden poles or existing structures to keep the lights at least 8 feet above the ground.
- Layer in soft textiles like outdoor-rated throw pillows and lightweight blankets that can withstand evening dew without becoming musty.
- Add ‘living walls’ using tall planters filled with clumping bamboo or trellised vines to create a sense of enclosure and privacy from neighbors.
- Incorporate a small Bluetooth speaker hidden among the plants to play soft, ambient sounds, completing the sensory immersion.
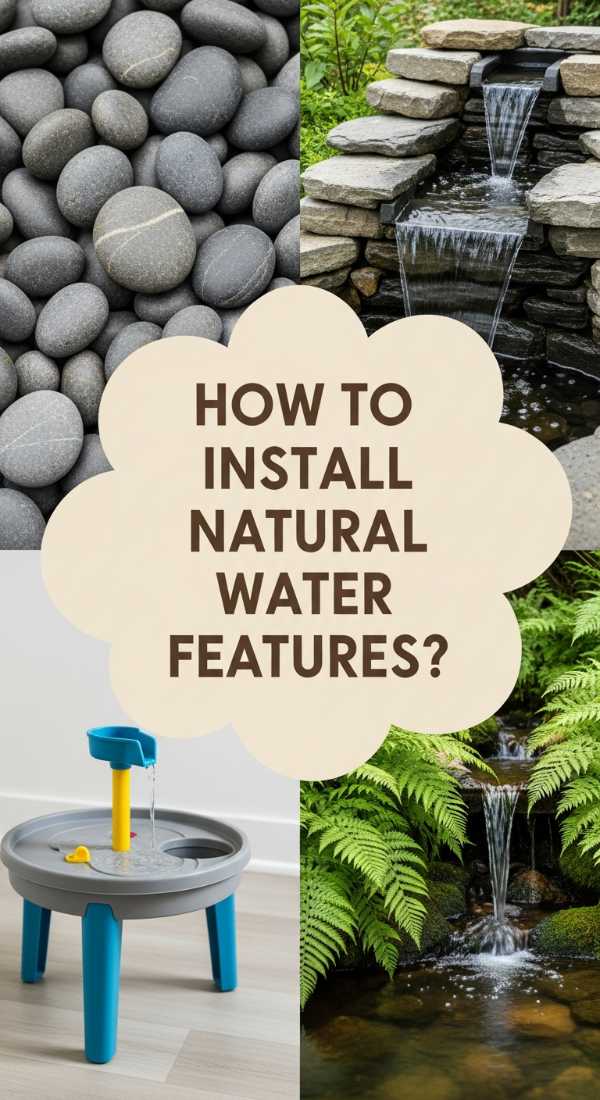
How to Install Natural Water Features for Serene Garden Vibes
Why we love this
The sound of trickling water has a primal ability to lower the heart rate and mask the distant hum of traffic. A natural water feature brings a dynamic, cooling element to the garden that feels like a hidden mountain spring. We love the sight of smooth, wet river stones glistening in the sun and the way the water creates a shimmering reflection of the sky. It’s a focal point that breathes life into the space, attracting birds and beneficial insects while providing a cool, misty microclimate that makes the entire garden feel ten degrees fresher.
Essential Elements:
- Submersible water pump (rated for your pond size).
- Pond liner or a pre-formed basin.
- Assorted river rocks and larger ‘character’ boulders.
- Aquatic plants like water lilies or horsetail.
- Filter system to maintain clarity.
How to make it
- Dig a hole that is slightly wider and deeper than your basin, ensuring the edges are perfectly level to prevent water from spilling over one side.
- Line the hole with an inch of damp sand to cushion the liner against sharp rocks or roots that could cause punctures over time.
- Place the pump in the deepest part of the basin, routing the hose to the top of your ‘waterfall’ area or decorative fountain head.
- Arrange large boulders first to create the structure, then fill in the gaps with smaller river stones to hide the liner and create a naturalistic look.
- Fill the feature with water and turn on the pump to check the flow; adjust the stones to create the specific ‘babbling’ sound you prefer.
- Introduce aquatic plants in mesh pots, using gravel to weigh them down, which helps balance the ecosystem and keeps the water crystal clear.
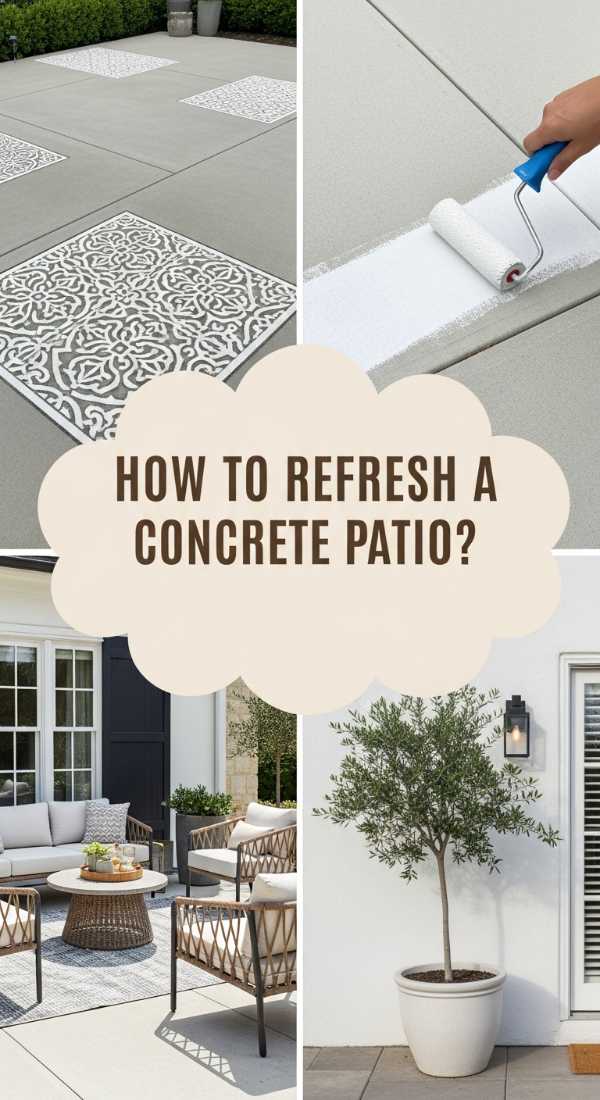
How to Refresh a Concrete Patio for Modern Outdoor Living
Why we love this
Concrete is often seen as cold and industrial, but with a modern refresh, it becomes a sleek, sophisticated canvas for outdoor living. We love the transformation from a stained, cracked slab to a smooth, patterned surface that looks like high-end tile. The cool touch of a freshly coated patio underfoot on a hot day is incredibly satisfying, and the clean, geometric lines of a stenciled design add an architectural depth that instantly elevates the entire backyard aesthetic. It’s a high-impact, low-cost way to make your outdoor space feel brand new.
Essential Elements:
- Concrete cleaner and degreaser.
- Concrete sealer or porch and patio paint.
- Large-scale geometric stencil (optional).
- Long-handle paint roller with a textured nap.
- Painter’s tape for crisp borders.
How to make it
- Power-wash the concrete thoroughly to remove all dirt and loose debris; any remaining oils will prevent the paint from bonding.
- Apply a concrete degreaser to stubborn spots, scrubbing with a stiff brush and rinsing until the water no longer beads on the surface.
- Patch any large cracks with a concrete filler, smoothing it flat with a putty knife and allowing it to cure for 24 hours.
- Apply a base coat of concrete paint using a roller, working in small sections and maintaining a ‘wet edge’ to avoid visible lap marks.
- If stenciling, secure the template with tape and use a nearly-dry ‘stippling’ brush technique to prevent paint from bleeding under the edges.
- Seal the entire patio with a clear, non-slip concrete sealer once the paint is fully dry, which protects the design from UV fading and heavy foot traffic.
How to Attract Local Wildlife for a Peaceful Morning View

Why we love this
There is a profound sense of peace that comes from sipping your morning coffee while watching a hummingbird hover over a bloom or a squirrel navigate a clever feeder. Creating a wildlife-friendly garden turns your backyard into a tiny, thriving ecosystem. We love the vibrant bursts of color from native wildflowers and the soft fluttering sounds of wings. It’s a project that rewards you with a living show every single day, fostering a deep connection to the seasonal rhythms of nature right outside your window.
Essential Elements:
- Native nectar-rich flowers (like Milkweed or Coneflower).
- Bird bath or shallow water stone.
- Quality bird seed and a squirrel-proof feeder.
- Nesting boxes or insect hotels.
- Brush piles or dense shrubs for cover.
How to make it
- Research native plants specific to your hardiness zone; native species are significantly more effective at attracting local birds and butterflies than exotic ones.
- Plant in ‘drifts’ or clusters rather than single plants, as large groups of color are easier for pollinators to spot from the air.
- Install a bird bath in a central location, keeping the water no deeper than two inches and adding a few ‘perching stones’ that break the surface.
- Place feeders at varying heights—tube feeders for finches, suet for woodpeckers—to cater to a diverse range of species.
- Avoid using broad-spectrum pesticides, as these eliminate the very insects that birds rely on for food and can disrupt the local food chain.
- Create a ‘wild corner’ with a small pile of logs or stones, providing a safe habitat for beneficial toads and beetles that help manage garden pests naturally.
How to Construct a Floating Deck for Effortless Summer Entertaining

Why we love this
A floating deck is the ultimate ‘low-profile’ luxury. Because it doesn’t require deep footings or attachment to the house, it feels like a secluded island in the middle of your lawn. We love the sturdy, rhythmic feel of the boards and the way the wood stays cool enough for bare feet even in the peak of July. It provides a level, defined stage for summer barbecues and evening cocktails, instantly making a casual backyard gathering feel like an organized event. The slight elevation provides just enough height to offer a new perspective on your garden.
Essential Elements:
- Pressure-treated 2×6 boards for the frame.
- Decking boards (Composite or Cedar).
- Concrete deck blocks for the foundation.
- Hidden deck fasteners for a seamless look.
- Level and chalk line.
How to make it
- Mark the deck’s perimeter with stakes and string, ensuring the corners are perfectly square using the 3-4-5 triangle method.
- Clear the grass and topsoil within the perimeter, then lay down a layer of gravel to facilitate drainage and prevent the wood from sitting in moisture.
- Set your concrete deck blocks at the corners and every 4 feet along the perimeter, using a long level to ensure they are all at the exact same height.
- Assemble the outer frame on top of the blocks, then install the inner joists 16 inches apart (on center) to provide a rigid, ‘no-bounce’ feel.
- Lay your decking boards starting from the outside edge, using spacers to maintain a uniform 1/8-inch gap for drainage.
- Fasten the boards from the side using a hidden fastener system, which hides the screw heads and gives the deck a professional, high-end finish.
How to Organize a Kitchen Pantry for a Functional Daily Flow

Why we love this
A perfectly organized pantry is a balm for the busy mind. There is a deep, tactile satisfaction in the ‘clink’ of a glass jar being placed back on a shelf and the visual serenity of uniform labels. We love how this transformation turns the chaotic morning rush into a choreographed dance. The smell of dried herbs, the sight of colorful grains in clear canisters, and the ease of finding exactly what you need creates a sense of abundance and control that makes cooking feel less like a chore and more like a creative outlet.
Essential Elements:
- Airtight glass or BPA-free plastic canisters.
- Tiered shelving for canned goods.
- Woven baskets for ‘like’ items (snacks, baking).
- Custom labels (minimalist or handwritten).
- Lazy Susans for corner access.
How to make it
- Empty the entire pantry completely; this is the ‘clean slate’ phase where you check expiration dates and group items by category.
- Wipe down every shelf with a mild vinegar solution to remove dust and lingering food scents before you begin the re-entry process.
- Decant dry goods (flour, pasta, rice) into clear canisters to keep them fresh and provide an immediate visual inventory of what you have left.
- Assign ‘zones’ based on frequency of use: place daily items at eye level, heavy bulk items on the floor, and occasional baking supplies on the top shelf.
- Utilize Lazy Susans in the corners for oils and vinegars, ensuring that nothing gets ‘lost’ in the dark back corners of the cabinet.
- Apply consistent labels to every container, ensuring they are placed at the same height for a clean, professional aesthetic that is easy for the whole family to navigate.
How to Style a Retro Teen Room for a Nostalgic Aesthetic

Why we love this
The retro aesthetic is all about celebrating personality through a lens of nostalgia, blending the bold colors of the 70s with the neon energy of the 90s. We love the mix of textures—think velvet pillows, fuzzy rugs, and the smooth plastic of a record player. It’s a space that feels curated yet lived-in, where a gallery wall of vintage posters tells a story and warm, multi-colored lighting creates a cozy, ‘chill’ vibe. It’s the perfect way to give a teen a sense of autonomy while creating a room that feels like a warm hug from a simpler time.
Essential Elements:
- Vinyl record player and display stand.
- Lava lamps or neon LED signs.
- Vintage-inspired posters and art prints.
- Checkered or shag area rug.
- Multi-colored smart bulbs for mood lighting.
How to make it
- Choose a color palette that features ‘warm neutrals’ as a base, then accent with pops of mustard yellow, burnt orange, or electric blue.
- Create a ‘feature wall’ using a grid of vinyl records or thrifted magazines, securing them with mounting putty to protect the paint.
- Swap out modern lighting for amber-toned Edison bulbs or color-changing LEDs to immediately change the ‘vibe’ of the room with a remote.
- Incorporate ‘touchable’ textiles like a corduroy bean bag or a chunky knit throw blanket to add layers of comfort and visual interest.
- Set up a dedicated ‘analog station’ with a turntable or a polaroid camera display, encouraging hobbies that move away from digital screens.
- Use vintage crates or acrylic organizers for storage, blending the old-school look with modern functionality to keep the space clutter-free.
Conclusion: Your Home, Your Masterpiece
Transforming your home isn’t about achieving perfection; it’s about the journey of making a space truly yours. Every nail driven into a floating deck and every jar labeled in a pantry is a small act of love toward your daily life. As you embark on these DIY adventures, remember to enjoy the process—the smell of the wood, the feel of the soil, and the pride of seeing your vision come to life. Your home is a canvas, and you are the artist. Happy building!
Frequently Asked Questions
Find answers to common DIY and lifestyle upgrade questions below.