
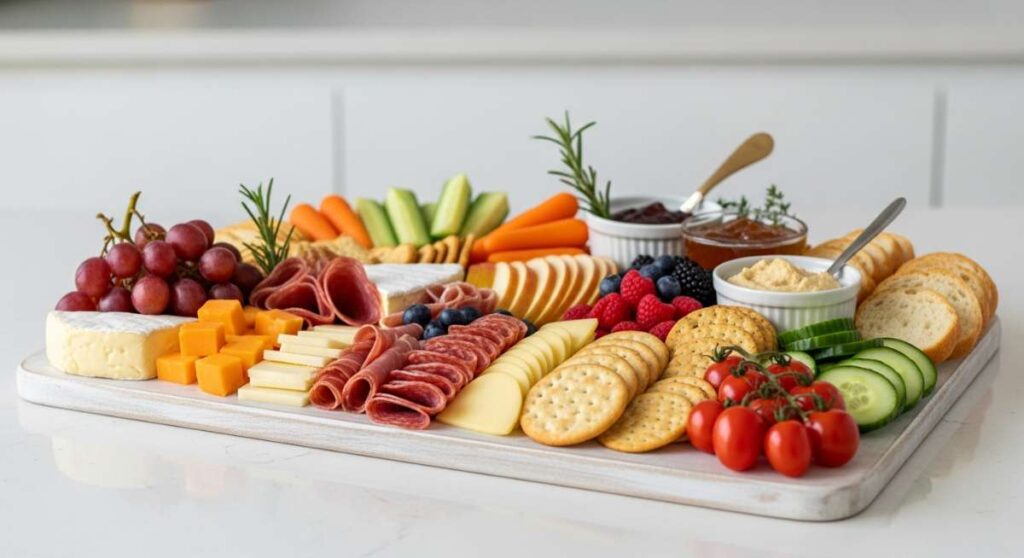
We have all been there—the doorbell is about to ring, your house is a whirlwind of activity, and you realize you haven’t even thought about the food. Hosting should be about the laughter and the shared stories, not the frantic sweat over a stove. That is why I have become completely obsessed with the ‘Viral Simple Food Board’ trend; it is the ultimate secret weapon for stress-free entertaining that looks like a million bucks without the hours of labor.
Imagine walking into a room and seeing a spread that captures the very essence of the season—vibrant colors, artisanal textures, and a variety that promises a little something for everyone. Whether you are celebrating a big milestone like a graduation or just a sunny Sunday afternoon, these 10-minute assembly ideas bring a sense of effortless elegance to your table. Let’s dive into how you can elevate your hosting game with these stunning, simple food board components.
How to decorate graduation cakes?
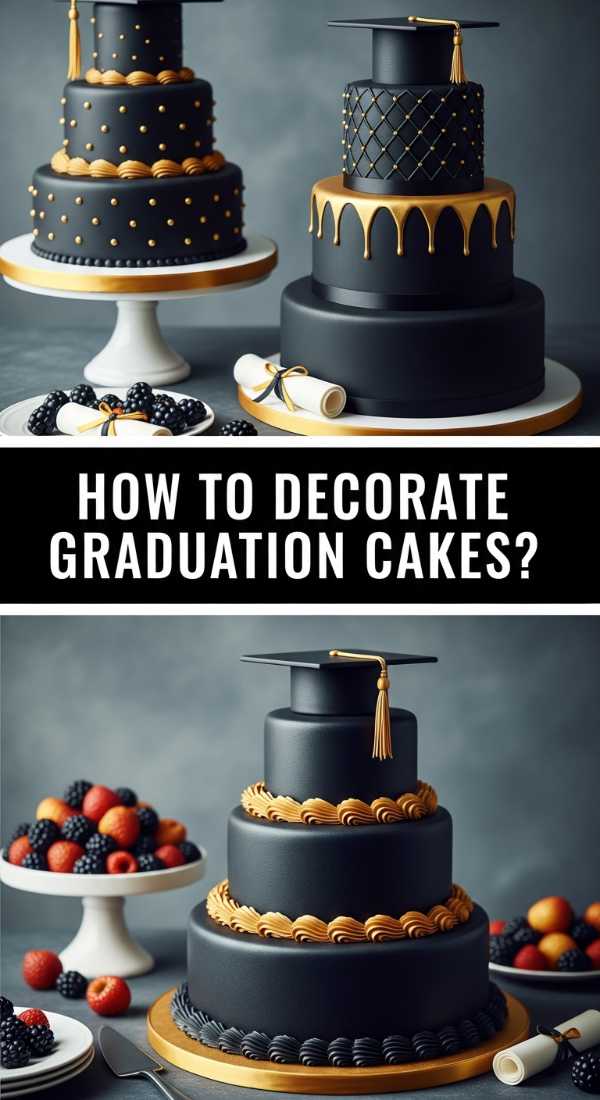
Why we love this
There is something so incredibly nostalgic and proud about a graduation cake sitting at the center of a dessert board. The sight of silky, smooth buttercream catching the light, paired with the celebratory shimmer of edible gold leaf, creates an atmosphere of pure achievement. We love the way the sweet, vanilla aroma wafts through the room, inviting guests to take a closer look at the delicate piping and custom toppers that tell a story of hard work and new beginnings.
Ingredients
- Pre-baked sponge cake
- Vanilla buttercream frosting
- Edible gold leaf or luster dust
- Fondant or cardstock graduation caps
- Fresh berries for garnishing
How to make it
- Begin by applying a ‘crumb coat’ to your pre-baked cake; this is a thin layer of frosting that seals in crumbs. Use an offset spatula to smooth it out and chill for 20 minutes until firm.
- Apply the final layer of buttercream using a turntable. Hold your scraper at a 45-degree angle against the side of the cake and spin the table slowly to create a professional, sharp edge.
- For the graduation theme, use a small paintbrush to carefully apply edible gold luster dust mixed with a drop of lemon extract to the edges of the cake for a metallic ‘halo’ effect.
- Place your graduation cap toppers—either made of fondant or decorative cardstock—slightly off-center on the top to create visual interest and height.
- Surround the base of the cake with fresh raspberries or blueberries to add a pop of natural color that contrasts beautifully with the white frosting.
How to make rhubarb jam?
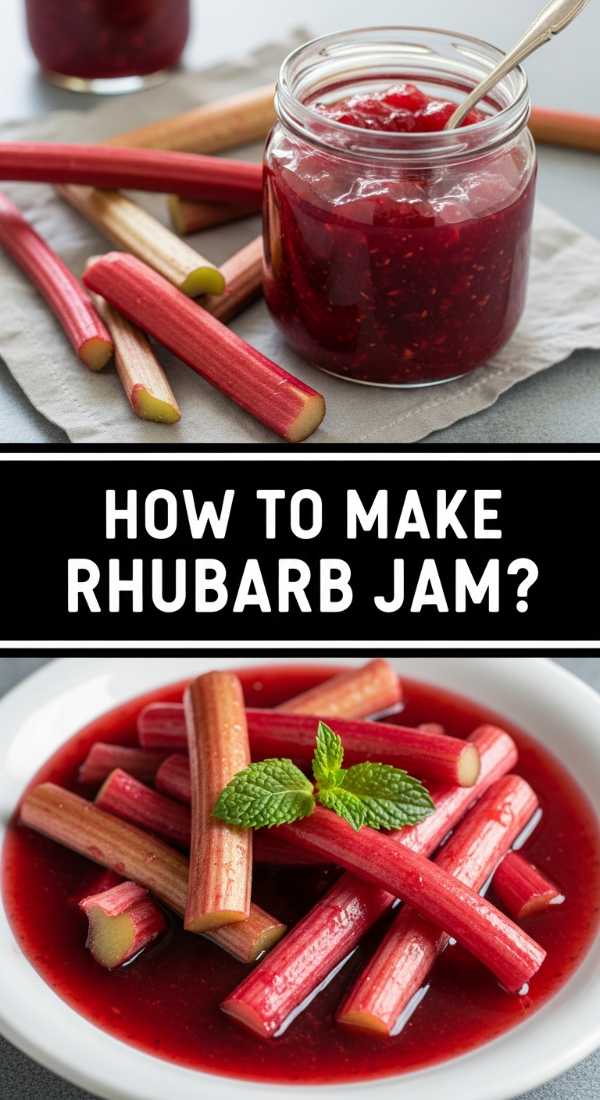
Why we love this
Rhubarb jam is the unsung hero of a brunch board, offering a tart, zesty punch that cuts right through the richness of cheeses and pastries. The texture is a delightful mix of soft, syrupy fruit and a slight crunch from the seeds, while the color is a stunning, vibrant pink that looks like liquid sunshine in a glass jar. Smearing a dollop of this warm, earthy jam onto a piece of crusty bread is a sensory experience that brings the garden right to your palate.
Ingredients
- 4 cups chopped rhubarb stalks
- 2 cups granulated sugar
- 1 tablespoon lemon juice
- 1 teaspoon lemon zest
- 1/2 teaspoon vanilla bean paste
How to make it
- In a heavy-bottomed saucepan, combine the chopped rhubarb and sugar. Let them sit for about 30 minutes at room temperature; this process, called maceration, draws out the natural juices.
- Turn the heat to medium-high and bring the mixture to a rolling boil, stirring frequently with a wooden spoon to prevent the sugar from scorching on the bottom.
- Once boiling, add the lemon juice and zest. The acidity helps the natural pectin in the rhubarb set the jam without needing added store-bought pectin.
- Lower the heat to a simmer and cook for 15-20 minutes. You will know it is done when the mixture coats the back of a spoon and the bubbles become slow and heavy.
- Stir in the vanilla bean paste at the very end for an aromatic finish, then ladle into sterilized glass jars and allow to cool completely before serving on your board.
How to bake graduation cookies?

Why we love this
Graduation cookies are the ultimate finger food for a party board because they are as beautiful as they are delicious. We love the satisfying ‘snap’ of a perfectly baked sugar cookie, followed by the soft melt of royal icing that has been decorated with precision. These little treats act as edible canvases, allowing you to customize colors to match school spirit, making every guest feel like they are part of a special, curated celebration.
Ingredients
- Standard sugar cookie dough
- Royal icing (stiff and flood consistency)
- Food coloring (school colors)
- Fine-tip piping bags
- Edible silver pearls
How to make it
- Roll out your chilled sugar cookie dough to a consistent 1/4-inch thickness on a floured surface to ensure even baking and a flat surface for decorating.
- Use cookie cutters in the shapes of diplomas, caps, or stars. Bake at 350°F (175°C) for 8-10 minutes, or just until the edges are a very pale golden brown. Let them cool entirely.
- Outline the edge of the cookie using the ‘stiff’ consistency royal icing. This creates a dam that will hold the thinner ‘flood’ icing in place.
- Fill the center with the ‘flood’ icing, using a toothpick to pop any tiny air bubbles and to push the icing into the corners for a seamless finish.
- While the icing is still wet, drop a few silver pearls onto the ‘diploma’ cookies to represent a seal, or wait for it to dry and pipe ‘Class of 2024’ with a contrasting color.
How to bake rhubarb pie?
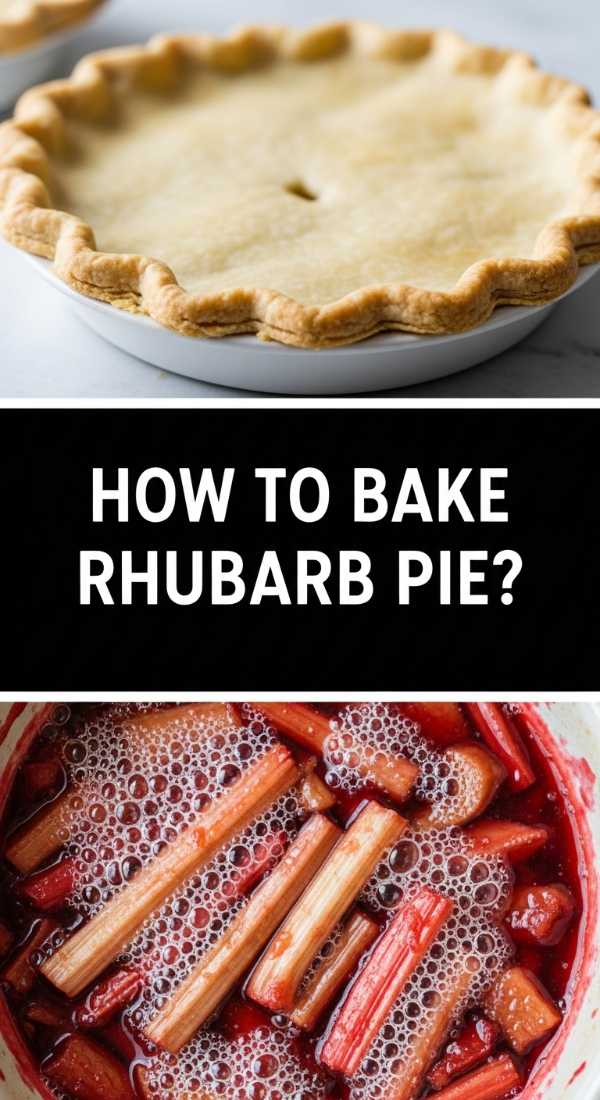
Why we love this
Nothing says home-cooked comfort quite like a rhubarb pie with its signature lattice crust. The aroma of buttery pastry mingling with the sharp, acidic scent of baking rhubarb is enough to draw anyone into the kitchen. We love the contrast between the flaky, golden-brown crust and the bubbling, ruby-red filling that is both sweet and sophisticated, making it a show-stopping addition to any rustic food board.
Ingredients
- Double pie crust (homemade or store-bought)
- 5 cups sliced rhubarb
- 1 1/4 cups sugar
- 1/4 cup cornstarch
- 1 tablespoon butter, cubed
- 1 egg (for egg wash)
How to make it
- Preheat your oven to 400°F (200°C). Roll out the bottom crust and fit it into a 9-inch pie plate, leaving an inch of overhang.
- In a large bowl, toss the rhubarb with sugar and cornstarch. The cornstarch is crucial as it thickens the juices that rhubarb releases, preventing a soggy bottom.
- Pour the filling into the crust and dot the top with small cubes of butter for extra richness.
- Roll out the second crust and cut into strips. Weave them over the filling in a lattice pattern, tucking the ends under the bottom crust and crimping the edges tightly.
- Brush the lattice with a beaten egg wash and sprinkle with a little extra sugar. Bake for 45-50 minutes until the crust is deep golden and the filling is bubbling through the gaps.
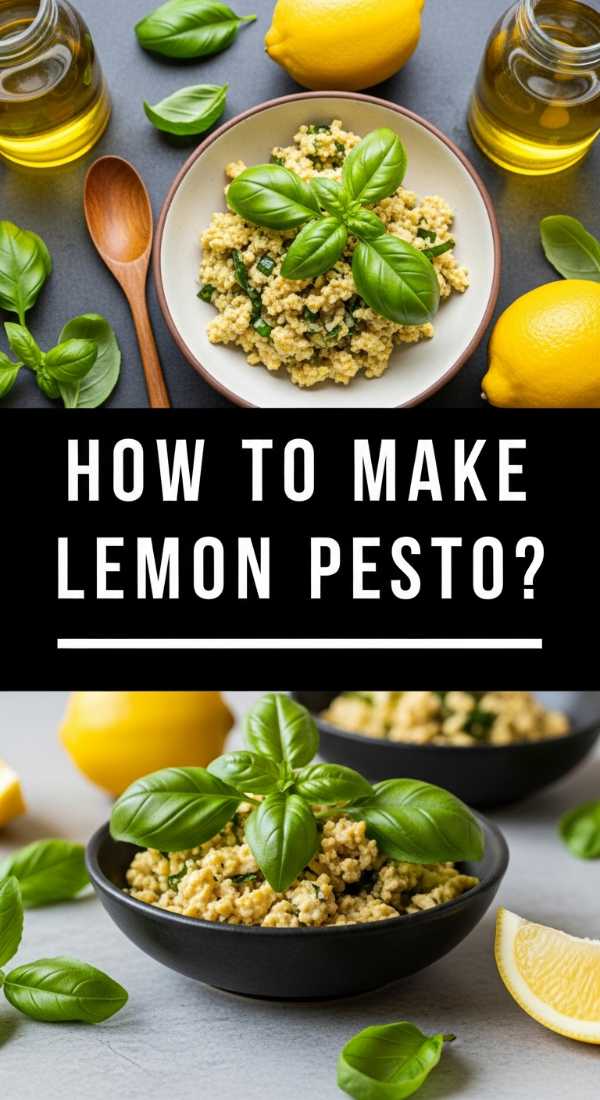
How to make lemon pesto?
Why we love this
Lemon pesto is a bright, sunshine-infused twist on the classic basil version that brings a zesty life to any savory board. The combination of toasted pine nuts, sharp parmesan, and the explosive citrus notes of fresh lemon zest creates a flavor profile that is both refreshing and deeply savory. We love how the vibrant green hue makes the other elements on the board—like crackers or mozzarella—really pop visually.
Ingredients
- 2 cups fresh basil leaves
- 1/2 cup grated Parmesan cheese
- 1/3 cup toasted pine nuts
- 2 cloves garlic
- 1/2 cup extra virgin olive oil
- Zest and juice of 1 large lemon
How to make it
- Start by toasting your pine nuts in a dry pan over medium heat for 2-3 minutes until they are fragrant and golden. This releases the oils and enhances the nutty flavor.
- In a food processor, pulse the basil, garlic, and toasted pine nuts until they are coarsely chopped. Do not over-process at this stage to maintain some texture.
- Add the Parmesan cheese and the lemon zest. With the motor running on low, slowly drizzle in the olive oil in a steady stream to create a perfect emulsion.
- Add the lemon juice at the very end and pulse once or twice. Adding the acid last helps preserve the bright green color of the basil.
- Taste and season with a pinch of sea salt. Serve in a small decorative bowl on your food board with sliced baguette or vegetable crudités.
How to frost graduation cupcakes?

Why we love this
Cupcakes are the perfect ‘grab-and-go’ addition to a food board, and frosting them specifically for a graduation adds such a thoughtful, personalized touch. We love the height that a tall swirl of frosting adds to the visual landscape of a board, and the way the creamy texture of the icing complements the fluffy cake underneath. It’s a small canvas that allows for immense creativity with colors and edible decorations.
Ingredients
- Baked cupcakes
- Large batch of Swiss meringue buttercream
- Gel food coloring
- Star piping tip (2D or 1M)
- Miniature chocolate squares and sour belts (for caps and tassels)
How to make it
- Fit a large piping bag with a star tip. Fill the bag with buttercream, ensuring there are no large air pockets by squeezing the frosting down toward the tip.
- Hold the cupcake in one hand and the piping bag vertically in the other. Starting at the outer edge, pipe a circle of frosting and move inward and upward in a spiral.
- Apply steady pressure as you spiral toward the center, then quickly release the pressure and pull up to create a clean ‘peak’ at the top.
- To make the ‘graduation cap’ decoration, place a small chocolate square on top of the frosting peak.
- Use a tiny dot of frosting to attach a thin strip of sour belt or a piece of string candy to the chocolate square to act as the tassel.
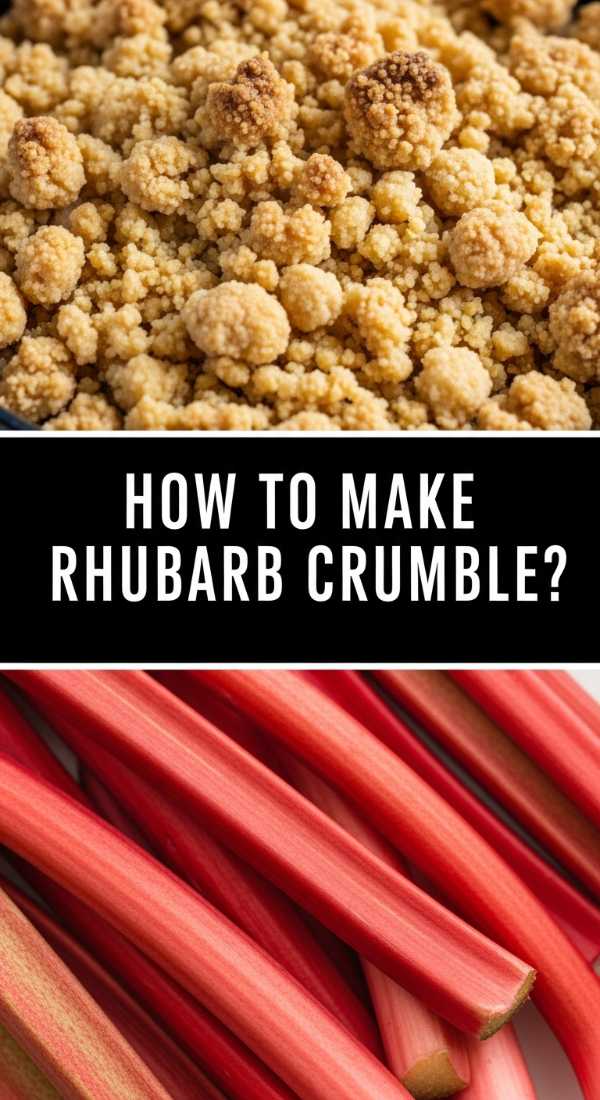
How to make rhubarb crumble?
Why we love this
A rhubarb crumble is the ultimate ‘messy-chic’ dessert that feels cozy and sophisticated all at once. We love the sound of the spoon breaking through the crunchy, buttery oat topping to reveal the soft, steaming pink fruit beneath. The smell of cinnamon and baked butter is intoxicating, making this a warm, inviting dish that guests will keep coming back to for ‘just one more bite’ directly from the board.
Ingredients
- 4 cups chopped rhubarb
- 1/2 cup sugar
- 1 cup rolled oats
- 1 cup flour
- 1/2 cup brown sugar
- 1/2 cup cold salted butter, cubed
How to make it
- Toss the chopped rhubarb with the white sugar and place it into a baking dish or individual mini ramekins for a board presentation.
- In a separate bowl, combine the oats, flour, and brown sugar. Add the cold, cubed butter to the dry ingredients.
- Using your fingertips or a pastry cutter, work the butter into the flour mixture until it looks like coarse breadcrumbs with some pea-sized chunks remaining for crunch.
- Sprinkle the crumble mixture generously over the rhubarb. Do not pack it down; keep it loose so the air can circulate and make it extra crispy.
- Bake at 375°F (190°C) for about 30-35 minutes. The topping should be a deep golden brown and the rhubarb juices should be bubbling up around the edges.
How to make fancy coffee?

Why we love this
Serving ‘fancy’ coffee on a brunch-themed food board elevates the entire experience from a simple meal to a luxury event. We love the visual of a perfectly layered latte or the delicate patterns of foam art that make a guest feel truly cared for. The rich, roasted aroma of high-quality beans paired with the velvety texture of micro-foam creates a comforting, caffeinated hug that is the perfect start to any celebration.
Ingredients
- Freshly ground espresso beans
- Whole milk or oat milk
- Syrups (lavender or vanilla)
- Cocoa powder or cinnamon for dusting
How to make it
- Pull a double shot of espresso into a clear glass to showcase the beautiful layers of ‘crema’ and coffee.
- Steam your milk using a steam wand. The goal is ‘micro-foam’—bubbles so small they look like wet paint. Keep the wand just below the surface to create that silky texture.
- If you want a flavored latte, stir your syrup into the hot espresso before adding the milk.
- Pour the milk slowly into the center of the espresso. As the cup fills, bring the pitcher closer to the surface and shake your wrist slightly to create a heart or rosette pattern.
- Finish by using a stencil and a dusting of cocoa powder or cinnamon to add a professional, decorative touch to the top of the foam.
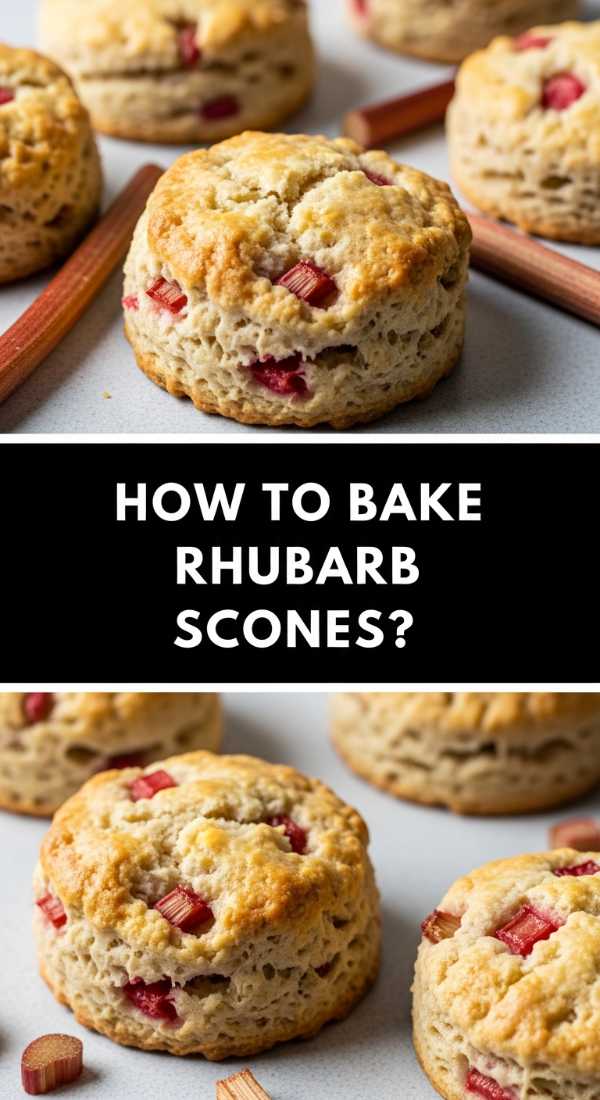
How to bake rhubarb scones?
Why we love this
Rhubarb scones are the perfect structural element for a food board—sturdy enough to be stacked but tender enough to melt in your mouth. We love the pockets of tart, softened rhubarb that burst against the sweet, crumbly dough, and the coarse sugar topping that provides a delightful crunch. They are the ideal vessel for that rhubarb jam we made earlier, creating a beautiful thematic loop on your spread.
Ingredients
- 2 cups all-purpose flour
- 1/3 cup sugar
- 1 tablespoon baking powder
- 1/2 cup cold butter, grated
- 1/2 cup heavy cream
- 1 cup finely diced rhubarb
How to make it
- Whisk the flour, sugar, and baking powder together. Grating the cold butter into the flour is a pro tip—it ensures even distribution without overworking the dough.
- Gently fold the finely diced rhubarb into the dry ingredients so they are coated in flour; this prevents them from sinking or bleeding too much.
- Pour in the heavy cream and mix with a fork just until a shaggy dough forms. Do not over-knead, or the scones will be tough rather than flaky.
- Turn the dough onto a floured surface, pat into a circle about 1-inch thick, and cut into 8 wedges.
- Brush the tops with a little extra cream, sprinkle with coarse sparkling sugar, and bake at 400°F (200°C) for 15-18 minutes until lifted and golden.
How to style chocolate art?

Why we love this
Chocolate art is the finishing touch that turns a food board into a masterpiece. We love the sleek, glossy finish of tempered chocolate and the way it can be drizzled, snapped, or molded into intricate shapes. It adds a layer of sophisticated indulgence and a dark, rich contrast to the lighter fruits and cakes on the board, making the whole display look like it was catered by a professional chocolatier.
Ingredients
- High-quality dark chocolate bars (at least 70% cocoa)
- White chocolate for contrast
- Gold leaf or dried flower petals
- Parchment paper
How to make it
- Melt two-thirds of your dark chocolate in a double boiler until it reaches 115°F. Remove from heat and stir in the remaining third (the ‘seed’ chocolate) to temper it. This ensures a glossy finish and a ‘snap’.
- Lay out a sheet of parchment paper. Use a spoon to create large ‘swipes’ of chocolate, or pour it into a piping bag with a tiny hole to create delicate lace patterns.
- While the chocolate is still tacky, sprinkle on edible gold leaf or dried rose petals for a high-end, artistic aesthetic.
- To make ‘shards’, spread the chocolate thin, let it set in the fridge for 10 minutes, and then break it into irregular, geometric pieces.
- Incorporate these pieces into your food board by tucking them into piles of fruit or propping them up against cakes for added height and drama.
Conclusion
Creating a stunning, viral-worthy food board doesn’t require a culinary degree or hours of stressful preparation. By focusing on a few high-impact, simple elements like these—ranging from the tart brightness of rhubarb to the celebratory flair of graduation-themed treats—you can build a spread that is as much a feast for the eyes as it is for the soul. Remember, the best host is a relaxed host, so take these 10-minute tips and enjoy the party!