

Why This Viral Simple Food Board Is the Secret to Your Next Party
There is a specific kind of magic that happens when friends gather around a table, the air thick with laughter and the clinking of glasses. For years, I struggled with the pressure of hosting—the elaborate multi-course meals that left me sweating in the kitchen while my guests enjoyed themselves in the living room. Then, I discovered the secret to the perfect, viral food board: it isn’t just about the cheese or the crackers; it’s about the soul of the ingredients, specifically the vibrant, living herbs that turn a simple platter into a culinary masterpiece.
We have all seen those stunning photos on social media—the ones where the colors pop and the food looks almost too beautiful to eat. The secret isn’t a professional chef; it’s the freshness of home-grown greenery. By integrating a lifestyle of herb gardening into your home, you ensure that every board you serve is bursting with aromatic oils and visual texture that store-bought sprigs simply can’t match. It’s about creating an experience that engages all the senses, starting with the very soil in your own home.
How to Create a Lush Herb Garden for Fresh Flavor Every Meal
Why we love this
There is nothing quite like the sensory explosion of walking into a kitchen and being greeted by the peppery scent of fresh basil mixed with the earthy undertones of rosemary. When you grow your own lush herb garden, you aren’t just gardening; you are cultivating a palette of flavors that are ready to be harvested at their absolute peak of potency. The texture of a leaf picked seconds before it hits your food board is velvety and resilient, releasing essential oils that transform a basic goat cheese into a gourmet experience. It brings a sense of intentionality and peace to your daily cooking routine that is truly life-changing.
Essential Elements:
- High-quality organic potting soil
- Selection of starter plants (Basil, Mint, Cilantro, Parsley)
- Drainage-heavy ceramic pots
- A sunny south-facing window or grow light
- Organic liquid seaweed fertilizer
How to make it
- Begin by selecting your containers, ensuring each has at least one significant drainage hole at the bottom to prevent root rot.
- Fill each container two-thirds full with organic potting soil, lightly tapping the sides to remove air pockets without compacting the dirt too tightly.
- Gently remove your herb starts from their nursery plastic, teasing the roots slightly if they are root-bound to encourage outward growth.
- Place the plant in the center of the pot and fill the remaining space with soil until the base of the stem is level with the soil surface.
- Water thoroughly until water drains from the bottom, then place in a spot that receives at least 6 to 8 hours of consistent sunlight daily.
- Monitor soil moisture daily; herbs like basil prefer consistently moist soil, while rosemary prefers to dry out slightly between waterings.
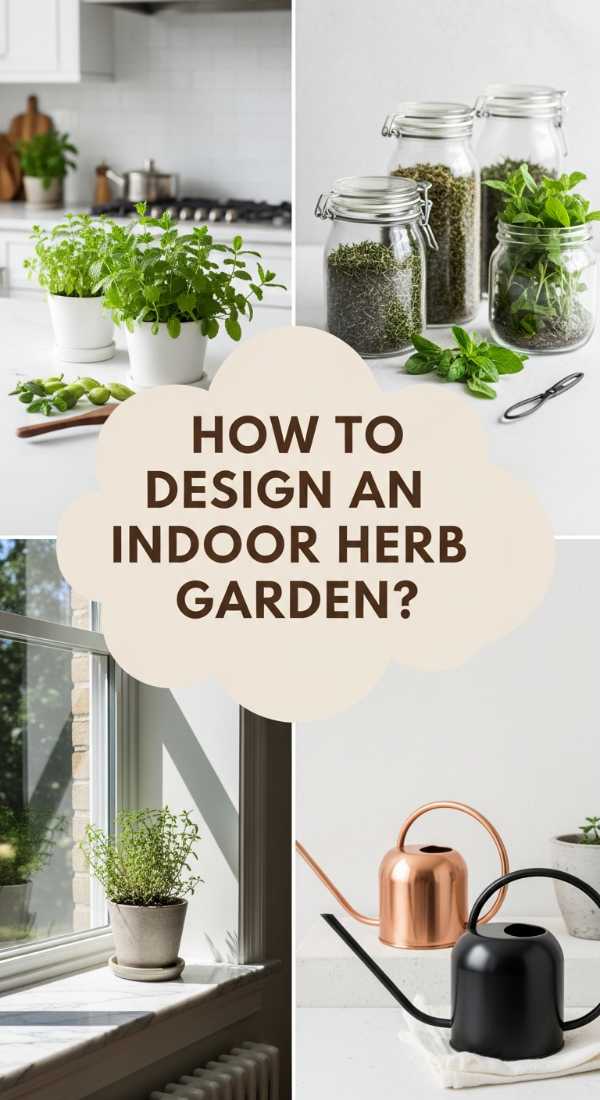
How to Design an Indoor Herb Garden for a Beautiful Green Kitchen
Why we love this
Integrating greenery into your kitchen design does more than just provide flavor—it softens the hard lines of cabinets and countertops with organic shapes and vibrant shades of emerald and lime. A well-designed indoor herb garden serves as a living piece of art that breathes life into the heart of the home, making the space feel curated and lived-in. Imagine the soft rustle of mint leaves as you brush past them to make your morning tea, or the visual delight of seeing delicate dill fronds silhouetted against a sun-drenched window. It creates an atmosphere of abundance and freshness that guests will notice the moment they walk in.
Essential Elements:
- Uniform aesthetic planters (terracotta, stone, or minimalist glass)
- Matching drip trays to protect your surfaces
- Label markers (brass or chalkboard style)
- Pruning shears for regular shaping
- Consistent light source
How to make it
- Evaluate your kitchen’s natural light levels; map out which areas receive direct sun versus indirect light to place your herbs strategically.
- Select planters that complement your kitchen’s hardware; for a modern look, go with matte black or white, while terracotta offers a warm, rustic feel.
- Arrange the tallest herbs like rosemary or lemongrass in the back of your display and trailing herbs like creeping thyme in the front for a layered look.
- Apply labels to each pot using a consistent font or style to enhance the organized, designer feel of the herb station.
- Install a dedicated grow light if your kitchen lacks natural light, setting it on a timer for 12 hours a day to simulate a natural sun cycle.
- Prune your herbs regularly from the top down to encourage bushy growth rather than leggy stems, keeping the aesthetic full and lush.
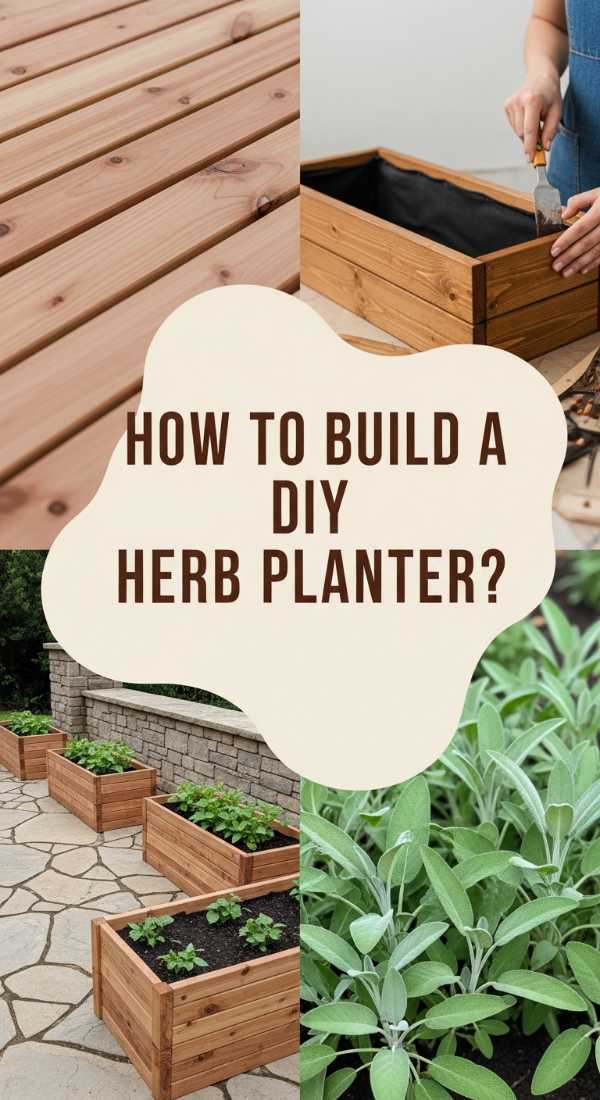
How to Build a DIY Herb Planter for Your Dream Patio Space
Why we love this
There is a profound sense of satisfaction in building something with your own two hands that eventually feeds your family. A DIY patio herb planter allows you to customize your gardening space to perfectly fit the dimensions of your outdoor oasis, creating a seamless transition between your home and nature. The aroma of sun-warmed cedar combined with the spicy scent of oregano creates a relaxing sanctuary right outside your door. It’s the perfect backdrop for summer hosting, where you can literally reach over and pluck a few leaves of mint for a guest’s cocktail right before their eyes.
Essential Elements:
- Untreated cedar or redwood boards (naturally rot-resistant)
- Galvanized wood screws
- Landscape fabric for lining
- Electric drill and miter saw
- Potting mix specifically formulated for outdoor containers
How to make it
- Measure and cut your cedar boards to create a rectangular box; four sides and a sturdy bottom plate are essential for a basic raised design.
- Drill pilot holes before driving screws to prevent the wood from splitting, especially near the edges of the boards.
- Assemble the frame and secure the bottom, ensuring you drill several half-inch drainage holes through the base of the planter.
- Staple landscape fabric to the interior walls; this keeps the soil inside while allowing excess water to seep out through the drainage holes.
- Fill the planter with a high-quality outdoor potting mix that includes perlite or vermiculite for aeration.
- Plant a variety of sun-loving herbs like sage, thyme, and rosemary, spacing them about 6 inches apart to allow for mature growth spread.
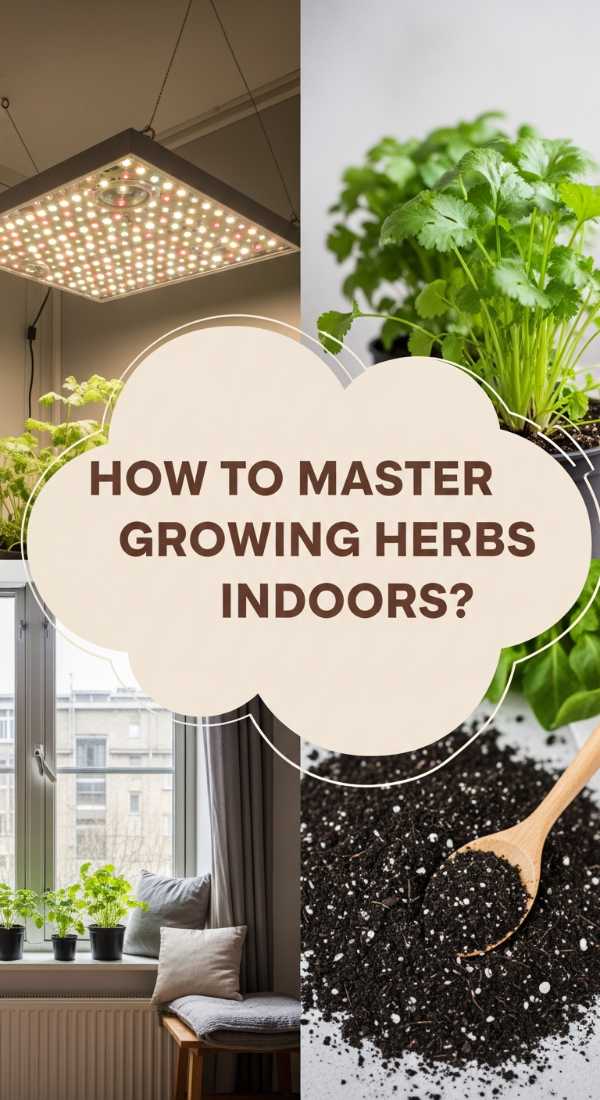
How to Master Growing Herbs Indoors for Year Round Organic Harvests

Why we love this
Mastering the art of indoor herb gardening is like having a direct line to a fresh market regardless of the season outside. Even in the dead of winter, when the world is gray and cold, your kitchen can be a sanctuary of bright green growth and intense, summer-like fragrances. This year-round access to organic herbs means your food boards will always have that signature “viral” look, decorated with edible flowers and vibrant leaves that look as if they were just kissed by the sun. It’s a rewarding hobby that provides a constant connection to the cycles of growth and nourishment.
Essential Elements:
- Full-spectrum LED grow lights
- Small oscillating fan for air circulation
- Water-soluble organic fertilizer (high in nitrogen)
- pH testing kit for soil
- Hygrometer to monitor indoor humidity
How to make it
- Set up your grow lights approximately 6 to 10 inches above the tops of your herbs, adjusting the height as the plants grow taller to avoid leaf burn.
- Run a small fan on a low setting for a few hours a day; this strengthens the stems of the herbs and prevents fungal issues like powdery mildew.
- Test your soil pH monthly; most herbs thrive in a slightly acidic to neutral range (6.0 to 7.0) to maximize nutrient uptake.
- Fertilize every two weeks during the growing phase with a half-strength organic solution to provide the necessary nutrients for leaf production.
- Monitor the humidity; if your home is dry during winter, place a pebble tray with water beneath your pots to increase local moisture levels.
- Harvest frequently but never take more than one-third of the plant at a time, ensuring the herb has enough foliage to continue photosynthesizing.
How to Plan an Elegant Herb Garden Design for a Stunning Backyard Oasis
Why we love this
An elegant herb garden is the crown jewel of a sophisticated backyard, blending utility with high-end landscape design. Walking through a path lined with fragrant lavender and structured boxwood creates a multi-sensory journey that calms the mind and delights the eyes. The visual contrast between the silvery leaves of sage and the deep, glossy green of bay laurel adds a level of texture that makes any outdoor space feel like a Mediterranean retreat. It’s the ultimate flex for a home cook—inviting guests into the garden to see where the secret ingredients for the evening’s meal are sourced.
Essential Elements:
- Flagstone or pea gravel for pathways
- Decorative stone edging
- Perennial herbs (Lavender, Rosemary, Thyme)
- Structural elements like a sundial or birdbath
- Low-voltage landscape lighting
How to make it
- Sketch a formal layout, such as a parterre or a circular design, using a central focal point like a large rosemary bush or a decorative urn.
- Excavate the area for pathways, laying down landscape fabric and covering it with pea gravel for a clean, professional look.
- Install stone edging to define the herb beds, ensuring they are raised slightly above the path level for better drainage and visual impact.
- Plant your perennial herbs in groups of three or five to create a sense of rhythm and abundance rather than a cluttered appearance.
- Incorporate height by using trellises for climbing herbs or placing certain pots on decorative plinths.
- Add soft LED lighting along the paths to highlight the textures of the herbs at night, making the garden accessible for late-night harvests.
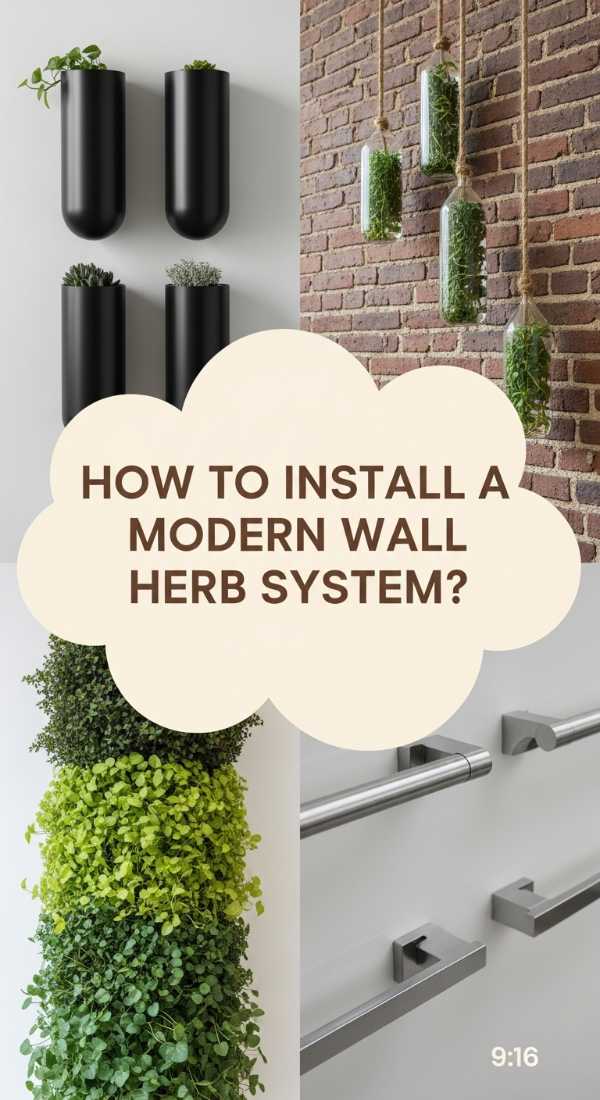
How to Install a Modern Wall Herb System for Fresh Greens in Small Spaces

Why we love this
For those living in urban environments where floor space is a luxury, a modern wall herb system is a revolutionary way to bring nature indoors. It turns a blank, utilitarian wall into a vertical tapestry of edible greens that feels incredibly chic and forward-thinking. There is something deeply satisfying about the architectural look of rows of herbs suspended in mid-air, their leaves catching the light and creating a living wallpaper. It’s a conversation starter that proves you don’t need a sprawling backyard to live a sustainable, flavorful lifestyle.
Essential Elements:
- Vertical planter rail or grid system
- Self-watering pots or moisture-wicking liners
- Wall anchors and a heavy-duty drill
- Lightweight potting mix (to reduce wall strain)
- Trailing herb varieties (Mint, Thyme, Oregano)
How to make it
- Identify a wall that can support the weight of wet soil and pots, preferably near a light source or where you can install overhead lights.
- Measure and mark the mounting points for your rail or grid system, using a level to ensure everything is perfectly horizontal.
- Drill holes and insert heavy-duty wall anchors before screwing the mounting hardware into place to ensure the system is secure.
- Prepare your pots by using a lightweight mix containing coco coir or peat moss to keep the overall weight of the vertical garden manageable.
- Hook or bolt the pots onto the system, arranging them so that trailing plants are on the bottom rows where they have space to cascade.
- Implement a consistent watering schedule; vertical systems often dry out faster, so self-watering reservoirs are highly recommended for success.
How to Use Creative Herb Garden Ideas for a Magical Outdoor Sanctuary

Why we love this
A magical outdoor sanctuary is all about whimsy, hidden corners, and the surprising delights of nature. By using creative herb garden ideas—like planting herbs in vintage tea tins or tucking them into the crevices of a stone wall—you create a space that feels enchanted and personal. The smell of lemon balm and chocolate mint swirling in the breeze creates an olfactory wonderland that transports you away from the stresses of daily life. This type of garden isn’t about perfection; it’s about the joy of discovery and the wild, untamed beauty of herbs allowed to spill over their containers.
Essential Elements:
- Repurposed containers (vintage crates, old buckets, tins)
- String lights or fairy lights
- Whimsical garden stakes
- A comfortable seating nook (wicker chair or bench)
- A mix of annual and perennial herbs
How to make it
- Scour flea markets for unique vessels, ensuring you can drill or punch drainage holes into anything you plan to use as a planter.
- Group containers of varying heights and materials in a corner of your patio to create a “secret garden” vignette.
- Weave string lights through the foliage or drape them above the herb area to create a warm, inviting glow for evening relaxation.
- Incorporate “surprise” herbs, like Stevia (the sugar herb) or Pineapple Sage, to add interesting scents and tastes for guests to experience.
- Place a small bench or bistro set right in the middle of your herb collection so you can sit and be surrounded by the aromas.
- Mulch with decorative elements like sea glass or polished river stones to add a touch of sparkle and magic to the soil surface.
How to Start an Indoor Herb Garden DIY for Sustainable Home Cooking
Why we love this
Starting an indoor herb garden is one of the most accessible steps toward a more sustainable and intentional lifestyle. It drastically reduces your plastic waste from store-bought herb packages and ensures that your kitchen is always stocked with organic, pesticide-free greens. The connection you build with your food—from seed to harvest—changes the way you appreciate every bite on your food board. The vibrant green of a fresh parsley leaf or the sharp, clean scent of chives becomes a source of pride, knowing you grew it yourself with nothing but water, light, and care.
Essential Elements:
- Herb seeds (organic and non-GMO)
- Seed starting trays or egg cartons
- Seed starting soil mix (fine-textured)
- Mister bottle for gentle watering
- Heat mat (optional, for faster germination)
- Transparent humidity domes
How to make it
- Fill your seed trays with pre-moistened seed starting mix, pressing it down lightly to ensure there are no large gaps.
- Sow 2-3 seeds per cell according to the depth listed on the packet; generally, small seeds like thyme just need a light dusting of soil.
- Cover the trays with a humidity dome or plastic wrap to trap moisture and warmth, placing them in a warm spot or on a heat mat.
- Mist the soil daily with a spray bottle; do not pour water, as it can dislodge the tiny seeds or cause them to drown.
- Once sprouts appear (usually in 7-14 days), remove the cover and move the tray to a bright window or under grow lights immediately.
- Thin the seedlings by snipping the weakest ones with scissors, leaving only the strongest plant in each cell to grow and thrive.
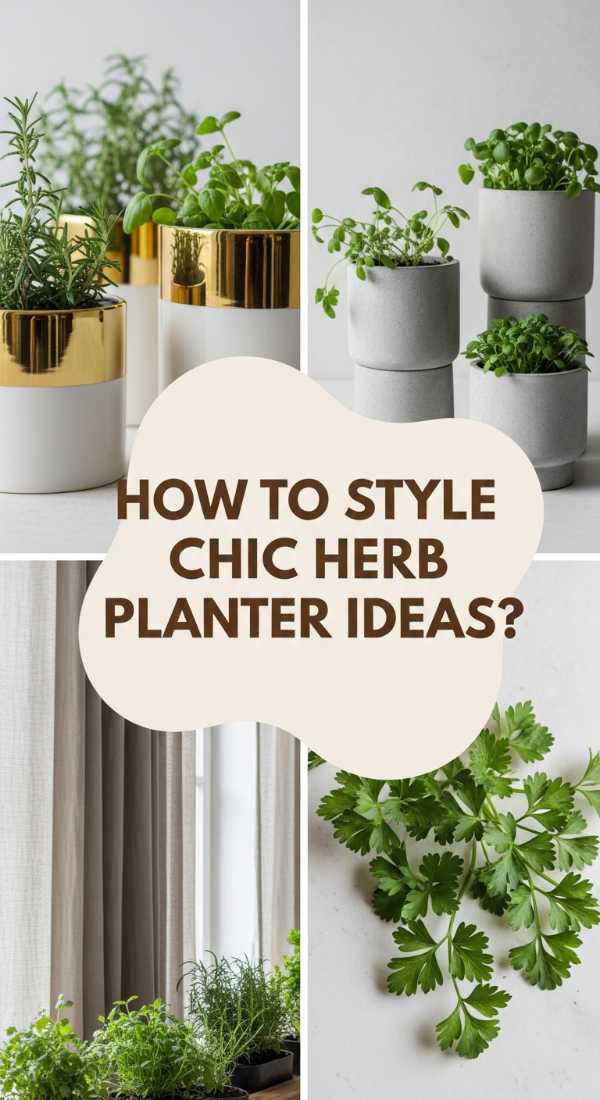
How to Style Chic Herb Planter Ideas for an Aesthetic Window Sill Display
Why we love this
A window sill herb garden is the ultimate blend of function and fashion, turning a simple ledge into a high-style focal point. When you style your herbs in chic, coordinated planters, you create a look that is worthy of a home decor magazine. The way the afternoon sun hits the translucent leaves of cilantro, highlighting the intricate vein patterns, is pure visual poetry. It’s a clean, organized way to keep your most-used ingredients within arm’s reach while enhancing the overall aesthetic of your kitchen with a touch of “living decor.”
Essential Elements:
- Matching ceramic or marble planters
- A long, narrow tray to catch overflow
- Uniform gravel or moss for top-dressing
- Minimalist labels
- Compact herb varieties (Greek Basil, Chives)
How to make it
- Select a series of identical pots that fit the depth of your window sill; odd numbers like three or five usually look most balanced.
- Ensure each pot has a drainage hole, but use a single long decorative tray underneath all of them to maintain a streamlined look.
- Plant herbs that stay relatively compact so they don’t overgrow the space or block too much of your view.
- Add a thin layer of white decorative gravel or preserved green moss to the top of the soil to hide the dirt and provide a polished finish.
- Rotate the pots 180 degrees every few days to ensure the plants grow straight and don’t lean too heavily toward the glass.
- Keep the glass of the window crystal clear; the extra light reflection will help the herbs thrive and make the display look more expensive.
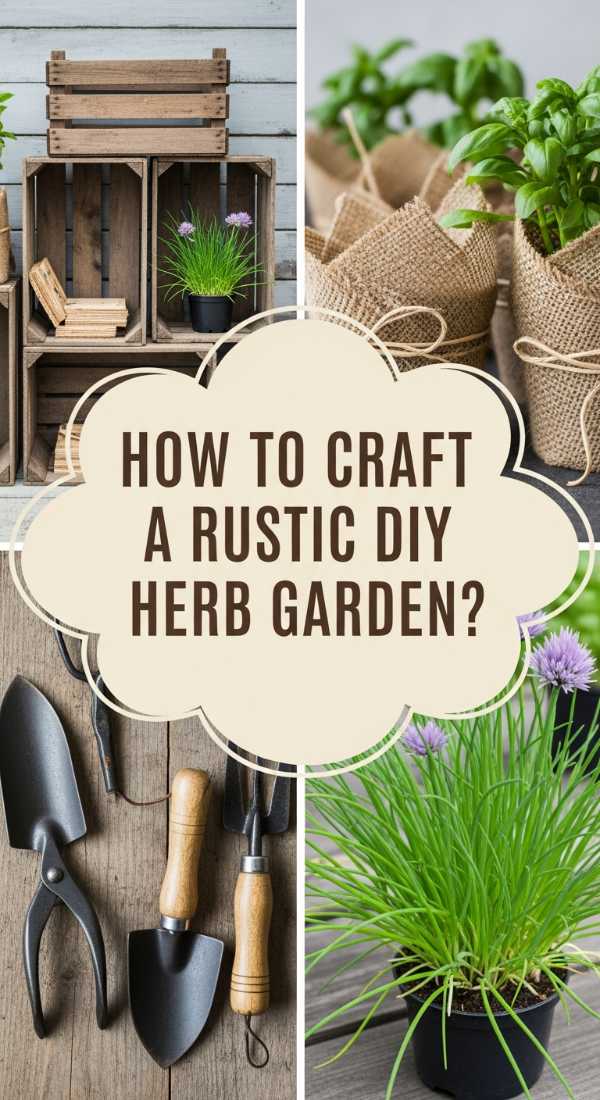
How to Craft a Rustic DIY Herb Garden for a Charming Farmhouse Vibe
[IMAGE_10]
Why we love this
The farmhouse aesthetic is all about warmth, history, and a connection to the land, and nothing encapsulates this better than a rustic herb garden. Using weathered wood, galvanized metal, and heirloom herb varieties creates a sense of timelessness and comfort in your home. The sight of a wooden crate overflowing with aromatic rosemary and sage evokes memories of simpler times and home-cooked Sunday dinners. It adds a layer of cozy, rustic charm to your kitchen or patio that makes everyone feel immediately welcome and at ease.
Essential Elements:
- Reclaimed wood or distressed crates
- Galvanized metal buckets or pails
- Burlap liners
- Antique-style garden markers
- Thick twine or jute for accents
How to make it
- If using galvanized buckets, use a hammer and a large nail to punch 5-6 drainage holes in the bottom of each one.
- Line reclaimed wooden crates with burlap or heavy plastic (with holes) to protect the wood from direct contact with wet soil.
- Fill the containers with a rich compost-based potting soil to give your herbs that “farm-grown” boost of nutrients.
- Mix and match different textures, such as the soft, silvery leaves of Lamb’s Ear (as a decorative herb) with the sharp needles of rosemary.
- Tie a bow of thick jute twine around the rim of each bucket for an extra touch of handmade, rustic detail.
- Place the garden in a spot where it can weather naturally; a little bit of patina on the metal or silvering on the wood only adds to the charm.
The Final Touch for Your Viral Board
Building a viral-worthy food board isn’t about expensive imported cheeses; it’s about the love and freshness you bring to the table. By cultivating your own herb garden—whether it’s a sleek indoor wall or a rustic backyard oasis—you are investing in the flavor and beauty of every meal you host. These herbs are the “secret sauce” that will have your guests asking for your tips and tricks long after the last cracker has been eaten. Start small, grow with passion, and watch your hosting game transform into something truly legendary.
Frequently Asked Questions
Everything you need to know about keeping your herbs alive and your boards beautiful.