
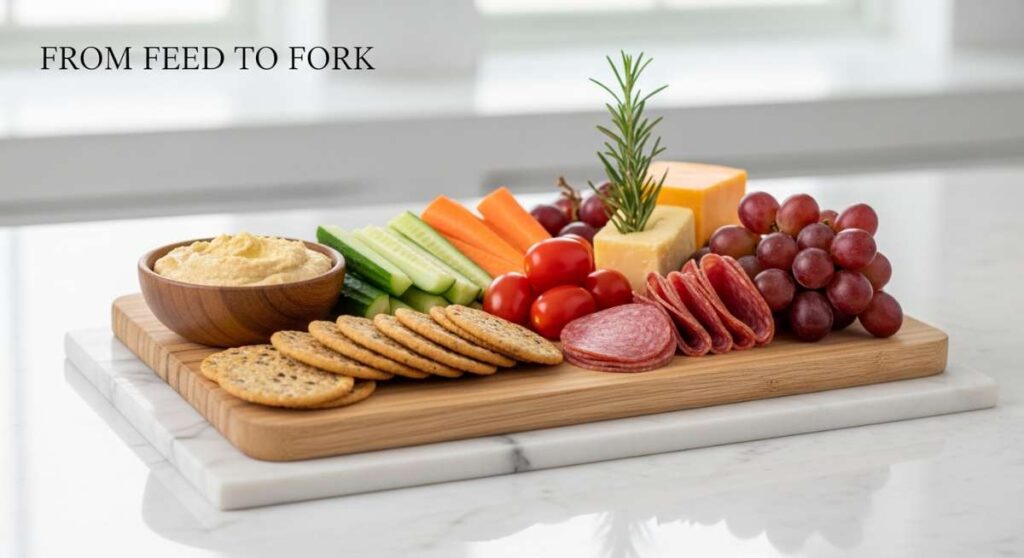
There is something undeniably magical about that moment when you scroll past a perfectly curated food board on your feed—the vibrant colors, the rustic textures, and that unmistakable sense of effortless elegance. For a long time, I was just a lurker, double-tapping those beautiful herb-dusted platters and wondering how anyone actually finds the time to make life look so delicious. I realized the secret wasn’t in a fancy grocery store trip; it was rooted right in the window box of my own kitchen. The transition from ‘feed to fork’ isn’t just a catchy phrase; it’s a lifestyle shift that brings a burst of living energy into your home.
Bringing these viral food boards to life starts long before you pull out the wooden platter. It begins with the soil, the sun, and the satisfaction of snipping your own garnishes. When you grow your own ingredients, the ‘simple’ food board becomes a masterpiece of sustainability and flavor. The woody scent of rosemary and the peppery bite of fresh basil don’t just garnish your food—they tell a story of care and patience that guests can taste in every bite. It’s about creating a sanctuary that feeds both your soul and your social feed.
How to Design a Lush Herb Garden for Sustainable Living

Why we love this
Integrating a lush herb garden into your sustainable lifestyle feels like a warm hug for the planet and your palate. There is a specific, grounding joy in seeing a tapestry of green textures—from the delicate, lacy fronds of dill to the sturdy, silver-green leaves of sage—thriving in your own space. The aroma is intoxicating, a blend of earthy soil and sharp citrus notes that wafts through the air whenever a breeze catches the leaves. It creates a living pantry that reduces waste and provides a constant source of vibrant, chemical-free flavor that makes your food board truly shine with authenticity.
Essential Elements:
- Organic potting soil enriched with compost
- Assorted perennial herbs (Rosemary, Thyme, Sage)
- Annual herbs (Basil, Cilantro, Dill)
- Drainage-focused containers or a designated garden bed
- Natural mulch like cedar chips or straw
How to make it
- Assess your space for sunlight exposure; most herbs require at least 6 to 8 hours of direct light. Use a compass app to identify south-facing areas for maximum intensity.
- Select a high-quality organic soil mix that features perlite or vermiculite for aeration. Sustainable gardening relies on soil health, so avoid synthetic fertilizers and opt for worm castings or compost tea.
- Group your herbs by water needs. Place ‘mediterranean’ herbs like rosemary and lavender together as they prefer drier soil, while keeping ‘lush’ herbs like mint and parsley in a separate, more frequently watered zone.
- Plant your seedlings at the same depth they were in their nursery pots, gently teasing the roots to encourage outward growth into the new soil.
- Apply a thin layer of natural mulch around the base of the plants to retain moisture and suppress weeds, ensuring the mulch doesn’t touch the actual stems to prevent rot.
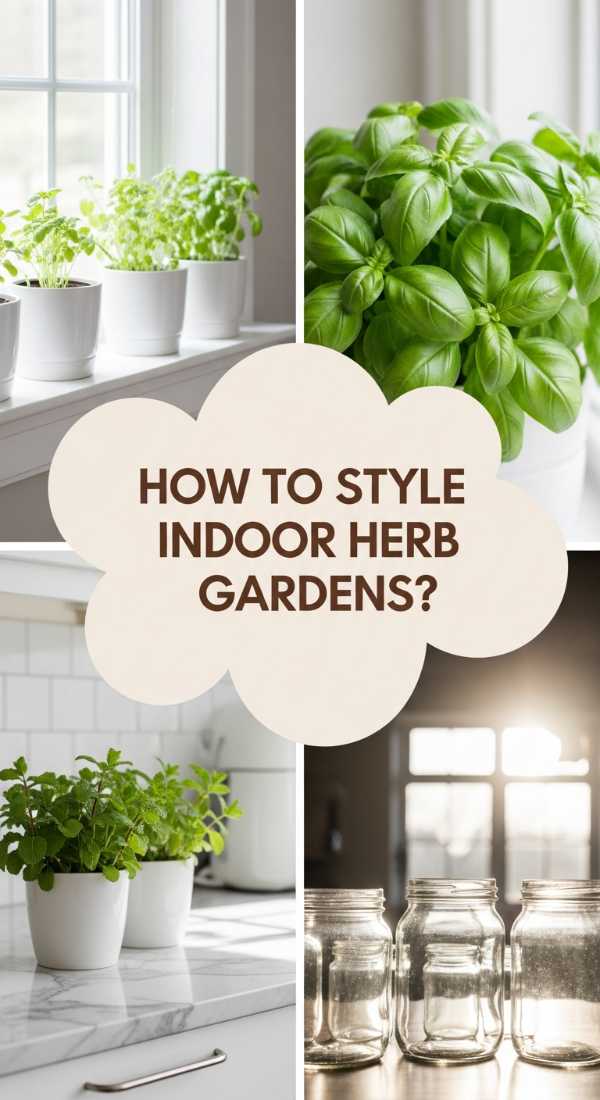
How to Style an Indoor Herb Garden for a Fresher Kitchen
Why we love this
Styling an indoor herb garden transforms a functional kitchen into a curated botanical sanctuary. The visual impact of seeing vibrant, living greens against the clean lines of a countertop or a sunny windowsill brings an immediate sense of freshness and vitality to the heart of the home. The scent is equally transformative; a gentle brush against a basil plant releases a sweet, peppery perfume that masks cooking odors and invigorates the senses. It turns the act of meal prep into a sensory ritual, where you can literally reach out and pluck the finishing touch for your food board while basking in the glow of your indoor greenery.
Essential Elements:
- Uniform ceramic or terracotta pots
- Decorative trays or saucers to catch water
- Miniature pruning shears for aesthetics and utility
- Plant labels (slate, wood, or brass)
- A sunny windowsill or LED grow lights
How to make it
- Choose a color palette for your containers that complements your kitchen decor. Neutral tones like matte black, terracotta, or creamy white create a cohesive, ‘viral-ready’ look.
- Arrange your pots in odd numbers—groups of three or five are visually more appealing. Vary the heights of the plants by placing some on small wooden blocks or decorative books to create a dynamic ‘staircase’ effect.
- Ensure each pot has a drainage hole to prevent root rot. Place the pots on a decorative tray filled with a layer of river stones; this catches excess water while adding a sophisticated, natural texture to the display.
- Label each herb with high-quality markers. Handwritten slate tags or stamped copper labels add a professional, boutique feel to the garden.
- Rotate your pots every few days. Plants naturally lean toward the light, so a quarter-turn ensures even growth and prevents your kitchen garden from looking lopsided and sparse.
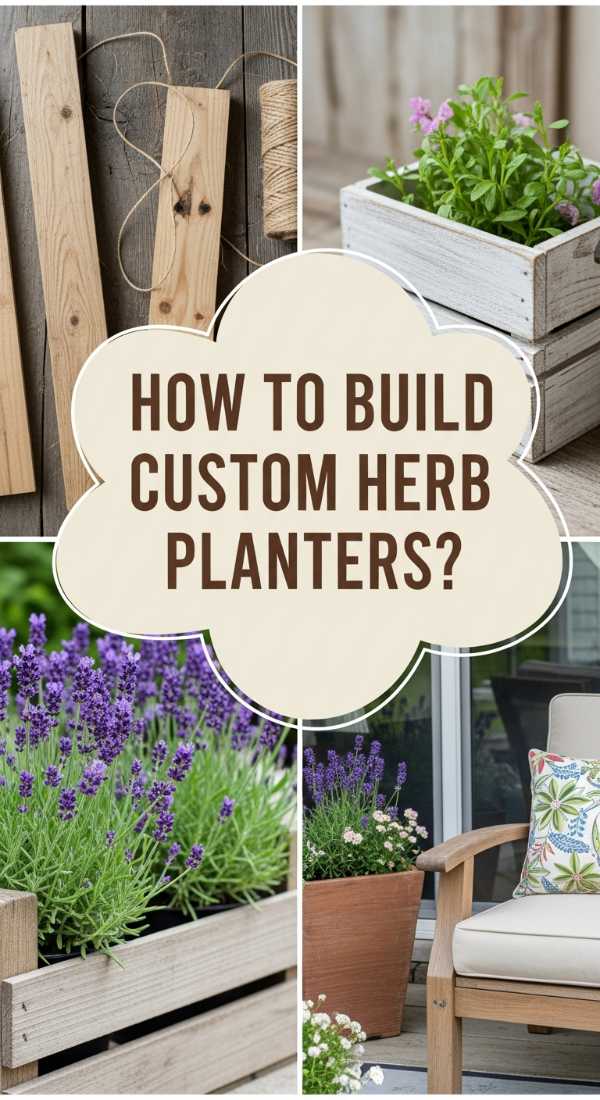
How to Build a Custom Herb Planter for Your Patio Sanctuary
Why we love this
A custom-built planter is the ultimate statement piece for a patio sanctuary, bridging the gap between architecture and nature. There is something incredibly satisfying about the tactile nature of raw wood paired with the soft, overflowing vines of creeping thyme or cascading rosemary. On a warm evening, the patio becomes an extension of the kitchen, where the woody aromas of the herbs mingle with the cool evening air. The height of a custom planter makes harvesting a breeze, allowing you to snip fresh sprigs for your food board without ever having to bend down, making the experience feel luxurious and intentional.
Essential Elements:
- Untreated cedar or redwood planks (rot-resistant)
- Galvanized screws and a power drill
- Landscape fabric for lining
- Electric sander and wood stain (optional)
- Caster wheels for mobility
How to make it
- Measure your patio space and cut your cedar planks to size. A standard waist-high planter (about 30 inches) is ideal for ergonomic harvesting and creates a beautiful visual barrier.
- Assemble the frame using galvanized screws to prevent rusting over time. Pre-drill your holes to ensure the wood doesn’t split, which is crucial for maintaining a polished, high-end look.
- Attach a sturdy bottom board with several 1/2-inch drainage holes drilled throughout. If you want mobility, bolt heavy-duty caster wheels to the corners at this stage.
- Line the interior with professional-grade landscape fabric. This allows water to escape through the drainage holes while keeping the soil from washing out and staining your patio.
- Sand the exterior of the wood until smooth. If desired, apply a food-safe wood sealer to protect the cedar from graying, ensuring your planter looks as fresh as the herbs inside for years to come.
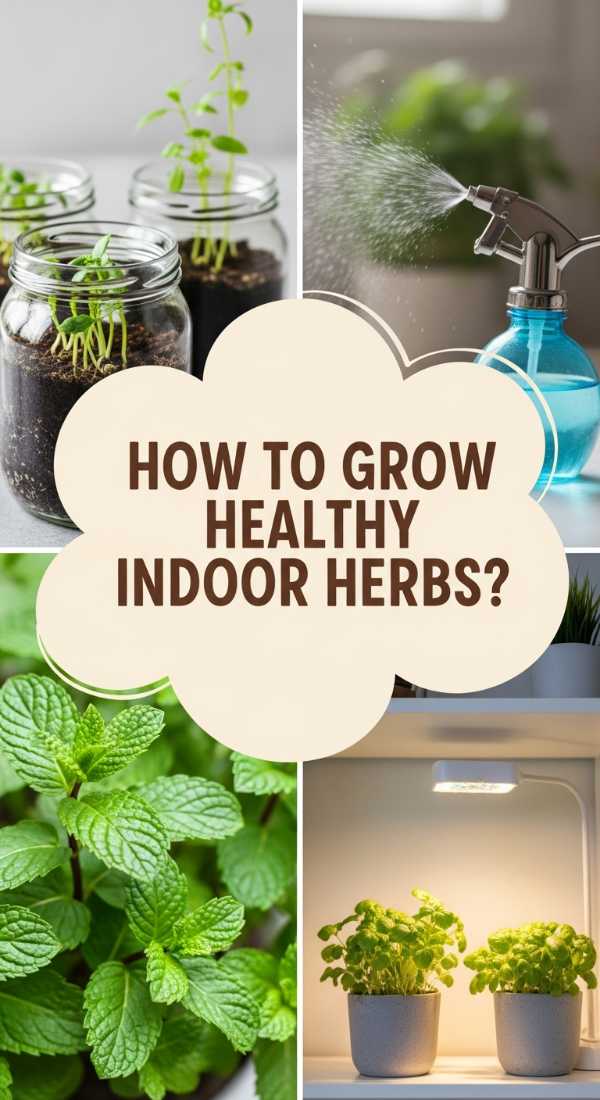
How to Grow Healthy Herbs Indoors for Organic Cooking
Why we love this
Growing herbs specifically for organic cooking is like having a gourmet spice rack that never runs out. We love the crisp, clean flavor profile of home-grown organic herbs—they possess a depth of taste that store-bought, plastic-packaged versions simply cannot match. The leaves are sturdier, the oils are more concentrated, and the colors are a deep, healthy emerald. Touching the leaves feels like connecting with the source of your food; the velvet texture of sage or the cooling smoothness of mint leaves makes the preparation of a food board feel like an act of wellness and self-care.
Essential Elements:
- Organic seed starting mix
- High-quality organic herb seeds
- Full-spectrum LED grow lights (if natural light is low)
- Liquid organic seaweed fertilizer
- Small oscillating fan for air circulation
How to make it
- Start with organic, non-GMO seeds for the purest flavor. Sow them in a sterile seed-starting mix, which is lighter than potting soil and allows delicate herb roots to expand without resistance.
- Position your grow lights 2 to 4 inches above the seedlings. As the plants grow, adjust the height of the lights to maintain this distance, preventing the herbs from becoming ‘leggy’ or weak as they reach for the light.
- Water using a spray bottle initially to avoid washing away tiny seeds. Once established, water from the bottom by placing pots in a tray of water for 15 minutes, which encourages deep root growth.
- Set up a small fan on a low setting nearby. This mimics a natural breeze, strengthening the stems and preventing the buildup of mold or fungus in the humid indoor environment.
- Feed your herbs every two weeks with a diluted organic liquid fertilizer. Look for cues: if leaves turn yellow, they likely need more nitrogen; if they are dark green but stunted, they may need a larger pot.
How to Install a Living Wall Herb Garden for Small Spaces
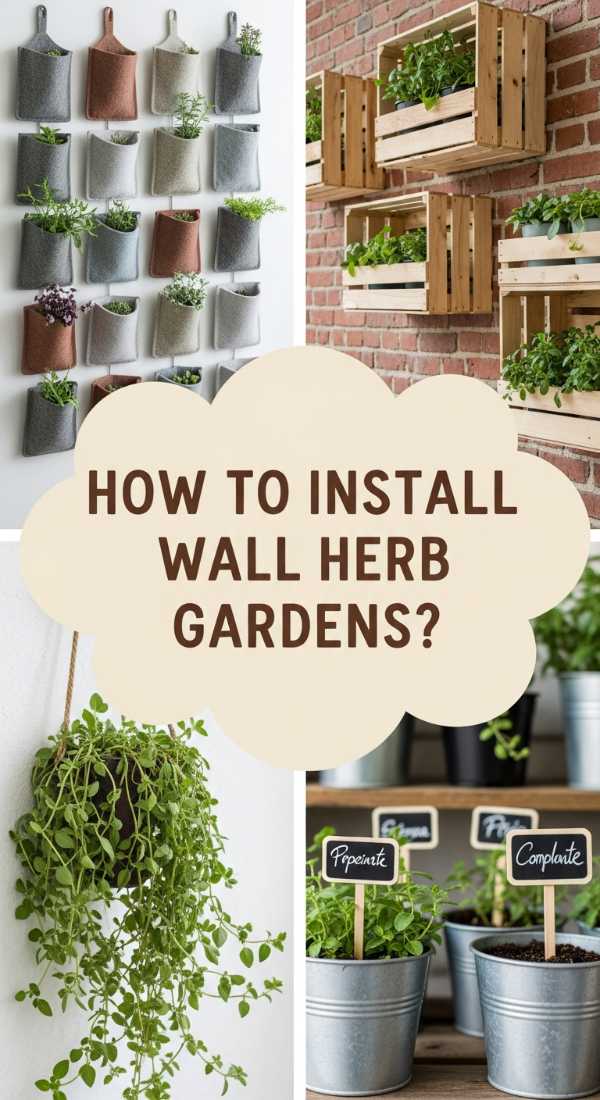
Why we love this
A living wall is the ultimate ‘wow’ factor for small-space living, turning a blank vertical surface into a breathing, edible art piece. It is the perfect solution for urban dwellers who want the ‘feed to fork’ experience without the luxury of a backyard. We love the way a vertical herb garden draws the eye upward, making a small balcony or kitchen feel expansive and lush. The sound of water trickling through a vertical system is incredibly soothing, and the visual of a wall draped in oregano and chives is nothing short of breathtaking. It’s a functional focal point that provides a bounty of herbs for every board you create.
Essential Elements:
- Vertical wall planter kit or felt pockets
- Moisture-wicking potting medium
- Wall anchors and a heavy-duty mounting bracket
- Self-watering irrigation system (optional but recommended)
- Trailing herb varieties (Creeping Thyme, Oregano, Nasturtiums)
How to make it
- Select a wall that can support the weight of wet soil and plants. Use a stud finder to locate support beams and install a heavy-duty mounting bracket or cleat system to ensure the wall doesn’t sag.
- Install a waterproof barrier (like a sheet of plastic or a specialized garden backing) between the wall and the planters to prevent moisture damage to your home’s structure.
- Fill the pockets or containers with a lightweight, high-drainage potting mix. Standard soil is often too heavy for vertical systems; look for mixes containing coconut coir or perlite.
- Plant trailing herbs in the top rows so they can drape down elegantly. Place more upright, sun-loving herbs like chives in the areas that receive the most light exposure.
- Monitor the moisture levels daily. Vertical gardens dry out faster than traditional pots. If you aren’t using an automatic system, use a long-necked watering can to reach the top rows, allowing the water to filter down to the bottom.
How to Plan an Herb Garden Outdoor for Fragrant Summer Evenings
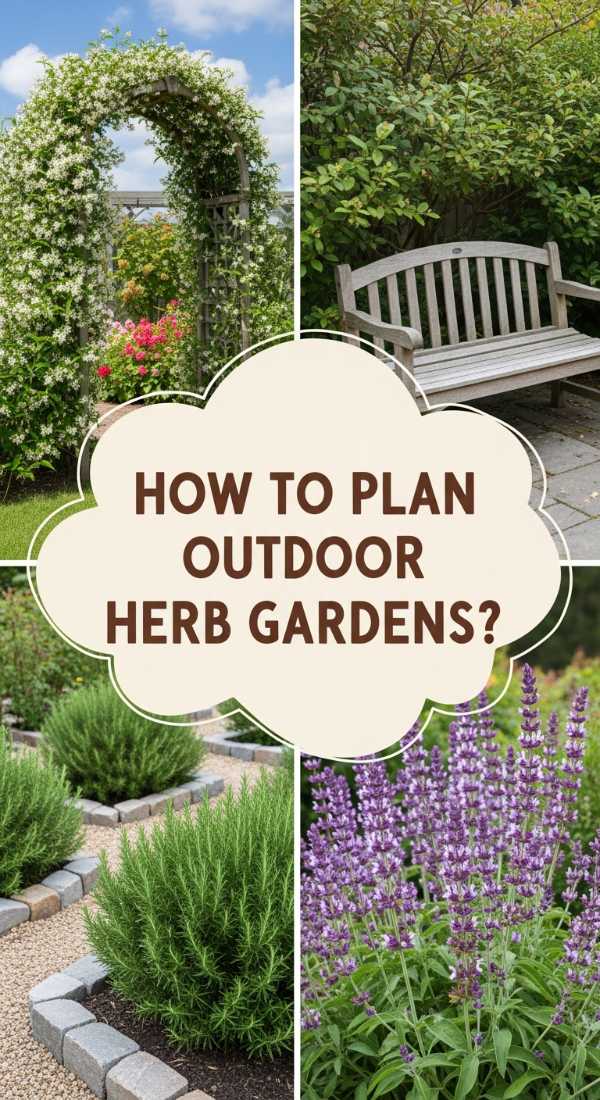
Why we love this
There is nothing quite like the atmosphere of a fragrant herb garden on a warm summer evening. As the sun sets, the heat of the day releases the essential oils of lavender, lemon balm, and chamomile, creating a natural aromatherapy session in your own backyard. We love the way an outdoor herb garden becomes a destination—a place to wander with a glass of wine, snipping a bit of mint for a cocktail or some thyme for a late-night snack board. The texture of the cooling earth and the rustle of leaves in the twilight air make gardening feel like a poetic, mindful escape from the digital world.
Essential Elements:
- Selection of aromatic herbs (Lavender, Lemon Verbena, Mint)
- Stone or gravel pathways
- Outdoor seating (a bistro set or garden bench)
- Solar-powered fairy lights
- Mulch to retain evening moisture
How to make it
- Design your garden in a ‘u-shape’ or circular pattern to create an immersive experience. Place the most fragrant herbs along the edges of paths so their scent is released as you brush past them.
- Prepare the soil by tilling in aged manure or compost to a depth of 12 inches. Herbs grown outdoors need space for deep roots to survive the summer heat.
- Integrate hardscaping like stepping stones or pea gravel. This not only looks aesthetic for photos but also radiates heat back to the plants during the night, which many herbs love.
- Plant mint in submerged pots or contained areas; it is notorious for taking over the entire garden if left to roam free.
- Install soft, warm-toned solar lighting among the plants. This allows you to harvest herbs for your evening food boards safely while creating a magical, ‘viral’ garden aesthetic.
How to Start a DIY Herb Garden for Culinary Joy
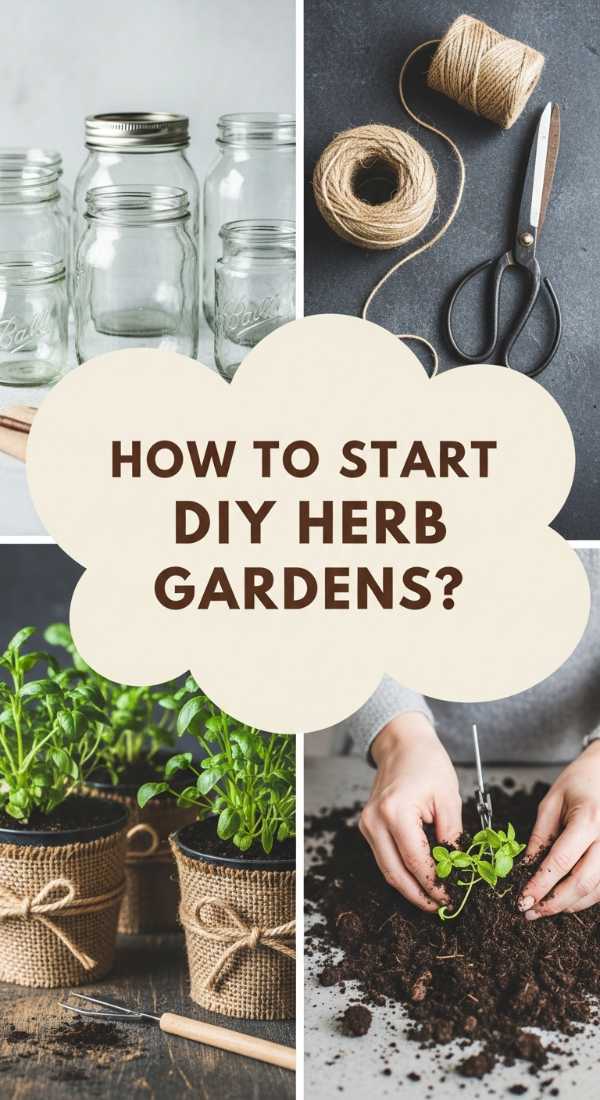
Why we love this
Starting a DIY herb garden is the first step on a journey toward culinary independence and pure, unadulterated joy. There is a specific thrill in the first sprout breaking through the soil—a tiny, hopeful speck of green that promises future feasts. We love the tactile experience of getting our hands dirty, feeling the grit of the soil and the coolness of the water. As the herbs grow, your kitchen becomes a playground of flavor experimentation. The zing of fresh ginger-mint or the savory depth of roasted rosemary sprigs turns a simple food board into a culinary event that delights the senses and warms the heart.
Essential Elements:
- Biodegradable starter pots
- Hand trowel and garden gloves
- A variety of culinary herb seeds (Cilantro, Basil, Parsley)
- Notebook for a garden journal
- Watering can with a fine rose attachment
How to make it
- Choose five ‘staple’ herbs that you use most frequently in your cooking. This prevents overwhelm and ensures you will actually use what you grow for your food boards.
- Fill biodegradable pots with a damp seed-starting mix. Press the seeds into the surface according to the packet depth—usually, the smaller the seed, the shallower it needs to be.
- Place your pots in a warm spot (like the top of the refrigerator) to encourage germination. Once you see green, move them immediately to a bright window.
- Keep a garden journal. Record the date of planting, the date of the first sprout, and how the plants respond to different amounts of water. This helps you learn the ‘language’ of your plants.
- Once the seedlings have two sets of ‘true leaves’ (the leaves that look like the herb, not the initial rounded ones), transplant them into their permanent, larger homes.
How to Choose Aesthetic Herb Planter Ideas for Modern Homes

Why we love this
Choosing the right aesthetic for your planters is what elevates an herb garden from a hobby to a high-end design feature. In a modern home, the clean lines of marble, concrete, or brushed metal planters create a stunning contrast with the wild, organic shapes of the herbs themselves. We love the way a sleek, minimalist pot can make a humble parsley plant look like a piece of living sculpture. The visual harmony between your decor and your garden makes your ‘feed to fork’ lifestyle feel integrated and intentional, providing a sophisticated backdrop for every food board photo you share.
Essential Elements:
- Modern materials (Concrete, Terrazzo, Matte Metal)
- Consistent color palette
- Geometric shapes
- Subsurface drainage systems
- Minimalist plant markers
How to make it
- Select planters that echo the materials already present in your home. If you have marble countertops, choose white marble or high-quality faux-stone pots to create a seamless visual flow.
- Look for ‘cachepots’—decorative outer pots that don’t have holes, which you can place a standard plastic nursery pot inside. This allows for drainage while keeping your modern surfaces dry and clean.
- Experiment with scale. Use one large, statement concrete trough for a variety of herbs rather than many small pots to create a cleaner, more modern look.
- Use hidden drainage. Some modern pots have a ‘false bottom’ that holds excess water away from the roots, which is perfect for maintaining the health of the plant without the need for a messy saucer.
- Keep the plant styling simple. Don’t overcrowd the pots; giving each herb its own ‘breathing room’ emphasizes the architectural beauty of the plant and the container.
How to Create an Indoor Herb Garden DIY for Year Round Greenery
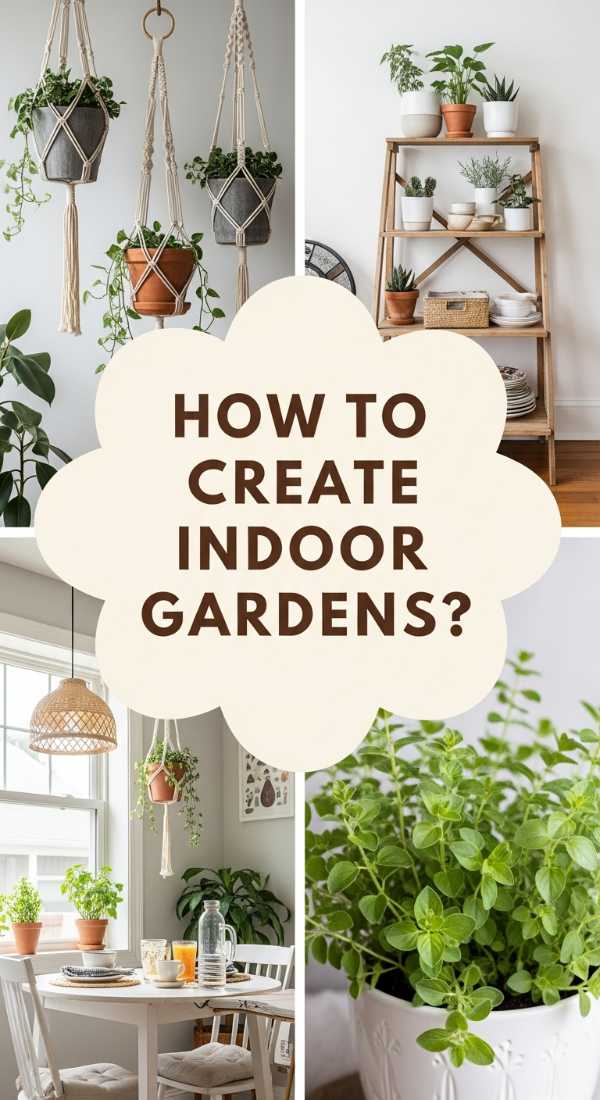
Why we love this
The beauty of a year-round indoor herb garden is the defiance of the seasons; while it may be snowing outside, your kitchen remains a tropical oasis of emerald leaves and summer scents. We love the resilience of indoor herbs—the way they provide a constant, reliable source of freshness even in the darkest months of winter. The soft glow of grow lights creates a cozy, bioluminescent vibe in the evenings, making your kitchen the most inviting room in the house. It ensures that your viral food boards are never lacking that essential, vibrant pop of green, no matter what the calendar says.
Essential Elements:
- A dedicated shelving unit or tiered stand
- Full-spectrum grow light strips with timers
- Humidifier or misting bottle
- High-quality indoor potting mix (peat-free)
- Self-watering spikes or globes
How to make it
- Select a tiered shelving unit to maximize vertical space. This allows you to house a dozen different herbs in a very small footprint, creating a dense ‘jungle’ effect.
- Mount full-spectrum LED strips to the underside of each shelf. Set these on a timer for 12 to 14 hours a day to mimic the long days of summer, which is essential for herb production.
- Monitor the indoor humidity. Heaters in the winter can dry out herb leaves quickly; use a small humidifier nearby or mist the plants every morning to keep the air moist.
- Use a high-quality, peat-free indoor potting mix that is specifically formulated to prevent fungus gnats, a common issue with indoor gardening.
- Incorporate self-watering spikes. These glass or terracotta globes slowly release water into the soil, providing a consistent moisture level that prevents the ‘stress’ that can make herbs turn bitter.
How to Curate Unique Herb Garden Ideas for Mindful Gardening
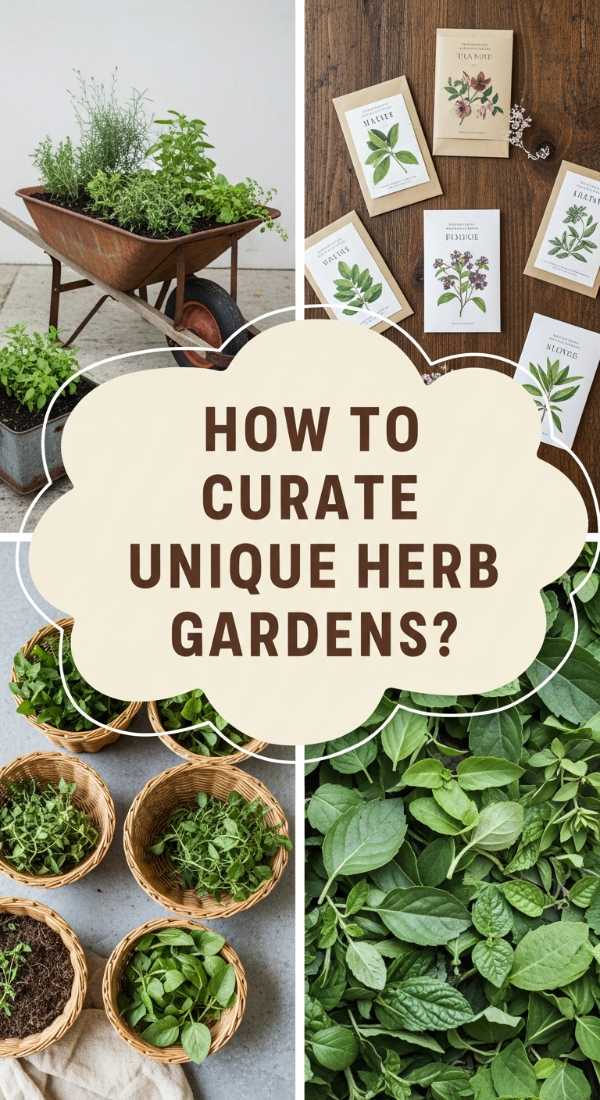
Why we love this
Curating a unique, mindful herb garden is about more than just food; it’s about creating a ritual of presence and peace. We love the idea of ‘themed’ gardens—a ‘pizza garden’ with oregano and basil, or a ‘tea garden’ with chocolate mint and lemon balm. This intentionality forces you to slow down, to notice the subtle differences in leaf shape and the varying intensities of scent. The tactile process of pruning becomes a meditative practice, a moment in your day to disconnect from screens and reconnect with the earth. It makes the eventual creation of your food board feel like the culmination of a soulful, creative journey.
Essential Elements:
- Themed herb selections (Cocktail, Italian, Medicinal)
- Found objects for containers (vintage tins, wooden crates)
- A comfortable kneeling pad or stool
- Natural string for drying bundles of herbs
- A spirit of experimentation
How to make it
- Pick a theme that resonates with your culinary passions. If you love entertaining, focus on ‘cocktail herbs’ like borage, mint, and Thai basil to garnish your drinks and boards.
- Source unique containers from thrift stores or flea markets. Old wooden crates or galvanized buckets add a ‘cottagecore’ charm that makes your garden feel personal and storied.
- Practice ‘mindful pruning.’ Instead of rushing, take the time to smell each leaf you clip. Always cut just above a leaf node (the spot where new leaves emerge) to encourage the plant to bush out.
- Create a dedicated space for drying. Hang bundles of extra herbs with twine in a cool, dry place; these dried bundles add a beautiful, rustic aesthetic to your kitchen and your boards.
- Share the bounty. A mindful garden often produces more than one person can use. Potting up small divisions of your herbs to give to friends is a beautiful way to spread the joy of the ‘feed to fork’ lifestyle.
Conclusion
Recreating the internet’s favorite food board is about so much more than just the arrangement of cheese and crackers—it is about the life and soul you bring to the table. By cultivating your own herb garden, you transform a simple snack into a sensory experience that celebrates growth, sustainability, and the beauty of the natural world. Whether you have a sprawling patio or a tiny windowsill, there is room for a little bit of green. So, grab some soil, pick your favorite seeds, and start your journey from feed to fork today. Your kitchen—and your followers—will thank you.