

Why This Viral Simple Food Board is the Only Hosting Hack You Need
We’ve all been there—the frantic rush before guests arrive, the mountain of dishes piling up in the sink, and that nagging feeling that you’re spending more time in the kitchen than actually enjoying your own party. Hosting should be about the laughter shared over a glass of wine and the slow, meaningful conversations that happen when everyone is relaxed. That is exactly why I fell head over heels for the viral ‘Simple Food Board’ concept. It is less about being a gourmet chef and more about creating a beautiful, accessible landscape of flavors that invites people to dig in and stay a while.
The magic of this hack is its versatility. Whether you’re throwing a backyard bash or a cozy indoor gathering, the food board transforms ordinary ingredients into a visual masterpiece. It’s a tactile, communal way of eating that feels both effortless and incredibly special. Today, I’m breaking down the ten essential components that make my ultimate summer hosting board go viral every single time I post it. From the sweet crunch of a strawberry pie to the savory dip that disappears in seconds, these recipes are designed to keep you out of the kitchen and in the moment.
Get ready to elevate your hosting game with these tried-and-true favorites. We’re talking about textures that pop, colors that sing, and flavors that remind you why summer is the absolute best season for foodies. Let’s dive into the ultimate guide for creating a board that will have your friends asking for your secrets before the night is even over!
HOW TO BAKE STRAWBERRY PIE?

Why we love this
There is nothing quite like the aroma of a freshly baked strawberry pie wafting through the house on a warm afternoon. The crust is golden and flaky, shattering delicately with every forkful to reveal a ruby-red center that is bursting with the concentrated sweetness of sun-ripened berries. It’s a nostalgic experience that evokes memories of garden parties and golden-hour desserts. The contrast between the buttery, slightly salty pastry and the bright, jammy fruit filling creates a sensory balance that is pure summer bliss, especially when served with a cold dollop of whipped cream.
Ingredients
- 2 1/2 cups all-purpose flour
- 1 cup cold unsalted butter, cubed
- 1 teaspoon salt
- 1 tablespoon granulated sugar
- 6-8 tablespoons ice water
- 6 cups fresh strawberries, hulled and sliced
- 3/4 cup granulated sugar (for filling)
- 1/4 cup cornstarch
- 1 tablespoon lemon juice
- 1 teaspoon vanilla extract
- 1 egg (for egg wash)
How to make it
- Begin by preparing your pastry dough. In a large bowl, whisk together the flour, salt, and one tablespoon of sugar. Add the cold, cubed butter and use a pastry cutter or your fingers to work the butter into the flour until it resembles coarse crumbs with some pea-sized bits remaining.
- Gradually drizzle in the ice water, one tablespoon at a time, stirring with a fork until the dough just begins to come together. Divide the dough into two discs, wrap them tightly in plastic wrap, and refrigerate for at least one hour to allow the gluten to relax and the butter to firm up.
- While the dough chills, prepare the strawberry filling. In a large mixing bowl, toss the sliced strawberries with 3/4 cup sugar, cornstarch, lemon juice, and vanilla extract. Let this mixture sit for about 15-20 minutes so the berries can release their natural juices and the cornstarch can begin to thicken the liquid.
- Preheat your oven to 400°F (200°C). On a lightly floured surface, roll out one disc of dough to a 12-inch circle and fit it into a 9-inch pie plate. Trim the edges, leaving a slight overhang.
- Pour the strawberry mixture into the bottom crust. Roll out the second disc of dough and either place it over the top as a solid crust (with steam vents cut in) or cut it into strips to create a beautiful lattice pattern. Crimp the edges of the top and bottom crusts together to seal.
- Brush the top of the pie with a beaten egg wash and sprinkle with a little extra sugar for crunch. Bake for 45-50 minutes, or until the crust is a deep golden brown and the filling is bubbling through the vents. Allow the pie to cool completely for at least 4 hours before slicing to ensure the filling sets properly.
HOW TO MAKE ROTEL DIP?
Why we love this
Rotel dip is the undisputed king of party appetizers, a molten pool of cheesy goodness that brings an instant sense of comfort to any gathering. The texture is incredibly silky, coating every chip in a thick, velvety layer of spice and creaminess. As you dip in, you get the savory richness of browned meat combined with the bright, acidic pop of canned tomatoes and green chilies. It’s the kind of dish that draws a crowd, with people hovering around the bowl for ‘just one more bite’ because the flavor profile is so perfectly addictive and warming.
Ingredients
- 1 lb ground beef or sausage
- 1 block (16 oz) Velveeta cheese, cubed
- 1 can (10 oz) RoTel Original Diced Tomatoes and Green Chilies
- 1/2 cup whole milk (optional, for thinning)
- 1/2 teaspoon garlic powder
- 1/4 teaspoon cumin
- Fresh cilantro for garnish
- Tortilla chips for serving
How to make it
- Place a large skillet or Dutch oven over medium-high heat. Add the ground beef or sausage and cook, breaking it up with a wooden spoon, until it is fully browned and no pink remains. This usually takes about 7-10 minutes.
- Carefully drain the excess fat from the skillet to ensure your dip isn’t greasy. If you want extra flavor, you can leave about a tablespoon of the drippings in the pan.
- Lower the heat to medium-low. Add the cubed Velveeta cheese to the pan along with the entire can of RoTel (do not drain the liquid from the can, as it provides essential flavor and moisture).
- Stir the mixture constantly as the cheese begins to melt. If the dip feels too thick, splash in a little milk until you reach your desired consistency. Add the garlic powder and cumin, stirring well to incorporate.
- Continue to cook over low heat until the mixture is completely smooth and bubbling gently. This slow melting process prevents the cheese from scorching or becoming grainy.
- Transfer the dip to a warm serving bowl or a small slow cooker set to ‘warm’ to keep it dippable throughout the party. Garnish with fresh cilantro and serve immediately with a big pile of salty tortilla chips.
HOW TO PACK BEACH SNACKS?
Why we love this
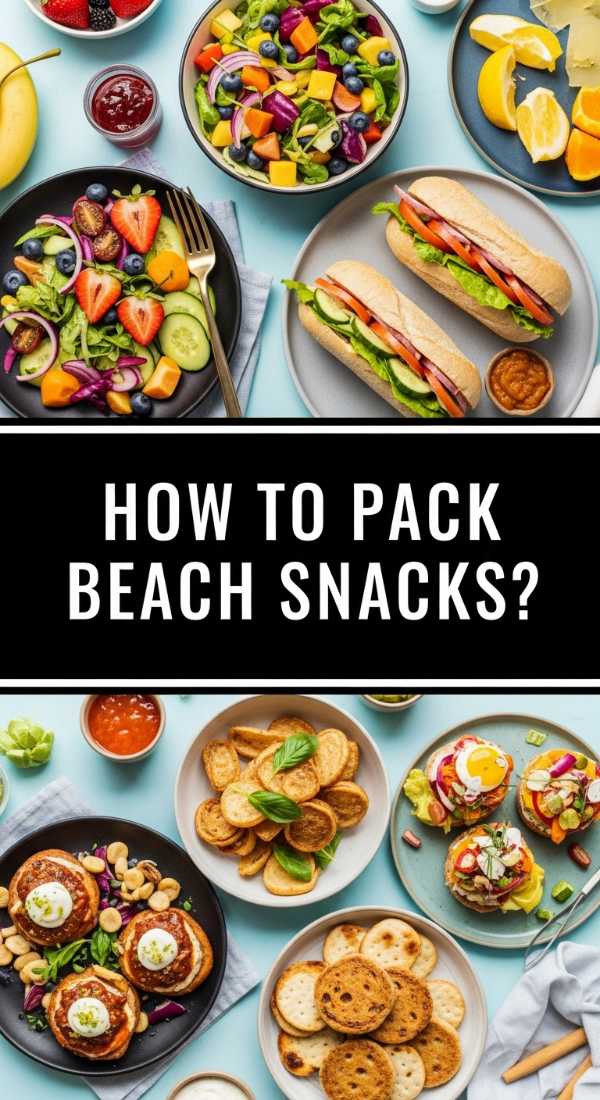
Packing the perfect beach snack box is an art form that transforms a simple day in the sun into a luxury picnic experience. There is something so satisfying about opening a chilled container to find neatly organized compartments filled with vibrant, hydrating fruits and salty, crunchy treats. The feeling of cool, crisp grapes or a perfectly chilled slice of cheese after a swim in the salt water is pure refreshment. It’s about the convenience of grab-and-go eating that doesn’t get sandy, keeping your energy high while you soak up the coastal breeze and the sound of the waves.
Ingredients
- Hard cheeses (cheddar, gouda)
- Pre-washed grapes and berries
- Carrot sticks and cucumber slices
- Dry crackers or pretzels
- Salted nuts or trail mix
- Individual hummus or dip cups
- Frozen water bottles (to act as ice packs)
How to make it
- The key to successful beach snacking is moisture control. Start by selecting a sturdy, insulated cooler or a bento-style box with airtight compartments. This prevents sand from infiltrating your food and keeps different textures from mixing.
- Prep all your produce the night before. Wash and thoroughly dry your fruits and vegetables. Excess water will make your crackers soggy, so use paper towels to ensure everything is bone-dry before packing.
- Place heavier, denser items like cheese blocks and whole fruits at the bottom of the container. Layer more delicate items like crackers or soft berries on top to prevent them from being crushed during transport.
- Use small, individual-sized containers for dips like hummus or ranch. This prevents double-dipping and ensures that the dip stays contained in one spot.
- Position frozen water bottles at the bottom and sides of your cooler. They will keep your snacks chilled for hours, and as they melt, you’ll have ice-cold water to drink—a double win for space-saving.
- Always pack a small bag for trash and plenty of wet wipes. Sticky fruit fingers and sandy hands are a reality of the beach, so having a quick way to clean up before and after eating is essential for a stress-free day.
HOW TO WHIP HERB BUTTER?
Why we love this
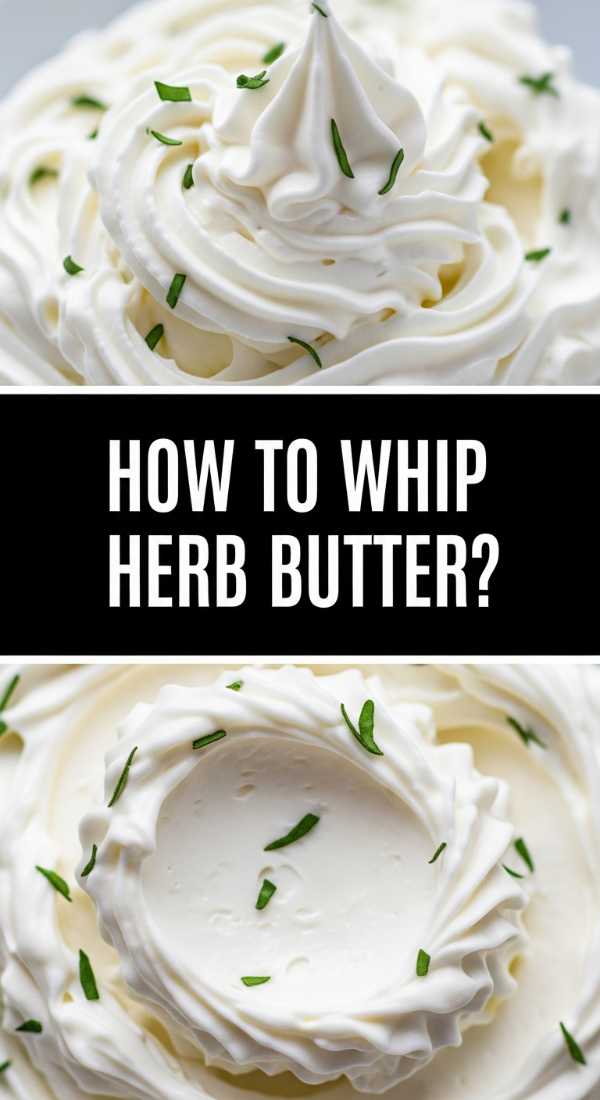
Whipped herb butter is the ultimate ‘low effort, high reward’ addition to any food board. When you whip butter, it transforms from a heavy fat into a cloud-like, spreadable dream that melts instantly onto warm bread. The infusion of fresh herbs like rosemary, thyme, and chives releases an earthy, floral aroma that makes the entire table feel more sophisticated. Every bite offers a burst of savory freshness and a hint of flaky sea salt, elevating a simple baguette into something truly artisanal. It’s a velvety, luxurious experience that feels like a treat for the senses.
Ingredients
- 1 cup (2 sticks) unsalted butter, softened to room temperature
- 2 tablespoons fresh parsley, finely minced
- 1 tablespoon fresh chives, finely snipped
- 1 teaspoon fresh thyme, leaves removed from stem
- 1 clove garlic, grated into a paste
- 1/2 teaspoon flaky sea salt
- 1/4 teaspoon cracked black pepper
How to make it
- Ensure your butter is truly at room temperature. It should be soft enough that your finger leaves an easy indentation, but not so soft that it’s oily or melting. This is crucial for achieving that light, airy texture.
- Place the softened butter in the bowl of a stand mixer fitted with the whisk attachment, or use a handheld electric mixer. Begin whipping on low speed to break up the butter, then increase to medium-high.
- Whip the butter for about 3-5 minutes. You are looking for a visible change: the butter should become significantly paler (almost white) and look fluffy and voluminous.
- Stop the mixer and add the minced parsley, chives, thyme, garlic paste, salt, and pepper. Use a spatula to fold these in by hand first to prevent the herbs from flying out, then whip on low for another 30 seconds to distribute them evenly.
- Taste the butter. Herbs vary in potency, so you might want to add another pinch of salt or a squeeze of lemon juice to brighten the flavors.
- Transfer the butter to a small ramekin or use a piping bag to create beautiful rosettes on your food board. If you aren’t serving it immediately, keep it at room temperature for up to two hours for the best spreadability, or refrigerate and bring back to room temperature before the party.
HOW TO PREP CAMPING MEALS?
Why we love this
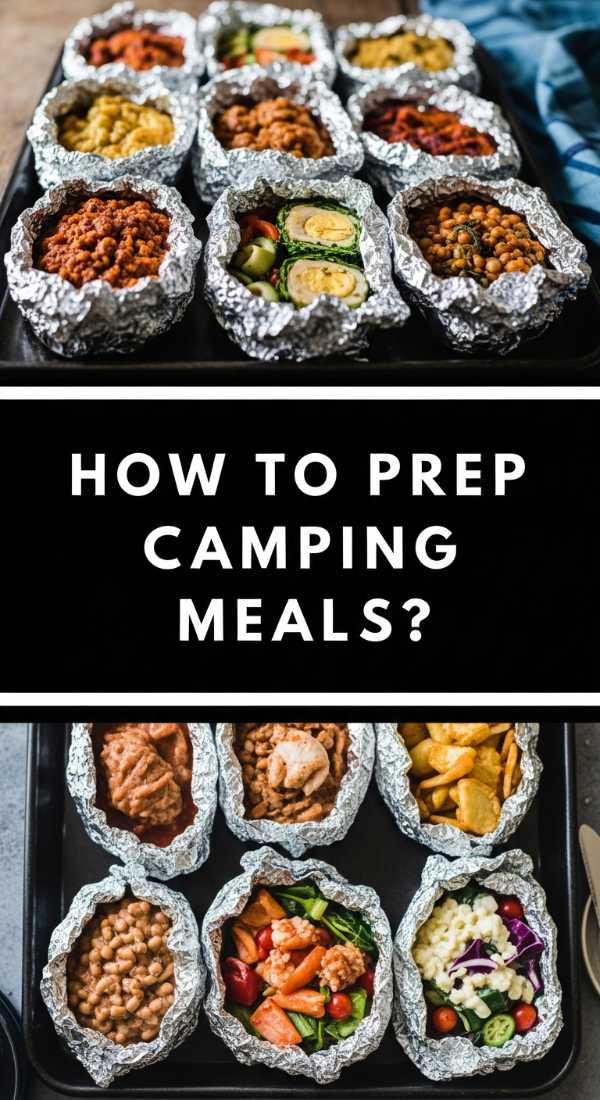
Camping meals are all about the magic of open-fire cooking and the simplicity of nature. There is a specific, smoky depth of flavor that you can only get when food is charred over hot coals. Preparing these meals in advance allows you to trade kitchen stress for more time around the campfire, sharing stories and watching the stars. The ‘foil pack’ method is a favorite because it creates a mini-oven for your ingredients, steaming them in their own juices until the meat is tender and the vegetables are perfectly caramelized. It’s rugged, delicious, and makes cleanup virtually non-existent.
Ingredients
- 1 lb protein (chicken breast, smoked sausage, or shrimp)
- 2 large potatoes, diced small
- 1 cup baby carrots or sliced zucchini
- 1 bell pepper, chopped
- 3 tablespoons olive oil
- 2 tablespoons spice rub (paprika, garlic powder, onion powder, salt, pepper)
- Heavy-duty aluminum foil
How to make it
- Preparation starts at home. Cut your protein and vegetables into uniform, bite-sized pieces. This ensures that everything in the foil pack cooks at the same rate. Keep your potatoes very small as they take the longest to soften.
- In a large bowl or a gallon-sized resealable bag, toss all the chopped ingredients with olive oil and your chosen spice rub. Ensure every piece is well-coated; the oil is what prevents sticking and helps create those delicious browned edges.
- Tear off large squares of heavy-duty aluminum foil (about 12×12 inches). Place a generous portion of the mixture in the center of each square. Do not overfill, or the heat won’t circulate properly.
- Bring the long edges of the foil together and fold them down tightly several times to create a seal. Then, fold the ends in securely. You want a completely enclosed packet to trap the steam.
- Once at your campsite, prepare a bed of hot coals in your fire pit. Avoid placing packets directly into roaring flames, as this will char the outside before the inside is cooked. Place the packets on a grill grate over the coals or directly nestled into the glowing embers.
- Cook for 20-25 minutes, flipping halfway through using tongs. Carefully open one packet to check the doneness of the potatoes and meat. Let them rest for 5 minutes before eating—the steam inside is very hot!
HOW TO MAKE CUCUMBER SALAD?
Why we love this
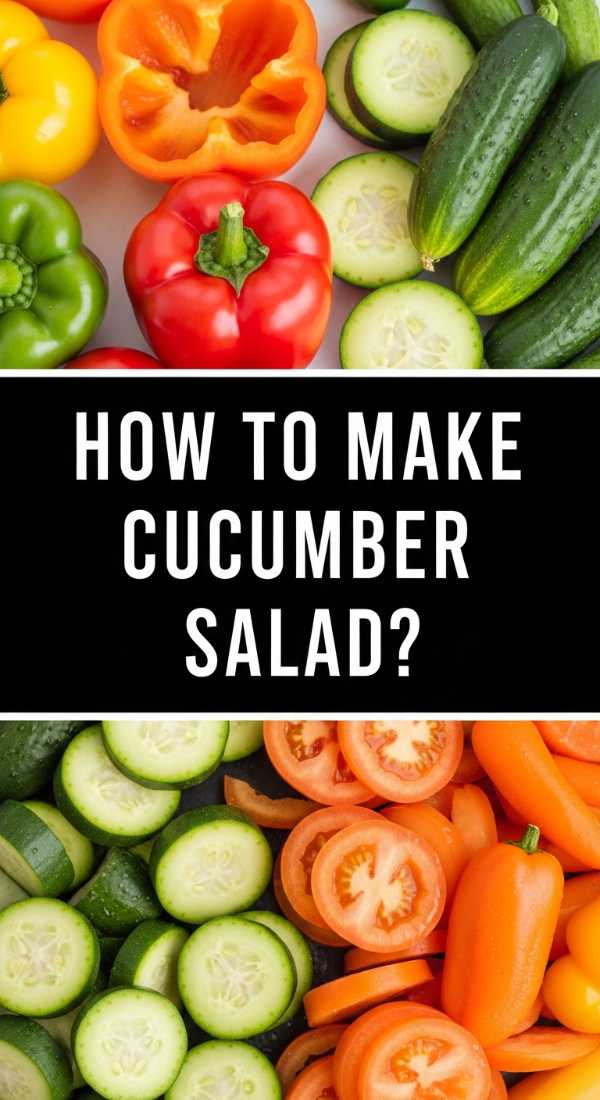
This cucumber salad is the ultimate palate cleanser—a crisp, cooling, and vibrant dish that cuts through the richness of grilled meats and heavy dips. The texture is all about the ‘crunch,’ with paper-thin slices of cucumber that have been marinated until they are slightly translucent and infused with tang. The aroma of fresh dill and the sharp bite of red onion create a refreshing bouquet that screams summertime. It’s light, hydrating, and provides a beautiful pop of green to your food board, making it feel balanced and healthy amidst the more indulgent offerings.
Ingredients
- 2 large English cucumbers
- 1/2 small red onion, thinly sliced
- 1/4 cup white wine vinegar or apple cider vinegar
- 2 tablespoons extra virgin olive oil
- 1 tablespoon honey or sugar
- 1/2 cup fresh dill, chopped
- 1 teaspoon salt
- 1/2 teaspoon black pepper
How to make it
- Start by slicing your cucumbers. For the best texture, use a mandoline to get very thin, uniform rounds. If you don’t have one, use a sharp chef’s knife and take your time. Using English cucumbers is preferred because they have thinner skins and fewer seeds.
- Place the sliced cucumbers in a colander and sprinkle with the teaspoon of salt. Let them sit for about 15 minutes. This ‘sweating’ process draws out excess water, ensuring your salad stays crunchy and doesn’t become a watery mess later.
- While the cucumbers rest, whisk together the vinegar, olive oil, honey, and black pepper in a small bowl until the honey is completely dissolved.
- Rinse the cucumbers briefly under cold water to remove excess salt, then pat them very dry with a clean kitchen towel or paper towels.
- In a large mixing bowl, combine the dried cucumbers, thinly sliced red onions, and chopped fresh dill. Pour the dressing over the top and toss gently with tongs to ensure every slice is coated.
- Cover and refrigerate for at least 30 minutes before serving. This allows the flavors to meld and the onions to soften slightly in the acidic dressing. Give it one last toss before placing it in a serving bowl on your board.
HOW TO GRILL SUMMER VEGGIES?
Why we love this
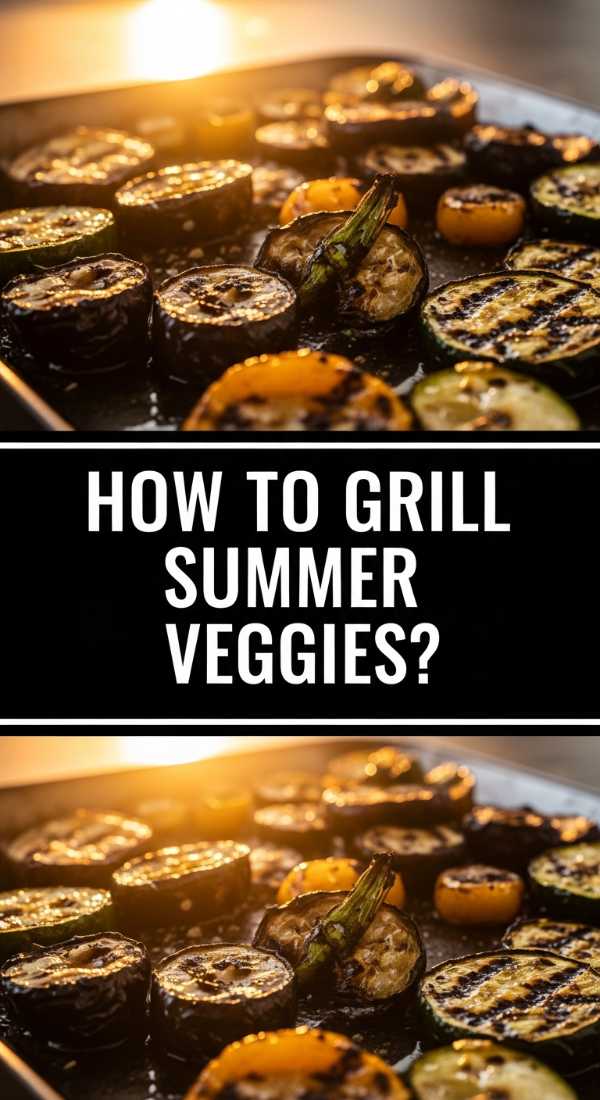
Grilling summer vegetables transforms humble produce into something spectacular through the power of caramelization and high heat. There is something deeply satisfying about the sight of those dark, defined grill marks and the way the natural sugars in peppers and zucchini intensify as they cook. The texture is a perfect ‘tender-crisp,’ where the vegetable maintains its structure but gives way to a soft, smoky interior. It’s a celebration of the harvest, offering a rainbow of colors and a variety of charred, sweet, and earthy flavors that make side dishes the star of the show.
Ingredients
- 2 zucchinis, sliced into long planks
- 2 bell peppers (different colors), cut into large chunks
- 1 bunch of asparagus, woody ends trimmed
- 1 red onion, cut into thick wedges
- 1/4 cup balsamic glaze
- 3 tablespoons olive oil
- 1 teaspoon dried oregano
- Salt and pepper to taste
How to make it
- Preheat your grill to medium-high heat (about 400°F). Make sure the grates are clean and lightly oiled to prevent sticking, which is the most common issue when grilling tender vegetables.
- In a large tray or bowl, toss all your prepared vegetables with olive oil, dried oregano, salt, and pepper. Ensure the vegetables are lightly but evenly coated; too much oil can cause flare-ups on the grill.
- Place the vegetables on the grill. Put the denser items like onions and peppers in the hottest spots, and more delicate items like asparagus toward the edges. Do not overcrowd the grill; leave space for air to circulate.
- Grill the vegetables for about 3-5 minutes per side. You are looking for clear grill marks and a slight softening. Use tongs to flip them carefully. Zucchini and peppers should be slightly charred but still hold their shape.
- As you remove the vegetables from the grill, place them on a serving platter. While they are still steaming hot, drizzle the balsamic glaze over the top. The heat will help the glaze soak in and create a beautiful, glossy finish.
- Let the vegetables rest for a few minutes before serving. They are delicious at room temperature, which makes them perfect for a long-lasting food board.
HOW TO COOK SUMMER DINNERS?
Why we love this
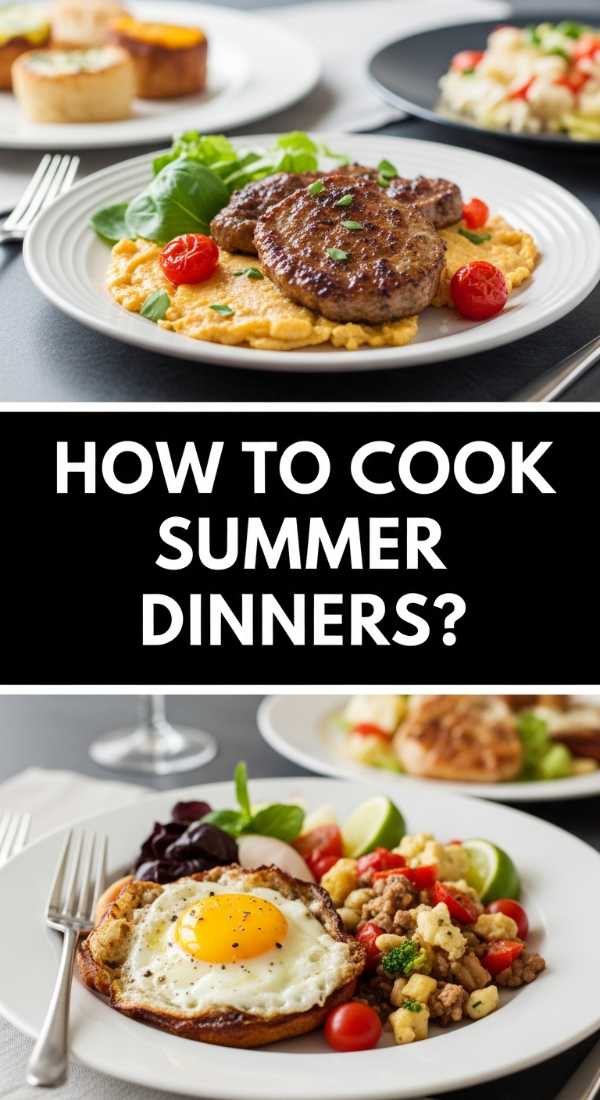
Summer dinners should feel effortless, leaning heavily on the freshness of the season and requiring minimal time standing over a hot stove. The goal is to create meals that are light yet satisfying, utilizing quick-cooking proteins and an abundance of raw or lightly seared produce. We love this approach because it emphasizes bright acids—like lemon juice and vinegars—which wake up the palate and make everything taste ‘clean.’ It’s about the joy of eating outdoors while the sun sets, enjoying a plate that feels as vibrant and energetic as a summer evening itself.
Ingredients
- 1 lb thin-cut chicken cutlets or shrimp
- 2 tablespoons lemon zest
- 3 tablespoons lemon juice
- 1/4 cup fresh basil, julienned
- 2 cups cherry tomatoes, halved
- 2 cloves garlic, minced
- 2 tablespoons butter or olive oil
- Cooked orzo or crusty bread for serving
How to make it
- The secret to a quick summer dinner is using ‘thin’ proteins. If using chicken, pound the cutlets to a uniform 1/4 inch thickness. This ensures they cook in under 6 minutes total, keeping them juicy and tender.
- Heat a large skillet over medium-high heat with a tablespoon of oil. Season your protein with salt, pepper, and lemon zest. Sear the chicken or shrimp for 2-3 minutes per side until golden brown and cooked through. Remove from the pan and set aside to rest.
- In the same skillet (without cleaning it!), lower the heat to medium and add another tablespoon of oil or butter. Toss in the minced garlic and cherry tomatoes. Sauté for 3-4 minutes until the tomatoes begin to burst and release their juices.
- Stir in the lemon juice and use a wooden spoon to scrape up any browned bits from the bottom of the pan—this is where all the concentrated flavor lives!
- Add the protein back into the pan for 30 seconds just to coat it in the light tomato-lemon sauce. Remove from heat immediately.
- Garnish generously with fresh julienned basil. Serve this directly on your food board alongside some toasted bread or a bed of fluffy orzo to soak up the delicious, zesty pan sauce.
HOW TO PREP FRUIT PLATTERS?
Why we love this
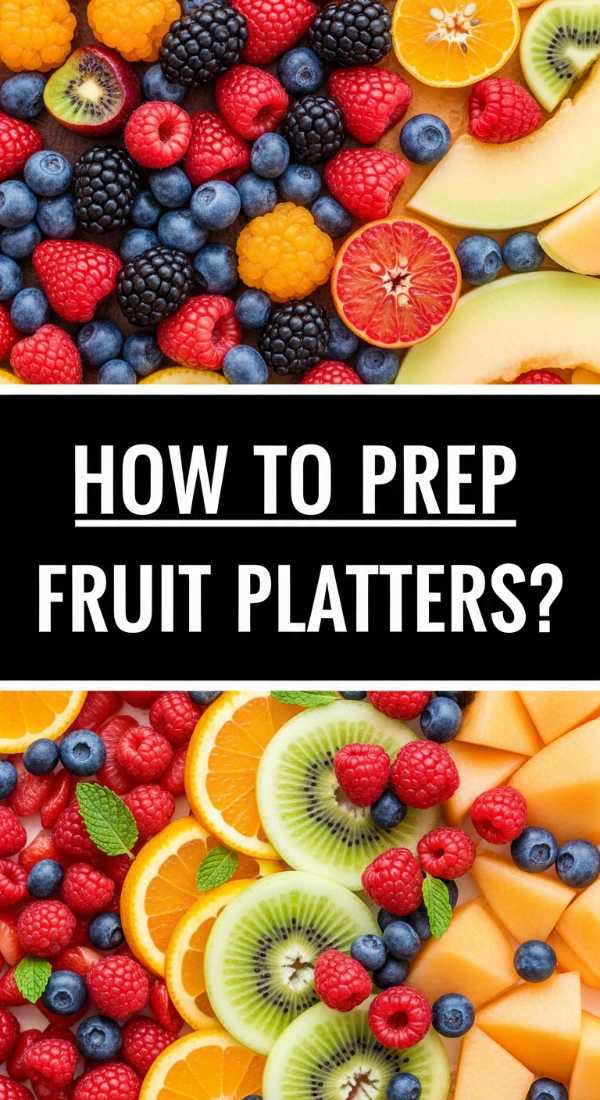
A well-prepped fruit platter is the crown jewel of any hosting board, acting as a stunning, edible centerpiece that provides instant hydration and natural sweetness. We love the visual impact of a ‘monochrome’ or ‘rainbow’ layout, where fruits are grouped by color to create an organized, professional look. The texture variety—from the snap of a cold apple to the melting softness of a ripe peach—keeps every bite interesting. It’s the healthiest way to indulge, offering a refreshing burst of vitamins and minerals that leaves guests feeling energized rather than weighed down.
Ingredients
- 1 small watermelon, sliced into triangles
- 1 cantaloupe or honeydew, balled or sliced
- 2 cups pineapple chunks
- 1 pint blueberries
- 1 pint strawberries, halved
- 2 kiwis, peeled and sliced
- Fresh mint leaves for garnish
- Optional: Honey and lime juice for a light glaze
How to make it
- Selection is everything. Choose fruit that is at peak ripeness; it should smell fragrant and feel slightly heavy for its size. Wash all fruit thoroughly and dry it to prevent a ‘soggy’ platter.
- Start with your largest items first to create a ‘skeleton’ for the platter. Place the watermelon triangles or large melon slices around the perimeter or in a diagonal line across the center of the board.
- Fill in the larger gaps with medium-sized fruits like pineapple chunks or kiwi slices. Try to group them together rather than scattering them to create ‘pockets’ of color.
- Use your smallest fruits—the blueberries and halved strawberries—as ‘fillers.’ Tuck them into the tiny crevices between the larger pieces. This makes the platter look lush, abundant, and professionally styled.
- If you want an extra touch of shine and flavor, whisk together a tablespoon of honey and a squeeze of lime juice. Lightly brush this over the fruit just before serving to prevent browning and add a beautiful gloss.
- Finish by scattering fresh mint leaves over the top. The green contrast makes the colors of the fruit pop, and the aroma is incredibly refreshing as guests lean in to grab a piece.
HOW TO MAKE REFRESHING MEALS?
[IMAGE_10]
Why we love this
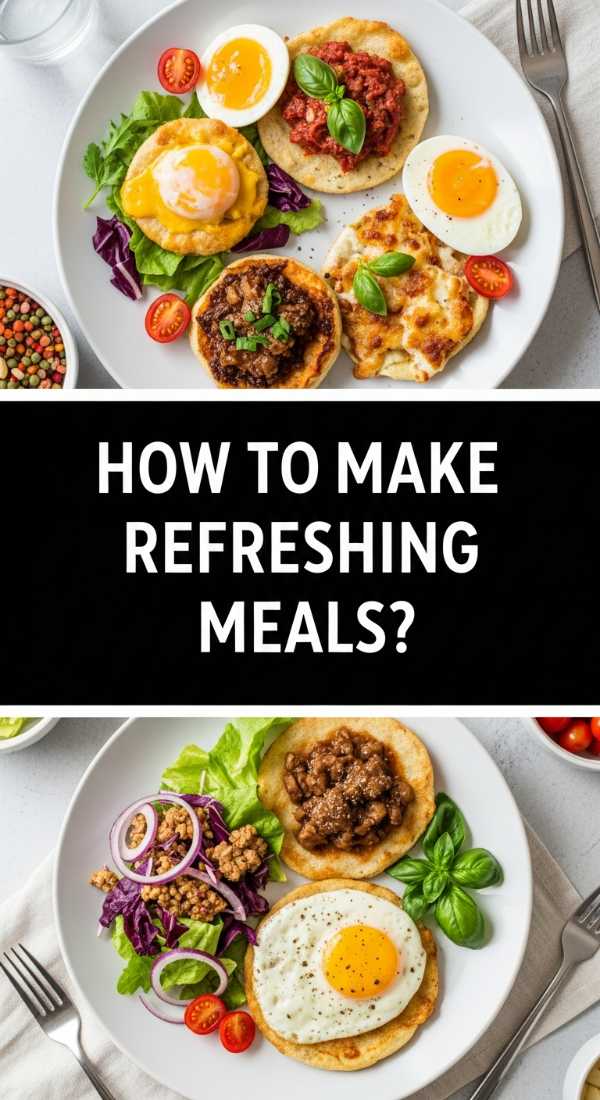
When the temperature climbs, the last thing anyone wants is a heavy, steaming meal. Refreshing meals are all about temperature control and acidity, focusing on chilled components that lower your body temperature while delighting your taste buds. We love the ‘cold-on-cold’ sensation of a chilled pasta salad or a crisp ceviche served in a frosted bowl. These meals utilize the best of raw garden produce, emphasizing the natural crunch of peppers, the creaminess of avocado, and the brightness of citrus. It’s an airy, sophisticated way to eat that feels like a breeze on a hot day.
Ingredients
- 1 lb short pasta (fusilli or rotini)
- 1 cup feta cheese, crumbled
- 1/2 cup kalamata olives, pitted
- 1 cup cherry tomatoes, halved
- 1/2 cup red bell pepper, diced
- Dressing: 1/3 cup olive oil, 2 tbsp red wine vinegar, 1 tsp dried oregano
- Fresh parsley for finishing
How to make it
- The key to a refreshing pasta salad is the ‘rinse.’ Cook your pasta in salted boiling water until it is just past al dente. Immediately drain it and rinse it under cold running water. This stops the cooking process and removes excess starch, preventing the pasta from sticking together as it cools.
- While the pasta drains, whisk together your dressing ingredients: olive oil, red wine vinegar, oregano, salt, and pepper. Ratios are important here; you want enough acid to keep the dish tasting ‘bright.’
- In a large bowl, combine the cold pasta with the tomatoes, olives, bell peppers, and feta cheese. Pour the dressing over the top while the pasta is still slightly damp; this helps the flavors absorb better into the noodles.
- Toss everything thoroughly. For the best experience, let the salad chill in the refrigerator for at least two hours. The flavors develop and deepen as it sits, and the chilled temperature is what makes it truly ‘refreshing.’
- Before serving on your board, give it another quick toss. If it looks dry (the pasta can soak up the dressing), add a tiny splash of olive oil or a squeeze of fresh lemon to revive the gloss.
- Garnish with a handful of fresh chopped parsley. Serve in a bowl nestled into your food board, perhaps surrounded by ice if you’re eating outdoors, to keep it perfectly crisp and cool.
Elevate Your Hosting with the Ultimate Food Board
Hosting doesn’t have to be a source of stress. By embracing the ‘Viral Simple Food Board’ philosophy, you’re choosing a path that prioritizes flavor, aesthetics, and, most importantly, connection. Each of these ten recipes offers a unique texture and taste that, when combined, create an unforgettable spread. From the sweet, flaky layers of a strawberry pie to the refreshing crunch of a cucumber salad, your guests will find something to love at every corner of the board. So, the next time you’re planning a get-together, put down the complicated multi-course menu and start building your board. Your friends—and your sanity—will thank you!