
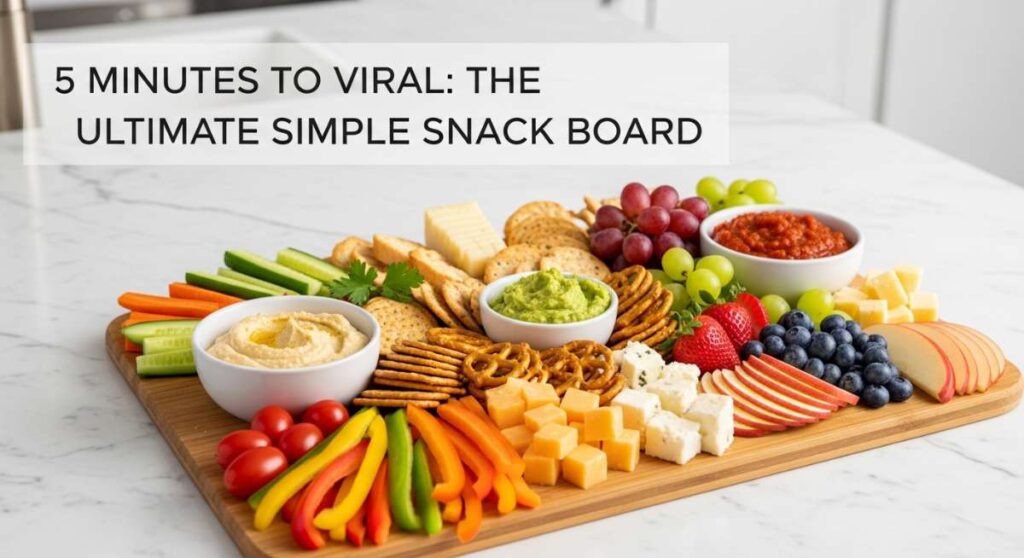
There is something absolutely magical about the way a simple board of food can bring people together. Whether it is the golden hour light hitting the kitchen counter or the sound of friends laughing over a shared plate, these moments are what make life truly sweet. I remember the first time I put together a viral-style board; I was stressed about hosting, but as soon as the colors popped and the flavors melded, the tension melted away into pure, delicious joy.
The secret to a viral lifestyle isn’t about perfection; it is about effortless elegance and the ability to turn humble ingredients into a centerpiece. We are talking about textures that crunch, sauces that drip, and the kind of vibrant colors that make you reach for your phone before your fork. Let’s dive into the ultimate collection of simple snacks and dishes that will make your next gathering—and your social media feed—absolutely unforgettable.
How to make strawberry pie

Why we love this
This strawberry pie is the definition of summer captured in a crust. The aroma of sun-ripened berries wafting through the house is enough to bring anyone to the kitchen, and the glossy, ruby-red glaze offers a satisfying contrast to the buttery, flaky pastry. Every bite is a harmonious blend of sweet, tart, and creamy, especially when topped with a dollop of cold whipped cream. It feels like a celebration of the season, reminding us of garden parties and the simple pleasure of fresh fruit.
Ingredients
- 2 quarts fresh strawberries, washed and hulled
- 1 cup granulated sugar
- 3 tablespoons cornstarch
- 1 pre-baked 9-inch pie crust
- 1 tablespoon lemon juice
- Whipped cream for serving
How to make it
- Begin by selecting the most vibrant strawberries; set aside about half of the berries (the prettiest ones) to remain whole in the pie shell.
- In a medium saucepan over medium heat, crush the remaining strawberries with a potato masher until they release their juices.
- Whisk the sugar and cornstarch together in a small bowl, then stir them into the crushed strawberries along with the lemon juice.
- Cook the mixture constantly over medium heat until it comes to a rolling boil; you will see it transform from a cloudy pink to a thick, translucent, deep red glaze.
- Allow the glaze to cool slightly for about 10 minutes before folding in the whole berries, ensuring every single one is coated in that sticky sweetness.
- Pour the mixture into your pre-baked crust and refrigerate for at least 3-4 hours until the filling is set and firm to the touch.
How to cook rotel dip

Why we love this
Rotel dip is the ultimate comfort food that bridges the gap between a casual hangout and a viral party sensation. The way the melted cheese stretches and clings to a salty tortilla chip is pure culinary theater, while the spicy kick from the green chilies provides an addictive zing. It’s warm, gooey, and heart-warmingly nostalgic, perfect for those nights when the conversation is flowing and you need a snack that keeps everyone reaching for more. The aroma of browning meat and melting cheese is practically an invitation for everyone to gather round.
Ingredients
- 1 lb ground beef or sausage
- 1 block (32 oz) Velveeta cheese, cubed
- 2 cans (10 oz each) Ro*Tel Diced Tomatoes and Green Chilies
- 1/2 cup whole milk (optional for creaminess)
- Fresh cilantro for garnish
How to make it
- In a large skillet or heavy-bottomed pot, brown your ground meat over medium-high heat, breaking it into small crumbles with a wooden spoon until no pink remains and it is slightly crispy.
- Drain the excess fat thoroughly to ensure your dip isn’t greasy; this is a crucial step for a smooth, velvety texture.
- Reduce the heat to low and add the cubed Velveeta cheese and the undrained cans of Ro*Tel directly into the pot.
- Stir constantly with a silicone spatula to prevent the cheese from scorching on the bottom; you want a slow, even melt that results in a uniform consistency.
- If the dip feels too thick, splash in a little milk until it reaches a pourable, dip-worthy state that coats the back of a spoon beautifully.
- Transfer to a slow cooker on the ‘warm’ setting to keep it liquid and luscious throughout your entire event.
How to pack beach snacks
Why we love this
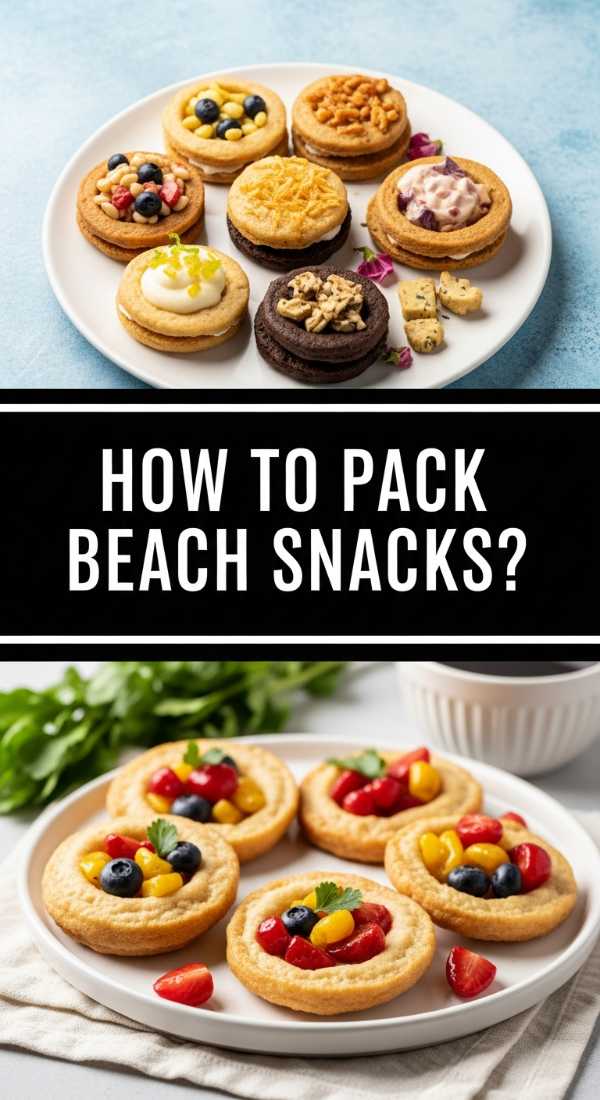
There is nothing like the taste of a crisp snack while the salt air blows around you and the sound of crashing waves fills your ears. Packing the perfect beach snack board is an art form that balances hydration with savory satisfaction, ensuring you stay energized for a day under the sun. We love the variety of textures—from the snap of cold cucumbers to the salty crunch of pretzels—that make eating on the sand feel like a luxury picnic. It’s about creating a portable oasis of flavor that survives the heat and provides a refreshing break from the summer sun.
Ingredients
- Frozen grapes and berries
- Individual hummus cups
- Sliced cucumbers and bell peppers
- Hard cheeses (cheddar or gouda)
- Nut mixes and pretzels
- Reusable ice packs
How to make it
- Start by freezing your fruit the night before; frozen grapes act as delicious, edible ice cubes that won’t get soggy as they thaw in the heat.
- Utilize airtight, leak-proof containers to keep the sand out of your snacks; bento boxes are ideal for keeping flavors separated and organized.
- Place the heaviest items and ice packs at the bottom of your insulated cooler bag to create a cold foundation for the more delicate produce.
- Wrap individual portions of crackers or pretzels in reusable beeswax wraps or small bags to maintain their crunch against the humidity of the ocean air.
- Layer your vegetables vertically in jars with a bit of water at the bottom to keep them crisp and upright for easy grabbing without a mess.
- Always include a pack of wet wipes at the top of the bag for quick hand-cleaning before you dive into your sandy-shore feast.
How to make whipped butter
Why we love this
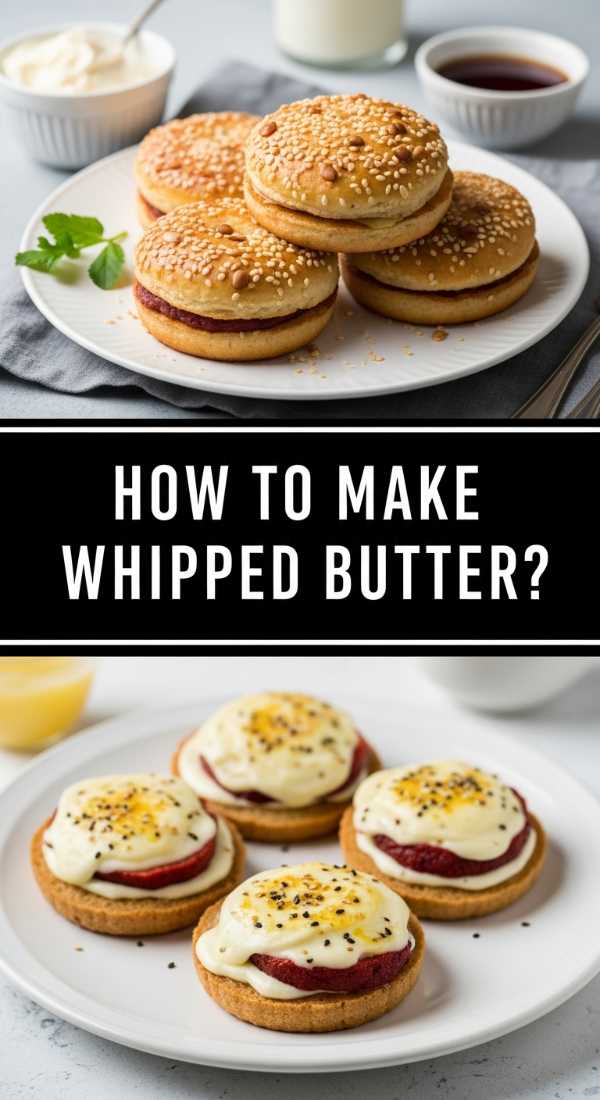
Whipped butter is a total game-changer that elevates the simplest slice of bread into a gourmet experience. The texture is ethereal—light, airy, and cloud-like—spreading effortlessly without tearing your toast or muffins. When you add a sprinkle of flaky sea salt or a drizzle of honey, the flavor profile expands into something truly sophisticated. It looks stunning on a board, styled with delicate swirls that catch the light, making it a must-have for any viral-worthy breakfast or brunch spread.
Ingredients
- 2 sticks high-quality unsalted butter (softened to room temperature)
- 2 tablespoons heavy cream
- 1/2 teaspoon flaky sea salt
- Optional: 1 tablespoon honey or maple syrup
How to make it
- Ensure your butter is perfectly softened—it should give easily when pressed but not be oily or melting; this temperature is vital for trapping air.
- Place the butter in the bowl of a stand mixer fitted with the whisk attachment (or use a hand mixer) and beat on medium speed for 2 minutes.
- Slowly drizzle in the heavy cream while the mixer is running; this adds a luxurious richness and helps the butter achieve that signature pale, fluffy look.
- Increase the speed to high and whip for another 3-5 minutes until the butter has nearly doubled in volume and looks like stiff whipped cream.
- Fold in your salt or sweeteners gently with a spatula so you don’t deflate the air bubbles you just worked so hard to create.
- Transfer the butter to a small ramekin or pipe it onto a board using a star tip for a professional, social-media-ready presentation.
How to prep camping meals

Why we love this
Camping meals bring a rugged, smoky charm to the table that you just can’t replicate in a traditional kitchen. There is a deep satisfaction in preparing a hearty feast over an open flame, with the aroma of charred wood and sizzling proteins filling the forest air. These meals are designed for nourishment and ease, allowing you to spend less time hovering over a stove and more time staring at the stars. It’s about the tactile experience of foil packets and cast iron, making every bite taste like an adventure.
Ingredients
- Pre-marinated chicken or steak tips
- Chopped potatoes and carrots
- Heavy-duty aluminum foil
- Olive oil and garlic butter
- Dehydrated herbs
How to make it
- Do all your chopping and marinating at home; place proteins and vegetables in separate heavy-duty freezer bags to prevent cross-contamination and save space.
- Double-layer your aluminum foil to create “hobo packs,” placing the dense vegetables at the bottom and the meat on top so the juices flavor the veggies.
- Add a generous dollop of garlic butter and a splash of oil to each packet to ensure the contents steam and roast without sticking to the foil.
- Wait for your campfire to burn down to a bed of glowing red coals rather than active flames; this provides a steady, even heat that mimics an oven.
- Place the packets directly on a grate or nestled in the coals, turning them every 10 minutes with long tongs to ensure even cooking throughout.
- Check for doneness by piercing the thickest vegetable with a fork; if it slides in like butter, your campfire masterpiece is ready to be opened carefully.
How to make tomato salad
Why we love this
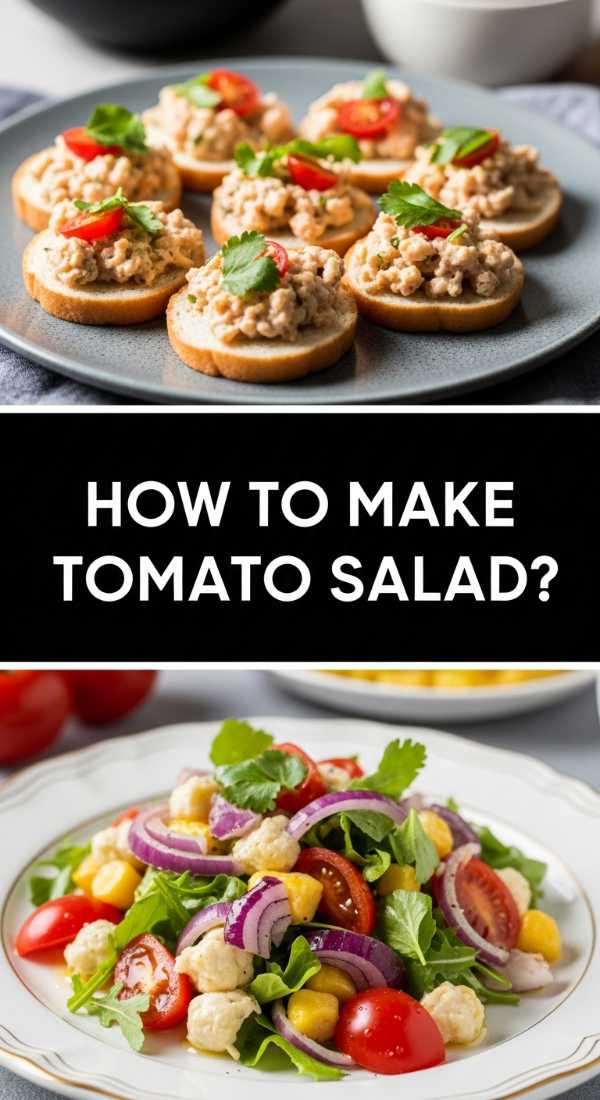
A fresh tomato salad is a vibrant explosion of color and acidity that cleanses the palate and brightens any meal. The contrast between the juicy, soft tomatoes and the sharp bite of red onion, all tied together by fragrant basil, is a classic for a reason. When the tomatoes are at their peak, they possess a honey-like sweetness that balances perfectly with a high-quality balsamic glaze. It’s a dish that looks like a Mediterranean dream on a platter, shimmering with oil and salt, inviting everyone to dig in with a piece of crusty bread.
Ingredients
- 3 lbs assorted heirloom tomatoes
- 1/2 red onion, thinly shaved
- 1/2 cup fresh basil leaves, torn
- 3 tablespoons extra virgin olive oil
- 2 tablespoons balsamic glaze
- Flaky sea salt and cracked black pepper
How to make it
- Slice your heirloom tomatoes into various shapes—some in thick rounds, others in wedges—to create visual interest and different textures on the plate.
- Place the tomatoes in a large bowl and sprinkle generously with sea salt; let them sit for 10 minutes to “sweat,” which draws out their natural juices.
- In a small jar, shake together the olive oil and pepper, then pour it over the tomatoes, tossing gently with your hands to avoid bruising the fruit.
- Scatter the thinly shaved red onions over the top, followed by the hand-torn basil leaves for a rustic, organic look.
- Drizzle the balsamic glaze in a zigzag pattern across the entire salad just before serving to maintain the vibrant colors of the tomatoes.
- Serve at room temperature; refrigeration kills the delicate cell structure of a tomato, so keeping it out ensures the best flavor and texture.
How to grill fresh veggies
Why we love this
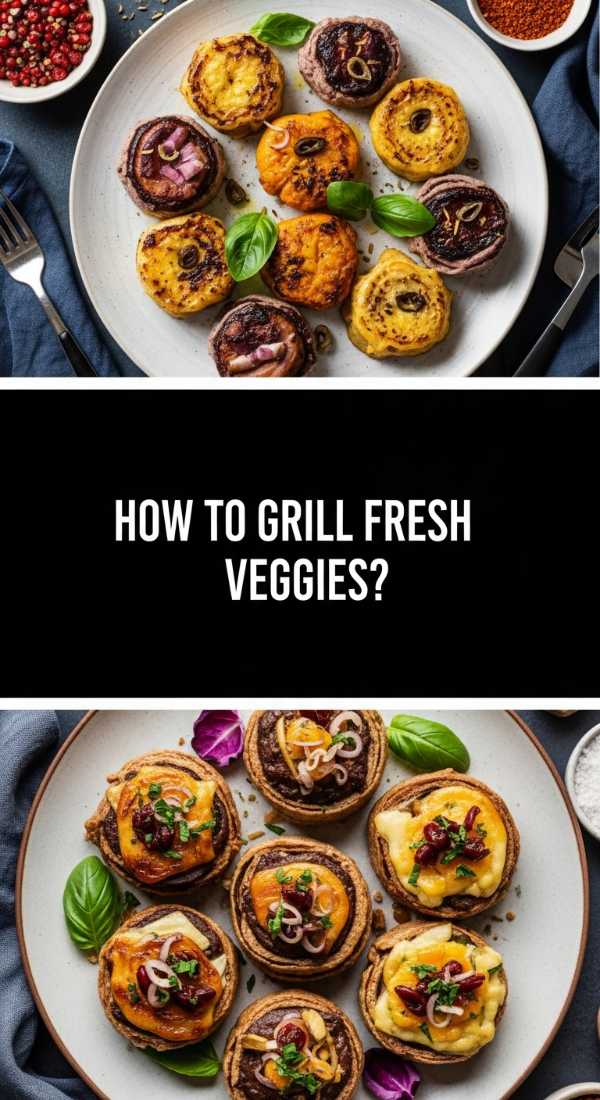
Grilling fresh vegetables transforms them from simple side dishes into the stars of the show with deep char marks and a concentrated, smoky sweetness. The heat of the grill caramelizes the natural sugars, creating a complex flavor profile that is both savory and earthy. We love the tactile nature of picking up a charred asparagus spear or a thick slice of zucchini, feeling that slight resistance before it melts in your mouth. It’s the perfect way to add a healthy, colorful, and aromatic element to your viral snack board or dinner spread.
Ingredients
- Zucchini, bell peppers, and asparagus
- Corn on the cob, husks removed
- Extra virgin olive oil
- Lemon zest and juice
- Dried oregano and red pepper flakes
How to make it
- Preheat your grill to medium-high heat (about 400°F) and ensure the grates are scraped clean and lightly oiled to prevent sticking.
- Cut your vegetables into large, uniform pieces; for example, slice zucchini lengthwise and peppers into wide planks to maximize surface area for char.
- Toss the vegetables in a large bowl with olive oil, oregano, and red pepper flakes, ensuring every nook and cranny is coated.
- Place the densest vegetables, like corn and peppers, on the hottest part of the grill first, followed by the more delicate asparagus and zucchini later.
- Grill for 3-5 minutes per side, looking for distinct, dark sear marks and a slight softening of the vegetable’s structure while maintaining a “snap.”
- Remove from heat and immediately hit them with fresh lemon juice and zest; the residual heat will help the citrus fragrance bloom beautifully.
How to cook summer dinners

Why we love this
Summer dinners should feel like an extension of the day—light, breezy, and effortlessly assembled. We love recipes that minimize time spent over a hot stove, favoring fresh produce, quick-searing proteins, and vibrant sauces. The goal is a meal that leaves you feeling energized rather than weighed down, allowing you to enjoy the long, lingering twilight hours. It’s about the beauty of a plate that looks like a garden, filled with greens, grains, and grilled delicacies that celebrate the bounty of the warmest months.
Ingredients
- Thin-cut chicken cutlets or shrimp
- Quick-cooking couscous or quinoa
- Fresh greens (arugula or spinach)
- Feta cheese and toasted nuts
- Citrus vinaigrette
How to make it
- Opt for “flash cooking” techniques; sear your protein in a hot pan for only 2-3 minutes per side to keep them juicy and prevent overheating the kitchen.
- Prepare your grains using boiled water from a kettle rather than the stovetop; let them steam in a covered bowl for 5 minutes until fluffy.
- Create a base of fresh greens on a large serving platter rather than individual plates to encourage a family-style, shared dining experience.
- Layer the warm grains and protein over the cold greens; the slight wilt from the heat creates a wonderful contrast in temperatures.
- Garnish generously with salty feta and crunchy toasted nuts to provide a variety of textures in every single forkful.
- Finish with a heavy-handed drizzle of citrus vinaigrette, adding that essential brightness that defines a quintessential summer meal.
How to make zesty dip

Why we love this
A zesty dip is the secret weapon of any snack board, providing a creamy, tangy anchor for everything from raw veggies to spicy crackers. The zing of citrus paired with the cooling sensation of Greek yogurt or sour cream creates a balanced profile that is incredibly refreshing. It has a beautiful, pale green or white hue that pops against the bright colors of a fruit and veggie board. We love how it feels sophisticated yet is so simple to whip up, offering a professional-tasting condiment that feels far more expensive than it is.
Ingredients
- 1 cup Greek yogurt or sour cream
- Zest and juice of 1 lime
- 1/4 cup finely chopped cilantro
- 1 clove garlic, minced into a paste
- 1/2 teaspoon ground cumin
- Salt to taste
How to make it
- In a medium glass bowl, combine the Greek yogurt and lime juice; whisk vigorously until the mixture is smooth and aerated.
- Add the lime zest, cilantro, and cumin, stirring gently; using fresh zest is key as it contains the essential oils that provide the most fragrance.
- Use a microplane to turn your garlic into a fine paste before adding it; this ensures the flavor is distributed evenly without any harsh bites of raw garlic.
- Taste the mixture and add salt incrementally; salt is the magic ingredient that makes the lime and cilantro flavors truly “pop.”
- Cover and refrigerate for at least 30 minutes before serving; this resting period allows the dried spices and fresh herbs to infuse the creamy base.
- Serve in a chilled bowl with a small well in the center filled with a tiny bit of olive oil and a sprinkle of paprika for a viral-worthy finish.
How to prep summer fruit
Why we love this
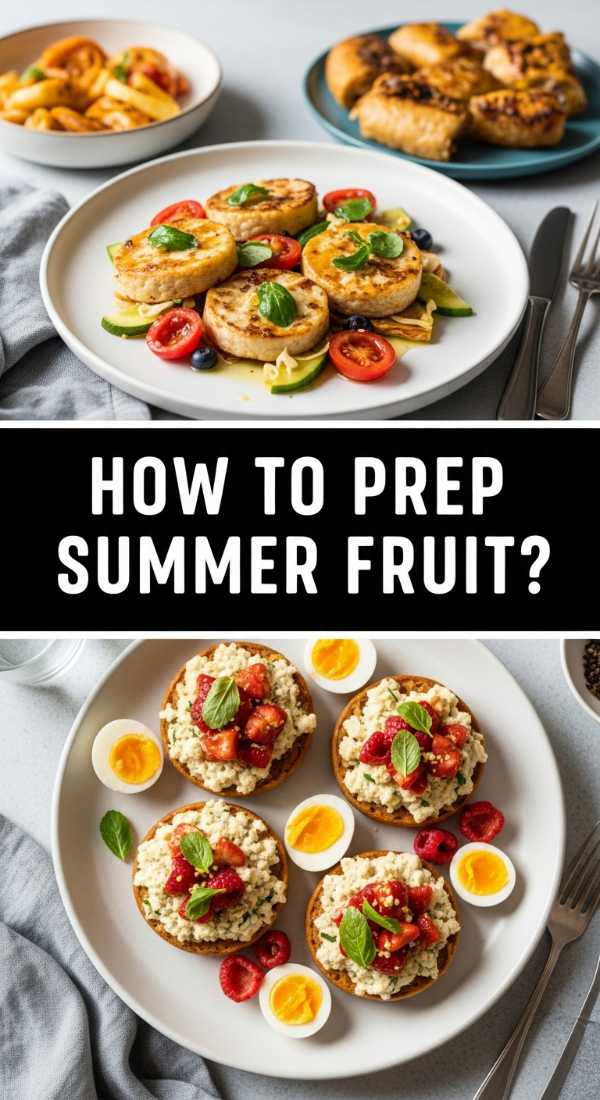
Nothing says “viral lifestyle” like a perfectly styled board of glistening summer fruit. The sheer variety of colors—from the deep purples of blackberries to the electric oranges of cantaloupe—is a feast for the eyes before it ever touches the tongue. We love the ritual of slicing through a cold, crisp watermelon or peeling back the skin of a fuzzy peach to reveal the dripping nectar inside. It is nature’s candy at its finest, providing a hydrating and naturally sweet end to a meal that feels indulgent yet healthy.
Ingredients
- Watermelon, cantaloupe, and honeydew
- Stone fruits (peaches, plums, nectarines)
- Fresh mint leaves
- Lime wedges
- Honey for drizzling
How to make it
- Wash all fruit thoroughly and pat dry; excess moisture can lead to a soggy board, so ensuring everything is dry is a key first step.
- Use a melon baller for the melons to create uniform, playful spheres, or slice them into thin triangles with the rind left on for easy gripping.
- Slice stone fruits just before serving to prevent oxidation (browning); a quick toss in lime juice will also help keep them looking vibrant and fresh.
- Arrange the fruit on your board starting with the largest items first, then filling in the gaps with smaller berries and clusters of grapes.
- Tear fresh mint leaves over the top of the fruit; the aromatic oil from the mint enhances the sweetness of the fruit without overpowering it.
- For an extra touch of luxury, drizzle a thin stream of high-quality honey over the stone fruits and melons to give them a camera-ready shine.
Conclusion
Hosting doesn’t have to be a chore when you have these simple, viral-inspired recipes in your back pocket. By focusing on fresh ingredients, beautiful presentation, and a few clever techniques, you can create a snack board that is as delicious as it is beautiful. Remember, the best part of any food board isn’t the aesthetic—it’s the memories you make while sharing it with the people you love. So grab a platter, start prepping, and enjoy the sweetness of the season!