
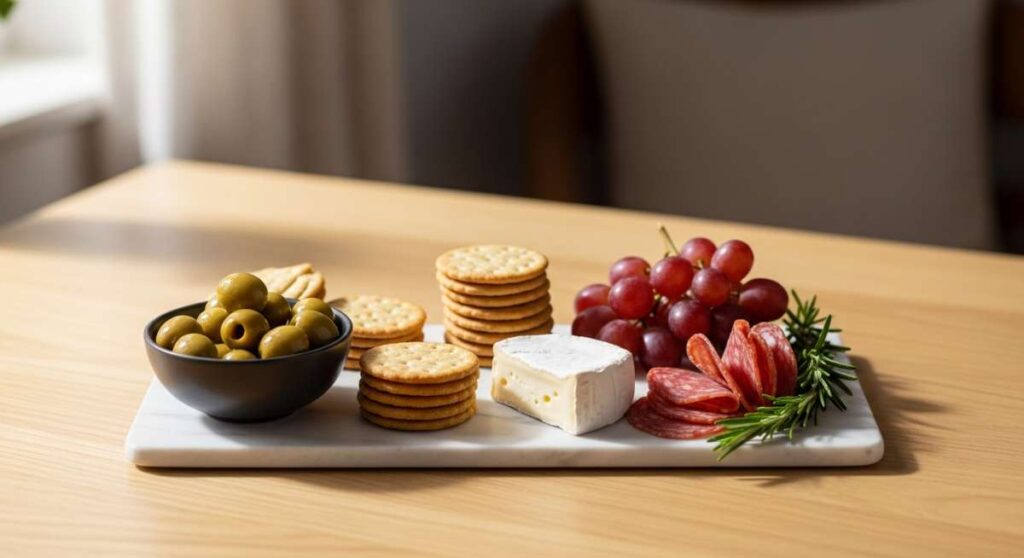
Lately, my social media feed has been a sea of vibrant colors, wooden textures, and the kind of effortless hosting that feels both luxurious and completely attainable. It all centers around the ‘simple food board’ trend—a concept that moves beyond the standard charcuterie and into a world where every meal is a curated, grazeable experience. There is something deeply grounding about gathering around a board filled with summer-fresh ingredients, inviting everyone to pick, choose, and savor every bite together.
When I first started seeing these boards, I realized they weren’t just about the food; they were about a lifestyle shift. We are trading long, sweaty hours over a hot stove for the breezy assembly of seasonal favorites. Whether it’s a lazy Sunday afternoon on the patio or a quick weeknight dinner that feels like a celebration, these recipes are the building blocks of the perfect summer board. Let’s dive into the dishes that are making my heart (and my feed) so happy lately.
How to make creamy rotel dip?

Why we love this
This dip is the ultimate comfort food for any social gathering, offering a velvety, molten texture that clings perfectly to every salty tortilla chip. The combination of savory, browned meat and the zesty, slightly spicy kick from the diced tomatoes and green chilies creates a nostalgic aroma that fills the room instantly. It is warm, indulgent, and has that classic ‘cheesy’ satisfaction that keeps everyone coming back for just one more scoop, making it the undeniable star of any appetizer board.
Ingredients
- 1 lb Velveeta cheese, cubed
- 1 can (10 oz) Ro-Tel Diced Tomatoes and Green Chilies
- 1 lb ground sausage or lean ground beef
- 1/2 teaspoon garlic powder
- Fresh cilantro for garnish
How to make it
<1. Begin by placing a large skillet over medium-high heat. Add your ground sausage or beef, breaking it up with a wooden spoon into small, uniform crumbles. Cook for 7-9 minutes until the meat is thoroughly browned and no pink remains, ensuring a deep savory base. 2. Once the meat is cooked, drain off any excess fat carefully to keep the dip from becoming oily. Lower the heat to medium-low. 3. Add the cubed Velveeta cheese to the skillet. It is important to stir constantly at this stage to prevent the cheese from scorching on the bottom of the pan. 4. Pour in the entire can of Ro-Tel, including the juices, which provide the essential acidity and moisture for the dip. 5. Continue stirring for about 5-7 minutes until the cheese is completely melted and the mixture is smooth and glossy. 6. Sprinkle in the garlic powder and give it one final mix. 7. Transfer to a serving bowl or a small slow cooker on the 'warm' setting to maintain that perfect gooey consistency throughout your party.
How to prepare fresh hummingbird food?

Why we love this
There is a quiet magic in watching shimmering hummingbirds dart around your garden, and providing them with homemade nectar is the best way to invite that beauty closer. This simple solution mimics the natural sucrose found in flowers, providing these high-energy birds with the fuel they need to thrive. The clarity of the liquid against the bright colors of a feeder creates a peaceful, serene atmosphere in any backyard, turning your outdoor space into a sanctuary of natural wonder.
Ingredients
- 1 cup granulated white sugar
- 4 cups filtered water
How to make it
<1. Measure out 4 cups of filtered water and pour it into a medium saucepan. Bring the water to a rolling boil over high heat; boiling helps to remove impurities and ensures the sugar dissolves completely. 2. Once the water is boiling, remove the pan from the heat source and immediately stir in 1 cup of granulated white sugar. Use only white sugar, as honey or artificial sweeteners can be harmful to the birds. 3. Stir the mixture vigorously until the sugar crystals have completely disappeared and the liquid is perfectly clear. 4. Allow the nectar to cool completely at room temperature; never put hot liquid into a plastic feeder as it can warp the container and harm the birds. 5. Once cool, fill your hummingbird feeders and store any remaining nectar in a clean, airtight glass jar in the refrigerator for up to one week. 6. Remember to clean your feeders thoroughly every 3-5 days to prevent mold growth, especially in hot summer weather.
How to cook tasty summer pasta?

Why we love this
Summer pasta is all about celebrating the bounty of the season with bright, acidic flavors and the fragrance of fresh herbs. The texture of al dente noodles tossed in a light, garlicky oil sauce creates a dish that feels sophisticated yet incredibly easy to pull together. The burst of blistered cherry tomatoes provides a sweet, juicy contrast to the salty punch of parmesan, making every forkful feel like a sunny afternoon in the Mediterranean.
Ingredients
- 12 oz pasta (penne or fusilli)
- 2 cups cherry tomatoes, halved
- 3 cloves garlic, thinly sliced
- 1/4 cup extra virgin olive oil
- 1/2 cup fresh basil leaves, torn
- 1/2 cup shaved parmesan cheese
- Red pepper flakes (optional)
How to make it
<1. Bring a large pot of salted water to a vigorous boil. Add your pasta and cook according to the package directions, but aim for 'al dente'—usually about 1-2 minutes less than the full cook time—so the noodles maintain a firm bite. 2. While the pasta cooks, heat the olive oil in a wide skillet over medium heat. Add the thinly sliced garlic and a pinch of red pepper flakes, sautéing for about 1 minute until the garlic is fragrant and just begins to turn a very pale golden color. 3. Add the cherry tomatoes to the skillet. Increase the heat slightly and cook for 5-6 minutes, stirring occasionally, until the skins begin to wrinkle and burst, releasing their juices to create a light sauce. 4. Reserve 1/2 cup of the starchy pasta water before draining the noodles. 5. Toss the drained pasta into the skillet with the tomatoes. Add a splash of the reserved pasta water and stir well to coat every noodle in the light, tomato-infused oil. 6. Remove from heat and fold in the fresh basil and shaved parmesan. The residual heat will melt the cheese just enough to create a silky finish.
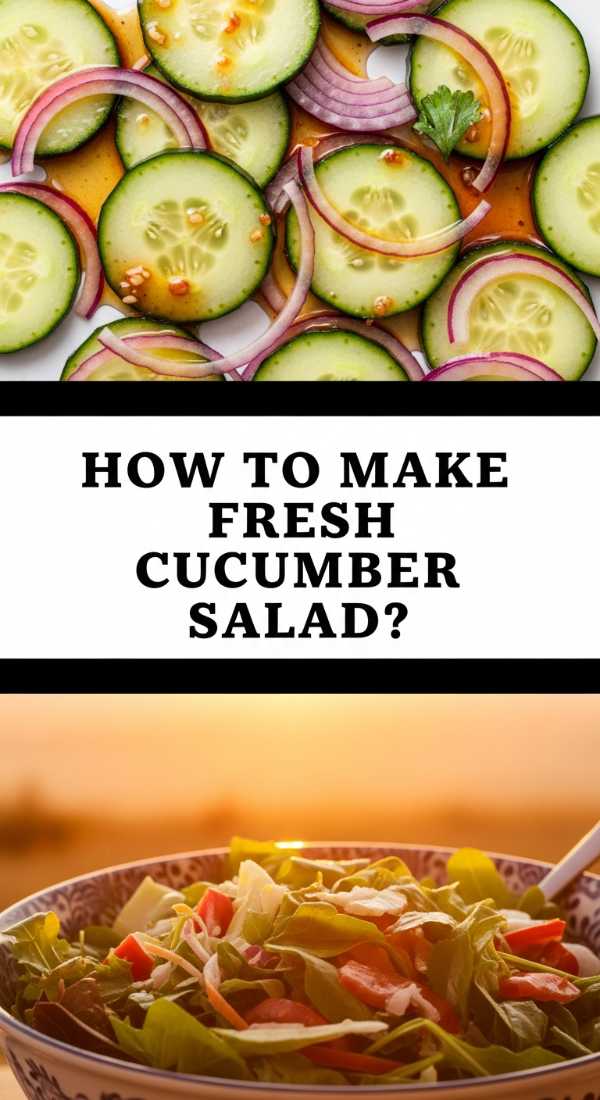
How to make fresh cucumber salad?
Why we love this
This salad is the definition of refreshing, offering a crisp, cooling crunch that balances out heavier grilled meats on a food board. The aroma of fresh dill combined with the sharp tang of red wine vinegar creates a palate-cleansing experience that is both light and deeply satisfying. Its vibrant green color and translucent red onion slivers add a beautiful, fresh aesthetic to any meal, making it a staple for hot summer afternoons.
Ingredients
- 3 large English cucumbers, thinly sliced
- 1/2 red onion, shaved into thin rings
- 1/4 cup white or red wine vinegar
- 2 tablespoons olive oil
- 1 tablespoon fresh dill, chopped
- 1 teaspoon sugar
- Salt and black pepper to taste
How to make it
<1. Start by washing your cucumbers thoroughly. Using a mandoline or a very sharp knife, slice the cucumbers into uniform, paper-thin rounds. Consistency in thickness ensures that every slice marinates evenly. 2. Place the cucumber slices in a large colander and sprinkle with a teaspoon of salt. Let them sit for about 10 minutes to draw out excess moisture, which prevents the salad from becoming watery. 3. While the cucumbers rest, whisk together the vinegar, olive oil, sugar, and chopped dill in a small bowl until the sugar is fully dissolved. 4. Pat the cucumbers dry with a paper towel and place them in a large mixing bowl along with the thinly sliced red onions. 5. Pour the dressing over the vegetables and toss gently to ensure every slice is coated. 6. Cover the bowl and refrigerate for at least 30 minutes before serving. This chilling time allows the flavors to meld and the cucumbers to absorb the acidic tang of the dressing.
How to bake fruity summer desserts?

Why we love this
Nothing says summer like the scent of bubbling fruit and a golden, buttery crust wafting through the kitchen. This dessert captures the essence of the season, with the natural sugars of the fruit caramelizing into a thick, jammy consistency that melts in your mouth. Whether it’s peaches, berries, or plums, the contrast between the soft, warm fruit and a crisp, sugary topping creates a comforting, rustic elegance that is perfect for sharing straight from the board.
Ingredients
- 4 cups fresh seasonal fruit (peaches or berries)
- 1 cup all-purpose flour
- 1 cup granulated sugar
- 1/2 cup cold butter, cubed
- 1 teaspoon cinnamon
- 1/4 teaspoon salt
How to make it
<1. Preheat your oven to 375°F (190°C). Grease a medium-sized baking dish with butter or non-stick spray. 2. Wash and slice your fruit into even pieces (if using peaches, peel them first for a smoother texture). Place the fruit directly into the baking dish and toss with a tablespoon of sugar to help draw out the juices. 3. In a separate mixing bowl, combine the flour, the remaining sugar, cinnamon, and salt. 4. Using a pastry cutter or your fingertips, work the cold, cubed butter into the flour mixture. You are looking for a crumbly texture where the butter pieces are about the size of small peas; this is the secret to a flaky, crisp topping. 5. Sprinkle the crumble mixture evenly over the fruit, covering it completely. 6. Place the dish in the center of the oven and bake for 35-40 minutes. Look for the fruit juices to be bubbling aggressively around the edges and the top to be a deep, golden brown. 7. Let the dessert cool for at least 15 minutes before serving so the fruit juices can thicken into a delicious syrup.
How to grill perfect summer kabobs?

Why we love this
Grilling kabobs is as much about the visual appeal as it is about the smoky, charred flavor that only an open flame can provide. The alternating colors of bell peppers, red onions, and marinated protein create a festive, rainbow-like appearance on the board. Each bite offers a variety of textures—from the snap of a grilled pepper to the tender, juicy interior of the meat—all infused with a delicious hint of woodsmoke and caramelized marinade.
Ingredients
- 1.5 lbs chicken breast or steak, cut into 1-inch cubes
- 2 bell peppers (different colors), cut into chunks
- 1 red onion, cut into wedges
- 1 zucchini, sliced into thick rounds
- 1/2 cup balsamic vinaigrette or teriyaki sauce for marinating
- Wooden or metal skewers
How to make it
<1. If using wooden skewers, soak them in water for at least 30 minutes prior to grilling to prevent them from catching fire. 2. Place your cubed protein in a resealable bag with the marinade of your choice. Refrigerate for at least 1 hour (up to 4 hours for steak) to ensure the flavors penetrate deep into the fibers of the meat. 3. Prep your vegetables by cutting them into uniform 1-inch pieces, similar in size to the meat, to ensure everything cooks at the same rate. 4. Thread the ingredients onto the skewers, alternating between meat and different vegetables to create a vibrant pattern. Don't crowd them too tightly; leave a tiny bit of space so the heat can circulate around each piece. 5. Preheat your grill to medium-high heat (about 400°F). Lightly oil the grates to prevent sticking. 6. Place the kabobs on the grill and cook for 10-12 minutes, turning them a quarter-turn every 3 minutes. Look for clear grill marks and ensure the internal temperature of the meat reaches safe levels (165°F for chicken). 7. Remove from the grill and let the meat rest for 5 minutes before serving to lock in the juices.
How to mix refreshing summer drinks?

Why we love this
A truly refreshing summer drink is a symphony of ice, citrus, and herbal notes that instantly lowers your temperature on a humid day. The sight of condensation beading on a glass filled with vibrant pink or golden liquid is the ultimate visual cue for relaxation. These drinks are light, effervescent, and not too sweet, allowing the natural brightness of fresh-squeezed fruit to shine through and provide a crisp finish to any meal on the board.
Ingredients
- 2 cups fresh fruit juice (watermelon or lemon)
- 1 cup sparkling water or club soda
- Fresh mint leaves
- Ice cubes
- 1 tablespoon agave or simple syrup (optional)
- Lime slices for garnish
How to make it
<1. Start by chilling your glassware in the freezer for 10 minutes to ensure the drink stays cold as long as possible. 2. If using fresh fruit like watermelon, blend the fruit chunks until liquefied and strain through a fine-mesh sieve to remove any pulp or seeds, leaving you with a smooth, vibrant base. 3. Fill a tall glass or a pitcher halfway with large ice cubes. 4. Pour in the fresh fruit juice and add the agave or simple syrup if you prefer a bit more sweetness. Stir gently with a long spoon to combine. 5. Take a few fresh mint leaves and 'clap' them between your hands before adding them to the glass; this bruises the leaves just enough to release their aromatic oils without making the drink bitter. 6. Top off the glass with sparkling water, pouring slowly to maintain the carbonation. 7. Garnish with a fresh lime wheel and a sprig of mint, and serve immediately while the bubbles are at their peak.
How to assemble party mini sandwiches?

Why we love this
Mini sandwiches are the backbone of a great food board because they offer a complete, savory bite in a handheld format. The soft, pillowy texture of a brioche roll paired with savory meats and melted cheese creates a satisfying richness that appeals to guests of all ages. Topped with a buttery, poppyseed glaze that browns beautifully in the oven, these sliders become addictive little morsels that disappear within minutes of being served.
Ingredients
- 1 pack (12 count) Hawaiian sweet rolls
- 1/2 lb deli ham or turkey, thinly sliced
- 6 slices Swiss or Provolone cheese
- 1/4 cup melted butter
- 1 teaspoon Dijon mustard
- 1 teaspoon poppy seeds
- 1/2 teaspoon onion powder
How to make it
<1. Preheat your oven to 350°F (175°C). 2. Keep the sheet of rolls intact and use a long serrated knife to slice the entire block of rolls in half horizontally. Place the bottom half into a 9x13 inch baking dish. 3. Layer the sliced meat evenly across the bottom half of the rolls, ensuring every inch is covered. Top the meat with the slices of cheese, overlapping them slightly. 4. Place the top half of the rolls back onto the sandwiches. 5. In a small microwave-safe bowl, whisk together the melted butter, Dijon mustard, poppy seeds, and onion powder. 6. Use a pastry brush to liberally coat the tops of the rolls with the butter mixture, making sure the glaze seeps into the cracks between the rolls. 7. Cover the dish with foil and bake for 10 minutes. Then, remove the foil and bake for an additional 5-7 minutes. This two-step process ensures the cheese is fully melted without the tops of the buns getting too dark. 8. Slice into individual sliders and serve warm.
How to cook chilled summer soup?

Why we love this
Chilled soup, like a traditional Gazpacho, is a revelation for summer dining, offering a concentrated explosion of garden flavors in a liquid form. The texture is complex—smooth yet with a slight rustic body from the blended vegetables—while the aroma is dominated by the scent of vine-ripened tomatoes and earthy olive oil. It is incredibly hydrating and serves as a sophisticated, vibrant addition to a food board, providing a cool contrast to grilled items.
Ingredients
- 2 lbs ripe tomatoes, cored and chopped
- 1 cucumber, peeled and chopped
- 1 red bell pepper, seeded and chopped
- 1/2 red onion, chopped
- 1 clove garlic
- 2 tablespoons sherry vinegar
- 1/3 cup extra virgin olive oil
- Salt and pepper to taste
How to make it
<1. Combine the chopped tomatoes, cucumber, bell pepper, red onion, and garlic in a high-speed blender or food processor. 2. Pulse the vegetables until you reach your desired consistency; some prefer a completely smooth puree, while others like a slightly chunky, rustic texture. 3. With the motor running on low, slowly drizzle in the extra virgin olive oil and the sherry vinegar. This emulsion creates a creamy, luxurious mouthfeel without any dairy. 4. Taste the soup and add salt and pepper generously; chilled dishes often require a bit more seasoning as the cold temperatures can dull the flavors slightly. 5. Transfer the soup to a glass container and refrigerate for at least 4 hours. This resting period is crucial for the raw flavors of the garlic and onion to mellow and the acidity to balance out. 6. Serve in small glasses or chilled bowls, garnished with a tiny drizzle of olive oil and a few diced cucumbers on top.
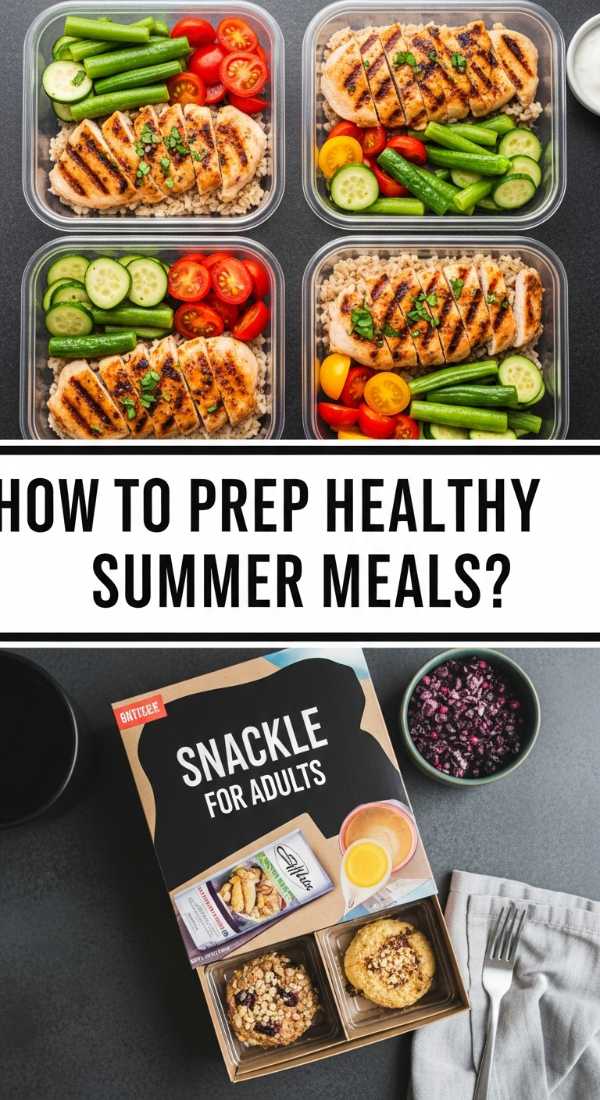
How to prep healthy summer meals?
Why we love this
Preparing healthy summer meals is all about building bowls of vitality that leave you feeling energized rather than weighed down. The combination of fluffy grains, fiber-rich legumes, and crisp greens provides a powerhouse of nutrition with a variety of textures in every bite. The beauty of these meals lies in their versatility; a zesty tahini or lemon dressing ties the whole board together, making healthy eating feel like a colorful, indulgent treat rather than a chore.
Ingredients
- 1 cup quinoa or farro, cooked
- 1 can chickpeas, rinsed and drained
- 2 cups baby spinach or kale
- 1 avocado, sliced
- 1/4 cup pumpkin seeds or walnuts
- Lemon-tahini dressing
How to make it
<1. Start by cooking your base grain (quinoa or farro) in vegetable broth instead of water to infuse it with extra savory flavor. Once cooked, fluff it with a fork and spread it out on a baking sheet to cool slightly; this prevents the steam from wilting your greens later. 2. Prepare your chickpeas by tossing them with a little olive oil, salt, and cumin, then roasting them at 400°F for 15 minutes for an added crunch, or keep them raw for a softer texture. 3. Massage your kale or spinach with a tiny bit of olive oil and lemon juice for 2 minutes to soften the fibers, making them easier to digest and more pleasant to eat. 4. Arrange the grains, greens, and chickpeas in separate sections of a large bowl or on a section of your food board. 5. Add the sliced avocado and nuts just before serving to ensure the avocado stays bright green and the nuts remain crunchy. 6. Drizzle with a generous amount of lemon-tahini dressing (whisked tahini, lemon juice, garlic, and a splash of water) and toss everything together just before enjoying.
Conclusion
The rise of the simple food board isn’t just a passing social media fad; it’s a testament to our desire for connection and effortless beauty in our daily lives. By focusing on fresh, seasonal ingredients and simple preparation techniques, we can create meals that are as visually stunning as they are delicious. So, grab your largest wooden board, pick a few of these summer favorites, and start assembling your own masterpiece. Your feed—and your friends—will thank you!