

Why This Minimalist Snack Board is Going Viral
There is something truly magical about a table filled with tiny, curated treasures that invite people to linger just a little bit longer. In a world that often feels rushed and chaotic, the rise of the ‘Minimalist Snack Board’ isn’t just about the food; it’s about creating a slow, intentional moment of connection. I remember the first time I set one out for a Sunday afternoon with friends—the way the room softened as we shared stories over warm cookies and pillowy gnocchi. It wasn’t about a fancy five-course meal; it was about the simple, tactile joy of grazing.
This viral trend focuses on quality over quantity, featuring a few standout homemade elements rather than a cluttered mountain of store-bought snacks. It’s about the aesthetic of a clean board, the aroma of fresh baking, and the satisfaction of knowing you made each component from scratch. Whether you’re hosting a cozy movie night or a chic afternoon tea, these elements bring a sense of warmth and effortless luxury to your table. Let’s dive into the recipes that make this board a social media sensation.
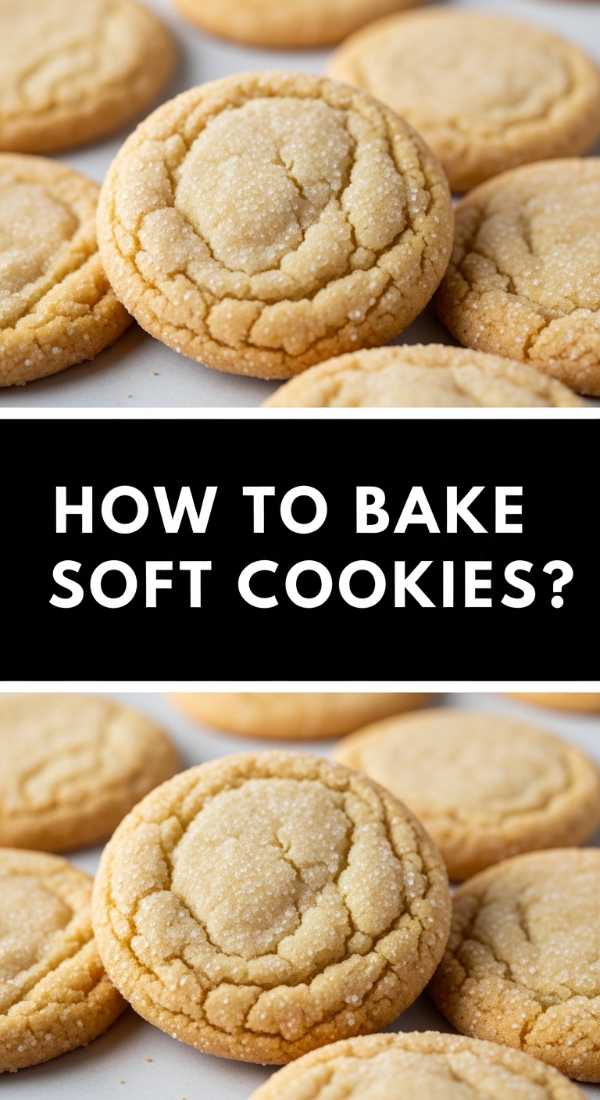
How to Bake Soft Sugar Cookies
Why we love this
The kitchen fills with that unmistakable scent of vanilla and warm butter the moment these cookies hit the oven. There is a nostalgic comfort in a soft sugar cookie that melts away on the tongue, offering a delicate sweetness that isn’t overpowering. We love the contrast between the slightly crisp, golden edges and the pale, tender center that stays soft for days. It’s the kind of treat that makes you want to curl up with a cup of tea and just enjoy the quiet, buttery bliss of a perfectly baked homemade cookie.
Ingredients
- 1 cup unsalted butter, softened
- 1 cup granulated sugar
- 1 large egg
- 2 teaspoons vanilla extract
- 2.5 cups all-purpose flour
- 1/2 teaspoon baking powder
- 1/4 teaspoon salt
How to make it
- Begin by creaming the softened butter and granulated sugar together in a large stand mixer. Use the paddle attachment and beat on medium-high for at least 3-5 minutes until the mixture is pale, fluffy, and doubles in volume. This aeration is key to a soft texture.
- Add the egg and vanilla extract, beating until fully incorporated. Scrape down the sides of the bowl to ensure no streaks of butter remain.
- In a separate bowl, whisk together the flour, baking powder, and salt. Gradually add the dry ingredients to the wet mixture on low speed. Mix only until the white streaks of flour disappear; overmixing at this stage will develop gluten and make the cookies tough.
- Wrap the dough in plastic wrap and chill in the refrigerator for at least 1 hour. This prevents the cookies from spreading too much and keeps them thick and soft.
- Preheat your oven to 350°F (175°C). Roll the dough into 1-inch balls and place them on a parchment-lined baking sheet. Press down slightly with the palm of your hand.
- Bake for 8-10 minutes. The visual cue for doneness is when the edges are just barely set and the tops look matte rather than shiny. They should not be brown. Let them cool on the pan for 5 minutes to set before moving to a wire rack.
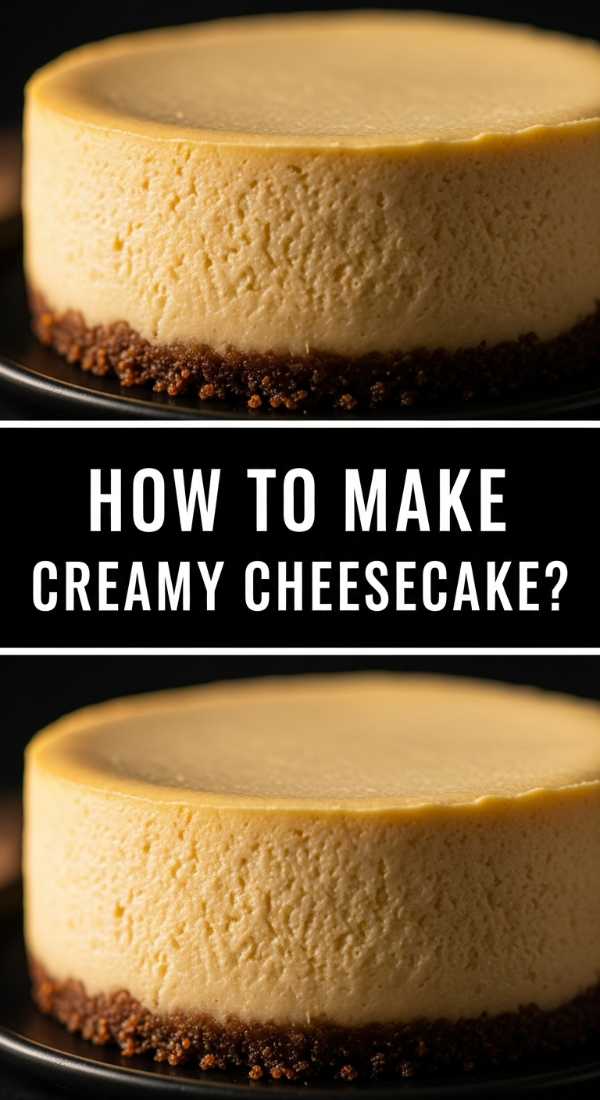
How to Make Creamy Cheesecake
Why we love this
Imagine a dessert so smooth it feels like a silken cloud melting on your tongue, balanced by the earthy, honeyed crunch of a graham cracker crust. This cheesecake is the epitome of indulgence, with a rich, tangy flavor profile that lingers beautifully. The aroma is a subtle mix of sweet cream and toasted crumbs, creating an inviting centerpiece for any snack board. It’s the perfect blend of dense and light, making every bite feel like a celebration of classic pastry techniques and pure, high-quality ingredients.
Ingredients
- 24 oz cream cheese, room temperature
- 1 cup granulated sugar
- 3 large eggs, room temperature
- 1 cup sour cream
- 1 tablespoon vanilla extract
- 1.5 cups graham cracker crumbs
- 4 tablespoons melted butter
How to make it
- Start by preparing the crust. Mix the graham cracker crumbs with melted butter until it resembles wet sand. Press firmly into the bottom of a 9-inch springform pan. Bake at 325°F (160°C) for 10 minutes, then let cool completely.
- For the filling, beat the room-temperature cream cheese and sugar together on medium speed. It is critical that the cream cheese is soft to avoid lumps. Beat until completely smooth and creamy.
- Add the eggs one at a time, mixing on low speed just until combined. Incorporating too much air at this stage will cause the cheesecake to puff up and then crack as it cools.
- Fold in the sour cream and vanilla extract by hand using a spatula. This adds the signature tang and helps maintain a dense, creamy consistency.
- Pour the batter over the cooled crust. Wrap the bottom of the pan in heavy-duty foil and place it in a large roasting pan filled with 1 inch of hot water (a water bath). This provides gentle, even heat.
- Bake at 325°F for 60-70 minutes until the edges are set but the center still has a slight jiggle. Turn off the oven and prop the door open slightly, letting the cheesecake cool inside for an hour to prevent cracking. Chill for at least 6 hours before serving.
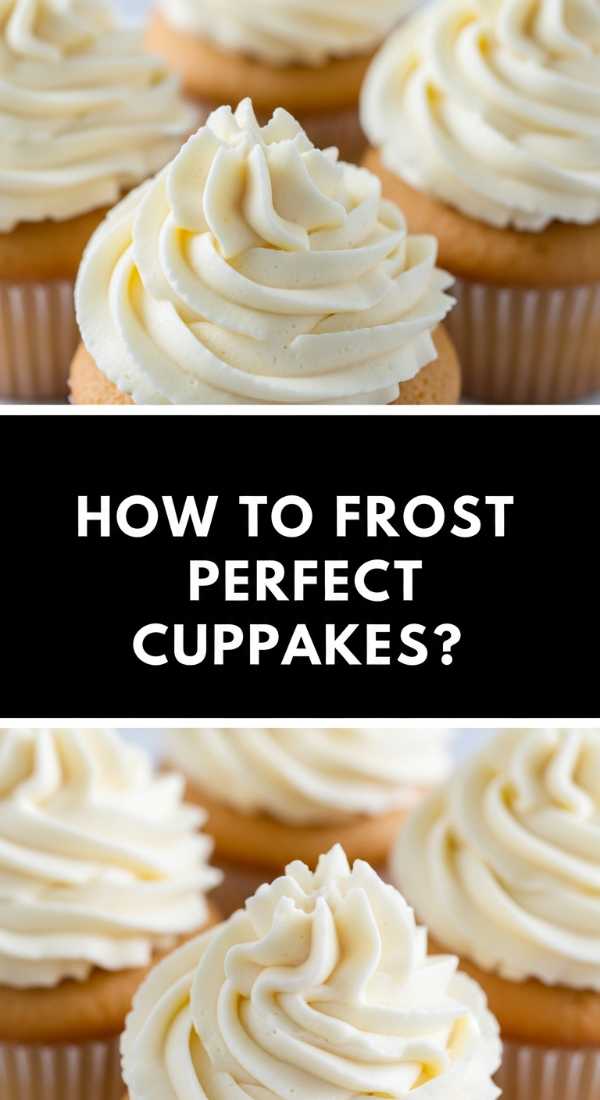
How to Frost Perfect Cupcakes
Why we love this
The crowning glory of any dessert board is the perfectly swirled cupcake, topped with a frosting so smooth it looks like satin. We love the way a well-piped cupcake adds height and elegance to the display, turning a simple cake into a work of art. The frosting should be light enough to be airy but stable enough to hold its shape, offering a sweet, velvety contrast to the moist cake beneath. There is a deep satisfaction in that first bite where the creamy topping meets the fluffy sponge in a perfect harmony of textures.
Ingredients
- 1 cup unsalted butter, softened
- 3.5 cups powdered sugar, sifted
- 2 tablespoons heavy cream
- 1.5 teaspoons vanilla extract
- Pinch of salt
How to make it
- Whip the softened butter alone in a stand mixer for about 5 minutes. This creates a very pale, almost white base and ensures the frosting is light and easy to pipe.
- Add half of the sifted powdered sugar and beat on low until combined, then increase to medium-high for 2 minutes. Sifting is non-negotiable to prevent clogging the piping tip.
- Add the remaining sugar, heavy cream, vanilla, and salt. The salt is essential to cut through the sugar’s sweetness. Beat for another 3-5 minutes until the frosting is stiff enough to hold a peak but smooth enough to spread.
- Fit a large piping bag with an open star tip (like a 1M). Fold the top of the bag over your hand and fill with frosting, ensuring there are no air pockets.
- Hold the bag vertically over the center of the cupcake. Starting from the outside edge, pipe a continuous circle moving inward and upward.
- As you reach the center, release pressure on the bag and pull up quickly to create a clean, professional point. If the frosting feels too soft, chill the bag for 10 minutes before continuing.
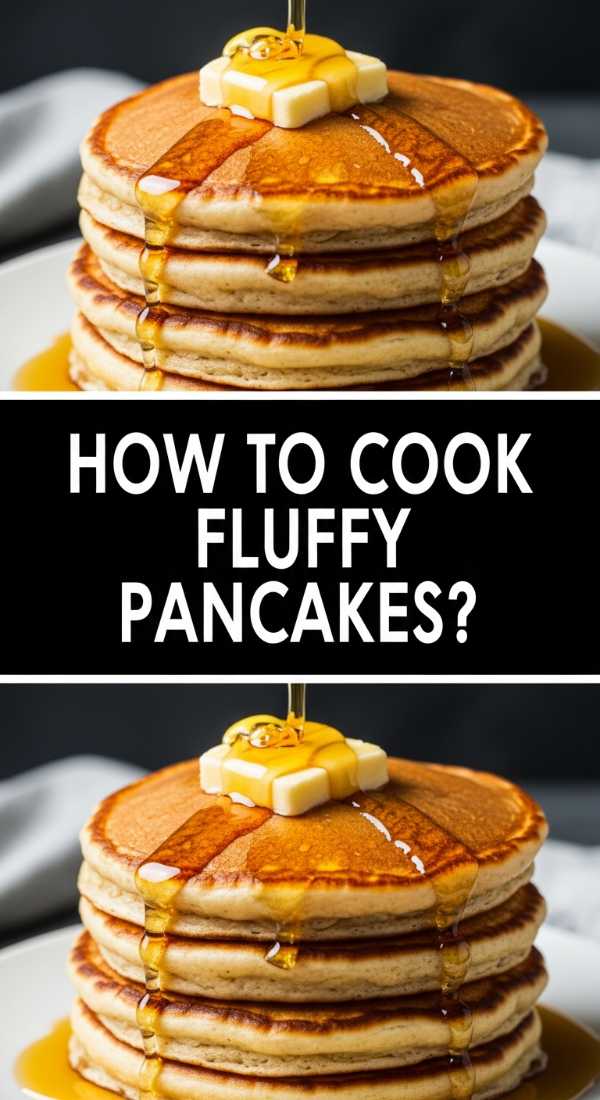
How to Cook Fluffy Pancakes
Why we love this
Sunday mornings were made for the rhythmic sizzle of batter hitting a buttered griddle and the sweet, yeasty aroma of rising pancakes. We love these because they are the ultimate comfort food—thick, airy disks that soak up maple syrup like a delicious sponge. The texture is key here; they should be light and springy, never gummy, with a golden-brown lattice on the outside that provides a tiny bit of crunch. They bring a cozy, brunch-inspired vibe to a snack board that makes everyone feel right at home.
Ingredients
- 1.5 cups all-purpose flour
- 3.5 teaspoons baking powder
- 1 tablespoon white sugar
- 1.25 cups milk
- 1 egg
- 3 tablespoons melted butter
- 1 teaspoon vanilla extract
How to make it
- Whisk the dry ingredients together in a large bowl. Ensure the baking powder is fresh, as this is the primary leavening agent responsible for the ‘fluff’ factor.
- In a separate jug, mix the milk, egg, melted butter, and vanilla. Make a well in the center of the dry ingredients and pour the liquid in.
- Whisk gently until just combined. Professional tip: Do not overmix! There should still be small lumps in the batter. Over-mixing develops gluten, which makes pancakes chewy rather than fluffy. Let the batter rest for 10 minutes to allow the leavening agents to activate.
- Heat a non-stick skillet or griddle over medium-low heat. Brush lightly with butter. You know the heat is right when a drop of water dances on the surface.
- Pour 1/4 cup of batter for each pancake. Cook until bubbles form on the surface and the edges look set and matte. This usually takes about 2-3 minutes.
- Flip carefully with a thin spatula and cook for another 1-2 minutes until the other side is golden brown. Serve immediately or keep warm in a low oven.
How to Make Potato Gnocchi

Why we love this
Handmade pasta is a love language all its own, and potato gnocchi are the soft, pillowy stars of the show. We love the meditative process of rolling the dough and the way these little dumplings feel like light, airy clouds on the palate. There’s a rustic charm to their shape, especially when they catch a bit of sauce in their ridges. The aroma of boiling potatoes followed by the earthy scent of dusted flour creates a kitchen atmosphere that is warm, inviting, and purely artisanal.
Ingredients
- 2 lbs starchy potatoes (Russets are best)
- 1.5 cups all-purpose flour
- 1 large egg, lightly beaten
- 1 teaspoon salt
How to make it
- Boil the whole, unpeeled potatoes in salted water until tender. Cooking them in their skins prevents them from absorbing too much water, which is the secret to light gnocchi.
- While still warm, peel the potatoes and pass them through a potato ricer onto a clean work surface. Ricing creates a fine, fluffy texture that you cannot get with a masher. Let the potato steam dissipate for a few minutes.
- Sprinkle the salt and most of the flour over the potatoes. Pour the beaten egg over the top. Gently fold the ingredients together by hand.
- Knead very lightly. You want to form a cohesive dough that is no longer sticky, but stop as soon as it comes together. Over-kneading results in rubbery gnocchi.
- Divide the dough and roll into long ropes about 3/4 inch thick. Cut the ropes into 1-inch pieces.
- For the classic look, roll each piece over the tines of a fork or a gnocchi board to create ridges. This helps the sauce cling to the pasta. Cook in boiling salted water; they are done the moment they float to the surface (usually 2-3 minutes).
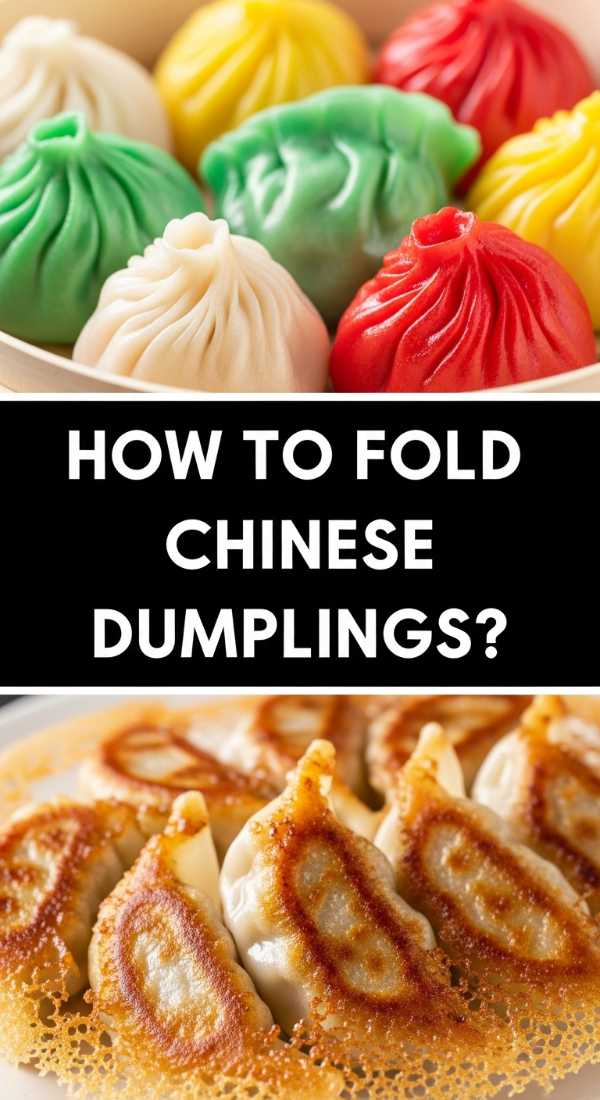
How to Fold Chinese Dumplings
Why we love this
The art of folding a dumpling is a meditative practice that yields the most rewarding results—tiny, savory packages bursting with juice and flavor. We love the thin, elastic wrapper that gives way to a perfectly seasoned filling, creating a bite that is both chewy and tender. The visual appeal of a board filled with neatly pleated dumplings is undeniable, signaling care and craftsmanship. Each dumpling is a small explosion of ginger, garlic, and savory goodness that adds a sophisticated, international flair to your snack spread.
Ingredients
- 1 pack round dumpling wrappers
- 1 lb ground pork or chicken
- 2 cups finely shredded cabbage
- 2 stalks green onion, minced
- 1 tablespoon soy sauce
- 1 teaspoon sesame oil
- 1 teaspoon grated ginger
How to make it
- Prepare the filling by mixing the ground meat, cabbage, green onions, soy sauce, sesame oil, and ginger in a bowl. Mix vigorously in one direction until the mixture becomes slightly tacky; this ensures the filling stays together inside the wrapper.
- Place a dumpling wrapper in the palm of your hand. Put about 1 tablespoon of filling in the center. Do not overfill, or the dumpling will burst during cooking.
- Dip your finger in water and run it along the edge of the top half of the wrapper to act as a glue.
- Fold the wrapper in half but do not seal it yet. Starting from one side, create small pleats by folding the front layer of the wrapper over itself, pressing it against the back layer which remains flat.
- Continue pleating until you reach the other side, aiming for 5-7 pleats per dumpling. Ensure the seal is tight and there are no air pockets inside.
- To cook, pan-fry in a tablespoon of oil over medium heat until the bottoms are golden brown. Pour in 1/4 cup of water and immediately cover with a lid. Steam for 5 minutes until the water has evaporated and the wrappers are translucent.
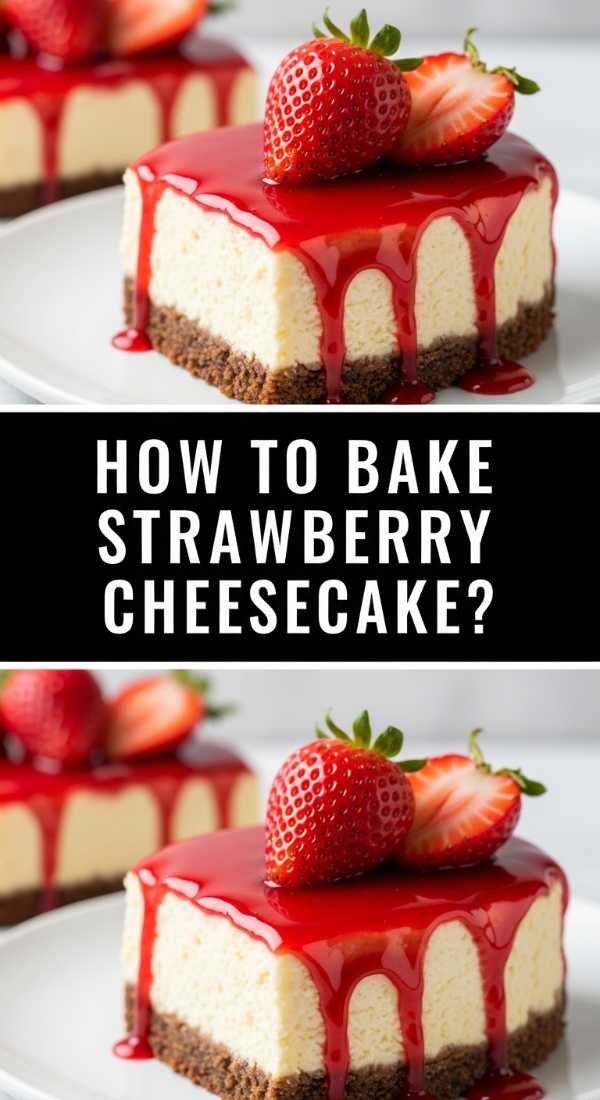
How to Bake Strawberry Cheesecake
Why we love this
A burst of summer on a plate, this strawberry cheesecake combines the rich decadence of cream cheese with the bright, acidic pop of fresh fruit. We love the vibrant red swirl or topping that contrasts so beautifully against the pale, creamy cake. It smells like a sun-drenched garden, with the sweet aroma of macerated berries mingling with vanilla. It’s a refreshing take on a classic that feels lighter and more energetic, making it an ideal addition to a board meant for long, sunny afternoons.
Ingredients
- 1 recipe for Creamy Cheesecake (above)
- 2 cups fresh strawberries
- 1/4 cup granulated sugar
- 1 tablespoon lemon juice
- 1 teaspoon cornstarch
How to make it
- Prepare the cheesecake base and crust according to the ‘Creamy Cheesecake’ instructions.
- To make the strawberry component, hull and slice the strawberries. Place them in a small saucepan with sugar and lemon juice. Cook over medium heat for 10 minutes until the berries break down into a sauce.
- Whisk the cornstarch with a teaspoon of water to make a slurry. Stir this into the strawberry mixture and simmer for 2 minutes until thickened and glossy. Press through a fine-mesh sieve if you want a smooth coulis.
- If you want a marbled effect, drop spoonfuls of the cooled strawberry sauce onto the unbaked cheesecake batter and use a skewer to gently swirl them together.
- If you prefer a topped cheesecake, bake the plain cheesecake first. Once cooled and chilled, spread the thickened strawberry sauce over the top.
- Bake at 325°F using a water bath as previously described. Ensure the cheesecake is fully chilled (at least 6 hours) before slicing to ensure the strawberry layer and the cheese layer are perfectly set and neat.
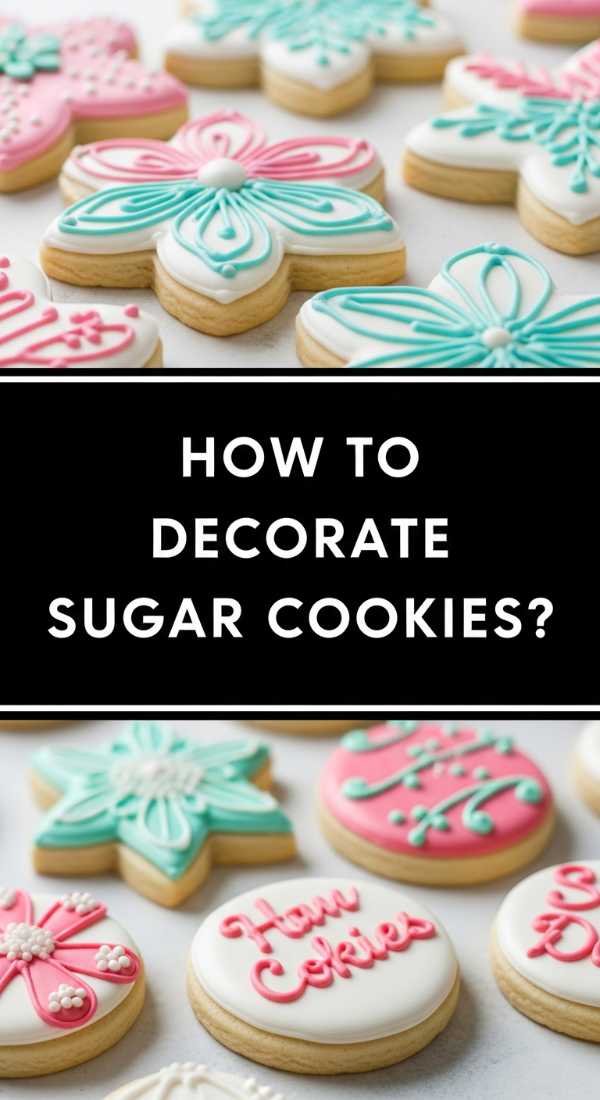
How to Decorate Sugar Cookies
Why we love this
Precision meets creativity when it comes to icing, turning a simple cookie into a miniature canvas. We love the sharp, clean lines of royal icing and the satisfying ‘snap’ of a hardened border that yields to a soft, sugary center. Decorating is where the personality of your snack board truly shines; you can match colors to a theme or season. The visual appeal of perfectly flooded icing with intricate details is what makes these cookies go viral—they look almost too beautiful to eat, yet the sweet, almond-scented frosting is impossible to resist.
Ingredients
- 1 batch of baked Soft Sugar Cookies (cooled)
- 4 cups powdered sugar
- 3 tablespoons meringue powder
- 5-7 tablespoons warm water
- Gel food coloring
How to make it
- Make the royal icing by whisking powdered sugar, meringue powder, and water. Beat for 7-10 minutes until stiff peaks form. This is your ‘piping consistency’ icing.
- Divide the icing into bowls and add gel food coloring. Gel is preferred over liquid as it won’t thin out the icing.
- Transfer some piping consistency icing to a bag with a small round tip. Outline the edge of your cookies to create a dam that will hold the thinner icing.
- Thin out the remaining icing with a few drops of water at a time until it reaches ‘flood consistency’ (it should disappear back into itself in about 10 seconds when drizzled).
- Fill the center of the outlined cookie with the flood icing. Use a toothpick or scribe tool to pop bubbles and move the icing into the corners.
- Let the base layer dry for at least 4 hours before adding details on top with the stiffer piping icing. This prevents the colors from bleeding and ensures a professional, layered look.
How to Make Cheesy Gnocchi

Why we love this
Golden, pan-seared edges meet a molten river of cheese in this elevated comfort dish. We love how the exterior of the gnocchi gets a slight crunch in the pan, providing a textured base for the gooey, melted mozzarella and sharp parmesan. The aroma of browned butter and toasted cheese is absolutely intoxicating, drawing everyone toward the snack board the moment it’s served. It’s a warm, savory element that balances out the sweeter treats, offering a satisfying, salty bite that feels incredibly indulgent.
Ingredients
- 1 lb prepared potato gnocchi (raw)
- 2 tablespoons butter
- 1 cup shredded mozzarella cheese
- 1/2 cup grated Parmesan cheese
- 1/4 cup heavy cream
- Fresh sage or parsley
How to make it
- Boil the gnocchi in salted water until they float. Drain them well and pat them dry with a paper towel. Dry gnocchi sear better than wet ones.
- Melt butter in a large skillet over medium-high heat until it begins to foam and smell nutty. Add the gnocchi in a single layer.
- Sear the gnocchi without moving them for 2-3 minutes until the bottoms are deep golden brown. Flip and sear the other side for 1 minute.
- Lower the heat to medium-low. Pour in the heavy cream and half of the Parmesan cheese. Stir gently as the cream thickens into a light sauce that coats the dumplings.
- Sprinkle the mozzarella over the top and cover the pan for 2 minutes, or place under a broiler for 1 minute, until the cheese is bubbly and beginning to brown.
- Garnish with fresh herbs and the remaining Parmesan. Serve directly on the board in a small cast-iron skillet or warm ceramic dish to keep the cheese melty.
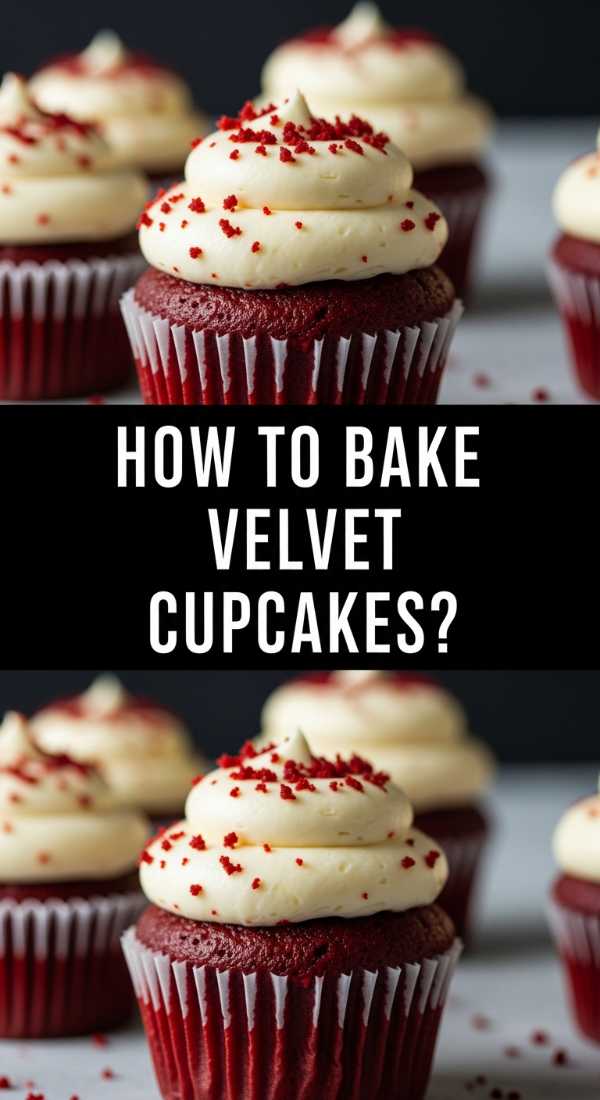
How to Bake Velvet Cupcakes
Why we love this
Deep, cocoa-kissed sponge topped with tangy frosting, velvet cupcakes are the ultimate statement piece. We love the tight, velvety crumb that feels luxurious on the palate, and that striking deep red color that pops against a minimalist board. The scent is a sophisticated blend of mild chocolate and the tang of buttermilk, creating a flavor profile that is more complex than a standard vanilla or chocolate cake. They bring a sense of classic Americana and high-end bakery style to your homemade spread.
Ingredients
- 1.25 cups all-purpose flour
- 1 cup granulated sugar
- 1/2 teaspoon baking soda
- 1/2 teaspoon salt
- 1 tablespoon cocoa powder
- 3/4 cup vegetable oil
- 1/2 cup buttermilk, room temperature
- 1 egg, room temperature
- 1 tablespoon red food coloring
- 1 teaspoon vinegar
- 1 teaspoon vanilla extract
How to make it
- Preheat your oven to 350°F (175°C) and line a cupcake tin. Sift the dry ingredients (flour, sugar, baking soda, salt, and cocoa powder) together. Sifting ensures the ‘velvet’ texture by removing all lumps.
- In a large bowl, whisk the oil, buttermilk, egg, food coloring, vinegar, and vanilla. The vinegar and buttermilk react with the baking soda to create the signature lift and crumb.
- Gradually fold the dry ingredients into the wet ingredients. Do not overmix; stop the moment the batter is smooth. The batter will be quite liquid, which is normal for this recipe.
- Fill cupcake liners about 2/3 full. If you overfill them, they will lose their signature flat top which is ideal for frosting.
- Bake for 18-20 minutes. Test with a toothpick; it should come out clean or with a few moist crumbs.
- Cool completely in the tin for 10 minutes, then move to a wire rack. These are best paired with a tangy cream cheese frosting or the ‘Perfect Cupcake Frosting’ listed above.
The Art of the Minimalist Board
Building a viral-worthy snack board is all about balance. By choosing a few of these high-quality, handmade recipes, you create a spread that is both visually stunning and deeply satisfying. Remember to leave some ‘white space’ on your board—don’t overcrowd it. Use small bowls for sauces, vary the heights of your treats, and add a few sprigs of fresh herbs or edible flowers for that final professional touch. Your guests will feel the love in every bite, and your social media feed will thank you!