
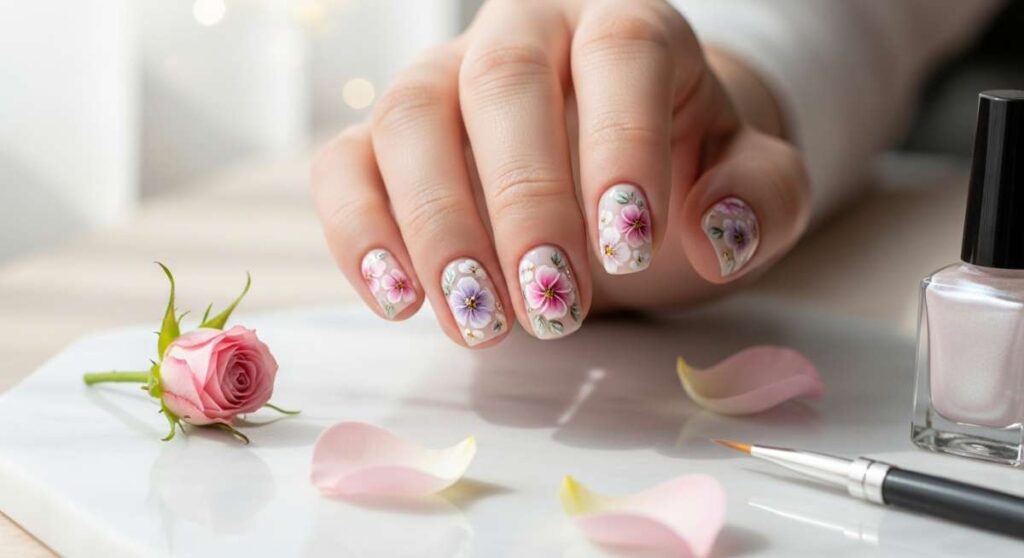
Whimsical Whispers: Elegant Floral Nail Designs You’ll Adore
Hello, my loves! Welcome back to our little corner of the internet where everything feels like a warm, cloud-soft embrace. Today, I wanted to share something that has been making my heart flutter lately—the simple, quiet joy of romantic and dainty nail art. There is something so incredibly poetic about looking down at your hands and seeing a tiny garden blooming on your fingertips or a soft shimmer that reminds you to move through the world with grace.
I truly believe that our hands tell our stories. They hold the tea cups we sip from during rainy mornings, they turn the pages of our favorite novels, and they reach out to the people we cherish. Giving them a little extra love through whimsical designs isn’t just about beauty; it’s a form of self-care that whispers, ‘You deserve to feel delicate and wonderful.’ So, grab your favorite cozy blanket, and let’s dive into these ethereal tutorials together.
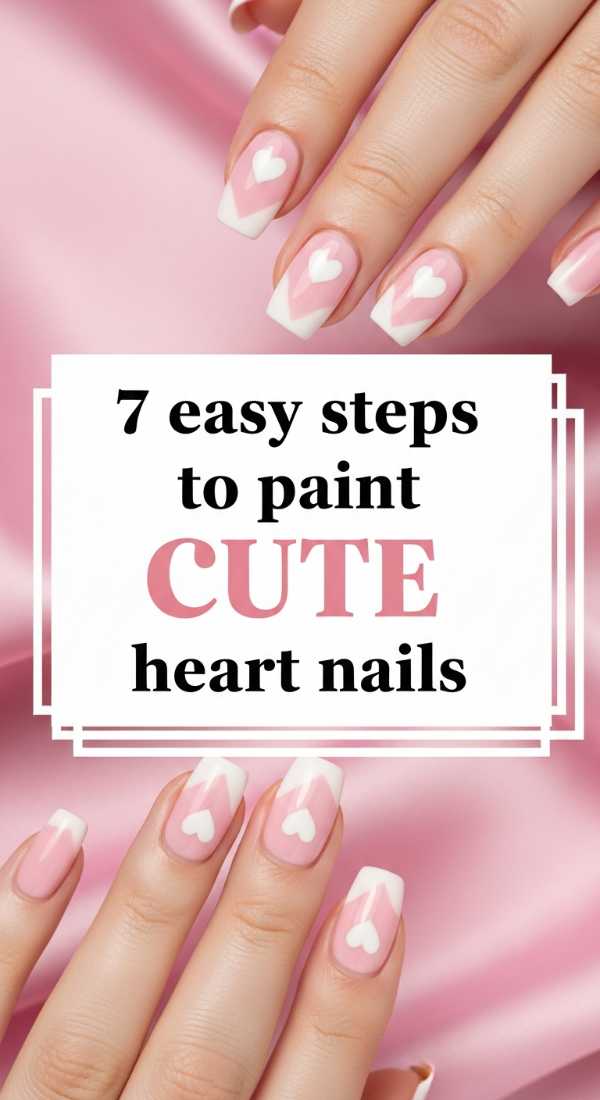
7 Easy Steps to Paint Cute Heart Nails
Why to love this Design:
These tiny symbols of affection are the ultimate expression of sweetness. They aren’t just for Valentine’s Day; they are a daily reminder to carry love with you wherever you go. The minimalist aesthetic makes them perfect for any occasion, from a casual coffee date to a soft afternoon wedding.
Essential Elements:
- Sheer nude or pale pink base polish
- Deep crimson or soft rose polish for the hearts
- A fine-point dotting tool or a toothpick
- High-gloss top coat
How to Prepare:
- Cleanse nails with alcohol to remove natural oils.
- Apply one thin coat of sheer base color and let dry.
- Dip your dotting tool into the heart color polish.
- Place two small dots side-by-side where you want the top of the heart.
- Drag a small amount of polish from the bottom of each dot to meet in a ‘V’ shape.
- Refine the edges gently to smooth the curves.
- Wait five minutes, then seal with a protective top coat.
Budget Range
- Essie Ballet Slippers ($10)
- Sally Hansen Insta-Dri Red ($6)
- Basic Dotting Tool Set ($4)
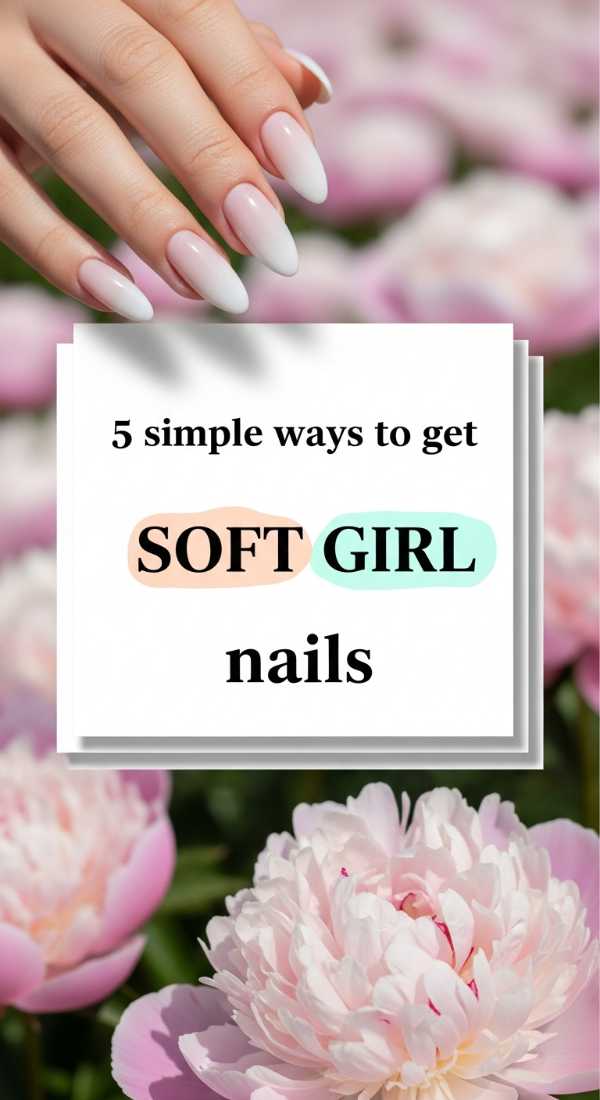
5 Simple Ways to Get Soft Girl Nails
Why to love this Design:
The ‘soft girl’ aesthetic is all about those hazy, dreamlike vibes. It’s a look that feels like a watercolor painting or a sunset viewed through a linen curtain. It emphasizes natural beauty while adding just enough magic to feel special.
Essential Elements:
- Pastel cream polishes (mint, lavender, peach)
- Matte top coat
- Iridescent flake toppers
- Fine glitter dust
How to Prepare:
- Keep nails shaped in a soft, rounded oval to mimic natural curves.
- Apply a milky white base to make pastel colors pop.
- Use a makeup sponge to dab a ‘cloud’ of pastel color onto the center of the nail.
- Apply a single layer of iridescent flakes for a hidden shimmer.
- Finish with a matte top coat for that velvet-soft appearance.
Budget Range
- OPI Soft Shades Collection ($11 per bottle)
- Holo Taco Iridescent Flakies ($13)
- Drugstore Matte Top Coat ($5)
6 Pro Tips for Baddie French Tips

Why to love this Design:
This design is for when you want that dainty vibe but with a little more confidence and ‘oomph.’ It’s a modern twist on a classic that lengthens the fingers and makes every outfit look instantly more expensive.
Essential Elements:
- Long almond or coffin nail tips
- French tip guide stickers or a thin liner brush
- Contrast colors (like baby blue or chocolate brown)
- Reinforcing base gel
How to Prepare:
- Always start with a strengthening base to support the length.
- Use a liner brush rather than the bottle brush for precision.
- Rest your painting hand on a flat surface to steady your shake.
- Paint the ‘smile line’ slightly higher on the sides to elongate the nail bed.
- Clean up the curve with a flat brush dipped in acetone.
- Apply two coats of top coat to ensure the tip doesn’t chip.
Budget Range
- Beetles Gel Liner Polish ($8)
- Static Nails Reusable Pop-Ons ($16)
- Professional Grade Acetone ($5)
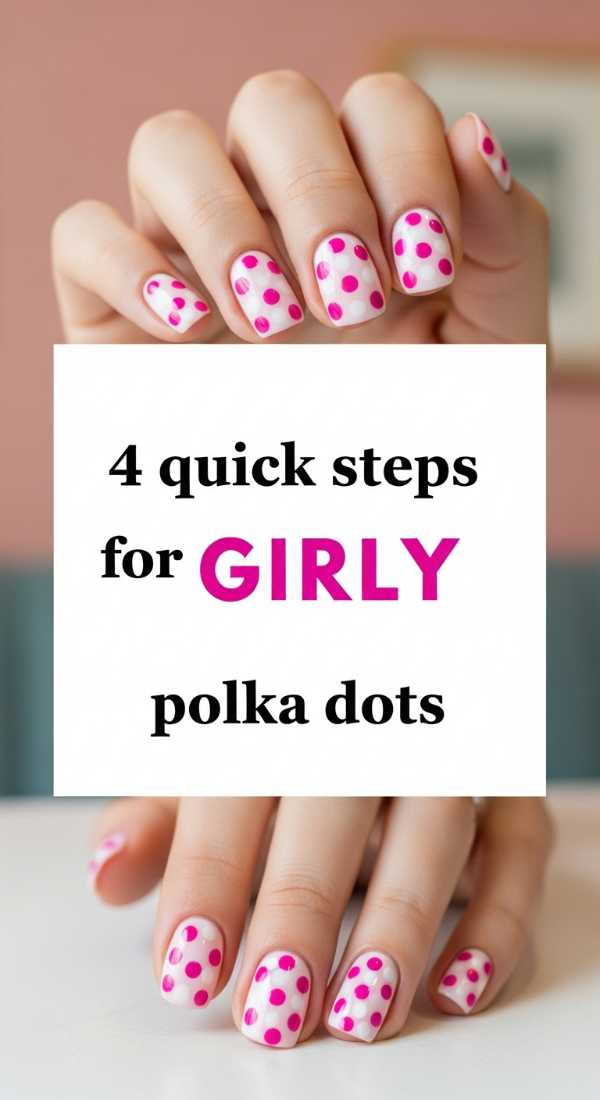
4 Quick Steps for Girly Polka Dots
Why to love this Design:
Polka dots are timeless, playful, and incredibly easy to achieve. They remind me of vintage tea dresses and summer picnics. It’s a design that doesn’t take itself too seriously but always looks curated and intentional.
Essential Elements:
- Two contrasting polish colors
- Large and small dotting tools
- Quick-dry spray
How to Prepare:
- Apply your base color and ensure it is 100% dry to avoid dragging.
- Place a small dollop of the dotting polish on a piece of tin foil.
- Dip the tool and press vertically onto the nail in a staggered ‘quincunx’ pattern.
- Let the dots dry longer than usual because they are thicker than a normal layer of polish.
Budget Range
- Zoya Professional Lacquer ($12)
- Nail Art Dotting Pens ($7)
- Mani-Ease Drying Spray ($9)
8 Secret Hacks for Pretty Aesthetic Nails
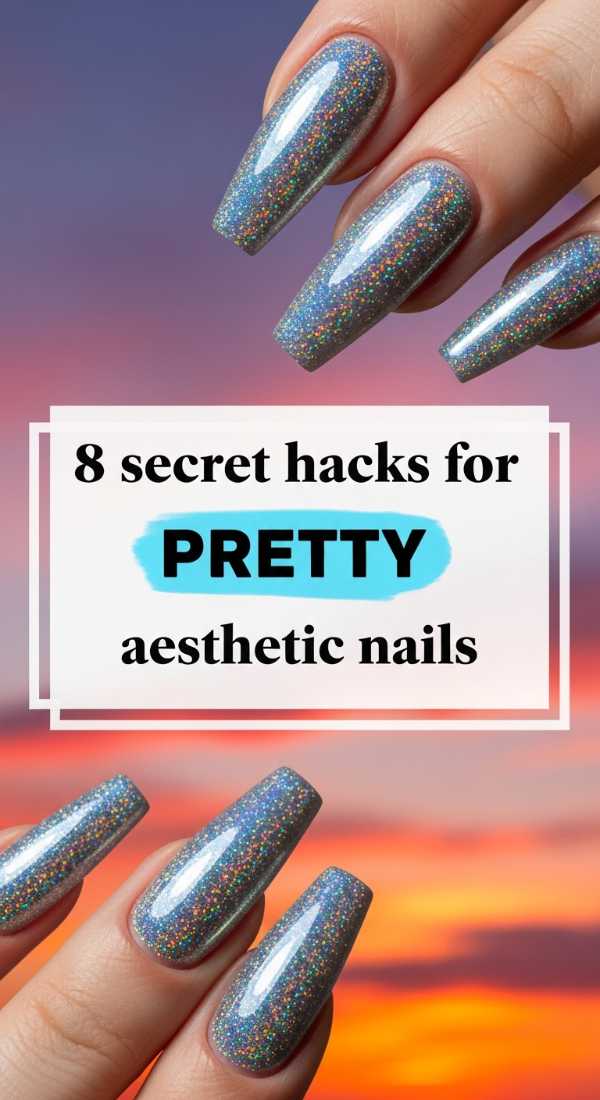
Why to love this Design:
Aesthetic nails are all about the ‘Pinterest-perfect’ look. These hacks are the secrets behind those flawless photos we all save to our mood boards. It’s about the subtle details that elevate a simple manicure into a work of art.
Essential Elements:
- Cuticle oil (Rose scented for the vibes!)
- Micro-shimmer polish
- Detailing brushes
- Buffing block
How to Prepare:
- Buff the nail surface gently to create a smooth canvas for shimmer.
- Warm the polish bottle between your palms instead of shaking to avoid air bubbles.
- Apply thin layers—three thin ones are better than one thick one.
- Use a ‘cleanup brush’ around the cuticles for that salon-fresh edge.
- Apply cuticle oil daily to keep the surrounding skin glowing.
- Highlight the ‘ring finger’ with a different but complementary texture.
- Use a cold water dip to help the polish set faster.
- Store your polishes in a cool, dark place to maintain their consistency.
Budget Range
- Cuccio Revitalize Cuticle Oil ($9)
- Winstonia Detailing Brushes ($12)
- Revlon Buffing Block ($3)
3 Minute Guide to Dainty Floral Nails
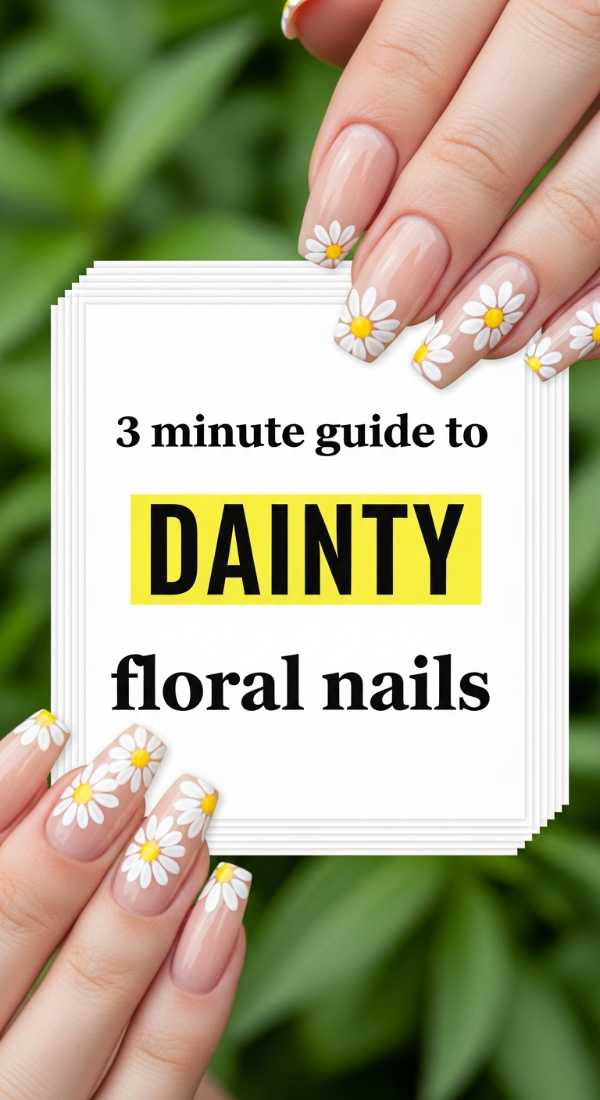
Why to love this Design:
Dainty florals are the heart of the Whimsical Whispers aesthetic. They are like wearing a tiny piece of spring all year round. Even if you aren’t an artist, these simple shapes create the illusion of complex botanical beauty.
Essential Elements:
- White and yellow polishes
- Sage green polish for leaves
- Toothpick
How to Prepare:
- Place five small white dots in a circle to form the petals.
- Add a single yellow dot in the very center once the white is slightly tacky.
- Use a toothpick to pull a tiny bit of green polish out from the side for a leaf.
Budget Range
- Sinful Colors Snow Me White ($2)
- Orly Lemonade Polish ($10)
- Nature Republic Green Polish ($6)
9 Steps to Create Romantic Pink Ombre

Why to love this Design:
Pink ombre is the epitome of soft romance. It’s a seamless transition that looks like blushing cheeks. It’s incredibly flattering on all skin tones and gives the nails a healthy, glowing appearance.
Essential Elements:
- Pale pink and deep rose polishes
- Latex-free makeup sponge
- Liquid latex (optional for cleanup)
How to Prepare:
- Apply a base coat of the lightest pink.
- Apply liquid latex to the skin around the nail.
- Paint a stripe of light pink and a stripe of dark pink on the sponge.
- Dab the sponge onto the nail repeatedly to blend.
- Shift the sponge slightly up and down to soften the line.
- Wait for the layer to dry slightly.
- Repeat the dabbing process for more opacity.
- Peel off the liquid latex.
- Apply a thick top coat to smooth out the sponge texture.
Budget Range
- Pueen Liquid Latex ($9)
- Wedge Makeup Sponges ($4 for a pack)
- Essie Gel Couture Pink ($13)
5 Ways to Style Feminine Pearl Nails
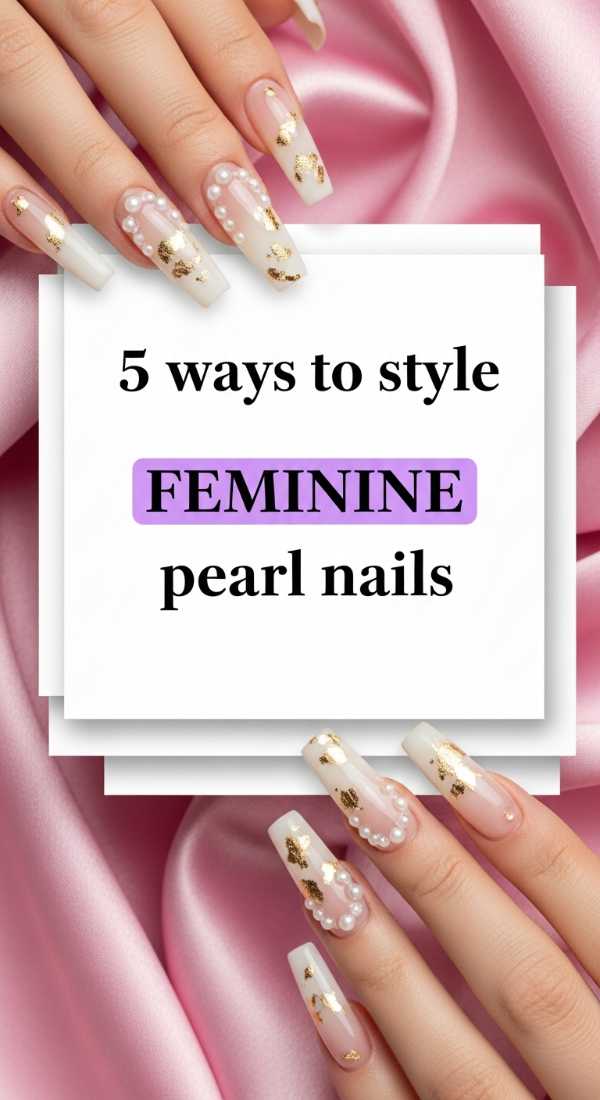
Why to love this Design:
Pearls evoke feelings of timeless elegance and oceanic mystery. Adding small pearl accents to your nails makes you feel like a mermaid princess or a vintage starlet. It adds a 3D element that is surprisingly wearable.
Essential Elements:
- Flat-back micro pearls
- Nail glue or a thick top coat
- Tweezers
How to Prepare:
- Apply a shimmering ‘glazed donut’ base polish.
- Place a small drop of glue where you want the pearl.
- Use tweezers to gently set the pearl into the glue.
- Style 1: One pearl at the base of each nail.
- Style 2: A ‘tiara’ of three pearls on the ring finger.
Budget Range
- Bulk Micro-Pearls for Nails ($6)
- Kiss Maximum Speed Nail Glue ($4)
- OPI Funny Bunny ($11)
10 Easy Methods for Cute Bow Designs
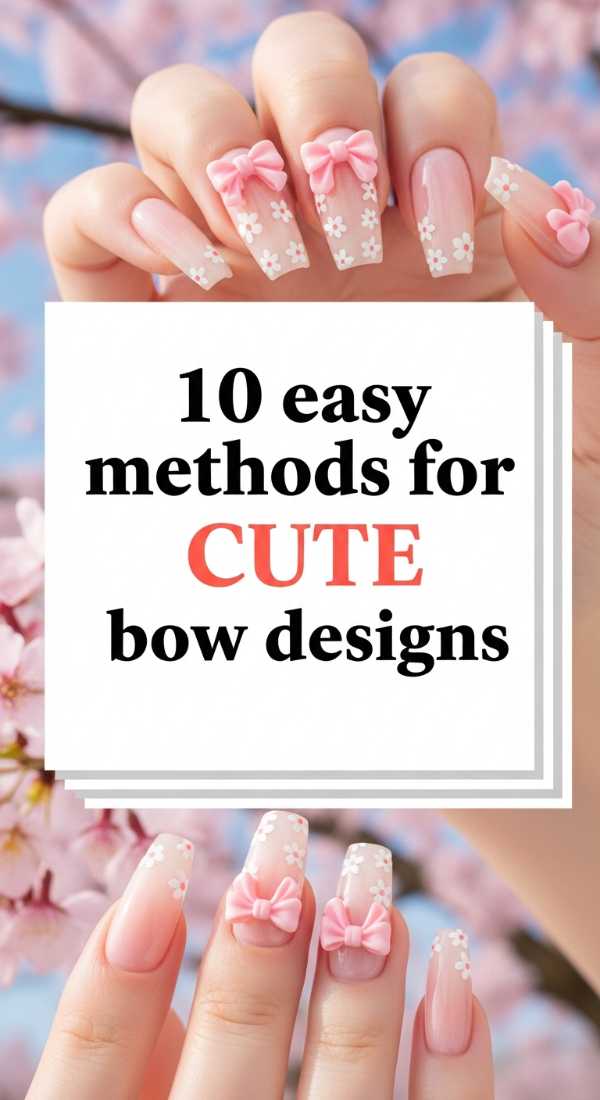
Why to love this Design:
Bows are the ultimate ‘coquette’ accessory. They are dainty, feminine, and add a touch of whimsy to even the simplest manicure. It’s like wrapping your nails up as a gift to yourself.
Essential Elements:
- Black or white liner polish
- Small rhinestones
- Steady hand
How to Prepare:
- Paint two small triangles touching at the points.
- Round the outer edges of the triangles.
- Draw two small ‘ribbon’ tails coming from the center.
- Add a tiny dot or rhinestone in the middle.
- Method 5: Try a ‘corner bow’ for a subtle look.
- Method 6: Use a different color for the ribbon tails.
- Method 7: Add a ‘lace’ border around the nail.
- Method 8: Connect bows across two fingers.
- Method 9: Use a matte base with a glossy bow.
- Method 10: Layer a bow over a glitter accent.
Budget Range
- Born Pretty Nail Art Wire ($5)
- Swarovski Nail Crystals ($15)
- Maybelline Color Show Black ($4)
4 Steps to Master Soft Girl Pastels
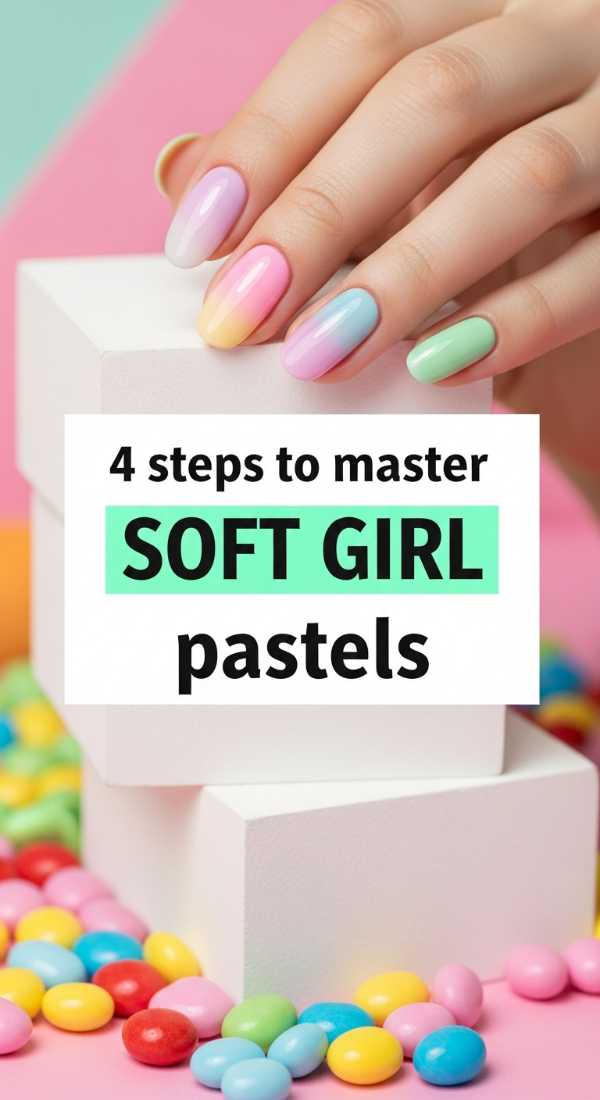
Why to love this Design:
Pastels are the softest whisper of color. They are calming and cheerful without being loud. Mastering the application of pastels ensures you never have streaks, just smooth, creamy perfection.
Essential Elements:
- High-quality pastel cream polish
- Ridge-filling base coat
- Patience
How to Prepare:
- Use a ridge-filling base coat to ensure a perfectly flat surface.
- Apply the first layer with very light pressure to avoid streaks.
- Wait at least 3 minutes between coats.
- Seal with a ‘plumping’ top coat to give that gel-like finish.
Budget Range
- Dashing Diva Ridge Filler ($8)
- Seche Vite Dry Fast Top Coat ($10)
- Wet n Wild Wild Shine Pastels ($1 each)
Embrace Your Inner Whimsy
My loves, I hope these tutorials inspire you to take a moment for yourself this week. Whether you choose a single tiny heart or a full garden of florals, remember that the goal isn’t perfection—it’s the joy of creation. Your hands do so much for the world; let them be a source of beauty and a reflection of the soft, wonderful soul you are. Stay magical!