
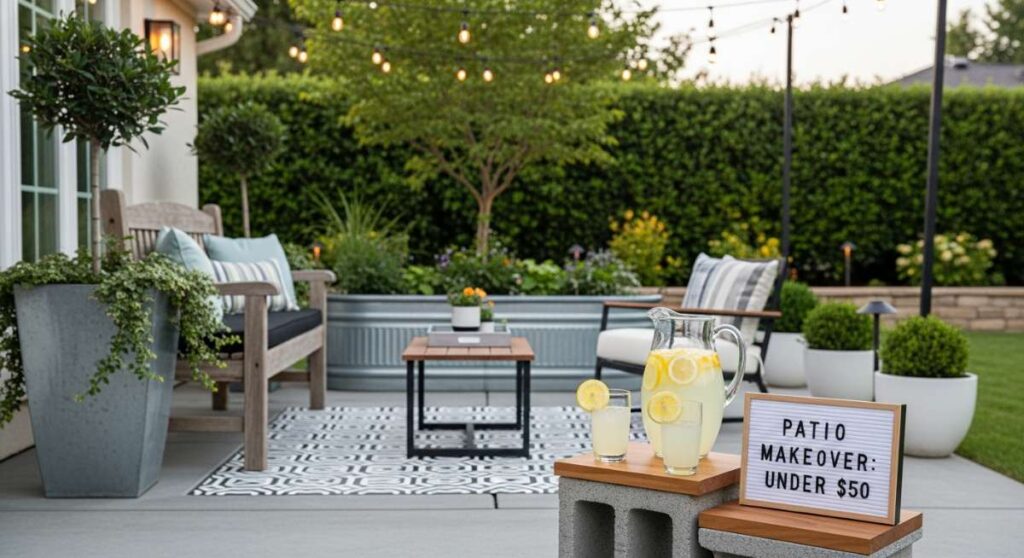
Viral Patio Makeovers: 5 DIY Projects That Look Expensive But Cost Under $50
There is something truly magical about that golden hour when the sun dips low, casting a warm, honeyed glow across your backyard. For the longest time, I would look out at my patchy grass and weathered concrete and feel a pinch of envy for those glossy magazine spreads featuring thousand-dollar outdoor retreats. I realized that my soul didn’t need a designer budget; it just needed a little bit of creativity and the willingness to get my hands dirty. Creating an outdoor sanctuary is about more than just aesthetics—it is about carving out a space where time slows down and memories are anchored.
In this guide, we are diving deep into the world of viral outdoor DIYs that prove you don’t need a massive bank account to achieve a high-end look. We’ll explore how to transform every corner of your yard into a curated experience, from the sound of songbirds in the morning to the glow of a deck ready for a summer party. These projects are designed to be accessible, sustainable, and undeniably beautiful, using simple materials to create professional-grade results. Let’s roll up our sleeves and turn your patio dreams into a reality.
How to Design a Budget Friendly Oasis for Local Songbirds
Why we love this
Nothing brings a garden to life quite like the fluttering wings and rhythmic melodies of local songbirds visiting your sanctuary. Imagine sitting on your porch with a steaming cup of tea, the air smelling of fresh jasmine and damp cedar, as a vibrant blue jay splashes in a stone basin just feet away. This project creates a multi-sensory experience that connects your home to the wild, offering the soothing texture of natural stone and the lively energy of nature. It’s a peaceful, living installation that provides a sense of stewardship and calm every single morning.
Essential Elements:
- Terra cotta saucers of varying sizes
- A sturdy wooden post or a large, flat rock
- Bird-safe non-toxic sealant
- Smooth river stones and pebbles
- High-quality wildflower birdseed mix
- A small solar-powered fountain pump
How to make it
- Begin by selecting a location that is visible from your window but protected from high-speed winds and prowling cats. Secure your wooden post into the ground at least 12 inches deep to ensure it can withstand the weight of the water and visitors.
- Take your largest terra cotta saucer and apply two coats of non-toxic sealant to the interior. This prevents the porous clay from absorbing all the water, ensuring your birdbath stays filled longer during the heat of the day.
- Stack smaller saucers on top of the large one using waterproof adhesive, creating a tiered effect that mimics a natural waterfall. Allow the adhesive to cure fully for 24 hours in a dry, shaded area.
- Place smooth river stones in the bottom of the saucers. These provide essential footing for the birds, preventing them from slipping in deep water and allowing them to bathe with confidence.
- Insert the solar-powered fountain pump into the center of the largest saucer. Ensure the solar panel faces direct sunlight to keep the water circulating, which prevents mosquito breeding and creates the trickling sound that attracts birds from afar.
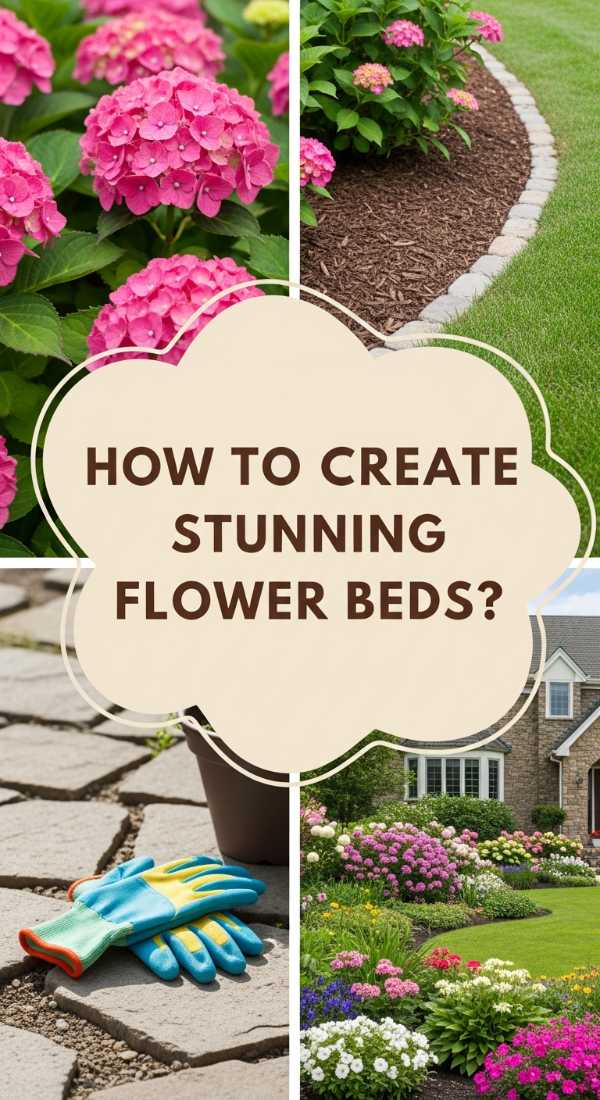
How to Create a Stunning Flower Bed for Instant Curb Appeal
Why we love this
A well-designed flower bed is like a grand welcome mat for your home, instantly elevating the visual weight of your property with pops of color and varied textures. The scent of blooming lavender and sweet alyssum wafts through the air, greeting you every time you pull into the driveway with a sense of pride and serenity. It’s the contrast between the dark, rich mulch and the vibrant greens of the foliage that creates that high-end, professional landscaping look. This project transforms a flat, boring lawn into a dimensional masterpiece that feels intentional and lush.
Essential Elements:
- Garden hose or spray paint (for outlining)
- Pointed shovel or edger
- Cardboard sheets (for weed suppression)
- High-quality garden soil and organic compost
- A mix of perennials and annuals (e.g., Hostas, Petunias, Marigolds)
- Natural cedar mulch
How to make it
- Use a flexible garden hose to outline a curved, organic shape on your lawn. Avoid straight lines, as gentle curves create a more natural, expensive appearance that leads the eye across the landscape.
- Using a sharp-edged spade, cut into the sod along your outline at a 45-degree angle. Remove the grass in small chunks, shaking off excess soil to maintain the nutrient-rich topsoil layer for your new plants.
- Lay down a layer of plain brown cardboard over the exposed dirt. This is a “no-dig” professional secret that kills remaining grass and weeds while eventually decomposing into rich organic matter for your plants.
- Spread a 4-inch layer of garden soil and compost over the cardboard. Position your plants while they are still in their nursery pots to test the layout, placing taller species in the back and shorter, spreading plants toward the front.
- Dig holes twice as wide as the root balls, gently loosen the roots, and plant them flush with the soil surface. Finish by spreading a thick 2-inch layer of cedar mulch, which locks in moisture and provides that finished, professional aesthetic.
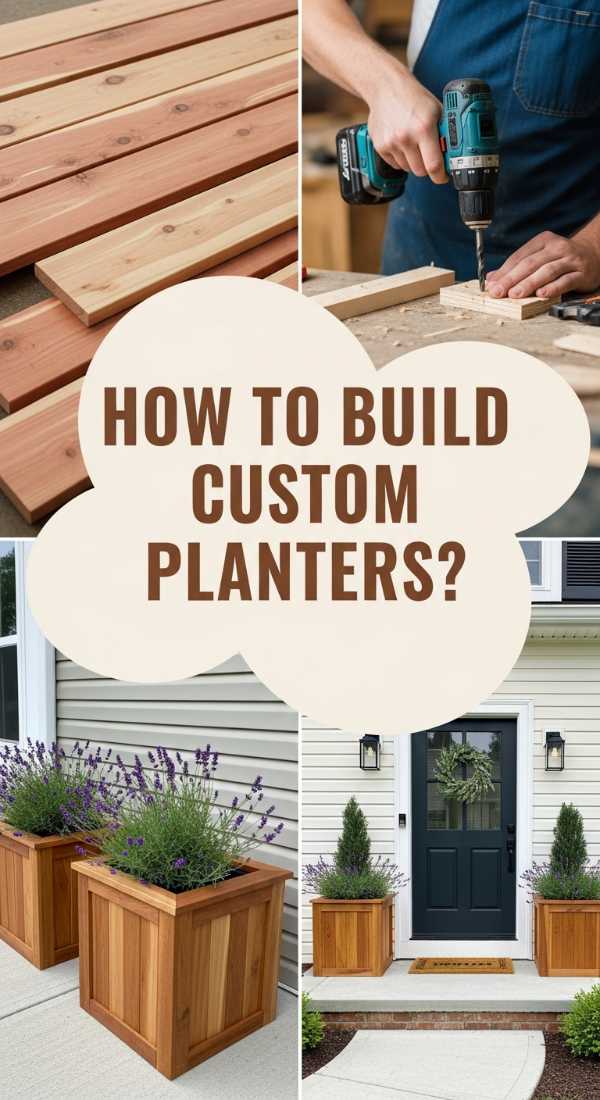
How to Build Custom Planter Boxes for a Lush Porch Garden
Why we love this
There is a rugged, tactile beauty in handmade wooden planter boxes that store-bought plastic versions simply cannot replicate. The scent of freshly cut cedar combined with the earthy aroma of potting soil creates an atmosphere of productivity and growth right on your doorstep. These boxes allow you to control the height of your garden, bringing the vibrant textures of ferns and trailing vines closer to eye level. They feel substantial and grounded, turning a bare porch into an enclosed, intimate garden that feels like a private escape from the world.
Essential Elements:
- Cedar fence pickets (budget-friendly and rot-resistant)
- Exterior grade wood screws
- Power drill and saw
- Wood glue (exterior rated)
- Landscape fabric
- Plastic pond liner (optional for longevity)
How to make it
- Measure and cut your cedar fence pickets into four equal lengths for the sides and two smaller pieces for the ends. For a standard box, 24-inch sides and 10-inch ends provide a classic, balanced proportion.
- Apply a thin bead of exterior wood glue to the edges of your end pieces. Butt the side pieces against the ends and secure them with two screws at each corner, pre-drilling holes to prevent the thin cedar from splitting.
- Cut a bottom piece to fit snugly inside the frame. Drill five to six half-inch drainage holes into this bottom board—proper drainage is the most critical step for plant health to avoid root rot.
- For a professional finish, cut thin strips of cedar to create a “lip” or trim around the top edge of the box. This hides the raw edges of the wood and gives the planter a heavy, custom-built appearance.
- Line the interior with landscape fabric, stapling it to the sides. This holds the soil in place while allowing excess water to weep out, ensuring your porch stays clean while your garden thrives.
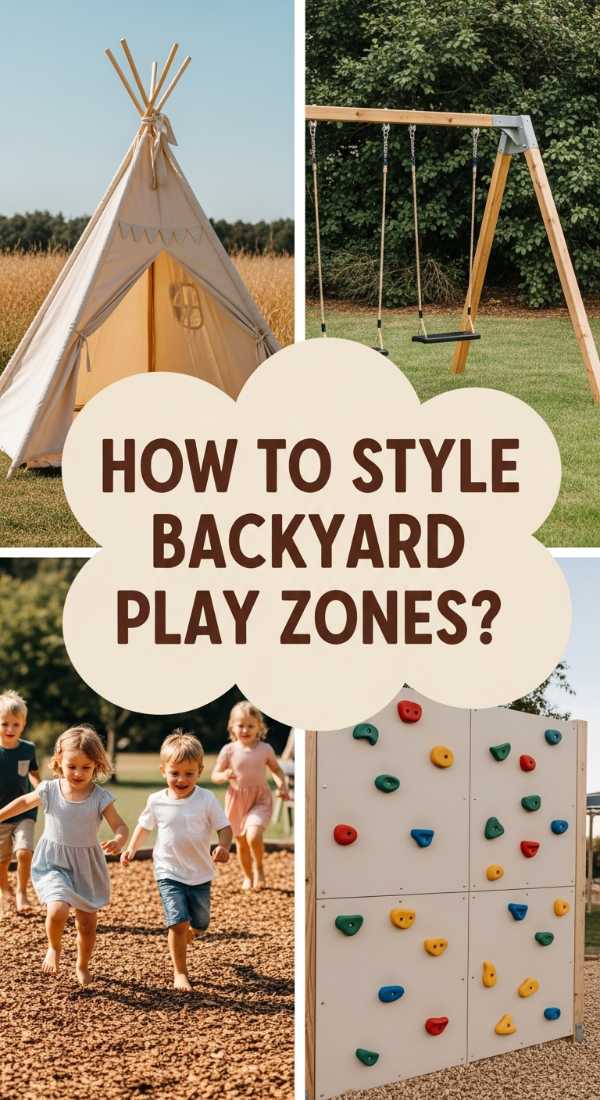
How to Style a Backyard Play Zone for Limitless Childhood Wonder

Why we love this
Creating a dedicated play zone is about capturing the essence of childhood: the feeling of grass between toes, the sun on your neck, and the infinite possibilities of a blank canvas. This space becomes a tactile wonderland where textures like smooth stepping stones and soft sand invite exploration and messy, joyful play. It is a visual delight for parents too, as it organizes the chaos of toys into a curated, aesthetically pleasing area that blends seamlessly with the rest of your landscaping. Watching a child lost in their own world of imagination in a space you built is the ultimate reward.
Essential Elements:
- Pea gravel or rubber mulch (for a soft landing)
- Landscape timber or pressure-treated 4x4s
- Outdoor chalkboard paint and plywood
- Weatherproof storage bins
- Solar-powered fairy lights
- Natural logs or stumps for seating
How to make it
- Level the ground in your chosen corner and frame the area using landscape timber. Secure the timbers with long galvanized spikes to keep the perimeter from shifting during active play.
- Lay down heavy-duty weed barrier fabric inside the frame. This ensures that the base material—whether you choose pea gravel for a classic look or rubber mulch for safety—stays clean and doesn’t sink into the mud.
- Mount a large sheet of plywood painted with three coats of outdoor chalkboard paint onto a fence or the back of the house. This creates a vertical play station that encourages artistic expression without the mess of indoor chalk dust.
- Install natural tree stumps of varying heights to serve as stepping stones or small tables. Sand the tops smooth to prevent splinters and apply a clear outdoor sealant to preserve the natural bark texture.
- String solar fairy lights overhead using 4×4 posts. This extends play into the twilight hours, giving the zone a magical, twinkly atmosphere that makes the backyard feel like a fairytale glen.
How to Curate the Perfect Mud Kitchen for Creative Sensory Play
![]()
Why we love this
The mud kitchen is the crown jewel of sensory play, offering a gritty, squishy, and utterly delightful experience that modern plastic toys can’t touch. There is something deeply satisfying about the sound of a metal whisk against a stainless steel bowl and the scent of crushed mint leaves mixed with rain water. It’s a space where “potions” are brewed and “mud pies” are baked, allowing children to connect with the raw elements of the earth. Visually, a well-curated mud kitchen looks like a rustic outdoor bistro, adding a charming, farmhouse-chic vibe to your backyard.
Essential Elements:
- Old wooden pallet or a small potting bench
- Stainless steel mixing bowls and old pots
- A functional hand pump or a large water jug with a spigot
- Utensil hooks and a small towel rack
- Buckets of “ingredients” (dried lavender, pinecones, sand, stones)
How to make it
- Repurpose an old wooden pallet by standing it vertically and attaching a flat board to the center to act as a countertop. Sand every surface thoroughly with 80-grit then 120-grit sandpaper to ensure there are no rough edges for little hands.
- Cut a circular hole in the countertop using a jigsaw that is slightly smaller than the rim of your largest stainless steel bowl. Drop the bowl in to create a “sink” that can be easily removed for cleaning.
- Install a series of small S-hooks along the top slat of the pallet. Hang various utensils like ladles, whisks, and slotted spoons, which encourages fine motor skill development through grasping and hanging.
- Place a large water dispenser with a toggle spigot on one side of the counter. This gives children autonomy over their water usage, teaching them about volume and flow while keeping the “cooking” process interactive.
- Create a “spice rack” using small jars filled with natural elements like flower petals, acorns, and different colors of sand. Label them with pictures to help young children identify their “ingredients” for their creative recipes.
How to Transform a Simple Hot Tub Space for Ultimate Backyard Relaxation
Why we love this
Turning a basic hot tub into a private spa retreat is all about layering textures and controlling the ambiance to create a cocoon of relaxation. Imagine the feeling of swirling hot water against your skin while the cool evening air carries the scent of eucalyptus from nearby planters. The soft, diffused glow of amber lights reflecting off the water’s surface creates a visual calm that melts away the stress of the day. By adding privacy and soft surfaces, you transform a utility item into a destination—a place where the bubbles and the breeze work together to recharge your spirit.
Essential Elements:
- Outdoor privacy screens or tall bamboo fencing
- Weatherproof outdoor rug
- Large ceramic planters with tall grasses
- Submersible LED lights
- A floating tray for drinks and snacks
- Soft, oversized Turkish towels
How to make it
- Position tall privacy screens or rolls of bamboo fencing around two sides of the hot tub. This creates an immediate sense of seclusion and blocks out the visual clutter of the rest of the yard or the neighbor’s house.
- Place a high-quality, mold-resistant outdoor rug at the base of the tub steps. This provides a soft, warm texture for bare feet and helps keep debris and grass out of the water, maintaining a clean spa environment.
- Flank the entrance with large planters containing tall, swaying ornamental grasses like Fountain Grass or Miscanthus. These provide a “living screen” that adds movement and a soft rustling sound in the wind.
- Install battery-operated, waterproof LED puck lights inside the tub if it doesn’t have built-in lighting. Set them to a warm white or soft blue to set a tranquil mood that isn’t jarring to the eyes in the dark.
- Set up a small side table or use a floating cedar tray to hold essentials. This prevents you from having to reach far for your hydration, allowing you to remain fully submerged and relaxed for longer periods.
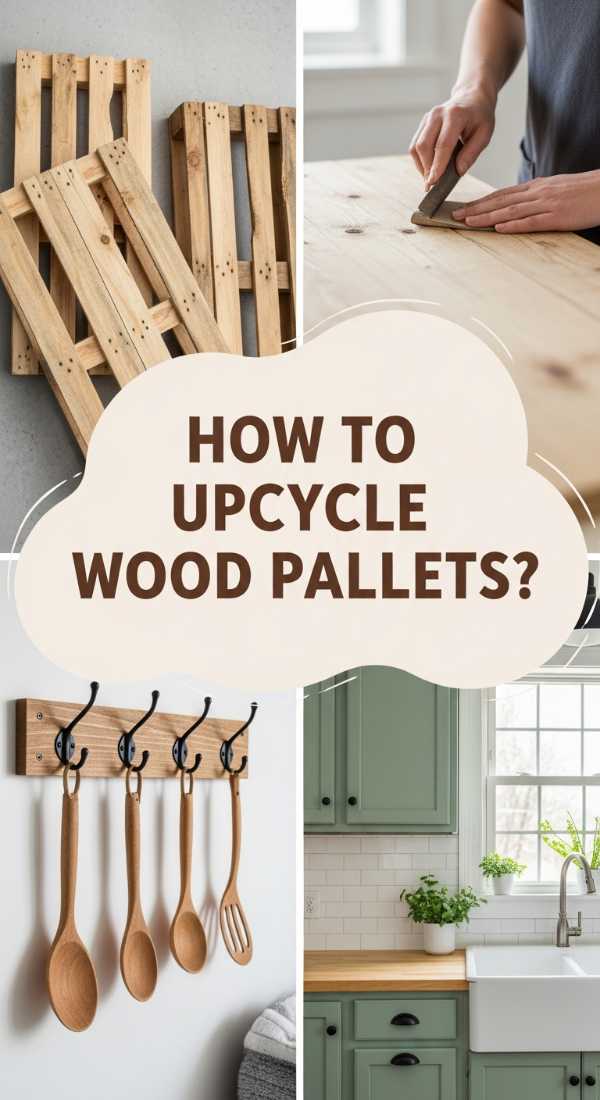
How to Upcycle Rustic Wood Pallets for a Sustainable Outdoor Kitchen

Why we love this
There is a rugged, industrial soul in upcycled pallet wood that brings a sense of history and grit to an outdoor kitchen. The texture of the grain, enhanced by a dark stain, feels warm and substantial under your hands as you prep a summer feast. The air fills with the aroma of charcoal and woodsmoke, perfectly complemented by the rustic aesthetic of your DIY prep station. This project is a win for the environment and your wallet, proving that sustainable materials can be transformed into a functional, high-end feature that serves as the heart of your backyard entertaining.
Essential Elements:
- Heat-treated (HT) wooden pallets
- Heavy-duty casters (wheels) with locks
- Concrete pavers (for the countertop)
- Outdoor wood stain and sealant
- Magnetic tool strip for grilling utensils
- Bottle opener attachment
How to make it
- Source two pallets of the same size, ensuring they are marked with “HT” (Heat Treated) rather than chemically treated. Stack them to check for height; most people prefer a counter height of 36 inches, which may require a small base frame.
- Disassemble one pallet to use the slats to fill in the gaps of the second pallet’s top. Use a pry bar carefully to avoid splitting the wood, and secure the slats with deck screws to create a solid, gap-free surface.
- Sand the entire structure with a heavy-grit sandpaper to remove splinters, then finish with a fine-grit for a smooth-to-the-touch feel. Apply a dark walnut or slate grey outdoor stain to give the wood an expensive, weathered look.
- Attach four heavy-duty locking casters to the bottom corners. This allows you to roll the kitchen station near the grill for prep or tuck it away during the winter months, providing ultimate flexibility.
- Top the surface with large concrete pavers or a piece of slate. This provides a heat-resistant, easy-to-clean surface for food prep and hot grilling pans, blending the rustic wood with modern stone textures.
How to Craft a Splashy Water Table for Cooling Down on Summer Days
Why we love this
A DIY water table is a refreshing oasis during the peak of summer, offering a tactile way to cool down while engaging in rhythmic, repetitive play. The sound of splashing water and the sight of sunlight dancing through clear droplets create a sensory-rich environment that is both exciting and soothing. Unlike plastic, neon-colored commercial versions, a DIY wood-framed table feels like a piece of custom furniture that belongs in a beautiful garden. It invites children (and adults!) to dip their hands in, feel the resistance of the water, and enjoy the simple physics of flow and splash.
Essential Elements:
- Large plastic storage bin (under-bed style works best)
- Pressure-treated 2×4 lumber for the frame
- PVC pipe and connectors (for a water maze)
- Waterproof silicone sealant
- A variety of funnels, tubes, and floating toys
- Small submersible pump (optional for a waterfall)
How to make it
- Build a simple rectangular frame using 2x4s that is slightly smaller than the lip of your plastic bin. The height should be customized to your child’s waist level—typically 18 to 22 inches for toddlers.
- Secure the legs with carriage bolts for maximum stability, as water is surprisingly heavy (about 8 pounds per gallon). Ensure the table is perfectly level to prevent the water from congregating in one corner.
- Drop the plastic bin into the frame; the lip of the bin should support its weight against the wooden edges. For extra security, use a few small screws with washers through the plastic lip into the wood.
- Construct a “water maze” using PVC pipes and zip ties attached to a vertical backboard. This allows children to pour water into the top and watch it navigate through a series of turns and drops, teaching basic cause-and-effect.
- Seal any joints with waterproof silicone to prevent leaks. Add a drain plug to the bottom of the bin by drilling a hole and installing a threaded PVC fitting with a cap, making it easy to refresh the water daily.
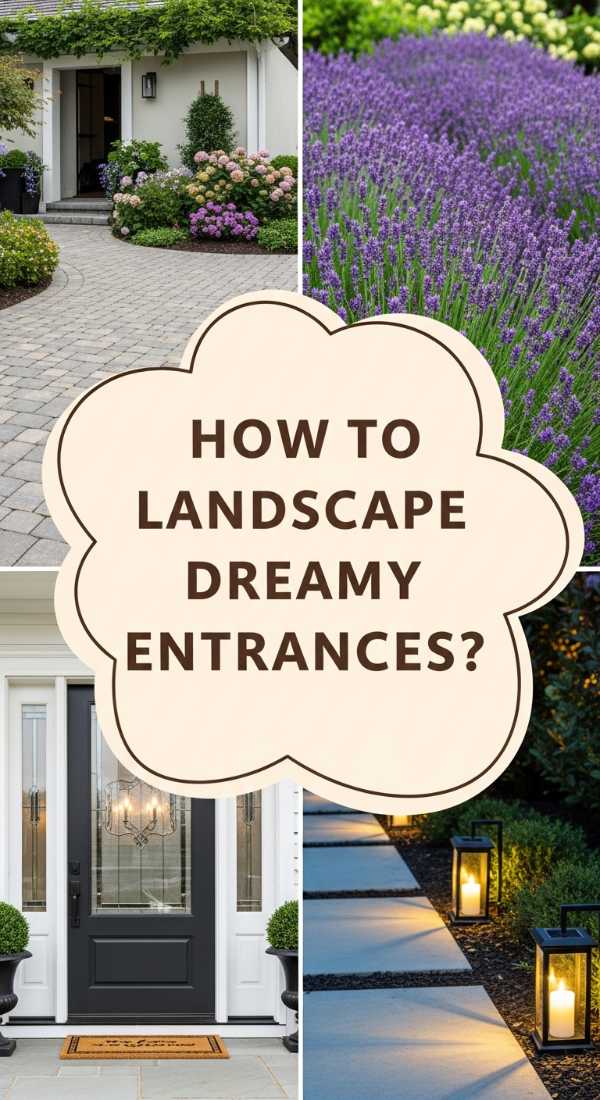
How to Landscape a Dreamy Entrance for a Welcoming Home Vibe
Why we love this
The entrance to your home is the first chapter of your story, and landscaping it with intention sets a tone of warmth and hospitality. Soft, glowing path lights guide the way, while the scent of boxwood and the sight of symmetrical greenery create a sense of order and calm. This project focuses on the balance of heights and the repetition of forms, which is the secret to that “expensive” curb appeal. It transforms a simple walkway into a journey, making the act of coming home feel like a special occasion every single day.
Essential Elements:
- Matching large resin or ceramic planters
- Solar-powered path lights (warm white)
- Black hardwood mulch
- Evergreen shrubs (like Boxwood or Sky Pencil Holly)
- Polished river rocks for edging
- A fresh, high-contrast door mat
How to make it
- Start with symmetry by placing two identical, oversized planters on either side of the front door. Use evergreen shrubs for year-round structure, and surround the base with seasonal flowers for a rotating pop of color.
- Define the walkway by digging a shallow trench 3 inches deep along the path. Fill this with black hardwood mulch, which provides a crisp, high-contrast border that makes the green of the lawn look more vibrant.
- Space solar path lights exactly 3 feet apart along the edge of the mulch. Push them firmly into the ground so they are at a uniform height; consistency is the key to making cheap solar lights look like a professional hardwired system.
- Add a secondary layer of texture by placing polished black river rocks at the very edge of the walkway. This prevents mulch from washing onto the path during rain and adds a sophisticated, zen-like detail.
- Deep clean the walkway with a pressure washer to remove years of grime. A clean surface reflects light better and makes the new landscaping features stand out as the star of the show.
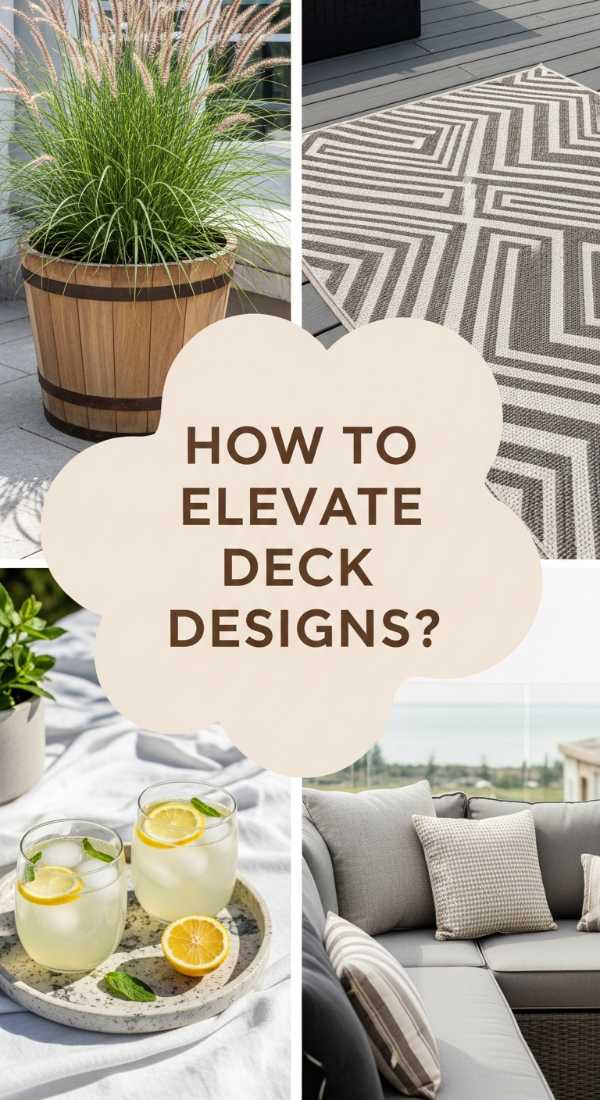
How to Elevate Your Deck Design for the Ultimate Summer Hangout
[IMAGE_10]
Why we love this
An elevated deck is the ultimate setting for summer hangouts, where the air is filled with laughter, the clinking of ice in glasses, and the soft hum of evening crickets. By focusing on “zones,” you can make a standard deck feel like a multi-room outdoor lounge. The mix of soft textiles—like outdoor rugs and plush pillows—against the hard surface of the wood creates a cozy, indoor-outdoor flow that beckons guests to stay a little longer. It’s about creating a destination that feels curated, comfortable, and perfectly styled for those long, lingering sunset conversations.
Essential Elements:
- Outdoor area rug (to define the lounge zone)
- Edison-style string lights
- Weatherproof throw pillows and blankets
- Large cantilever umbrella or shade sail
- Potted palm trees or oversized tropicals
- Built-in or DIY wooden bench seating
How to make it
- Define your main conversation area by centering a large outdoor rug. This acts as an anchor for your furniture and instantly makes the deck feel like an extension of your living room rather than just a wooden platform.
- Hang Edison string lights in a zig-zag pattern overhead. Use guide wires to ensure the lights don’t sag over time, and aim for a “warm” color temperature (2700K) to mimic the cozy glow of a fireplace.
- Incorporate vertical interest by placing large potted palms in the corners of the deck. This adds height and a lush, tropical texture that softens the architectural lines of the railing and house.
- Layer your seating with various textures. Combine a hard wooden bench with soft, high-performance outdoor fabric pillows in a cohesive color palette (like navy, cream, and terracotta) for a designer look.
- Install a shade sail using heavy-duty carabiners and eye bolts attached to the house and deck posts. Not only does this provide essential UV protection, but the architectural angles of the sail add a modern, high-end silhouette to your backyard.
The Joy of a DIY Sanctuary
Transforming your outdoor space doesn’t require a lottery win; it requires a bit of vision and a few weekend hours. Each of these projects offers a way to touch the earth, build something with your own hands, and create an environment that nurtures your family and the local wildlife. Whether you are listening to the birds in your new oasis or hosting friends on your elevated deck, the pride of saying “I made this” is the most expensive feeling in the world—and it costs almost nothing. Happy DIY-ing!