
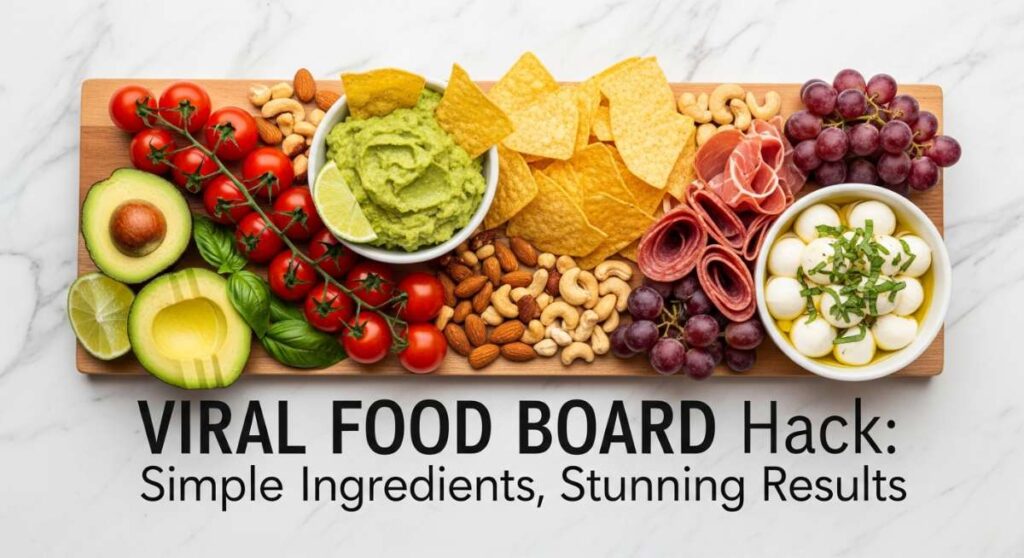
Viral Food Board Hack: Simple Ingredients, Stunning Results
There is something almost magical about the way a well-curated food board brings people together. I remember the first time I set one down on my farmhouse table; the room suddenly filled with a different kind of energy, a collective ‘oh wow’ that turned a simple Tuesday night into a core memory. It’s not just about the food; it’s about the permission it gives us to graze, to linger, and to connect over textures and flavors that feel like home. These boards take the stress out of hosting and replace it with a beautiful, edible canvas that reflects the season and the heart of the cook.
Today, I’m sharing the viral hack that has completely transformed my kitchen routine: the art of the ‘Simple Food Board.’ We are moving beyond just cheese and crackers into full-meal boards and dessert displays that look like they belong in a high-end magazine but are actually incredibly easy to pull off. Whether you are craving a light spring dinner or a decadent summer treat, these ideas will help you master the art of the presentation while keeping the flavors authentic and comforting. Let’s dive into these ten variations that will make you the star of your next gathering!
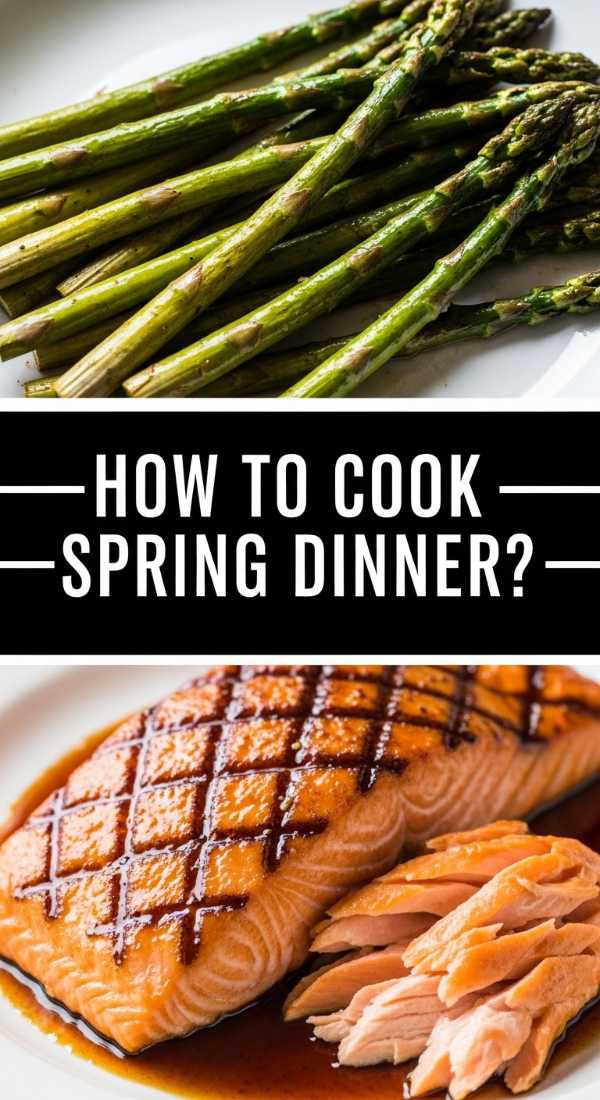
How to make spring dinner?
Why we love this
This spring dinner board captures the very essence of renewal and brightness that comes with the changing season. Imagine the crisp snap of blanched asparagus spears paired with the creamy, cloud-like texture of whipped ricotta, all infused with the zesty aroma of fresh lemon zest and cracked black pepper. Each bite feels like a breath of fresh air, balancing the earthy sweetness of young peas with the savory richness of prosciutto ribbons. It is a light yet deeply satisfying way to transition your palate from the heavy stews of winter to the vibrant, sun-drenched flavors of the warmer months ahead.
Ingredients
- 1 bunch fresh asparagus
- 1 cup whole milk ricotta cheese
- 1 lemon (zested and juiced)
- 4 ounces thinly sliced prosciutto
- 1/2 cup fresh English peas
- 2 tablespoons extra virgin olive oil
- Microgreens for garnish
- Crusty baguette slices
How to make it
- Begin by prepping the asparagus: trim the woody ends and blanch the spears in boiling salted water for exactly 2 minutes until they turn a vibrant green, then immediately plunge them into an ice bath to stop the cooking and preserve the crunch.
- Prepare the lemon ricotta base by placing the ricotta in a small food processor or bowl; whisk vigorously with 1 tablespoon of olive oil, half the lemon zest, and a squeeze of juice until it is light, airy, and spreadable.
- On a large wooden board, create a ‘river’ of the whipped ricotta using the back of a spoon to create decorative swirls and wells for the oil to sit in.
- Arrange the chilled asparagus spears in a neat fan pattern next to the ricotta, followed by folding the prosciutto slices into delicate ribbons to add height and texture to the display.
- Scatter the fresh peas and remaining lemon zest over the top, then finish with a generous drizzle of high-quality olive oil and a sprinkle of flaky sea salt before serving with toasted baguette rounds.
How to make rotel dip?

Why we love this
There is a reason this dip has achieved legendary status at every tailgate and family reunion: it is the ultimate comfort food that appeals to the child in all of us. The texture is impossibly silky, a molten river of golden cheese studded with the bright, slightly acidic pop of diced tomatoes and the gentle heat of green chilies. As the aroma of melted cheese and savory spices fills the room, it creates an instant atmosphere of casual fun and relaxation. It’s the kind of dish that disappears in minutes because that combination of creamy, salty, and spicy is simply impossible to resist.
Ingredients
- 16 ounces processed cheese (like Velveeta), cubed
- 1 can (10 oz) Ro-Tel Diced Tomatoes and Green Chilies
- 1/2 lb ground breakfast sausage or chorizo
- 1/2 cup heavy cream (optional for extra silkiness)
- Fresh cilantro for garnish
- Sturdy tortilla chips for dipping
How to make it
- Start by browning your choice of meat (sausage or chorizo) in a skillet over medium-high heat, breaking it into small crumbles with a wooden spoon until it is fully cooked and slightly crispy.
- Drain the excess fat from the skillet to ensure your dip remains smooth and doesn’t become overly greasy.
- In a slow cooker or a heavy-bottomed saucepan over low heat, combine the cubed cheese and the undrained can of Ro-Tel, stirring frequently to prevent the cheese from scorching on the bottom.
- Once the cheese is about 75% melted, stir in the cooked meat and the heavy cream if you desire a more pourable, velvety consistency that stays dip-able longer.
- Keep the heat on the lowest setting, stirring occasionally until completely smooth, then transfer to a serving bowl on your board and garnish with chopped cilantro to provide a fresh contrast to the rich cheese.
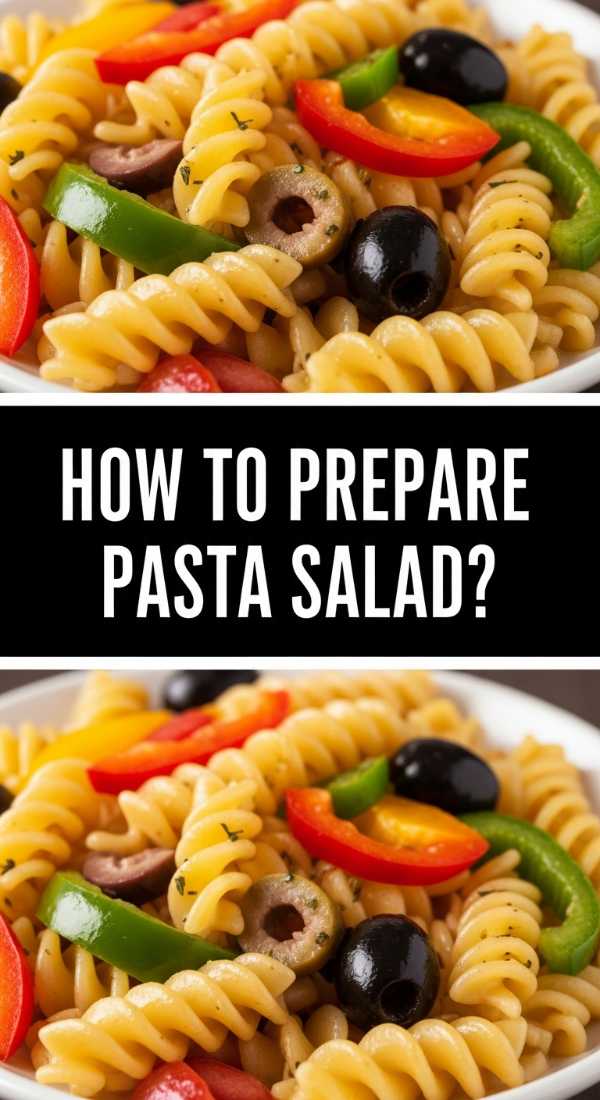
How to prepare pasta salad?
Why we love this
Pasta salad on a board is a revelation, allowing guests to see the vibrant array of colors and textures before they dive in. We love the way the al dente pasta ridges catch the herb-flecked vinaigrette, ensuring that every single bite is an explosion of tangy, savory goodness. The crunch of fresh cucumbers and bell peppers contrasts beautifully with the soft, salty pearls of mozzarella and the briny depth of kalamata olives. It is a hearty, refreshing dish that smells of fresh basil and oregano, evoking memories of sun-soaked picnics and long afternoon garden parties.
Ingredients
- 1 lb rotini or fusilli pasta
- 1 cup cherry tomatoes, halved
- 1 English cucumber, diced
- 1/2 red onion, finely minced
- 1 cup fresh mozzarella pearls
- 1/2 cup sliced black or kalamata olives
- 1/2 cup Italian vinaigrette (homemade or store-bought)
- Fresh parsley and basil
How to make it
- Boil a large pot of heavily salted water and cook the pasta according to package directions, but aim for ‘al dente’—usually about 1 minute less than the box suggests—so the pasta holds its shape when tossed.
- Drain the pasta and immediately rinse it under cold running water to remove excess starch and stop the cooking process, ensuring the noodles don’t stick together.
- In a very large mixing bowl, toss the cooled pasta with about half of the vinaigrette while it’s still slightly damp; this allows the flavors to penetrate the pasta rather than just sitting on the surface.
- Add the diced cucumbers, halved tomatoes, red onion, olives, and mozzarella pearls to the bowl, folding gently with a spatula to distribute the ingredients evenly without breaking the cheese.
- Arrange the salad in the center of your food board, drizzle with the remaining dressing for a fresh gloss, and top with a chiffonade of fresh herbs just before guests arrive to keep the colors bright.
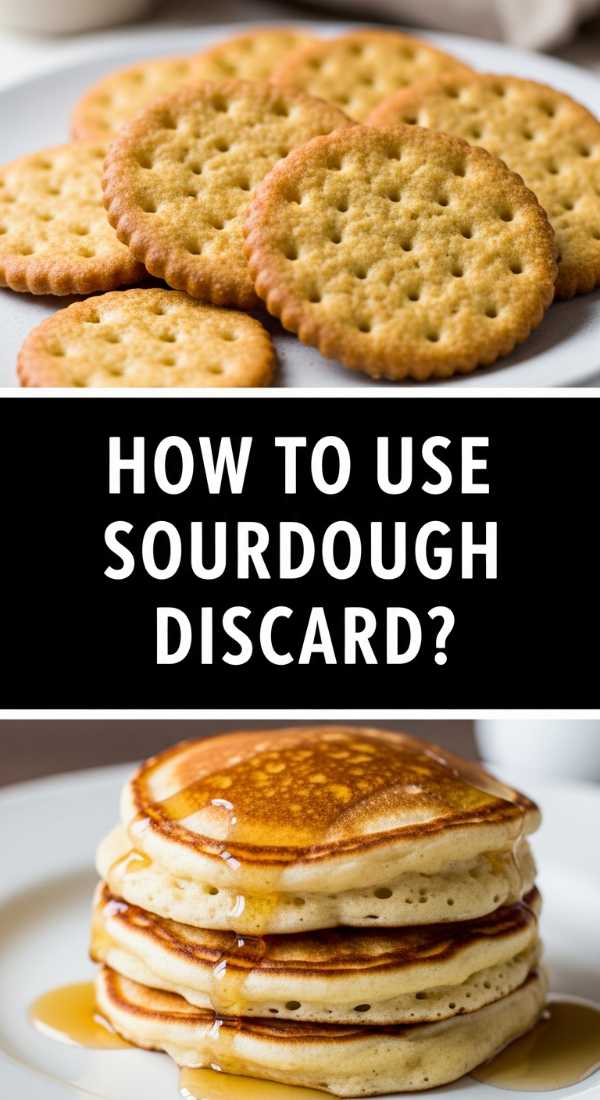
How to use sourdough discard?
Why we love this
Using sourdough discard is a beautiful way to honor the rhythm of a traditional kitchen while adding a sophisticated, tangy depth to your snacks. These crackers are incredibly thin and shatteringly crisp, offering a toasted grain aroma that store-bought versions simply cannot replicate. We love the way the sourdough tang cuts through the richness of a sharp cheddar or a creamy brie on your board. There is a profound sense of satisfaction in turning what would be waste into the most talked-about, artisan element of your display, proving that simple ingredients can produce truly gourmet results.
Ingredients
- 1 cup sourdough discard (unfed)
- 1/4 cup melted unsalted butter
- 1/2 teaspoon fine sea salt
- 1 tablespoon dried herbs (rosemary or thyme)
- Flaky salt for topping
- Optional: 1/2 cup all-purpose flour if discard is very thin
How to make it
- Preheat your oven to 325°F (165°C) and line a large baking sheet with parchment paper or a silicone baking mat.
- In a medium bowl, whisk together the sourdough discard, melted butter, sea salt, and dried herbs until the mixture is smooth and completely homogenous.
- Pour the batter onto the prepared baking sheet and use an offset spatula to spread it into an incredibly thin, even layer, aiming for about 1/16th of an inch thickness.
- Bake for 10 minutes, then remove from the oven and use a pizza cutter to score the dough into squares or rectangles; this ensures clean breaks once the crackers are fully hardened.
- Return the sheet to the oven and bake for another 20-30 minutes, watching closely until the crackers are golden brown and firm to the touch; let them cool completely on the pan to reach maximum crunch before piling them onto your board.
How to cook healthy meals?

Why we love this
Healthy eating doesn’t have to mean sacrifice; it means celebrating the natural, unadulterated flavors of whole foods arranged in a way that feels indulgent. This ‘Glow Board’ focuses on lean proteins, healthy fats, and a rainbow of phytonutrients that leave you feeling energized rather than weighed down. We love the contrast between the warm, roasted chickpeas and the cool, crisp slices of bell pepper and radish. The aroma is clean and zesty, dominated by lemon and fresh mint, making it a feast for the eyes and the body that proves nutritious food can be the highlight of any social gathering.
Ingredients
- 2 cups roasted red pepper hummus
- 1 cup steamed quinoa or farro
- 1 lb grilled lemon-herb chicken breast strips
- 2 cups raw vegetables (carrots, radishes, cucumbers)
- 1/2 cup avocado slices
- 1/4 cup toasted pumpkin seeds
- Lemon wedges for drizzling
How to make it
- Start by preparing your grains: cook the quinoa in vegetable broth rather than water to infuse it with extra savory depth, then fluff it with a fork and let it cool to room temperature.
- Grill the chicken breast over medium-high heat after marinating it in lemon juice and oregano, ensuring it reaches an internal temperature of 165°F (74°C) so it remains juicy and tender.
- Place a large bowl of hummus in the corner of your board and use a spoon to create a deep well in the center, filling it with a small amount of olive oil and a sprinkle of pumpkin seeds for texture.
- Arrange the grilled chicken and raw vegetables in organized sections around the board, grouping them by color to create a visually striking ‘rainbow’ effect.
- Place the grain salad in a small separate bowl on the board and tuck lemon wedges and avocado slices into any remaining gaps, serving immediately to ensure the avocado stays bright green.
How to bake strawberry pie?

Why we love this
A strawberry pie is the crowning jewel of any dessert board, evoking the sweet, nostalgic scent of a country kitchen in peak summer. We love the way the jammy, ruby-red filling bubbles up through a golden, flaky crust, releasing a fragrance that is pure sunshine and sugar. The texture is a delightful play between the crisp, buttery pastry and the soft, yielding fruit that melts on the tongue. It’s a celebratory dish that feels both humble and grand, especially when served in small, manageable slices that allow guests to enjoy a ‘little bit of everything’ on the board.
Ingredients
- 2 refrigerated pie crusts (or homemade)
- 4 cups fresh strawberries, hulled and sliced
- 3/4 cup granulated sugar
- 1/4 cup cornstarch
- 1 tablespoon lemon juice
- 1 teaspoon vanilla extract
- 1 egg (for egg wash)
- Turbinado sugar for topping
How to make it
- Preheat your oven to 400°F (200°C) and lightly grease a 9-inch pie dish.
- In a large bowl, gently toss the sliced strawberries with the sugar, cornstarch, lemon juice, and vanilla until the berries are evenly coated and a light syrup begins to form.
- Lay the first crust into the dish, then pour in the strawberry mixture, ensuring the fruit is distributed evenly so the pie bakes flat.
- Top with the second crust (either whole with vent slits or cut into strips for a lattice design) and crimp the edges tightly to seal in the juices.
- Brush the top with a beaten egg wash and sprinkle generously with turbinado sugar for a crunchy, sparkling finish; bake for 45-50 minutes until the crust is deep golden and the filling is thick and bubbling.
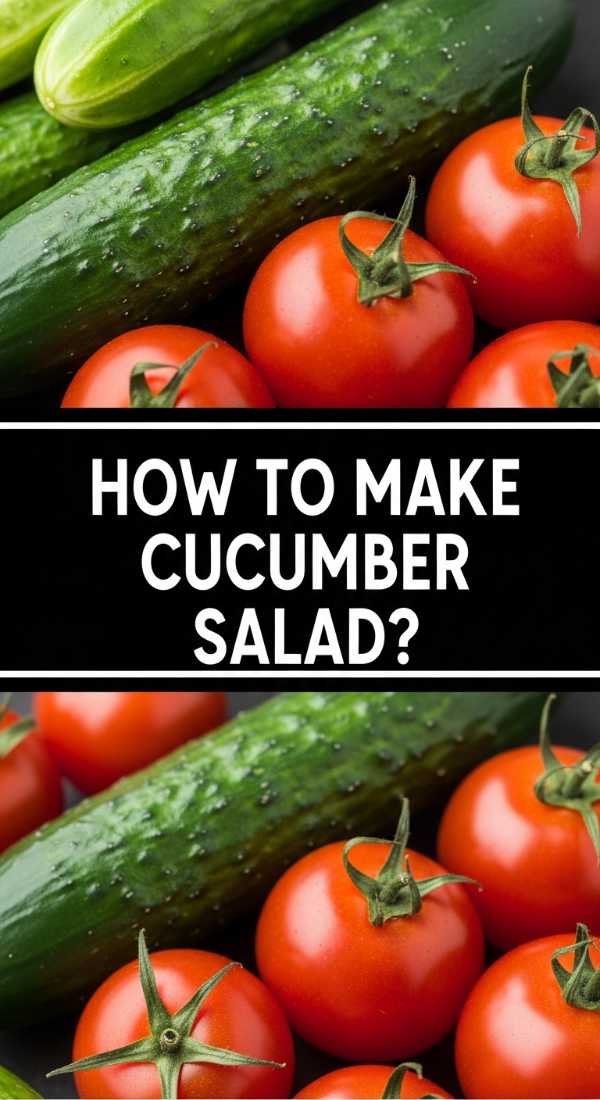
How to make cucumber salad?
Why we love this
This cucumber salad is the ultimate palate cleanser, offering a refreshing, watery crunch that is instantly cooling on a warm day. We love the simplicity of the thin, translucent green slices marinated in a sharp, sweet vinegar bath that highlights the cucumber’s natural sweetness. The aroma is incredibly clean, punctuated by the bite of red onion and the earthy fragrance of fresh dill. It adds a necessary brightness to a food board, providing a zesty counterpoint to heavier meats or cheeses and keeping the overall experience light and balanced.
Ingredients
- 2 large English cucumbers, thinly sliced
- 1/2 red onion, sliced into paper-thin half-moons
- 1/2 cup rice vinegar or white wine vinegar
- 2 tablespoons sugar
- 1 teaspoon salt
- 1/4 cup fresh dill, chopped
- 1/2 teaspoon red pepper flakes (optional)
How to make it
- Using a mandoline or a very sharp knife, slice the cucumbers into uniform rounds that are thin enough to be slightly flexible but still retain their snap.
- In a small glass bowl, whisk together the vinegar, sugar, and salt until the sugar is completely dissolved and the liquid is clear.
- Place the cucumbers and red onions in a shallow dish or a zip-top bag and pour the vinegar mixture over them, ensuring every slice is submerged.
- Let the salad marinate in the refrigerator for at least 30 minutes, which allows the onions to mellow and the cucumbers to absorb the tangy brine.
- Before adding to your board, drain the excess liquid so it doesn’t run into other foods, and toss with a generous amount of fresh dill and red pepper flakes for a hit of color and heat.
How to grill tender chicken?

Why we love this
Nothing says outdoor dining like the smoky, charred aroma of perfectly grilled chicken. When done right, the meat is incredibly succulent, with a golden-brown exterior that locks in all the savory juices. We love the versatility of grilled chicken on a board; it can be sliced into strips for dipping or left whole for a more rustic feel. The smell of caramelizing marinade and wood smoke is intoxicating, drawing everyone to the table. It provides a reliable, high-protein anchor for your food board that pairs beautifully with everything from fruit to hearty grains.
Ingredients
- 1.5 lbs chicken thighs (boneless, skinless for maximum tenderness)
- 1/4 cup olive oil
- 3 cloves garlic, minced
- 1 tablespoon smoked paprika
- 1 tablespoon honey
- Salt and black pepper to taste
- Fresh rosemary sprigs
How to make it
- Whisk together the olive oil, garlic, paprika, honey, salt, and pepper in a bowl to create a marinade that balances fat, acid, and sugar for perfect caramelization.
- Place the chicken thighs in the marinade, ensuring they are well-coated, and let them sit for at least 1 hour (or overnight) to break down the fibers and infuse the meat with flavor.
- Preheat your grill to medium-high heat (about 400°F) and oil the grates thoroughly to prevent the honey in the marinade from sticking and tearing the meat.
- Grill the thighs for about 5-7 minutes per side; look for clear juice run-off and a firm but springy texture, ensuring an internal temperature of 165°F.
- The most critical step: let the chicken rest for 5-10 minutes under a loose tent of foil before slicing, which allows the juices to redistribute so the meat stays tender when placed on the board.
How to make summer dessert?

Why we love this
The best summer desserts are those that celebrate the season’s bounty with minimal fuss, letting the natural sweetness of the fruit shine. We love a ‘Build-Your-Own’ shortcake board because it turns dessert into an interactive experience. The aroma of warm, buttery biscuits mingling with macerated berries and vanilla bean whipped cream is simply heavenly. The textures range from the soft crumble of the cake to the airy lightness of the cream and the juicy burst of the fruit. It’s a playful, beautiful way to end a meal that feels like a celebration of long, sun-drenched days.
Ingredients
- 1 pint strawberries and 1 pint blueberries
- 2 tablespoons granulated sugar
- 8-10 mini shortcakes or pound cake slices
- 1 cup heavy whipping cream
- 1 teaspoon vanilla bean paste
- Fresh mint leaves
- Lemon curd (optional for extra zing)
How to make it
- Hull and slice the strawberries, then toss them in a bowl with the sugar and a tablespoon of water; let them sit for 20 minutes to ‘macerate’ and create a natural syrup.
- In a chilled bowl, beat the heavy cream with vanilla bean paste until stiff peaks form, being careful not to over-beat it into butter; you want it to be thick enough to hold its shape on the board.
- Arrange the shortcakes or pound cake slices in a circular pattern around the edge of a large round board.
- Place a bowl of the macerated berries in the center and a separate bowl of the whipped cream next to it.
- Intersperse the fresh blueberries and mint leaves throughout the board to fill in any empty spaces, creating a lush, decadent look that invites everyone to build their perfect bite.
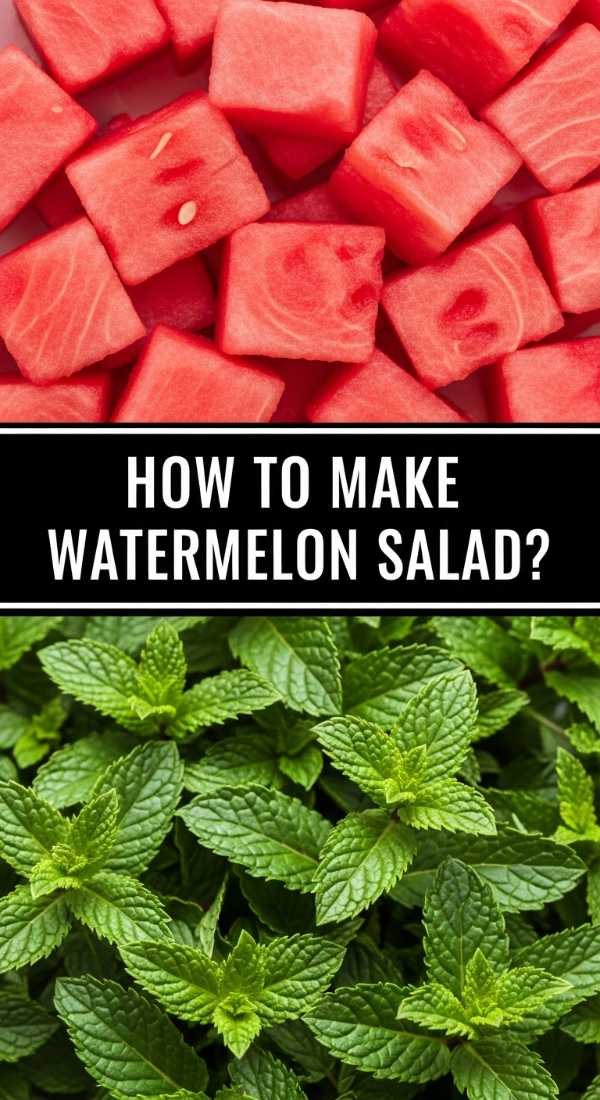
How to make watermelon salad?
Why we love this
This watermelon salad is the ultimate summer refresher, offering a surprising and sophisticated flavor profile that keeps you coming back for more. We love the juxtaposition of the icy-cold, sweet watermelon against the salty, crumbly feta cheese and the sharp, peppery bite of fresh mint. The aroma is intensely fresh and fragrant, instantly cooling you down just by the scent alone. It is a stunning visual addition to any board, with its vibrant pink and green hues, and it serves as a wonderful conversation starter for those who haven’t tried the salty-sweet combination before.
Ingredients
- 4 cups seedless watermelon, cut into 1-inch cubes
- 1/2 cup crumbled feta cheese
- 1/4 cup fresh mint leaves, torn
- 1/2 lime, juiced
- 1 tablespoon extra virgin olive oil
- Pinch of flaky sea salt
- Optional: Thinly sliced jalapeño for a kick
How to make it
- Ensure your watermelon is thoroughly chilled before cutting; cold fruit is essential for the refreshing nature of this dish and helps the cubes hold their shape.
- Arrange the watermelon cubes in a dense, single layer on a section of your board, or stack them into a neat pyramid for a more architectural look.
- Sprinkle the crumbled feta evenly over the top of the watermelon so that every piece gets a bit of that salty contrast.
- Whisk the lime juice and olive oil together and drizzle it lightly over the entire arrangement, which adds a beautiful gloss and a hit of acidity.
- Finish the dish by scattering the torn mint leaves and a tiny pinch of flaky sea salt over the top just seconds before serving to keep the mint from wilting.
The Joy of the Shared Table
Mastering these viral food board hacks isn’t just about the aesthetics; it’s about the feeling of abundance and ease you bring to your home. When you set down a board filled with fresh ingredients, thoughtfully prepared and beautifully arranged, you’re telling your guests that they are worth the effort—without actually having to spend your whole night in the kitchen. I hope these recipes inspire you to clear off your largest wooden board and start creating your own edible masterpieces. Remember, there are no rules in food boarding, only flavors to explore and memories to make. Happy hosting!