
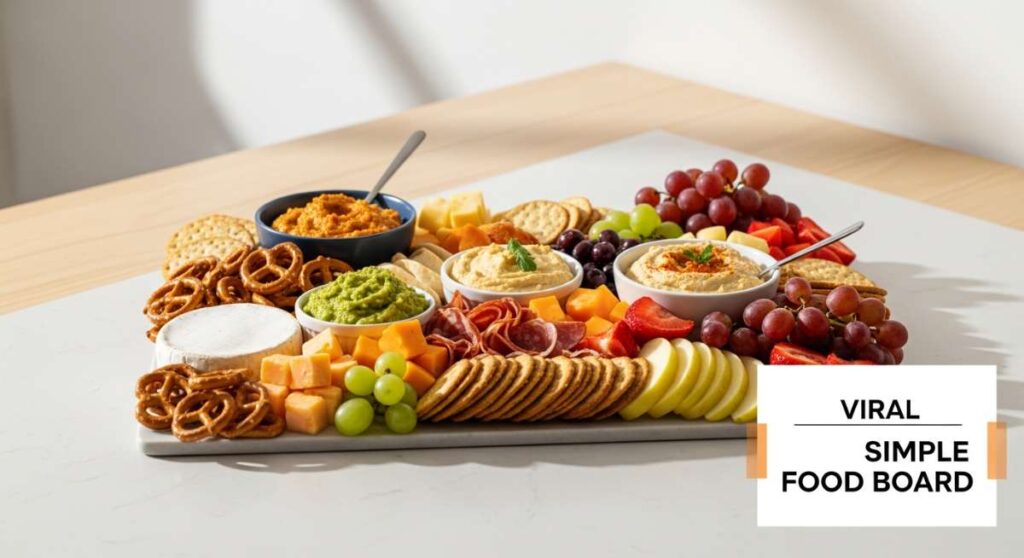
There is something almost magical about the way summer air transforms our appetite. When the sun hangs low in the sky and the evenings are warm enough to stay outside until the fireflies emerge, the last thing anyone wants is to be trapped in a stifling kitchen over a hot stove. This is where the viral simple food board comes in—it’s not just a meal; it’s an invitation to linger, to graze, and to enjoy the effortless beauty of fresh ingredients laid out in a way that feels like a celebration.
I remember the first time I brought a massive, overflowing board to a backyard gathering. The collective sigh of relief from my friends was palpable; they didn’t have to wait for a formal plate, they just dove in. This guide is my love letter to those easy-breezy summer moments. We’re covering everything from meal preps that keep you out of the kitchen all week to the ultimate July 4th spreads, all designed to fit perfectly onto your favorite wooden board or platter. Let’s reclaim our summer evenings together.
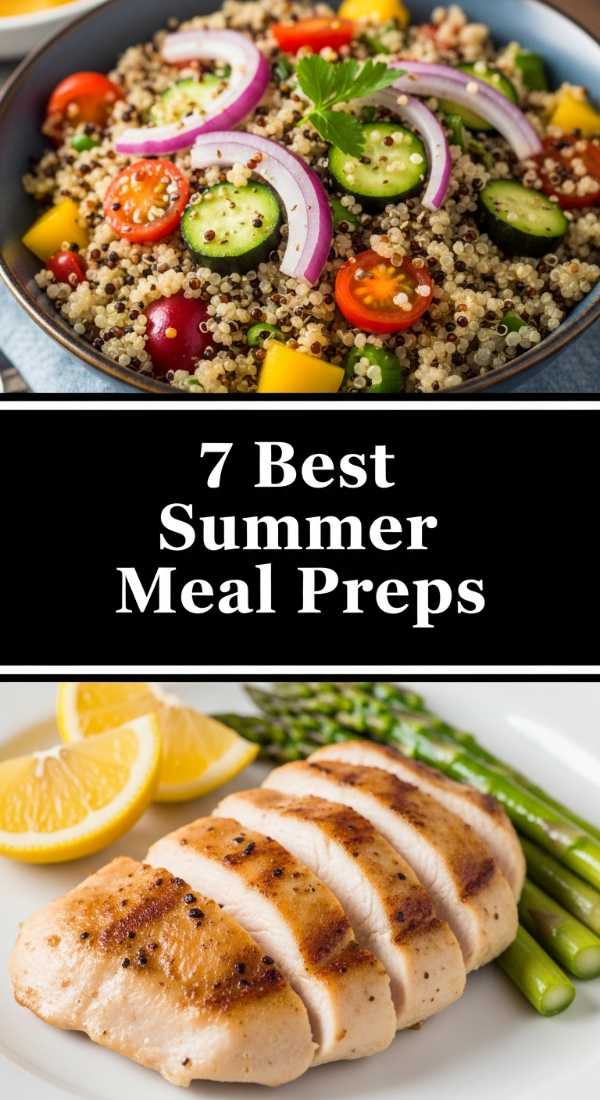
7 Best Summer Meal Preps (Step-by-Step Guide)
Why we love this
Summer meal prepping is all about capturing the vibrant crunch of garden-fresh vegetables and pairing them with lean proteins that don’t feel heavy in the heat. There is a specific joy in opening your fridge on a Tuesday afternoon to find a rainbow of pre-portioned Mediterranean bowls or lemon-herb chicken salads. The aroma of fresh dill and parsley mingles with the zesty brightness of squeezed lemon, making every lunch feel like a picnic at your desk. The textures stay crisp, the flavors deepen as they marinate, and you save hours of precious daylight that are better spent in the sun.
Ingredients
- 2 lbs Chicken breast, cubed
- 2 cups Quinoa, cooked
- 4 English cucumbers, diced
- 2 pints Cherry tomatoes, halved
- 1 jar Kalamata olives
- 1 block Feta cheese, crumbled
- Fresh parsley, mint, and dill
- Lemon-tahini dressing
How to make it
- Begin by seasoning your cubed chicken with dried oregano, garlic powder, salt, and pepper. Heat a large skillet over medium-high heat with a tablespoon of olive oil. Sear the chicken until it has a golden-brown crust and reaches an internal temperature of 165°F (about 6-8 minutes), then let it cool completely before packing.
- While the chicken cools, cook your quinoa in vegetable broth instead of water to infuse it with extra savory depth. Once cooked, fluff it with a fork and spread it on a baking sheet to cool rapidly; this prevents it from becoming mushy when stored.
- Prepare your vegetables by dicing the cucumbers and tomatoes. Pro-tip: de-seed the cucumbers to prevent excess moisture from pooling in your containers over the next few days.
- Assemble your meal prep containers by creating a base of quinoa, then topping with the cooled chicken, cucumbers, tomatoes, and a generous sprinkle of feta and olives.
- Keep your fresh herbs and dressing in small, separate containers or silicone cups. Only add them right before serving to maintain that ‘just-made’ aroma and prevent the herbs from wilting into the grains.
5 Best Rotel Dip Recipes (Step-by-Step Guide)

Why we love this
The sound of a chip breaking through the thick, molten surface of a Rotel dip is essentially the soundtrack to a perfect summer party. It’s that nostalgic, velvety cheese pull that coats your palate in a spicy, savory embrace, punctuated by the tangy pop of diced tomatoes and green chilies. The aroma is intoxicating—a mix of toasted cumin, browned meat, and bubbling cheese that draws guests to the table before you’ve even set it down. It’s the ultimate comfort food that somehow feels right at home next to a cold beer on a humid evening.
Ingredients
- 1 lb Ground spicy sausage or beef
- 16 oz Velveeta or high-quality melting cheese
- 2 cans Rotel (Original or Hot)
- 1 cup Pepper Jack cheese, shredded
- 1/2 cup Fresh cilantro, chopped
- Pickled jalapeños for garnish
How to make it
- In a heavy-bottomed skillet or Dutch oven, brown your ground meat over medium heat. Use a spatula to break it into very fine crumbles, ensuring every piece is deeply browned and slightly crispy for maximum texture. Drain the excess fat thoroughly.
- Reduce the heat to low and add the cubed melting cheese. It is vital to keep the heat low during this stage to prevent the cheese from scorching or separating, which can result in a grainy texture.
- Pour in both cans of Rotel, including the juices. The acidity in the tomato juice acts as an emulsifier, helping the cheese stay smooth and glossy as it melts.
- Fold in the shredded Pepper Jack cheese. This adds a complex stretch and a bit of a kick that standard processed cheese lacks. Stir continuously in a figure-eight motion until the mixture is uniform.
- Transfer the dip to a pre-heated slow cooker set to ‘warm’ for serving. This ensures the dip stays at that perfect, pourable consistency for the duration of your food board gathering. Garnish with cilantro and jalapeños just before the guests arrive.
10 Best Summer Dinner Ideas (Step-by-Step Guide)

Why we love this
Summer dinners should feel like a breeze, emphasizing light textures and charred flavors that only a grill or a quick sear can provide. Imagine a board loaded with blackened shrimp tacos, where the smoke of the spice rub meets the cool, creamy sweetness of a mango slaw. The contrast is spectacular—the heat of the grill, the chill of the lime-infused crema, and the satisfying crunch of a warm corn tortilla. It’s a sensory experience that celebrates the abundance of the season without leaving you feeling weighed down, making it the perfect centerpiece for an outdoor dinner party.
Ingredients
- 1.5 lbs Large shrimp, peeled and deveined
- Corn tortillas
- 2 Ripe mangoes, diced
- 1 Purple cabbage, shredded
- Fresh lime juice
- Greek yogurt or sour cream
- Chipotle peppers in adobo
How to make it
- Toss your shrimp in a bowl with smoked paprika, garlic powder, onion powder, and a pinch of cayenne. Let them sit for 15 minutes to allow the spices to adhere to the protein.
- Prepare the mango slaw by tossing the shredded cabbage with the diced mango, lime juice, and chopped cilantro. Let this sit in the fridge for at least 30 minutes; the acid will slightly soften the cabbage while the mango juices create a natural dressing.
- Whisk together the Greek yogurt with a teaspoon of the adobo sauce from the canned chipotles. This creates a smoky, spicy crema that acts as the ‘glue’ for your tacos.
- Sear the shrimp in a scorching hot cast-iron skillet for exactly 2 minutes per side. You are looking for an opaque center and a slightly charred exterior. Do not overcrowd the pan, or the shrimp will steam instead of searing.
- Char your corn tortillas directly over a gas flame for 10 seconds per side until the edges are slightly blackened. Assemble the tacos on your board, serving them open-faced so guests can customize their toppings.
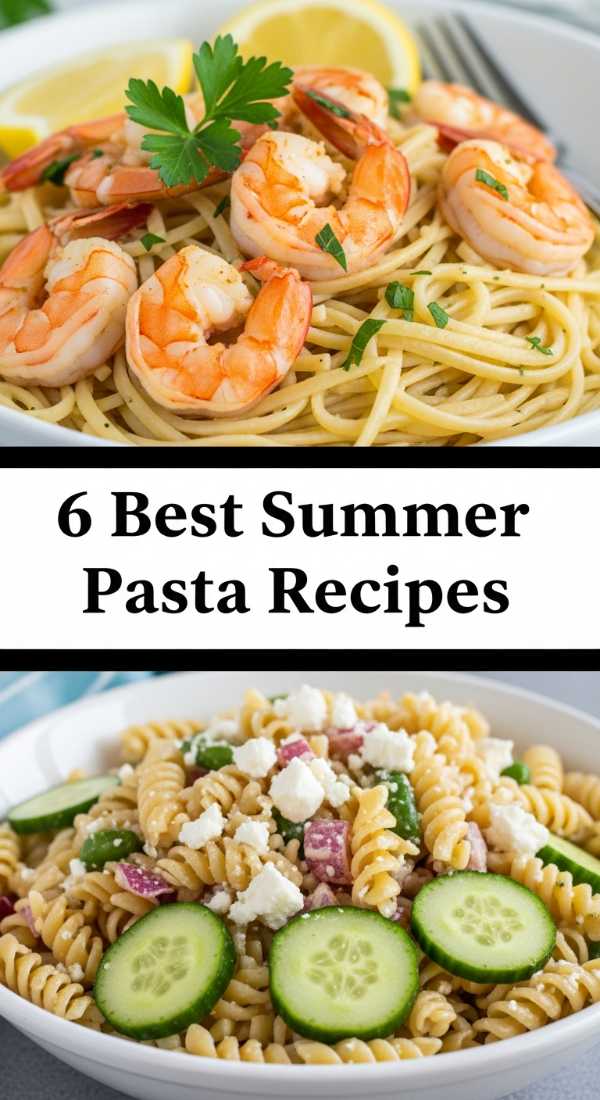
6 Best Summer Pasta Recipes (Step-by-Step Guide)
Why we love this
Forget the heavy Bolognese of winter; summer pasta is all about the ‘Agliolio’ style or light, cream-free sauces that highlight the sweetness of seasonal produce. There is nothing quite like the silky mouthfeel of noodles tossed in a vibrant lemon-butter sauce, studded with crisp-tender asparagus and peas. The aroma of sautéed garlic and fresh lemon zest wafting through the house is the ultimate summer greeting. Each bite is a balance of bright acidity and rich olive oil, finished with the salty punch of freshly grated Pecorino Romano that melts into the warm pasta strands.
Ingredients
- 1 lb Linguine or Tagliatelle
- 1 bunch Thin asparagus, trimmed
- 3 cloves Garlic, thinly sliced
- 2 Lemons (juice and zest)
- 1/2 cup Fresh peas
- High-quality Extra Virgin Olive Oil
- Fresh basil leaves
How to make it
- Bring a large pot of heavily salted water to a rolling boil. Add your pasta and cook until it is ‘al dente’—usually 2 minutes less than the package instructions. This is crucial because the pasta will finish cooking in the sauce.
- While the pasta boils, heat olive oil in a wide skillet over medium-low heat. Add the sliced garlic and cook slowly until it turns translucent and fragrant. Be careful not to let it brown, as burnt garlic will turn the entire dish bitter.
- Add the asparagus and peas to the garlic oil. Sauté for 3-4 minutes until the asparagus is bright green but still has a snap to it.
- Before draining the pasta, reserve 1 cup of the starchy pasta water. This liquid gold is the secret to a glossy sauce that clings to the noodles.
- Add the pasta directly into the skillet with the vegetables. Pour in the lemon juice, zest, and half of the reserved pasta water. Toss vigorously over medium heat, adding more water if needed, until a silky sauce forms. Garnish with torn basil and serve immediately on a large platter.
8 Best Summer Dessert Recipes (Step-by-Step Guide)

Why we love this
Summer desserts should be cool, refreshing, and highlight the peak ripeness of berries and stone fruits. A no-bake berry icebox cake is the pinnacle of this philosophy; it transforms simple graham crackers and whipped cream into a sophisticated, cake-like texture through the magic of refrigeration. The smell of macerated strawberries and blueberries is like bottled sunshine, and the mouthfeel is light as air—perfect for a humid July night. It’s the kind of treat that looks stunning on a food board, surrounded by extra fresh fruit and mint sprigs, beckoning everyone to grab a spoon.
Ingredients
- 2 cups Heavy whipping cream
- 1/2 cup Powdered sugar
- 1 tsp Vanilla bean paste
- 2 boxes Graham crackers
- 3 cups Mixed berries (strawberries, blueberries, raspberries)
- Lemon zest
How to make it
- In a large chilled bowl, whip the heavy cream with powdered sugar and vanilla bean paste until stiff peaks form. The vanilla bean paste adds those beautiful black specks and a more intense flavor than extract.
- Spread a thin layer of the whipped cream on the bottom of a rectangular glass dish to act as an anchor for your first layer of crackers.
- Lay down a single layer of graham crackers, breaking them if necessary to fit the edges perfectly. Top with a generous layer of whipped cream and a scattered layer of sliced berries.
- Repeat the layers until you reach the top of the dish, ending with a smooth, thick layer of whipped cream. Zest a lemon over the top to add a bright, aromatic finish that cuts through the richness of the cream.
- Cover and refrigerate for at least 8 hours, or ideally overnight. This ‘resting’ period allows the crackers to absorb moisture from the cream, turning them into a soft, sponge-cake consistency. Slice into squares and serve on your dessert board.
12 Best July 4th Ideas (Step-by-Step Guide)

Why we love this
The 4th of July is the ultimate occasion for a themed food board that plays with colors and classic American flavors. We love the patriotic visual of a ‘Red, White, and Blue’ charcuterie board that mixes savory cheeses with bright fruits and salty snacks. There’s a playful energy to this kind of spread—the salty crunch of star-shaped crackers, the creaminess of a mild brie, and the explosive sweetness of ripe blackberries. It’s a festive, communal way to eat while waiting for the fireworks, providing something for everyone from the pickiest kids to the most refined foodies.
Ingredients
- Red: Strawberries, raspberries, prosciutto, pepperoni
- White: Brie, goat cheese, white cheddar, yogurt-covered pretzels
- Blue: Blueberries, blackberries, blue corn chips
- Star-shaped cookie cutters
- Honey for drizzling
How to make it
- Start with your ‘anchors’—place three small bowls on your board. Fill one with blueberries, one with white bean dip, and one with strawberry jam. These act as the focal points for your color scheme.
- Use your star-shaped cookie cutters to cut shapes out of thick slices of white cheddar or provolone. Place these prominently around the board to establish the theme immediately.
- Create ‘rivers’ of color. Group all the red items (prosciutto roses and raspberries) in one section, the white items (cheeses and pretzels) in another, and the blue items (blackberries) in the third. This creates a striking visual impact rather than a random mix.
- Fill in the gaps with neutral-colored crackers or nuts to ensure the board feels lush and overflowing. Avoid leaving any wood showing for that ‘viral’ professional look.
- Just before serving, drizzle honey over the goat cheese and add a few sprigs of fresh mint for a pop of green that makes the red and blue colors look even more vibrant.
5 Best Summer Drink Recipes (Step-by-Step Guide)

Why we love this
Nothing beats the heat like a glass of sparkling peach basil lemonade. It is the definition of refreshment, combining the floral sweetness of ripe peaches with the peppery, herbal notes of fresh basil. The aroma as you muddle the herbs is invigorating, waking up the senses before the first sip even hits your tongue. The texture is a delightful mix of smooth fruit puree and the tingle of fine carbonated bubbles. It’s the kind of drink that turns a simple afternoon on the porch into a spa-like experience, looking absolutely gorgeous in a glass pitcher on your food board.
Ingredients
- 4 Ripe peaches, pitted and sliced
- 1 cup Fresh lemon juice
- 1/2 cup Honey or agave syrup
- 1 bunch Fresh basil
- 1 liter Sparkling water
- Ice cubes with frozen berries inside
How to make it
- Create a peach puree by blending three of the peaches with the honey and a splash of water until completely smooth. Strain through a fine-mesh sieve if you prefer a perfectly clear drink, though leaving the pulp adds a nice rustic texture.
- In the bottom of a large pitcher, lightly muddle the fresh basil leaves with the lemon juice. You want to bruise the leaves to release their oils, not tear them into tiny pieces.
- Pour the peach puree into the pitcher and stir well to combine with the lemon and basil mixture. This base can be made up to 4 hours in advance and kept chilled.
- When ready to serve, fill the pitcher with your decorative ice cubes. These are made by placing a single raspberry or blueberry in each slot of an ice tray before freezing—it’s an easy trick that looks stunning.
- Top with the sparkling water and the remaining sliced peaches. Stir gently to maintain the carbonation and serve in tall glasses with an extra sprig of basil for the aroma.
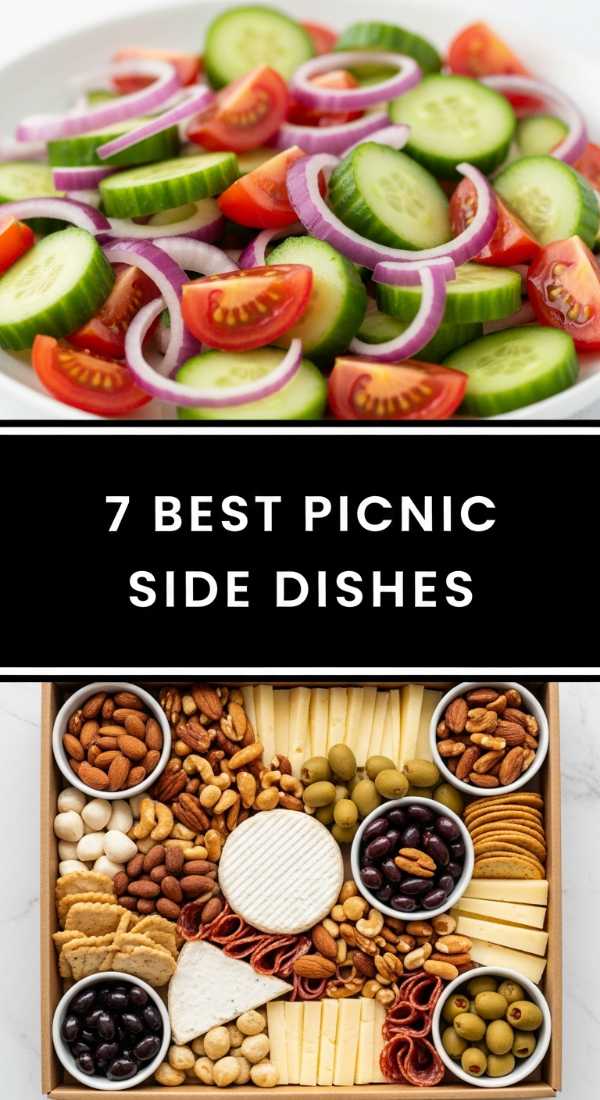
7 Best Picnic Side Dishes (Step-by-Step Guide)
Why we love this
The perfect picnic side dish must be two things: travel-friendly and incredibly flavorful at room temperature. A tangy herb potato salad avoids the heavy mayo-base of traditional versions, opting instead for a bright vinaigrette of Dijon mustard and apple cider vinegar. The texture is a beautiful mix of creamy Yukon Gold potatoes and the sharp, clean crunch of red onions and celery. The smell of fresh dill and chives chopped finely over warm potatoes is a summer core memory. It’s a sophisticated take on a classic that pairs perfectly with everything from fried chicken to grilled veggie skewers.
Ingredients
- 3 lbs Yukon Gold potatoes, scrubbed
- 1/2 cup Extra virgin olive oil
- 3 tbsp Apple cider vinegar
- 1 tbsp Dijon mustard
- 1 bunch Fresh dill, chopped
- 1 bunch Fresh chives, snipped
- 1/2 Red onion, finely minced
How to make it
- Place your potatoes in a large pot and cover with cold water. Bring to a boil and cook until fork-tender but not falling apart (usually 15-20 minutes). Starting with cold water ensures the potatoes cook evenly from the center out.
- While the potatoes cook, whisk together the olive oil, vinegar, mustard, salt, and pepper in a small bowl until emulsified.
- Drain the potatoes and, while they are still steaming hot, cut them into bite-sized chunks. This is the most important step: pour half of the dressing over the hot potatoes immediately. The heat allows the potatoes to soak up the vinaigrette rather than just being coated by it.
- Let the potatoes cool for 20 minutes before adding the red onion, celery, and the rest of the dressing. Adding the onions while the potatoes are warm slightly pickles them, removing their harsh raw bite.
- Finally, fold in the fresh dill and chives right before packing your picnic basket. This keeps the herbs bright green and prevents them from darkening due to the acidity of the vinegar.
6 Best Grilled Kabob Recipes (Step-by-Step Guide)
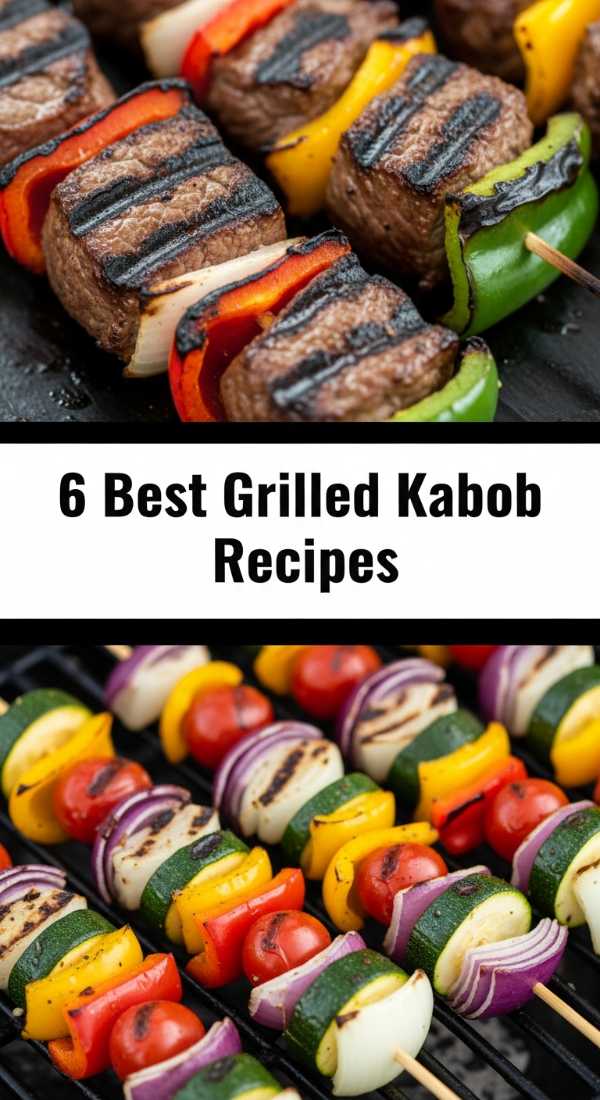
Why we love this
Kabobs are the ultimate ‘board’ food—they come with their own handle and offer a complete meal in every bite. Honey garlic steak kabobs bring a decadent, caramelized sweetness to the table that contrasts beautifully with the charred, smoky flavor of grilled peppers and onions. The aroma of searing beef and bubbling honey glaze is enough to make any neighbor peek over the fence. The texture of tender, juice-dripping steak paired with the slight snap of a grilled bell pepper is pure summer bliss. They are visual showstoppers that require zero utensils, making them the king of the casual food board.
Ingredients
- 2 lbs Sirloin tip or Ribeye, cut into 1.25-inch cubes
- 2 Bell peppers (any color), cut into chunks
- 1 Red onion, cut into wedges
- 1/2 cup Soy sauce
- 1/3 cup Honey
- 4 cloves Garlic, minced
- Metal or soaked wooden skewers
How to make it
- Whisk together the soy sauce, honey, minced garlic, and a splash of sesame oil to create your marinade. Reserve 1/4 cup of this mixture for basting later.
- Toss the steak cubes in the remaining marinade and let them sit in the fridge for at least 2 hours. This tenderizes the meat fibers and infuses them with savory-sweet flavor throughout.
- Thread your skewers, alternating between steak, pepper, and onion. Tip: Don’t pack the items too tightly together; leaving a tiny bit of space allows the heat to circulate and cook the meat evenly on all sides.
- Preheat your grill to high heat (around 450°F). Clean the grates thoroughly and oil them to prevent sticking. Sear the kabobs for 3-4 minutes per side.
- During the last 2 minutes of grilling, brush the reserved marinade over the kabobs. The sugars in the honey will caramelize quickly, creating a glossy, sticky glaze. Remove once the steak reaches your desired doneness and let them rest for 5 minutes before placing on the board.
10 Best Healthy Summer Meals (Step-by-Step Guide)

Why we love this
Healthy eating in the summer doesn’t have to mean boring salads; it’s about the abundance of the Mediterranean diet. A Mediterranean chickpea bowl is a texture-lover’s dream, featuring crispy roasted chickpeas, creamy hummus, and a refreshing cucumber-tomato salad. The aroma of toasted cumin and roasted garlic is warm and inviting, while the cool components keep the meal light. It’s a high-protein, high-fiber option that leaves you feeling energized for an evening walk or a swim. Served on a board with warm pita bread, it becomes a communal experience that feels both indulgent and nourishing.
Ingredients
- 2 cans Chickpeas, drained and dried
- 1 cup Hummus (store-bought or homemade)
- 1 cup Tabbouleh
- 2 cups Arugula or baby spinach
- Pickled red onions
- Tahini dressing
- Cumin, smoked paprika, and sea salt
How to make it
- Preheat your oven to 400°F. Thoroughly dry your chickpeas with a paper towel—the drier they are, the crispier they will get. Toss them with olive oil, cumin, paprika, and salt.
- Spread the chickpeas on a baking sheet and roast for 25-30 minutes, shaking the pan halfway through. They should be golden and crunchy. Let them cool slightly to maintain their texture.
- On your large board, create ‘zones’ for each ingredient. Place a large bowl of hummus in the center as the anchor.
- Arrange piles of fresh arugula, tabbouleh, and the roasted chickpeas around the hummus. Add a pile of pickled red onions for a bright pop of pink and acidity.
- Drizzle the entire board (except the hummus) with a light tahini dressing made from tahini, lemon juice, and a bit of warm water. Serve with sliced, toasted pita points tucked into the edges of the board for easy dipping and scooping.
Conclusion
The beauty of a viral food board lies in its versatility and the way it brings people together. Whether you are meal prepping for a busy week or hosting a lavish July 4th celebration, these recipes prove that you don’t need to spend hours in a hot kitchen to create something spectacular. Summer is short—spend it enjoying the sun, the company of friends, and the delicious, simple flavors of the season. Grab your biggest wooden board and start building your own ultimate summer feast today!