
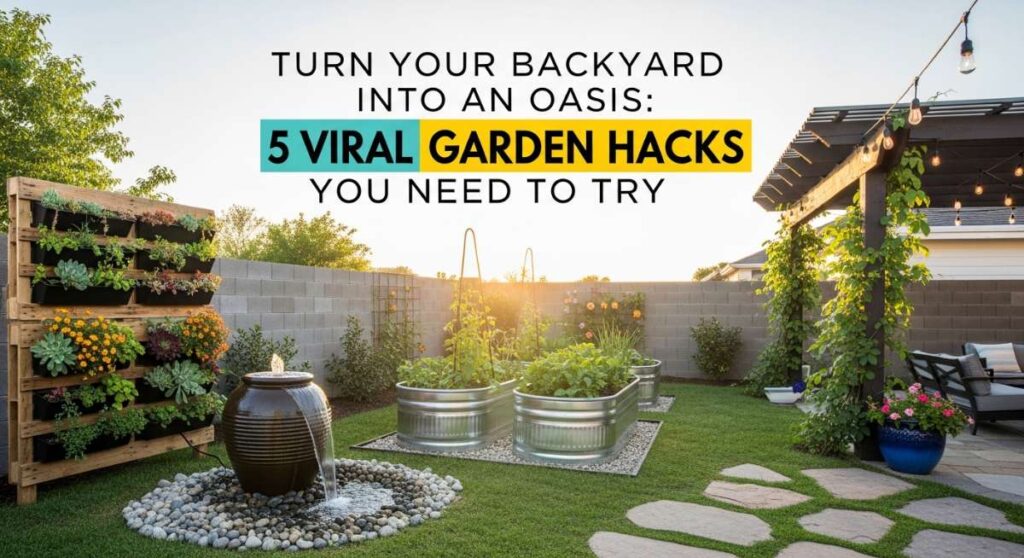
Have you ever stepped into your backyard and felt a sense of longing for something more than just a patch of grass? We’ve all been there—scrolling through endless social media feeds, hearting those stunning outdoor escapes that look like they belong in a luxury magazine. There is something truly magical about a space that calls you outside, where the scent of blooming jasmine mixes with the warm evening air and the soft glow of string lights makes every night feel like a special occasion.
Creating an oasis doesn’t require a massive budget or a team of professional landscapers; it starts with a little bit of dirt under your fingernails and a vision for your personal sanctuary. Whether you’re dreaming of a sustainable homestead corner or a chic spot to sip a cocktail by the water, these viral DIY hacks are designed to transform the mundane into the extraordinary. Let’s roll up our sleeves and turn that ‘someday’ dream into a reality you can enjoy today.
How to Style Front Porch Flower Pots for Instant Curb Appeal
Why we love this
There is nothing quite like the welcoming embrace of a perfectly styled front porch to make you feel truly at home before you even turn the key. When you master the art of the ‘thriller, filler, and spiller,’ your entryway transforms into a vibrant, living tapestry of textures and colors that catch the golden hour light beautifully. The sweet fragrance of petunias mixed with the earthy scent of fresh mulch creates an olfactory greeting that feels both luxurious and comforting, instantly elevating your home’s aesthetic from ordinary to high-end boutique.
Essential Elements:
- Large ceramic or resin planters with drainage holes
- High-quality potting mix with perlite
- A ‘thriller’ plant (like Dracaena or Canna Lily)
- ‘Filler’ plants (like Geraniums or Lantana)
- ‘Spiller’ plants (like Sweet Potato Vine or Creeping Jenny)
- Slow-release fertilizer beads
How to make it
- Begin by selecting a pot that is at least 14-16 inches in diameter to allow for root growth; ensure there are drainage holes at the bottom to prevent root rot.
- Fill the container about two-thirds full with a lightweight potting mix, avoiding garden soil which is too heavy and compacts easily.
- Place your ‘thriller’—the tallest, most dramatic plant—right in the center (or towards the back if the pot faces one way). This provides the vertical focal point.
- Surround the thriller with ‘fillers,’ which are mid-height plants that add bulk and color. Space them about 4 inches apart to give them room to breathe while still looking lush.
- Plant your ‘spillers’ along the very edge of the pot, angling them slightly outward so they naturally cascade over the rim as they grow.
- Top off with more soil, pressing down gently to remove large air pockets, and water thoroughly until water runs out the bottom.
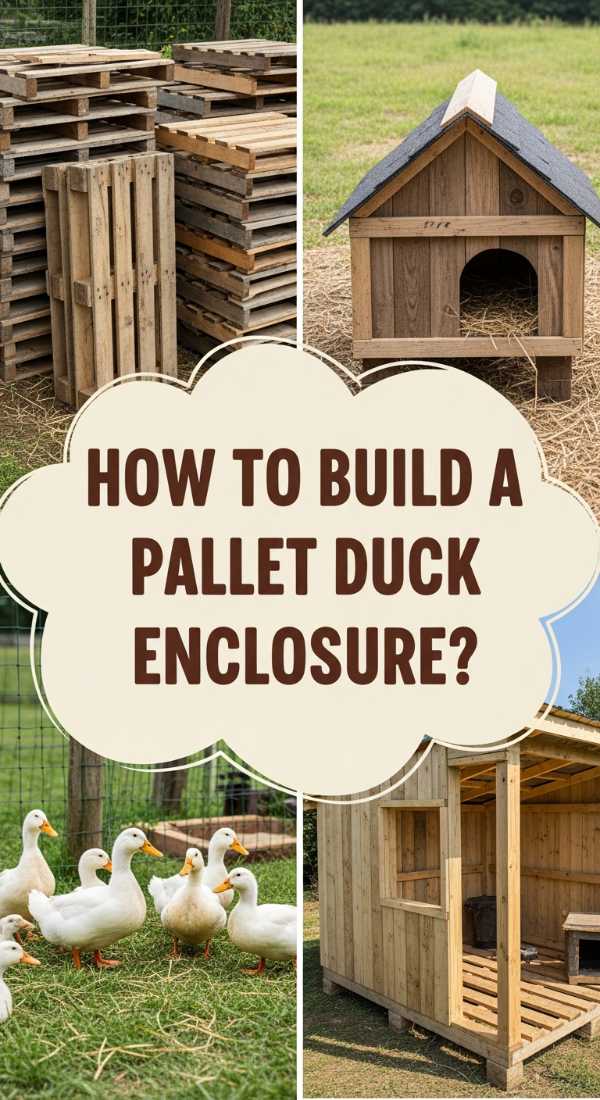
How to Build a Pallet Duck Enclosure for Sustainable Backyard Living

Why we love this
Sustainability meets rustic charm in this DIY project that provides a cozy, safe haven for your feathered friends. Building a duck enclosure from reclaimed pallets isn’t just eco-friendly; it adds a tactile, farmhouse aesthetic to your backyard that feels grounded and intentional. Imagine the sound of happy quacks against the backdrop of weathered wood and the satisfaction of knowing you built a functional piece of your homestead using recycled materials that would have otherwise gone to waste.
Essential Elements:
- 4-6 Heat-Treated (HT) wooden pallets
- Exterior-grade wood screws (2.5 inch)
- Hardware cloth (1/2 inch mesh)
- Heavy-duty hinges and a sliding bolt latch
- Corrugated roofing panels
- Cordless drill and a circular saw
How to make it
- Inspect your pallets for the ‘HT’ stamp, ensuring they weren’t chemically treated, which is vital for the health of your ducks.
- Disassemble two pallets using a pry bar to harvest individual slats for the floor and roof supports.
- Stand three pallets upright to form a ‘U’ shape for the walls, pre-drilling holes before driving screws at the corners to prevent the old wood from splitting.
- Install a floor made of harvested slats, leaving 1/4 inch gaps for drainage, which is crucial since ducks are notoriously wet and messy.
- Attach hardware cloth to the interior using a staple gun; this is more predator-proof than chicken wire and keeps out smaller rodents.
- Frame a simple sloped roof using remaining slats and attach the corrugated panels, ensuring a 2-inch overhang to keep rain from dripping inside.
- Construct a simple door from pallet scraps, attach with heavy-duty hinges, and install a predator-proof latch high enough that raccoons can’t reach.
How to Design a Rock River Bed for a Serene Garden Oasis
Why we love this
A dry rock river bed is a masterclass in blending functionality with Zen-like beauty, offering a permanent solution to drainage issues while creating a stunning visual anchor. The varying textures of smooth river rocks, jagged slate, and rounded pebbles create a rhythmic, flowing sensation that mimics the movement of water even on the driest days. It brings a sense of ancient, natural permanence to a garden, catching the light on rainy days and providing a cool, grounding contrast to the soft foliage of surrounding ferns and grasses.
Essential Elements:
- Landscape fabric (heavy-duty)
- Landscape staples
- River rocks in various sizes (small pebbles to large boulders)
- Decorative gravel or pea stone
- Shovel and steel rake
- Edging material (optional)
How to make it
- Map out a natural, meandering path for your river bed using a garden hose to visualize the curves; avoid straight lines for a more organic look.
- Excavate the path to a depth of about 6-8 inches, creating a slight trench that slopes away from your home’s foundation.
- Lay down heavy-duty landscape fabric to prevent weeds from sprouting through the rocks, securing it tightly with landscape staples every 12 inches.
- Place your largest ‘anchor’ boulders first at the bends of the ‘river’ to create natural-looking focal points that ground the design.
- Fill the center of the trench with medium-sized river rocks, and use the smallest gravel or pea stone to fill in the gaps and line the very edges.
- Rake the rocks so the center is slightly lower than the sides, enhancing the ‘stream’ effect and ensuring water flows properly during heavy rain.
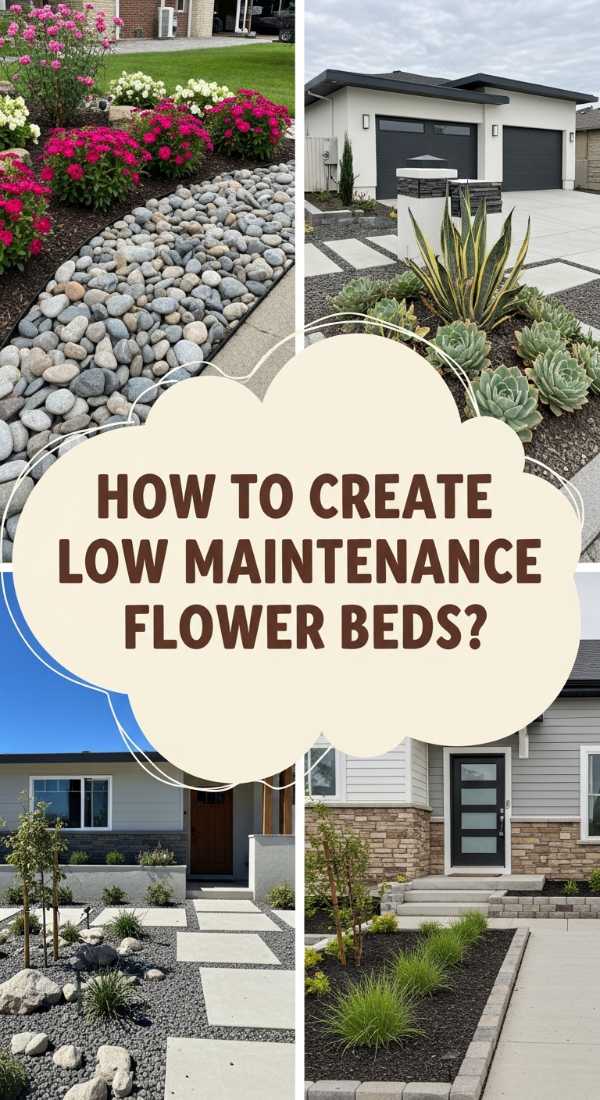
How to Create Low Maintenance Rock Flower Beds for Stress Free Beauty
Why we love this
For the gardener who wants high impact with zero effort, the rock flower bed is the ultimate hack for a polished, modern landscape. By replacing traditional mulch with stone, you create a crisp, clean look that doesn’t fade or decompose, providing a sophisticated backdrop for structural plants. The heat-retaining properties of the stones create a unique microclimate that succulents and hardy perennials love, while the tactile crunch of the rocks underfoot adds a sensory layer to your garden strolls that feels both sturdy and refined.
Essential Elements:
- Non-woven geotextile fabric
- Mexican Beach Pebbles or Crushed White Quartz
- Drought-tolerant plants (Sedum, Lavender, or Agave)
- Plastic or metal garden edging
- Organic slow-release fertilizer
How to make it
- Clear the area of all grass and weeds, then level the soil with a rake to ensure a flat surface for your stone layer.
- Install your edging material around the perimeter; this keeps the stones from migrating into your lawn over time.
- Lay the geotextile fabric, cutting ‘X’ shapes in the locations where you intend to plant your specimens.
- Dig holes through the ‘X’ cuts, enrich the soil with a bit of organic fertilizer, and install your drought-tolerant plants.
- Pull the fabric flaps back around the base of the plants and begin pouring your stones, aiming for a depth of at least 2-3 inches for full coverage.
- Hand-place stones around the base of the plants to ensure they aren’t buried too deeply, and rinse the stones with a hose to remove any dust and make the colors pop.
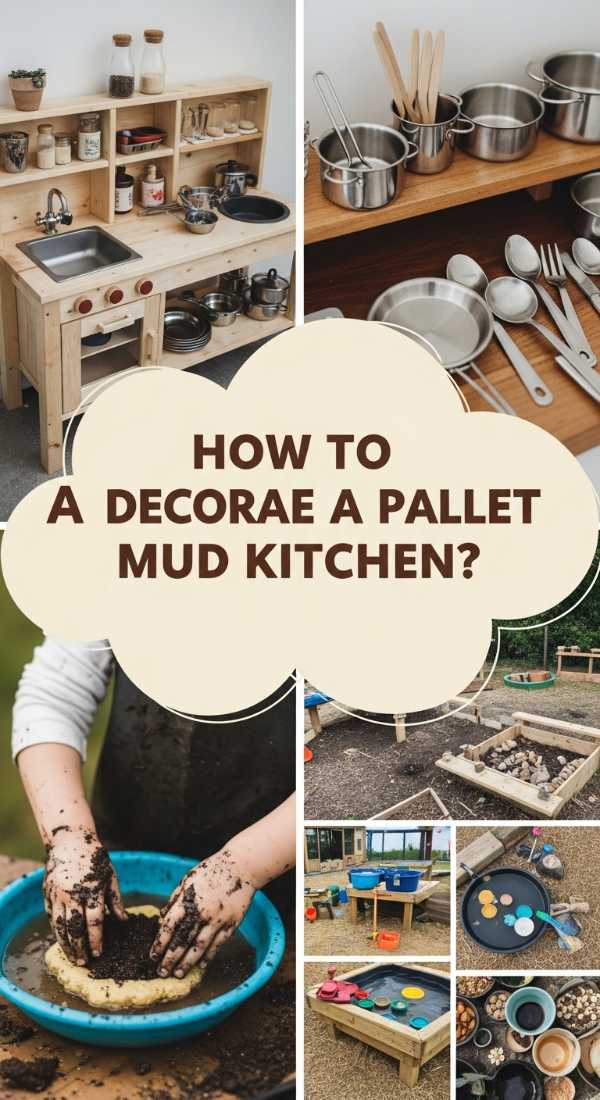
How to Decorate a Pallet Mud Kitchen for Endless Outdoor Play
Why we love this
There is a whimsical, nostalgic joy in watching children engage in sensory play with a handmade mud kitchen. This project turns simple pallets into a hub of imagination, where the smell of damp earth and crushed mint leaves becomes a ‘gourmet soup.’ It’s a space that encourages messy, unscripted fun, blending the rustic texture of wood with the colorful charm of thrifted pots and pans. It’s not just a toy; it’s a beautiful garden feature that celebrates the magic of childhood and the simplicity of nature.
Essential Elements:
- Two pallets (untreated)
- Old stainless steel sink or plastic wash basins
- Outdoor-rated paint or wood stain
- Thrifted kitchen utensils (spoons, whisks, colanders)
- Hooks and a small chalkboard
- Battery-operated ‘stove’ knobs
How to make it
- Sand the pallets thoroughly using 80-grit sandpaper followed by 120-grit to ensure there are no splinters for little hands.
- Secure one pallet vertically as a ‘backsplash’ and attach the second pallet horizontally as the ‘countertop’ using long lag bolts for stability.
- Measure the dimensions of your sink or basins and use a jigsaw to cut out corresponding holes in the countertop pallet.
- Apply two coats of outdoor-rated stain or a fun, bright paint to protect the wood from the elements and add visual appeal.
- Install the sink and screw in hooks to the backsplash for hanging utensils; a small chalkboard can be mounted to display the ‘Daily Menu.’
- Add decorative touches like painted ‘burners’ on the wood or old knobs that can be turned, then stock with plenty of dirt, water, and plastic bowls.
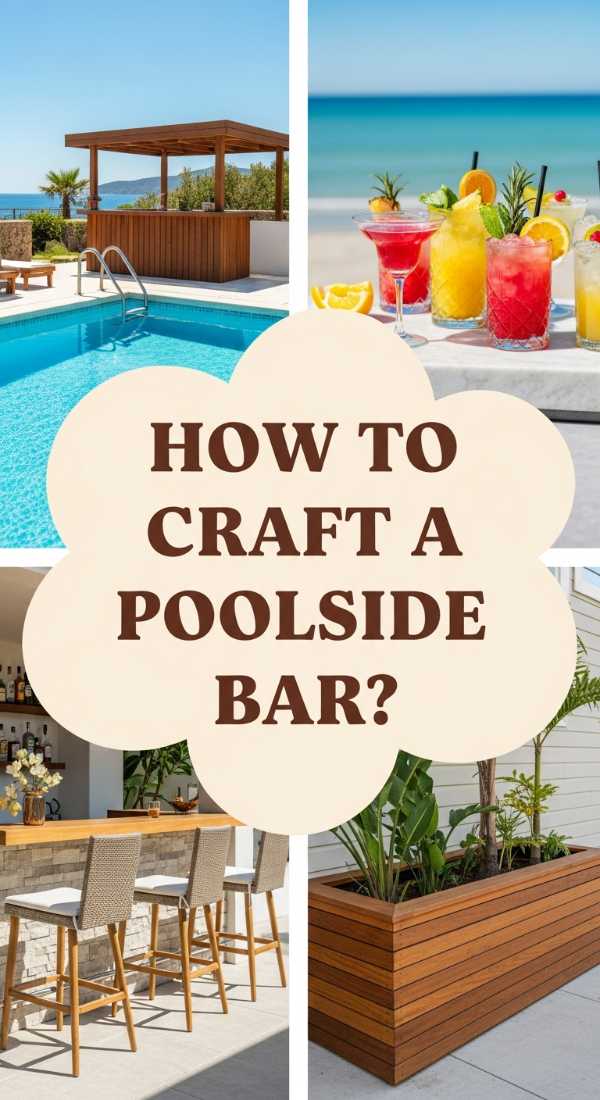
How to Craft a Poolside Bar for the Ultimate Summer Hangout
Why we love this
Transform your pool area into a five-star resort with a custom bar that serves as the heart of every summer party. The combination of cool stone or wood finishes against the shimmering blue of the water creates an irresistible vacation vibe right in your own backyard. Imagine the clinking of ice cubes and the aroma of fresh lime wedges as you serve drinks from a bar you built yourself. It provides a focal point for social interaction, making your outdoor space feel expansive, entertaining, and incredibly stylish.
Essential Elements:
- Pressure-treated 2x4s for the frame
- Cedar planks for siding
- Concrete or butcher block countertop
- Bar stools
- Outdoor mini-fridge or built-in ice chest
- Waterproof LED strip lighting
How to make it
- Build a rectangular frame using pressure-treated 2x4s, ensuring it is at the standard bar height of 42 inches.
- Level the frame on your patio and anchor it if necessary; then, sheathe the sides with cedar planks for a rot-resistant and beautiful finish.
- If using a concrete countertop, build a melamine mold, pour the concrete mix, and allow it to cure for at least 48 hours before polishing and sealing.
- Install the countertop onto the frame using heavy-duty construction adhesive.
- Add a footrail at about 7-9 inches from the ground using a sturdy piece of pipe or wood to ensure guest comfort while seated.
- Apply a waterproof sealant to all wood surfaces and install LED lighting under the counter lip for a dramatic nighttime glow.
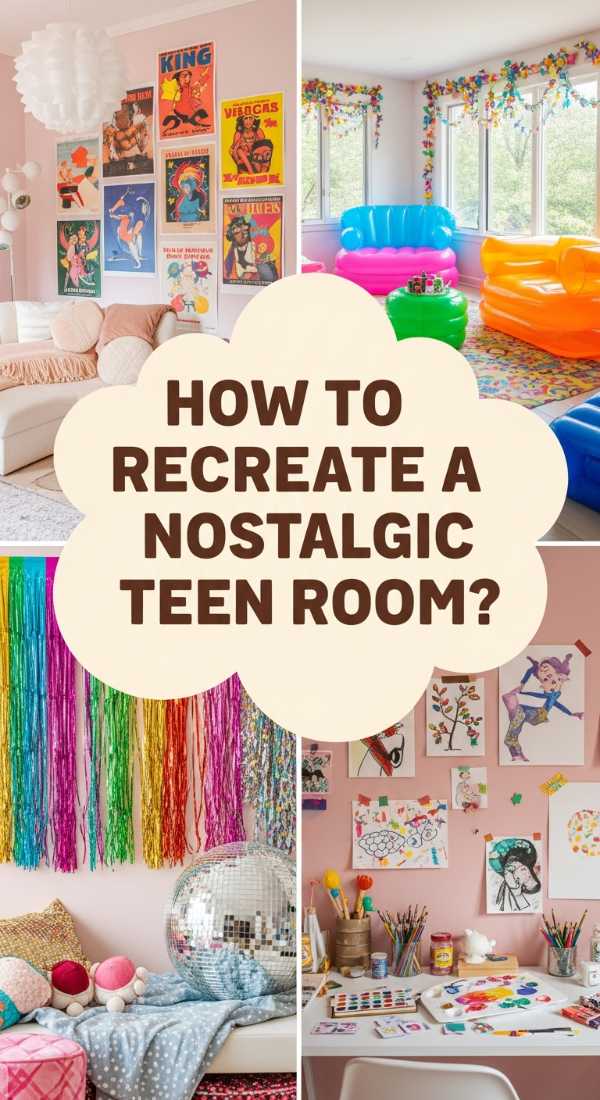
How to Recreate a Nostalgic Teen Room for Retro Creative Vibes
Why we love this
Stepping into a retro-inspired room is like a warm hug from the past, blending the cozy familiarity of the 90s with modern design sensibilities. This aesthetic is all about layered textures—think velvet pillows, fuzzy rugs, and the soft hum of neon lights—that create a sanctuary for creativity and relaxation. It’s a space that feels deeply personal and expressive, where every poster and trinket tells a story, offering a vibrant escape from the digital world and a return to tactile, analog joy.
Essential Elements:
- Lava lamps or neon signs
- Wall collage kit or vintage posters
- String lights or ‘fairy’ lights
- Bean bag chairs or floor cushions
- Record player and vinyl storage
- Woven or shag area rug
How to make it
- Choose a color palette that feels retro yet fresh, such as muted teals, mustards, or sunset oranges, and apply a base coat to the walls.
- Create a gallery wall using a mix of vintage-style posters and personal photos, using double-sided mounting tape to keep the look seamless.
- Drape string lights around the perimeter of the ceiling or behind a sheer curtain to create a soft, diffused ambient glow.
- Incorporate various textures by layering a shag rug over hard flooring and adding velvet or corduroy cushions to a dedicated ‘chill’ corner.
- Set up a dedicated ‘creative station’ with a low table for journaling or a shelf for a record player to encourage off-screen activities.
- Finish the look with iconic retro accessories like a disco ball in a sunny window or a classic lava lamp on a nightstand for that authentic vibe.
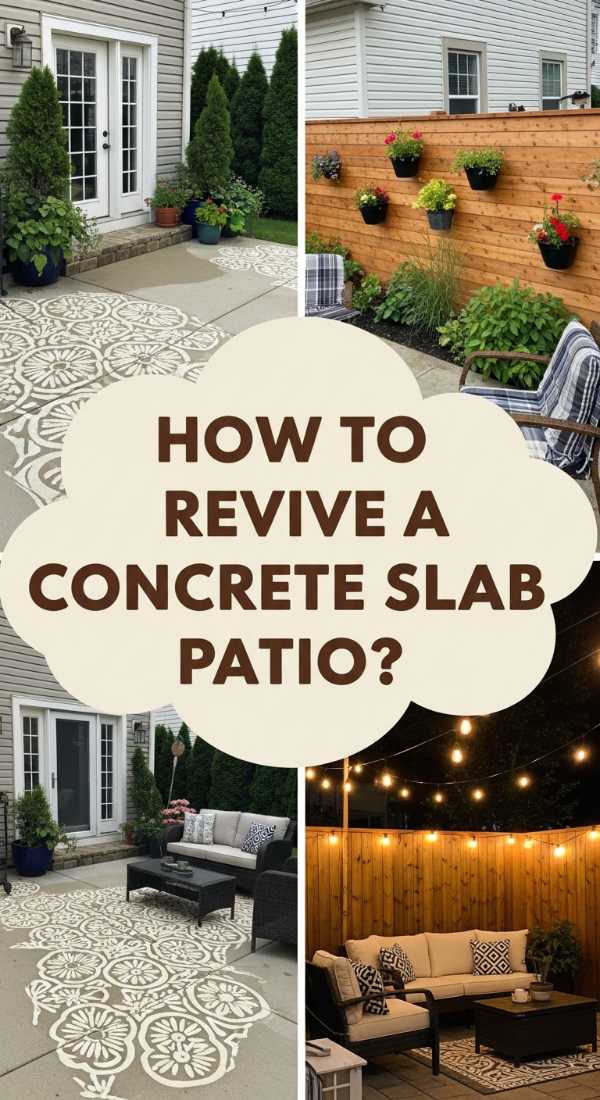
How to Revive a Concrete Slab Patio for a Secluded Sanctuary
Why we love this
That cold, grey concrete slab doesn’t have to be an eyesore; it’s actually a blank canvas waiting for a soul. By layering outdoor rugs, plush seating, and a forest of potted plants, you can transform a sterile space into a hidden courtyard that feels private and lush. The contrast between the hard concrete and the soft, organic shapes of tropical leaves creates a modern, architectural feel that is both sophisticated and incredibly relaxing—a perfect spot for morning coffee or late-night stargazing.
Essential Elements:
- Concrete stain or outdoor porch paint
- Large outdoor area rug
- Privacy screens or tall planters (like Bamboo)
- Comfortable sectional or lounge chairs
- Solar-powered lantern lights
- Potted palms and ferns
How to make it
- Pressure wash the concrete slab thoroughly to remove all dirt, oil, and moss; this is essential for paint or stain adhesion.
- Apply a high-quality outdoor concrete stain in a neutral tone like slate or sand, using a roller for the main areas and a brush for the edges.
- Define the seating area by laying down a large, weather-resistant rug that covers a significant portion of the slab.
- Arrange your furniture in a conversation grouping, ensuring there is a clear flow of movement.
- Place tall, leafy plants or wooden privacy lattices around the perimeter to create a ‘walled garden’ effect that blocks out neighbors.
- String globe lights overhead and add battery-operated lanterns to the floor level to create layers of light that make the space feel cozy after dark.
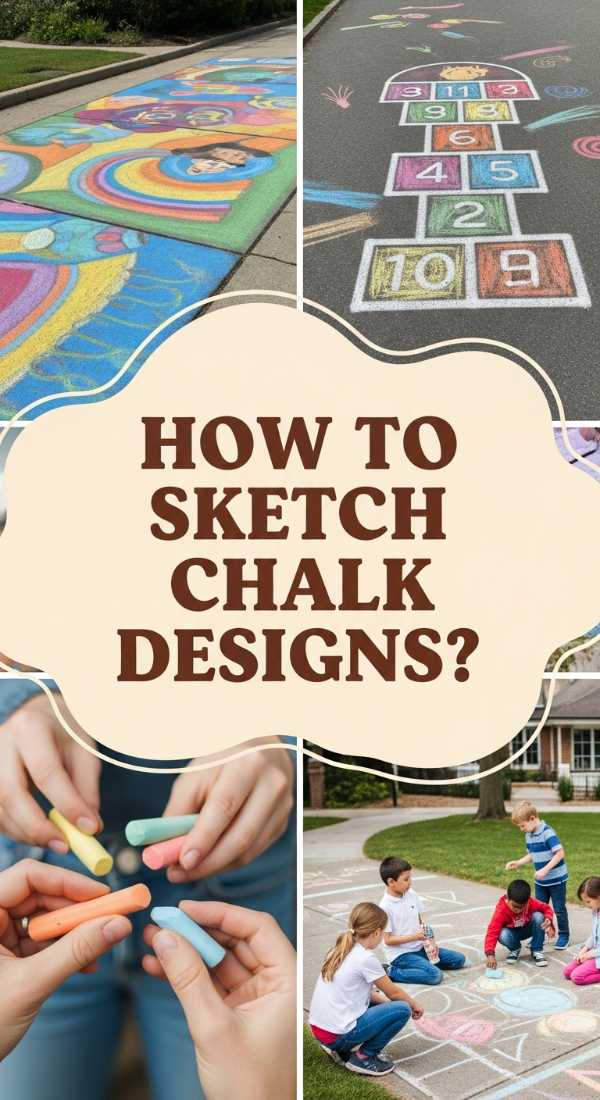
How to Sketch Magical Sidewalk Chalk Designs for Whimsical Neighborhood Fun

Why we love this
There is a fleeting, beautiful magic in sidewalk chalk art—it’s a gift to the neighborhood that celebrates the joy of the present moment. From 3D illusions that look like you’re stepping into another world to vibrant mandalas that brighten a gray pavement, this is street art at its most accessible and heart-warming. The dusty texture of the chalk on the rough concrete and the bright, saturated colors under the sun bring a sense of wonder to an everyday walk, turning a simple sidewalk into a temporary outdoor museum.
Essential Elements:
- High-pigment sidewalk chalk or chalk pastels
- Painter’s tape (for crisp edges)
- A bucket of water and sponges (for blending)
- Kneeling pad
- Sketchbook for planning
How to make it
- Sweep the sidewalk area to remove loose debris that could scratch your design or break your chalk.
- Use painter’s tape to outline geometric shapes or ‘frames’ if you want a clean, modern look for your mural.
- Apply a base layer of color and use a damp sponge to blend the chalk into the concrete pores for a vibrant, paint-like finish.
- Layer darker colors over lighter ones to create shadows and depth, which is the key to making ‘3D’ chalk art look realistic.
- Add fine details and highlights with white chalk last to make the colors ‘pop’ and add a sense of light source.
- When finished, carefully peel away the painter’s tape to reveal sharp, professional edges that make your artwork stand out.
How to Master Realistic Pantry Organization for a Functional Dream Kitchen
[IMAGE_10]
Why we love this
A perfectly organized pantry is the ultimate form of self-care for the home cook, turning a daily chore into a streamlined, aesthetic experience. The visual harmony of uniform glass jars, neatly labeled bins, and tiered shelves creates a sense of calm that radiates through the whole kitchen. Opening your pantry to find exactly what you need—the smell of dried herbs, the sight of golden pasta shapes, and the orderly rows of spices—removes the mental clutter of meal prep and makes the heart of your home feel truly intentional and cared for.
Essential Elements:
- Airtight glass or BPA-free plastic canisters
- Uniform baskets (wicker or wire)
- Label maker or custom vinyl decals
- Lazy Susans (turntables)
- Tiered ‘staircase’ spice racks
- Over-the-door organizer (optional)
How to make it
- Empty the entire pantry and wipe down every shelf; this is the time to check expiration dates and toss anything that is no longer fresh.
- Group like items together: baking supplies, grains, snacks, canned goods, and breakfast items to determine how many containers you need.
- Decant dry goods like flour, sugar, and pasta into airtight canisters; this keeps food fresh longer and creates a uniform, ‘viral’ look.
- Place snacks and oddly shaped packages into matching baskets or bins to hide visual clutter while keeping items accessible.
- Utilize Lazy Susans in corners or for oils and vinegars, so nothing gets lost in the back of the shelf.
- Apply clear, legible labels to every container and bin; this ensures that everyone in the household knows where things belong, maintaining the system long-term.
Conclusion: Your Oasis Awaits
Transforming your home and garden into a viral-worthy retreat is about more than just aesthetics; it’s about creating a lifestyle that prioritizes beauty, functionality, and joy. Whether you start with a single flower pot or a full poolside bar, each project brings you one step closer to a sanctuary that reflects your unique spirit. So, take these hacks, make them your own, and enjoy every moment of your new, revitalized space!