

Imagine stepping out your back door and feeling the immediate weight of the world lift off your shoulders as you’re greeted by the scent of fresh lavender and the soft glow of amber string lights. We often spend so much time perfecting our interior sanctuaries that the backyard becomes a forgotten patch of grass, yet your outdoor space has the potential to be a true extension of your soul. A modern oasis isn’t just about curb appeal; it is about creating a tactile, sensory experience that grounds you every single day.
For me, the transformation began when I realized that a garden should be more than just something to look at—it should be something to live in. Whether it’s the rhythmic sound of water cascading over stones or the grounding feeling of smooth pebbles underfoot, these elements work together to turn a simple yard into a restorative retreat. Today, I’m sharing how you can elevate your own slice of nature into a designer-worthy haven.
In this guide, we are diving deep into everything from high-end rock features to budget-friendly patio flips and sensory-rich play zones. Let’s explore how to blend functionality with aesthetic beauty to craft an outdoor living area that feels like a permanent vacation.
How to Design a Serene Hot Tub Area for Total Mindful Relaxation

Why we love this
There is nothing quite like the therapeutic embrace of swirling steam rising into the cool night air as you sink into warm, bubbling water. The visual harmony of natural cedar decking paired with the soft, emerald glow of surrounding ferns creates a cocoon of privacy that feels miles away from the chaos of the city. You can almost feel the tension melting from your shoulders as the aroma of essential oils mixes with the crisp scent of the evening breeze, making this the ultimate sanctuary for deep breathing and mental clarity.
Essential Elements:
- High-quality cedar or composite decking platform
- Dimmable, waterproof LED accent lighting
- Potted aromatic plants like Jasmine or Eucalyptus
- Plush, oversized Turkish cotton towels
- Weather-proof outdoor speakers for ambient soundscapes
How to make it
- Level the Ground: Start by excavating a flat area slightly larger than your tub. Use a leveling tool to ensure the surface is perfectly horizontal, then lay a 4-inch base of compacted gravel to prevent sinking or shifting over time.
- Install the Foundation: Place a pre-cast concrete pad or build a reinforced wooden deck. If building a deck, ensure the joists are spaced no more than 12 inches apart to support the immense weight of the water and tub.
- Electrical Setup: Hire a certified electrician to install a dedicated 240V GFCI outlet. Ensure all wiring is buried in PVC conduit at least 18 inches deep for safety and aesthetic concealment.
- Surround with Privacy: Position tall, narrow planters or a decorative slat fence around the perimeter. Use ‘Green Giant’ Arborvitae for a natural screen that provides year-round greenery and sound dampening.
- Add the Finishing Touches: Set up a small side table for herbal teas and install soft, warm-toned path lights. Set your water temperature to 102°F (39°C) for the perfect balance of heat that relaxes muscles without overheating the body.
How to Master Rock Landscaping Ideas for a Low Maintenance Garden
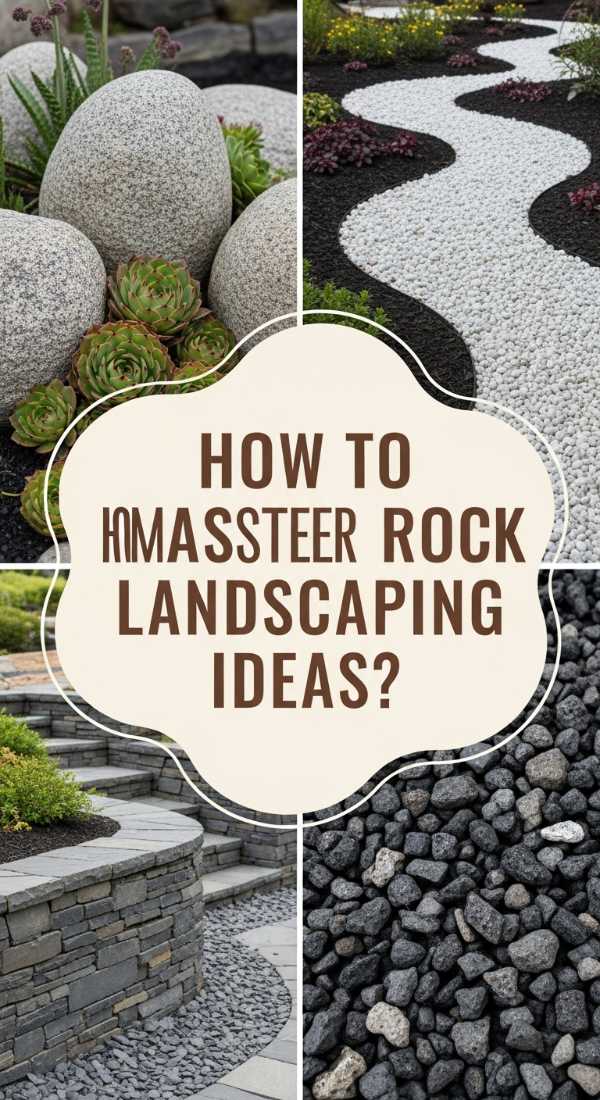
Why we love this
Rock landscaping brings a timeless, architectural quality to the garden that provides a striking contrast between the rugged, matte textures of stone and the delicate, swaying movement of ornamental grasses. We love the way sunlight dances across the varied facets of slate and granite, changing the garden’s mood from a bright, energetic morning to a moody, shadowed twilight. It’s a design choice that honors the earth’s natural beauty while liberating you from the constant cycle of weeding and watering, offering a clean and sophisticated aesthetic.
Essential Elements:
- Multi-sized river rocks and smooth pebbles
- Heavy-duty landscape fabric
- Galvanized steel or heavy plastic edging
- Specimen boulders for visual focal points
- Drought-tolerant succulents and grasses
How to make it
- Clear and Grade: Remove all existing sod and weeds from the target area. Use a steel rake to smooth the soil, sloping it slightly away from your home’s foundation to prevent water pooling.
- Lay Suppression Barrier: Roll out high-quality, non-woven geotextile fabric. Overlap the seams by at least 6 inches and secure them with landscape staples every 12 inches to prevent any weed breakthrough.
- Define the Borders: Install heavy-duty edging along the perimeter. Hammer the edging deep into the soil so only about an inch is visible, creating a crisp line that keeps your stones from migrating into the lawn.
- Place Focal Boulders: Position your largest rocks first. Dig a shallow ‘nest’ for each boulder so it sits slightly below ground level, making it look like a natural outcropping rather than a rock just dropped on the surface.
- Fill and Spread: Pour your chosen gravel or river rock to a depth of 3 inches. Use a garden rake to distribute the stones evenly, ensuring the fabric is completely covered and the texture looks organic and intentional.
How to Build a DIY Water Table for Kids for Hours of Summer Fun

Why we love this
The sound of children’s laughter mingling with the gentle splashing of water is the quintessential soundtrack to a perfect summer afternoon. This DIY water table is a tactile wonderland where little hands can explore the cool, fluid dynamics of water against the warmth of smooth wooden surfaces. It’s more than just a toy; it’s a beautiful piece of outdoor furniture that encourages open-ended play, creativity, and a deep connection to the physical world, all while keeping the kids cool and engaged under the sun.
Essential Elements:
- Pressure-treated 2×4 lumber for the frame
- Two deep plastic storage bins (removable)
- Exterior-grade wood screws and wood glue
- Outdoor wood sealant or stain
- Assorted water toys: funnels, cups, and silicone tubes
How to make it
- Measure and Cut: Measure the lip of your plastic bins. Cut four 2×4 legs to a height of 22 inches (ideal for toddlers) and four frame pieces that will snugly encase the bins’ rims.
- Assemble the Frame: Use wood glue and two 2.5-inch screws at each joint to create a rectangular box. Pre-drill your holes to prevent the wood from splitting, which is a common mistake in outdoor builds.
- Attach the Legs: Secure the legs to the inside corners of the frame using carriage bolts for extra stability. Ensure the table is rock-steady, as water is heavy and kids will inevitably lean on it.
- Sand and Seal: Sand every surface with 120-grit sandpaper until perfectly smooth to prevent splinters. Apply two coats of a non-toxic, waterproof outdoor sealant, allowing 24 hours of drying time between coats.
- Drop in Bins and Fill: Place the plastic bins into the frame openings. Fill one with fresh water and the other with kinetic sand or smooth pebbles, creating a multi-sensory station that will keep them occupied for hours.
How to Create a Rock River Bed Landscape Design for Natural Curb Appeal
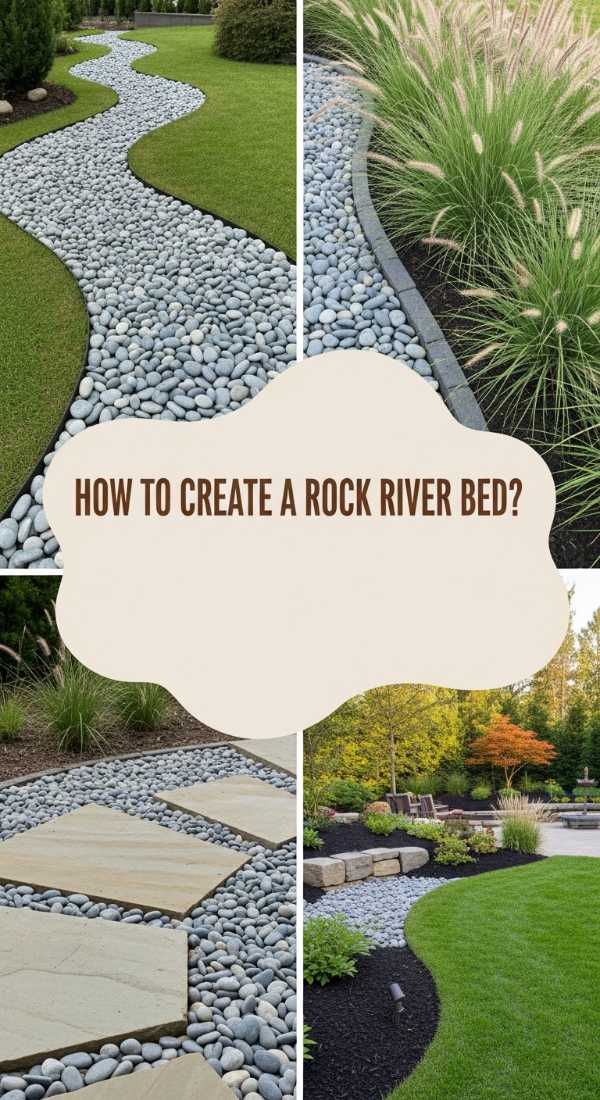
Why we love this
A well-executed rock river bed mimics the effortless grace of a mountain stream, bringing a sense of movement and tranquility to a static front yard. We love the interplay of different stone sizes—from tiny pea gravel to medium cobbles—which creates a sophisticated texture that looks incredibly high-end. It provides a permanent, structured beauty that looks just as stunning in the dead of winter as it does in the lush peak of summer, instantly elevating your home’s exterior with an organic, curated feel.
Essential Elements:
- Assorted sizes of river rock (1 inch to 6 inches)
- Large ‘anchor’ boulders
- Commercial-grade weed barrier
- Hardy low-profile plants like Blue Rug Juniper
- Spade and metal rake
How to make it
- Map the Path: Use a garden hose or spray paint to mark out a meandering, ‘S’ shaped path through your garden bed. Natural rivers never run in a perfectly straight line, so embrace organic curves.
- Excavate the Channel: Dig out the path to a depth of about 4-6 inches in the center, tapering upward toward the edges to create a shallow ‘U’ shape. This depth is critical for making the bed look authentic.
- Line the Trench: Lay down heavy-duty landscape fabric, ensuring it covers the bottom and the sides of the trench completely. This prevents the stones from sinking into the mud over time.
- Layer the Stones: Place larger boulders at the ‘bends’ of your river to act as natural anchors. Fill the center with medium cobbles, and then use smaller pebbles to fill the gaps and create the ‘shoreline’ edges.
- Plant for Realism: Tuck small, drought-resistant plants into the edges of the rock bed. This softens the transition between the stone and the rest of the landscape, making the feature look like it has been there for decades.
How to Refresh Cheap Patio Floor Ideas for a Chic Outdoor Living Room
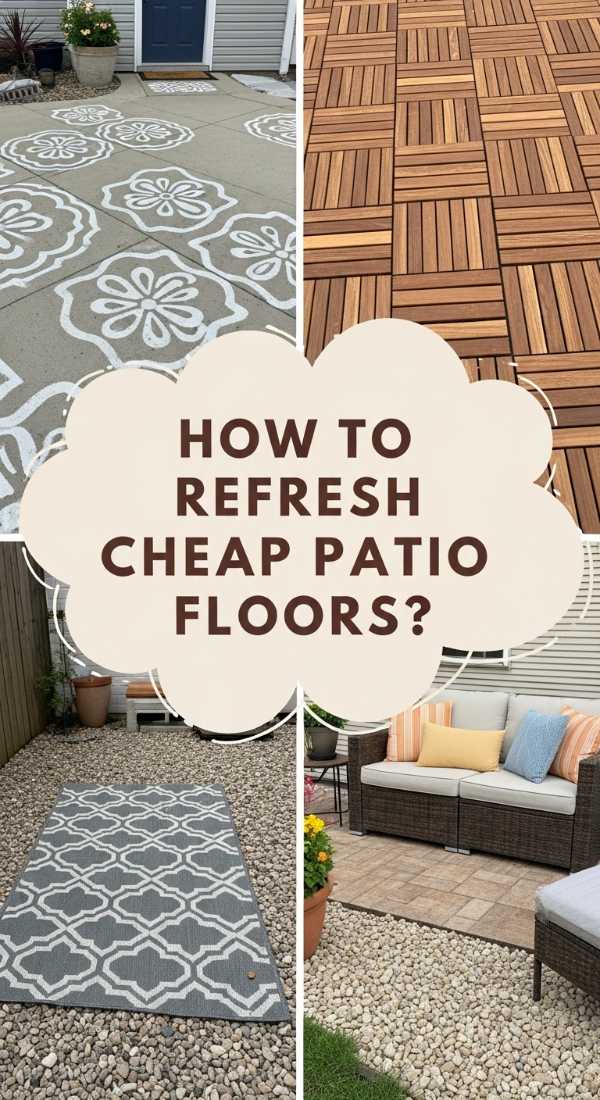
Why we love this
There is a unique thrill in taking a drab, cracked concrete slab and turning it into a high-fashion outdoor lounge that rivals the glossiest magazine spreads. We love the transformation because it proves that luxury is a mindset, not a price tag; by using clever patterns and modern tones, you can create a space that feels expensive and intentional. The feeling of bare feet on a freshly finished, stylish surface while sipping an iced coffee is the ultimate reward for a weekend of creative hard work.
Essential Elements:
- Concrete cleaner and degreaser
- Large-scale geometric stencil
- Outdoor porch and patio paint (matte finish)
- Small foam rollers and painter’s tape
- Clear anti-slip topcoat sealant
How to make it
- Deep Clean the Surface: Power wash the concrete thoroughly to remove all dirt and loose debris. Use a stiff brush and a degreaser to scrub away any oil stains, as paint will not adhere to oily surfaces.
- Repair and Prime: Fill any large cracks with concrete filler and sand smooth. Apply a high-adhesion masonry primer and let it dry for at least 6 hours under dry, shaded conditions.
- Apply Base Coat: Roll on two thin, even layers of your base color. Avoid thick coats which can peel; instead, focus on full coverage and allow the first coat to dry completely before starting the second.
- Stencil the Pattern: Secure your stencil with tape. Use a ‘dry roller’ technique—loading the roller with paint and then rolling most of it off onto a paper towel—to prevent bleeding under the stencil edges.
- Seal for Longevity: Once the pattern is dry (usually 24 hours), apply a clear, UV-resistant topcoat with an anti-slip additive. This protects your hard work from the sun and rain while ensuring the surface isn’t slippery when wet.
How to Style Bold Rock Features for a Modern Zen Backyard

Why we love this
Bold rock features act as the ‘punctuation marks’ of a garden, providing strong visual anchors that command attention and inspire quiet reflection. There is a profound sense of stillness that comes from a single, massive piece of granite surrounded by perfectly raked sand or lush, vibrant moss. We love how these features bring a sense of ancient permanence to a modern space, creating a Zen-like atmosphere where the mind can finally settle into the present moment among the stillness of the stone.
Essential Elements:
- Large monolithic stone or ‘standing’ rock
- Fine crushed granite or white sand
- Bamboo fencing or screen
- Minimalist solar up-lighting
- Japanese Forest Grass (Hakonechloa)
How to make it
- Select Your Hero Stone: Visit a local stone yard and find a rock with a unique shape or ‘face.’ Look for interesting mineral veins or moss growth that adds character and a sense of history.
- Set the Orientation: Place the stone in a location where it can be viewed from multiple angles. Tilt it slightly so the ‘best’ side faces your main seating area, ensuring it looks balanced and purposeful.
- Create a ‘Void’ Space: Surround the rock feature with a wide area of fine gravel or sand. Use a wooden rake to create concentric circles or flowing lines in the sand to simulate the movement of water.
- Lighting for Drama: Position a low-voltage LED spotlight at the base of the rock, angled upward. This creates long, dramatic shadows at night, highlighting the texture and scale of the feature.
- Soften the Base: Plant small clumps of soft, flowing grass or install a patch of moss at the base of the stone. This contrast between the hard, unyielding rock and the soft, living greenery is the key to Zen aesthetics.
How to Upgrade a Hot Tub Area for the Ultimate Romantic Evening

Why we love this
Transforming a standard hot tub into a romantic sanctuary is all about the art of layering soft textures and warm light to create an intimate world for two. We love the way the golden flicker of candlelight reflects off the dark water, creating a dreamlike glow that makes everything else disappear. It’s the perfect setting for deep conversations and quiet connection, where the world slows down and the only things that matter are the warmth of the water and the person sitting across from you.
Essential Elements:
- Weather-proof string lights or lanterns
- Aromatherapy salts (lavender or rose)
- Floating waterproof candles
- Two plush robes and matching slippers
- Insulated wine tumblers
How to make it
- Set the Glow: String warm-white Edison bulbs overhead or along the fence line. Ensure they are on a dimmer switch so you can dial back the brightness to a soft, romantic hum.
- Scent the Experience: Add a few drops of spa-safe liquid aromatherapy to the water. Avoid oil-based products as they can clog filters; stick to specifically formulated spa salts that dissolve completely.
- Prepare the ‘Landing Zone’: Place a small bench or table right next to the tub steps. Lay out fresh, warm towels and two plush robes so you don’t lose that cozy feeling the moment you step out of the water.
- Ambient Audio: Queue up a playlist of soft jazz or acoustic melodies. Keep the volume low enough that it acts as a background texture rather than a focal point, allowing for easy conversation.
- Hydration and Treats: Fill insulated tumblers with chilled sparkling water or wine to keep them cold despite the steam. Add a small plate of chocolate-covered strawberries for a touch of classic indulgence.
How to Install a Rock River Bed Landscape Design for Better Drainage
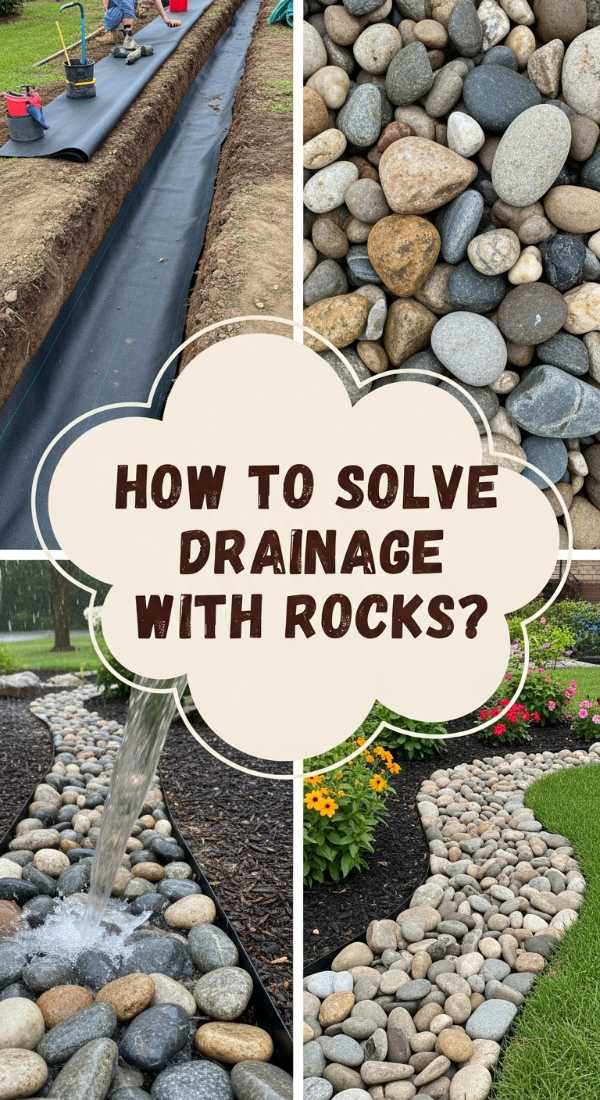
Why we love this
There is a brilliant satisfaction in solving a functional problem like yard drainage while simultaneously creating a stunning visual feature. We love how a drainage-focused river bed turns a muddy, unusable patch of the yard into a dynamic landscape element that actually comes to life during a rainstorm. Watching the water flow naturally through the stones instead of pooling near your foundation provides a sense of relief and pride, knowing your garden is as smart as it is beautiful.
Essential Elements:
- PVC perforated drainage pipe
- Clean 3/4-inch crushed stone
- Large river rocks and decorative cobbles
- Permeable landscape fabric
- Catch basin or ‘dry well’ kit
How to make it
- Determine the Flow: Observe your yard during a heavy rain to see where the water naturally travels. This is where your trench should be placed to maximize efficiency and capture the most runoff.
- Dig a Deep Trench: Excavate a trench at least 12 inches deep and 18 inches wide. Ensure the trench has a downward slope of at least 1 inch for every 10 feet of length to keep water moving.
- Install the French Drain: Lay landscape fabric in the trench, then add 2 inches of crushed stone. Place the perforated pipe on top (holes facing down!) and cover with more crushed stone until the pipe is hidden.
- Top with Decorative Stone: Fold the excess fabric over the crushed stone to keep dirt out, then layer your decorative river rocks on top. Mix sizes to make it look like a natural dry creek bed.
- Terminal Point: Ensure the end of your river bed leads to a safe discharge area, such as a rain garden or a buried dry well, to prevent the water from simply becoming a problem for your neighbor.
How to Craft a DIY Water Table for Kids for Sensory Development

Why we love this
A sensory-focused water table is a magical laboratory for early childhood development, where every scoop and pour builds critical fine motor skills and cognitive connections. We love the way children become completely absorbed in the texture of wet sand, the buoyancy of floating toys, and the cool temperature of the water. It’s a low-tech, high-impact tool that fosters a love for science and exploration, providing a soothing, repetitive activity that helps kids regulate their energy and emotions during long summer days.
Essential Elements:
- Divided plastic wash basins
- Natural materials: smooth stones, shells, and driftwood
- Fine-mesh strainers and various sized scoops
- Non-toxic liquid watercolors for tinting
- Floating thermometers for ‘temperature play’
How to make it
- Build the Base: Construct a sturdy wooden frame at ‘belly button height’ for your child. Use wide legs to ensure it cannot be tipped over during enthusiastic play sessions.
- Create ‘Stations’: Fill one basin with plain water and another with a different texture, like water beads or smooth river stones. This encourages the child to compare and contrast different physical properties.
- Introduce Tools: Provide a variety of ‘scientific’ tools like turkey basters for suction, funnels for gravity play, and sponges for absorption. These tools are the key to developing hand strength and coordination.
- Add Color and Scent: Use a single drop of blue liquid watercolor to make the water look like an ocean, or add lemon slices for a fresh scent. This engages the visual and olfactory senses simultaneously.
- Rotate the Themes: Every week, change the ‘contents’ of the table. One week it might be ‘Arctic Exploration’ with ice cubes and plastic penguins, and the next it could be ‘Ocean Rescue’ with shells and toy boats.
How to Transform Cheap Patio Floor Ideas with Elegant Stone Paint
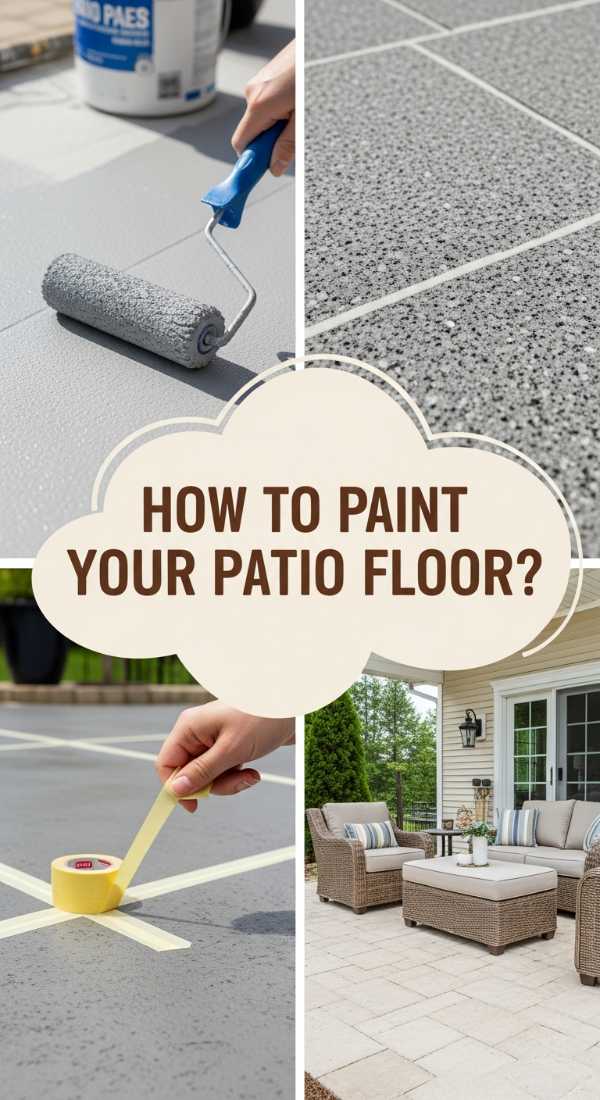
Why we love this
The magic of stone paint lies in its ability to mimic the rich, multi-tonal depth of natural granite or slate for a fraction of the cost. We love the sophisticated, matte finish it provides, which instantly upgrades the entire ‘vibe’ of your outdoor living room from ‘basic backyard’ to ’boutique hotel terrace.’ It’s a tactile upgrade as well—the slight grit in the paint provides a high-end feel underfoot that is both safe and incredibly durable against the elements.
Essential Elements:
- Multi-spec stone finish floor paint
- Heavy-duty concrete cleaner
- Synthetic nap roller (3/8 inch)
- Painter’s tape for crisp borders
- Acrylic clear-coat sealer
How to make it
- Acid Etch the Surface: For new or very smooth concrete, use a mild acid etching solution to open the pores of the stone. This ensures the stone paint bonds deeply with the surface rather than just sitting on top.
- Tape the Perimeter: Use high-quality painter’s tape to mask off your home’s siding and any nearby posts. This step is vital because stone paint is thick and can be difficult to remove once it dries.
- Mix Thoroughly: Stone paint contains suspended particles to create the ‘stone’ look. Stir the can for at least 3-5 minutes with a power mixer attachment to ensure those particles are evenly distributed.
- Apply with ‘V’ Strokes: Instead of straight lines, use a ‘V’ or ‘W’ pattern when rolling the paint. This helps to hide any roller marks and ensures the stone texture looks random and natural.
- Protect the Finish: Once the paint has cured for 48 hours, apply two coats of a high-performance acrylic sealer. This will lock in the ‘stone’ particles and make the patio easy to clean with just a garden hose.
Your Oasis Awaits
Creating a modern outdoor oasis doesn’t require a professional landscaping crew or a massive budget—it just requires a little bit of vision and the willingness to get your hands dirty. From the grounding presence of a rock river bed to the joyful splashes of a DIY water table, these projects are about more than just aesthetics; they are about reclaiming your outdoor space as a place of rest, play, and connection. I hope these ideas inspire you to step outside and start building the retreat you deserve!