

Have you ever walked through your front door and felt a sense of immediate, soul-soothing calm? Not because everything is perfect, but because every corner of your home reflects a piece of your story and a commitment to living well. Crafting a high-end haven isn’t about the size of your budget; it’s about the intention behind the design and the joy of creating something beautiful with your own two hands. There is a specific kind of magic in the scent of freshly cut cedar and the rhythmic sound of a label maker—a promise that your space is evolving into a true sanctuary.
We often think of ‘luxury’ as something bought from a showroom, but the most luxurious homes I’ve ever visited are those where every object serves a purpose and every DIY project was born from a Saturday afternoon of passion. Today, we are diving deep into the art of the polished home. From the tactile satisfaction of a perfectly organized pantry to the architectural grace of a floating deck, we are exploring how to elevate your lifestyle from the ground up. Grab a cup of coffee, and let’s start building the haven you deserve.
How to Build an Above Ground Pool Bar for Endless Summer Fun
Why we love this
The above-ground pool bar is the ultimate game-changer for summer hosting, turning a simple swim into a resort-style experience right in your backyard. Imagine the feeling of the sun-warmed wood beneath your hands as you serve chilled hibiscus tea or a crisp mojito to friends lounging in the water. The aroma of citrus and fresh mint fills the air, mingling with the refreshing scent of clean pool water, creating an atmosphere of effortless elegance. It transforms an ordinary pool area into a social hub where laughter flows as freely as the drinks, making every Saturday feel like a luxury vacation.
Essential Elements:
- Pressure-treated 4×4 posts for structural support.
- Weather-resistant cedar or redwood planks for the bar top.
- Exterior-grade deck screws and L-brackets.
- Heavy-duty landscape fabric and gravel for the base.
- Waterproof wood sealant or marine-grade varnish.
How to make it
- Begin by clearing a 4×6 foot area adjacent to your pool frame; remove all grass and level the soil perfectly using a spirit level to ensure your bar doesn’t lean over time.
- Lay down heavy-duty landscape fabric and top it with two inches of pea gravel to prevent weed growth and provide a stable, draining foundation for the wood structure.
- Construct the frame by cutting four 4×4 posts to a height of 42 inches (standard bar height) and connecting them with 2×4 cross-beams using pocket hole screws for a hidden, professional finish.
- Attach the cedar bar top planks, leaving a 1/8-inch gap between boards for water drainage; ensure the bar top overhangs the pool edge by at least 6 inches so guests can reach their drinks easily.
- Sand every surface with 120-grit followed by 220-grit sandpaper until the wood feels like silk to the touch, preventing any potential splinters for swimmers.
- Apply three coats of high-quality marine-grade varnish, allowing 24 hours of drying time between coats, to protect the wood from constant moisture and UV exposure.
How to Construct a Pallet Mud Kitchen for Natural Sensory Play
Why we love this
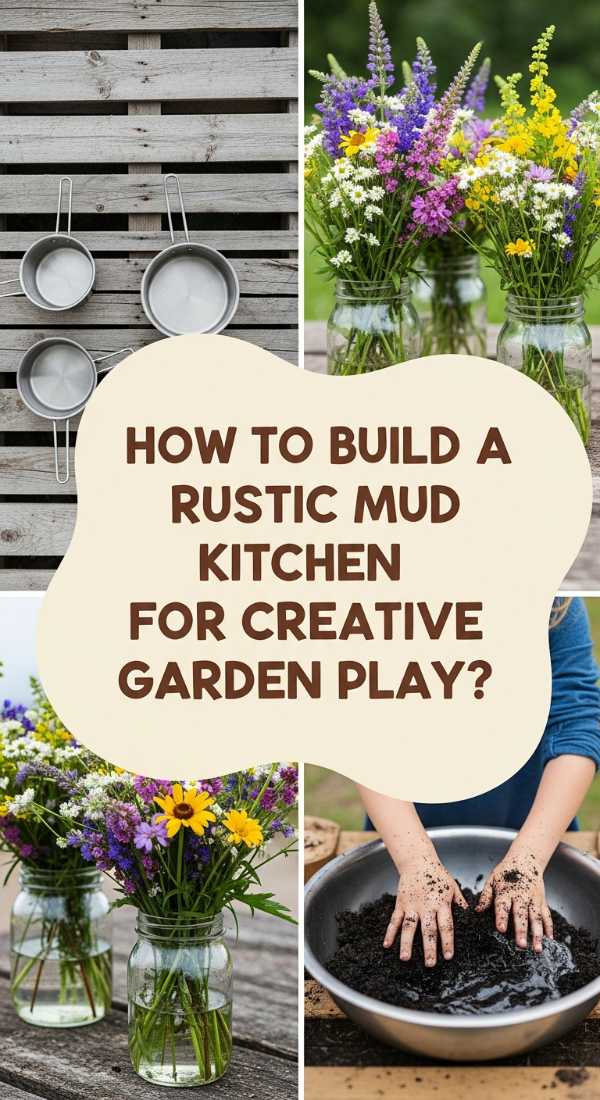
There is something profoundly beautiful about watching children engage with the earth, and a pallet mud kitchen provides the perfect stage for that messy, magnificent play. The tactile sensation of cool, damp mud being stirred in a stainless steel bowl and the earthy aroma of pine needles and rainwater create a sensory-rich environment that modern plastic toys simply cannot replicate. It’s a space where ‘dirt’ becomes a gourmet meal and ‘weeds’ become delicate garnishes, fostering a deep connection to nature and a sense of pride in independent creation. This project is a tribute to the simplicity of childhood, wrapped in a rustic-chic aesthetic that complements any high-end garden.
Essential Elements:
- Two heat-treated (HT) wooden pallets in good condition.
- Stainless steel mixing bowls to serve as ‘sinks’.
- Vintage-style hand pump or a simple garden hose attachment.
- Assorted hooks for hanging wooden spoons and whisks.
- Non-toxic, exterior wood stain in an earthy tone.
How to make it
- Select pallets marked with ‘HT’ (Heat Treated) to ensure they are safe for children and free from harmful chemicals; scrub them thoroughly with soapy water and let them dry in the sun for 48 hours.
- Use one pallet as the vertical backboard and the second pallet, dismantled, to create a sturdy work surface at a height of 20-24 inches, depending on the age of your children.
- Using a jigsaw, cut circular holes into the work surface that are slightly smaller than the lip of your stainless steel bowls, allowing the bowls to drop in and sit flush.
- Secure the vertical backboard to the base using heavy-duty lag bolts, ensuring the structure is completely stable and cannot tip over during vigorous play.
- Sand all edges extensively until they are rounded and smooth; focus particularly on the corners where little hands will be reaching and grabbing.
- Install a row of brass hooks along the backboard for tool storage and attach a small wooden shelf for ‘herb’ jars filled with pebbles or dried leaves.
How to Craft a DIY Wood Planter Box for a Lush Garden Entryway
Why we love this
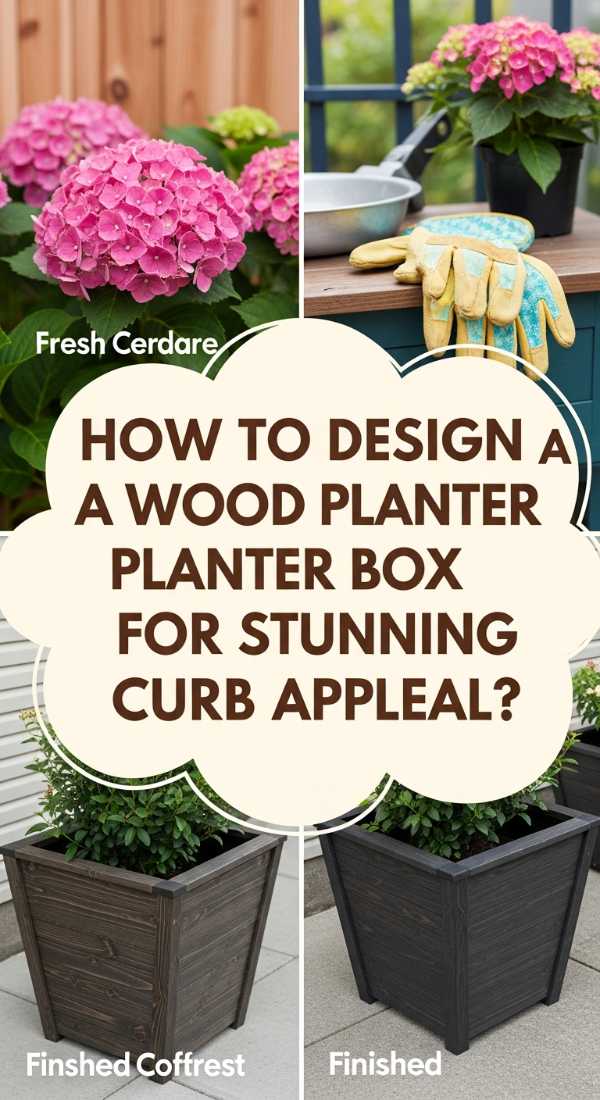
A well-crafted planter box acts as a stately sentinel at your front door, offering a warm and sophisticated welcome to every guest who crosses your threshold. The deep, rich grain of stained cedar paired with the vibrant, fluttering leaves of a Japanese Maple or the soft fragrance of blooming jasmine creates an immediate sense of ‘home.’ It’s about more than just curb appeal; it’s about the grounding feeling of being surrounded by life and the architectural structure that a custom-built piece provides. This isn’t just a container for plants; it is a permanent piece of your home’s exterior furniture that ages gracefully with every season.
Essential Elements:
- Rot-resistant cedar 2x4s and 1×6 boards.
- Plastic pond liner or heavy-duty landscape plastic.
- Exterior-grade wood glue and stainless steel finish nails.
- Perforated drainage pipe or coarse gravel for the bottom.
- High-quality potting mix enriched with organic compost.
How to make it
- Cut your 2×4 cedar posts to 18 inches for the corner supports and your 1×6 side slats to 16 inches, ensuring all cuts are perfectly square for a high-end, tight-fitting look.
- Assemble the four sides by nailing the 1×6 slats to the corner posts, using wood glue on every joint to create a bond that will withstand the pressure of wet soil over time.
- Construct the bottom of the box using 1×6 slats, leaving 1/4-inch gaps between them to ensure excess water can escape, preventing root rot in your premium plants.
- Line the interior of the box with plastic pond liner, stapling it firmly to the sides but leaving the bottom gaps clear; this prevents the moist soil from constantly touching the wood, doubling the life of your planter.
- Add a 2-inch layer of coarse gravel to the base to facilitate drainage before filling the box with a lightweight, professional-grade potting mix.
- Apply a coat of UV-protectant wood sealer in a ‘Natural’ or ‘Dark Walnut’ finish to highlight the wood’s texture while preventing it from graying in the sun.
How to Organize a Realistic Pantry for a Stress Free Kitchen
Why we love this
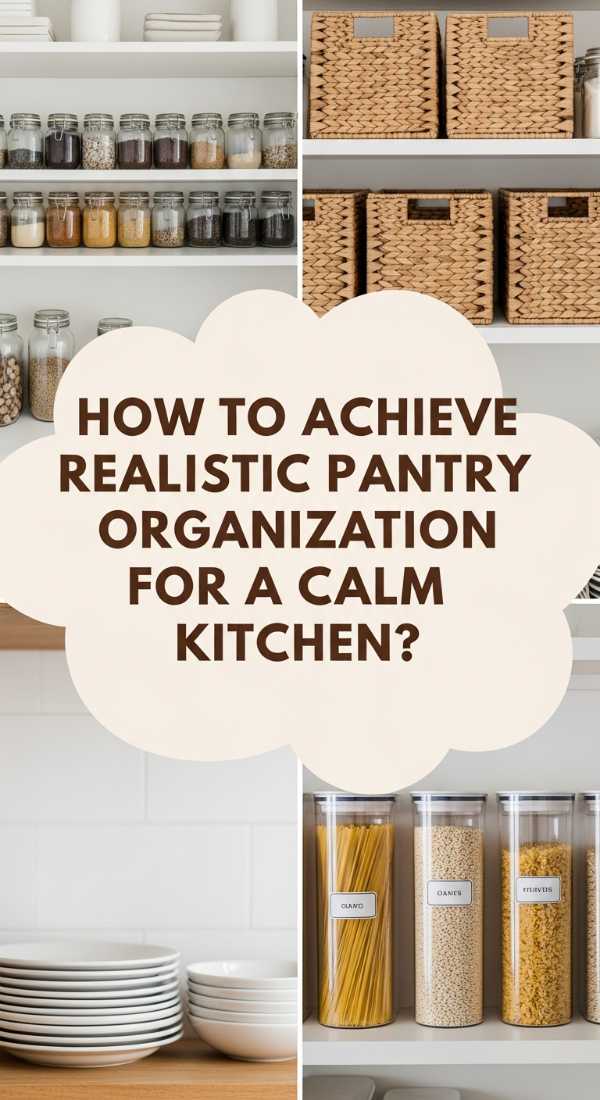
Walking into a perfectly organized pantry is like taking a deep, restorative breath for your brain; it’s where the chaos of daily life meets the serenity of visual order. The rhythmic alignment of glass jars, the uniform texture of wicker baskets, and the subtle scent of dried bay leaves create a boutique-grocery experience in your own home. When you can see every ingredient at a glance, cooking transitions from a chore into a creative flow, allowing you to focus on the textures and flavors of your food rather than hunting for a lost bag of lentils. It is the ultimate luxury: time saved and peace of mind gained through intentional design.
Essential Elements:
- Uniform glass airtight canisters in varying sizes.
- Matching woven or wire baskets for bulkier items.
- A tiered ‘stadium’ shelf for canned goods and spices.
- A turntable (Lazy Susan) for oils and vinegars.
- High-quality, water-resistant labels with a consistent font.
How to make it
- Empty the entire pantry completely; this ‘blank slate’ approach allows you to clean every shelf thoroughly and reassess the space without being influenced by current clutter.
- Group your items into logical ‘zones’ such as Baking, Breakfast, Grains, and Snacks; use the most accessible eye-level shelves for items you use daily.
- Decant dry goods like flour, sugar, pasta, and nuts into glass canisters; this not only looks beautiful but also keeps food fresher for longer by creating an airtight seal.
- Place heavier items or backstock items in large baskets on the floor or bottom shelf, ensuring they are easy to slide out when you need to replenish your primary jars.
- Use a tiered riser for spices so that every label is visible, preventing the ‘hidden jar’ syndrome where spices expire because they are tucked in the back.
- Wipe down all jars and baskets weekly with a damp microfiber cloth to maintain that ‘polished’ look and prevent the buildup of dust or flour.
How to Build a Floating Deck for a Dreamy Backyard Sanctuary

Why we love this
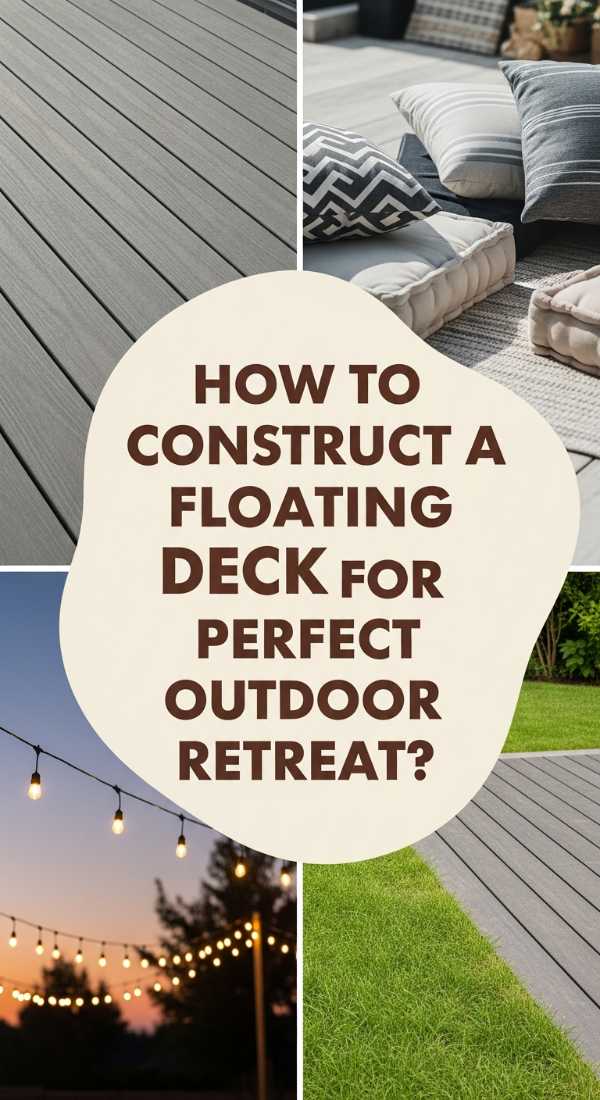
A floating deck is a masterclass in backyard transformation, creating a sophisticated ‘island’ of relaxation that feels detached from the worries of the world. The slight elevation provides a stage for your most cherished outdoor moments, from morning yoga in the crisp air to late-night stargazing wrapped in a wool throw. The scent of sun-warmed wood and the gentle hollow sound of footsteps across the planks evoke a feeling of permanence and craftsmanship. It’s a low-profile architectural feature that blends seamlessly with the landscape, offering a high-end aesthetic that invites you to slow down and savor the beauty of your own garden.
Essential Elements:
- Pressure-treated 2×6 boards for the floor joists.
- Pre-cast concrete deck blocks for a stable foundation.
- High-quality composite or cedar decking boards.
- Hidden deck fasteners for a clean, screw-free surface look.
- Joist tape to protect the wood from moisture-induced rot.
- Leveling sand and crushed gravel.
How to make it
- Identify a flat area in your yard and excavate the top 3 inches of soil; fill this area with crushed gravel and level it meticulously to create a solid, draining base that prevents the wood from sitting in mud.
- Position your pre-cast concrete deck blocks at each corner and at 4-foot intervals along the perimeter, using a long straight-edge and level to ensure every block is perfectly aligned.
- Construct the outer frame using 2×6 pressure-treated lumber, then install internal joists every 12 or 16 inches on center to provide a rigid, ‘no-bounce’ feel to the deck.
- Apply waterproof joist tape to the top of every beam; this simple professional step prevents water from seeping into screw holes and rotting the frame from the inside out.
- Lay your decking boards across the joists, using hidden fasteners that clip into the side of the boards, creating a flawless, high-end surface without visible screw heads.
- Trim the edges of the deck with a circular saw for a perfectly straight line, then add a ‘picture-frame’ border of boards for an extra touch of custom-built elegance.
How to Style an Above Ground Pool Bar for Evening Parties
Why we love this
When the sun dips below the horizon, the pool bar should undergo a transformation into an enchanting, amber-lit lounge that feels like a private club. There is something hypnotic about the glow of Edison bulbs reflected in the rippling pool water and the sophisticated clink of glassware against a polished wood surface. The evening air brings a cooler, more intimate vibe, where the focus shifts from sun protection to sensory indulgence. Styling this space with high-quality textiles and ambient lighting creates a magnetic atmosphere that keeps guests talking and laughing long after the stars come out, making your home the envy of the neighborhood.
Essential Elements:
- Outdoor-rated LED string lights or Moroccan-style lanterns.
- Heavyweight linen napkins and crystal-clear acrylic glassware.
- A professional-grade stainless steel ice bucket.
- Potted fragrant plants like lavender or evening primrose.
- Weatherproof bar stools with comfortable, neutral cushions.
How to make it
- Drape commercial-grade string lights in a zig-zag pattern above the bar, ensuring they are high enough to stay clear of swimmers but low enough to provide a warm, intimate glow.
- Set the bar with a dedicated ‘signature drink’ station: use a tiered tray to display fresh garnishes like dehydrated citrus wheels, sprigs of rosemary, and artisanal bitters.
- Place two or three high-quality, weather-resistant bar stools at the counter; choose stools with a clean silhouette in a dark metal or teak finish to maintain the ‘polished’ aesthetic.
- Add a large, stylish ice bucket filled with high-clarity ice and premium bottled beverages, ensuring you have both alcoholic and sophisticated non-alcoholic options available.
- Tuck a small, battery-operated outdoor lamp on the corner of the bar to provide task lighting for the ‘bartender’ without ruining the moody, ambient atmosphere of the rest of the pool area.
- Finish the look with a high-end outdoor rug beneath the bar stools to define the ‘lounge’ zone and provide a soft texture for bare feet.
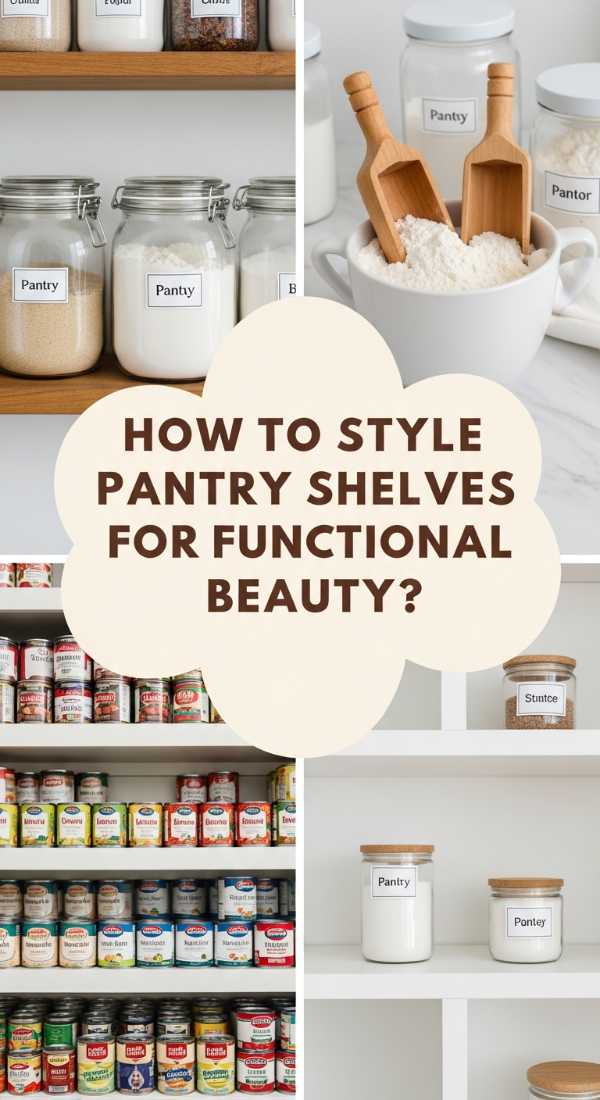
How to Master Realistic Pantry Organization with Minimalist Labels

Why we love this
Minimalist labeling is the secret weapon of high-end organization; it strips away the visual noise of commercial packaging and replaces it with a clean, cohesive language. The sight of a perfectly labeled pantry, where the font is crisp and the placement is uniform, provides a strange but profound sense of competence and control. It’s the tactile satisfaction of a vinyl sticker adhering smoothly to glass, and the clarity of knowing exactly where everything is at a moment’s notice. This isn’t just about ‘neatness’; it’s about creating a visual system that feels as sophisticated as a high-end apothecary, turning every cabinet into a work of art.
Essential Elements:
- A high-resolution thermal label maker or custom vinyl decals.
- Microfiber cloth and rubbing alcohol for surface prep.
- A ruler or T-square for consistent placement.
- A curated list of categories (e.g., ‘Arborio Rice’ vs. just ‘Rice’).
- Matte-finish label tape for a modern, non-reflective look.
How to make it
- Clean the surface of every glass jar with rubbing alcohol and a microfiber cloth; this removes oils and fingerprints, ensuring your labels bond permanently and don’t peel at the corners.
- Choose a single, timeless font—sans-serif fonts like Helvetica or Montserrat work best for a modern, high-end look—and keep the font size consistent across all categories.
- Use a ruler to measure and mark a light dot with a dry-erase marker exactly three inches from the base of every jar, ensuring all labels sit at the same horizontal level for a ‘gallery’ effect.
- Apply the labels slowly from the center outwards to prevent air bubbles; if using vinyl decals, use a credit card to burnish the sticker onto the glass for a seamless ‘printed-on’ look.
- Label the back or bottom of the jar with the expiration date using a removable chalk marker, keeping the front-facing aesthetic clean while maintaining food safety.
- Update your labels seasonally; as your cooking habits evolve, ensuring your labels match your current inventory keeps the system functional and realistic for daily life.
How to Create a Pallet Mud Kitchen for Backyard Education
Why we love this
Transforming a mud kitchen into an educational hub is a brilliant way to blend the high-end DIY lifestyle with intentional parenting. The aroma of crushed herbs like mint and lemon balm becomes a lesson in botany, while the act of measuring ‘mud-pie’ ingredients in graduated cylinders introduces basic mathematical concepts through play. It’s a space where the textures of sand, water, and stone aren’t just messy—they are tools for discovery. This approach elevates the backyard from a mere playground to an outdoor classroom that looks stunning while nurturing a child’s natural curiosity and scientific mind.
Essential Elements:
- A built-in chalkboard for ‘recipe’ writing.
- Functional measuring cups and spoons in durable metal.
- Laminated ‘nature scavenger hunt’ cards.
- Small pots of ‘educational’ herbs (Mint, Rosemary, Sage).
- Magnifying glasses and tweezers for close-up exploration.
How to make it
- Mount a weather-resistant chalkboard to the back of your pallet kitchen at the child’s eye level, providing a space for them to practice writing ‘menus’ or recording scientific observations.
- Attach a series of small, colorful pots to the side of the pallet and plant sensory-rich herbs; label each pot clearly so children can learn to identify plants by sight and scent.
- Provide a set of high-quality stainless steel measuring cups and clear plastic beakers, encouraging children to experiment with volume and ‘ratios’ as they mix their mud concoctions.
- Install a dedicated ‘specimen tray’ (a shallow wooden box) where children can display interesting rocks, feathers, or leaves they find in the yard, turning play into a curation exercise.
- Hang a weather-resistant ‘Instructional Poster’ that shows different leaf shapes or common backyard birds, grounding the messy play in real-world biological knowledge.
- Rotate the ‘sensory materials’ every month—offer colored sand in the summer and pinecones in the fall—to keep the educational aspect fresh and engaging throughout the year.
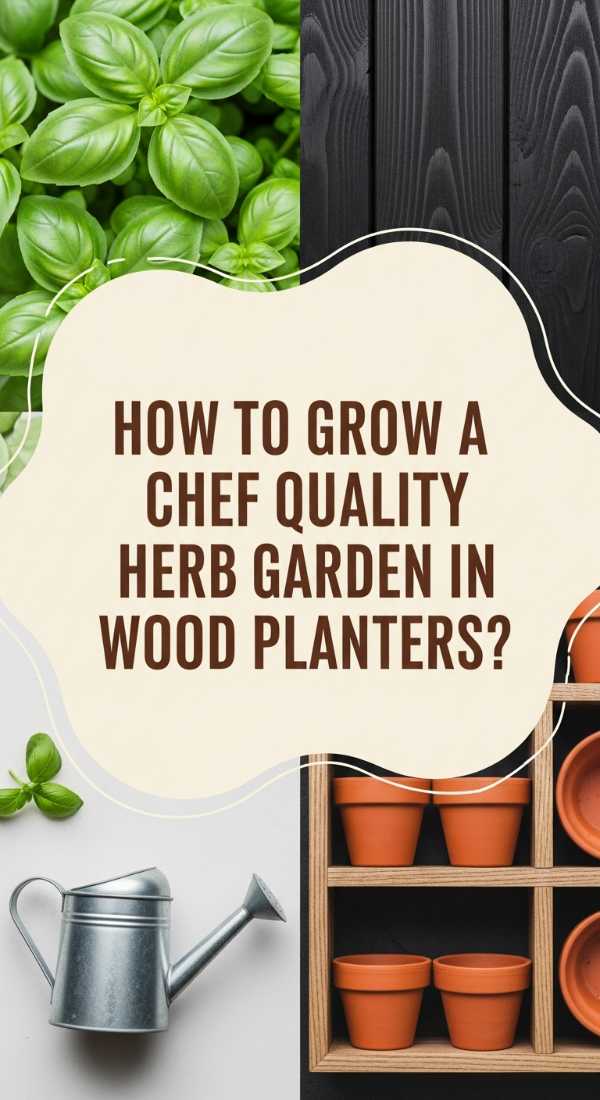
How to Build a Modern DIY Wood Planter Box for Herb Gardening
Why we love this
There is no greater luxury than stepping out onto your patio and snipping fresh, aromatic herbs for your evening meal. A modern wood planter box designed specifically for herbs offers a sleek, minimalist aesthetic that fits perfectly into a contemporary lifestyle. The scent of sweet basil, spicy oregano, and cool cilantro wafting through the kitchen door is intoxicating, and the vibrant shades of green against a dark-stained wood frame are visually stunning. It’s an exercise in ‘functional beauty’—a piece of decor that literally feeds your family and elevates your culinary game with the freshest possible ingredients.
Essential Elements:
- Black-stained cedar or ‘Shou Sugi Ban’ charred wood.
- Vigorously draining herb-specific potting soil.
- Individual internal compartments for ‘invasive’ herbs like Mint.
- Slim-profile metal legs for a ‘floating’ modern look.
- Organic herb starts (Basil, Thyme, Oregano, Chives).
How to make it
- Build a long, narrow box (approx. 36″ x 10″) using cedar boards; use a black wood stain or a torch for a charred ‘Shou Sugi Ban’ finish to give it a high-end, modern architectural look.
- Install 6-inch matte black metal hairpin legs to the bottom of the box; raising the planter off the ground prevents moisture rings on your patio and provides a sophisticated silhouette.
- Create internal dividers using thin plywood or plastic inserts; this is critical for herbs like mint, which will otherwise overtake the entire box and choke out your delicate cilantro.
- Drill five to seven 1/2-inch drainage holes in the bottom and cover them with mesh screens to prevent soil loss while ensuring the ‘dry-loving’ herbs like rosemary don’t get ‘wet feet.’
- Plant your herbs in a gradient from tallest (back/center) to shortest (front/edges), ensuring each plant has at least 6 inches of space to allow for proper air circulation and growth.
- Place the planter in a spot that receives at least 6 hours of direct sunlight, and use a narrow-spout watering can to deliver water directly to the roots, keeping the dark wood finish clean and dry.
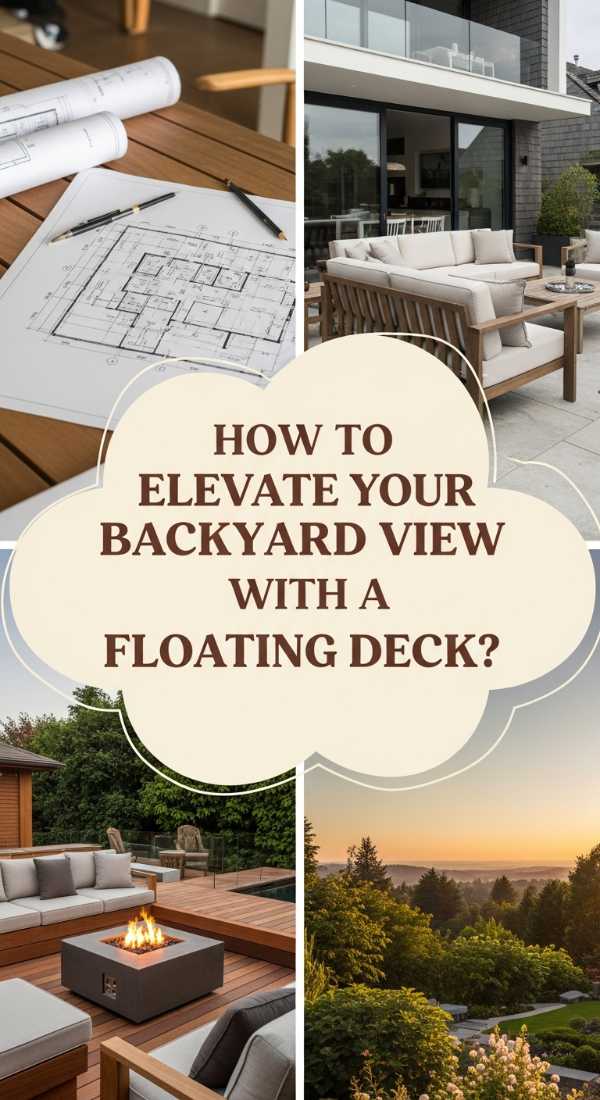
How to Upgrade Your Landscape by Building a Floating Deck
[IMAGE_10]
Why we love this
An upgraded landscape is the ultimate ‘flex’ in home ownership, and a floating deck is the crown jewel of that transformation. It bridges the gap between the structured interior of your home and the wild beauty of the outdoors, creating a transition that feels intentional and high-end. The feeling of stepping onto a stable, beautifully finished wooden platform that seems to ‘hover’ over the grass is incredibly satisfying. It’s about creating ‘outdoor rooms’ that increase your living square footage and add significant value to your property, all while providing a serene backdrop for those golden-hour cocktails and quiet morning reflections.
Essential Elements:
- Framing lumber treated for ‘ground contact’ (UC4A grade).
- Premium decking oil with a tint that matches your home’s trim.
- Solar-powered recessed deck lighting.
- Large architectural planters to anchor the corners.
- Heavy-duty landscape spikes for frame stability.
How to make it
- Start with a professional layout using batter boards and string lines to ensure your deck is perfectly square to the house; a deck that is even a half-inch ‘off’ will be visible in the final plank lines.
- Dig out the area under the deck and replace the soil with a 4-inch layer of compacted gravel; this prevents the ‘heaving’ that can happen during frost cycles and keeps the deck perfectly level for years.
- Use ‘Ground Contact’ rated 2×8 beams for the outer perimeter, doubling them up for extra strength and a ‘thick,’ high-end profile that mimics the look of a professional commercial deck.
- Install recessed solar LED lights into every fourth or fifth board along the perimeter; use a hole-saw bit for a flush fit that creates a stunning ‘glow’ effect at night without messy wiring.
- Finish the deck with a high-solid oil stain that penetrates deep into the wood fibers; choose a ‘Warm Teak’ or ‘Ipe’ color to give standard pressure-treated wood a luxury tropical hardwood appearance.
- Incorporate ‘built-in’ features like a bench or a dedicated space for a fire pit to make the deck feel like a custom-designed architectural sanctuary rather than a simple DIY project.
Creating Your Personal Sanctuary
Building a ‘polished and purposed’ home is a journey of a thousand small, intentional choices. Whether you are sanding a pallet for a mud kitchen or labeling a glass jar with clinical precision, you are investing in the quality of your daily life. These projects are more than just home improvements; they are the physical manifestations of your care and creativity. As you move through your newly organized pantry or step onto your custom floating deck, take a moment to savor the texture, the order, and the beauty you’ve built from scratch. Your home is now a true haven—polished, purposeful, and entirely yours.
Frequently Asked Questions
Q: What is the best wood for outdoor DIY projects?
A: Cedar and Redwood are the gold standards for high-end DIY because they are naturally resistant to rot and insects, though they require a UV-protectant sealer to maintain their color. For budget-friendly structural frames, pressure-treated pine is excellent as long as it is rated for ‘ground contact’.
Q: How do I keep my organized pantry from becoming messy again?
A: The secret is the ‘one-in, one-out’ rule and monthly maintenance. Every time you buy a new grocery item, decant it immediately. Spend five minutes every Sunday evening ‘resetting’ the jars and wiping down surfaces to ensure the system remains functional.
Q: Is a floating deck really a beginner-friendly project?
A: Yes! Because a floating deck isn’t attached to the house, it doesn’t require complex ledger boards or deep frost-footings. As long as you focus on leveling the ground and keeping your frame square, it is one of the most rewarding ‘big’ projects a DIYer can tackle.