
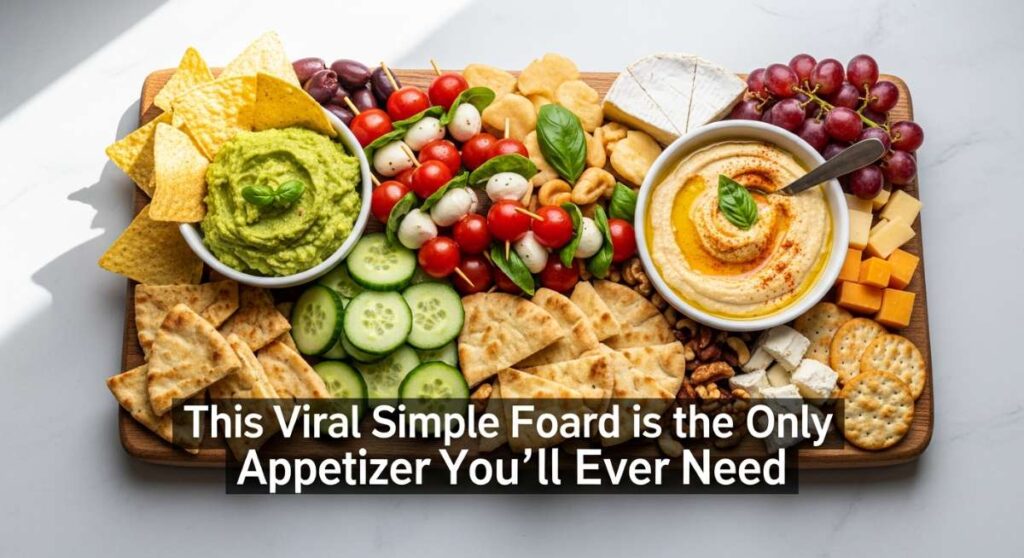
This Viral Simple Food Board is the Only Appetizer You’ll Ever Need
There is something undeniably magical about the moment you set a massive, colorful food board in the center of a crowded table. You can almost feel the collective sigh of relief as your guests lean in, eyes widening at the abundance of textures and flavors. In my home, the ‘Viral Simple Food Board’ has become more than just a trend; it’s our love language. It’s the way we welcome neighbors, celebrate birthdays, or simply make a Tuesday night feel like a special occasion without the stress of a formal five-course meal.
The beauty of this approach is in the effortless curation. It’s not about perfection; it’s about the joy of variety and the way a sweet strawberry pie can sit comfortably next to a spicy, bubbling rotel dip. When you bring these diverse elements together, you aren’t just serving food—you’re creating a sensory experience that encourages everyone to linger, talk, and savor every bite. Let’s dive into the components that make this board a viral sensation and a household staple.
The Nostalgic Classic: Shoneys Strawberry Pie

Why we love this
This pie is a vibrant explosion of summertime nostalgia, featuring a glossy, ruby-red glaze that coats plump, juicy strawberries nestled in a crisp, buttery crust. When you slice into it, the aroma of sweet berries and sugar fills the air, instantly transporting you to a sunny afternoon diner booth. The texture is a delightful contrast between the snap of the fresh fruit and the silky, cool gel of the glaze, finished with a generous cloud of whipped cream that melts into every crevice. It provides the perfect sweet anchor for any diverse food board.
Ingredients
- 1 pre-baked 9-inch pie crust
- 1 quart fresh strawberries, hulled
- 1 cup granulated sugar
- 3 tablespoons cornstarch
- 1 cup boiling water
- 3 ounces strawberry gelatin powder
- Whipped cream for topping
How to make it
- Begin by selecting the firmest, brightest strawberries you can find; wash them thoroughly and remove the green hulls, leaving them whole or slicing them in half if they are exceptionally large.
- Place the prepared strawberries into your pre-baked and cooled pie crust, arranging them evenly so they form a slight mound in the center for a professional look.
- In a medium saucepan, whisk together the granulated sugar and cornstarch until no lumps remain, then gradually pour in the boiling water while stirring constantly over medium heat.
- Continue to cook the mixture, whisking frequently, until it thickens significantly and becomes clear and translucent; this usually takes about 3 to 5 minutes of steady simmering.
- Remove the saucepan from the heat and immediately stir in the strawberry gelatin powder until it is completely dissolved and the mixture is a deep, vibrant red.
- Allow the glaze to cool slightly for about 10 minutes (it should still be pourable but not scalding) before pouring it slowly over the strawberries in the pie crust, ensuring every berry is well-coated.
- Refrigerate the pie for at least 4 hours, or until the glaze is completely set and firm to the touch, before serving with a dollop of fresh whipped cream.
The Ultimate Crowd-Pleaser: Rotel Dip

Why we love this
There is an irresistible, gooey comfort to a warm bowl of Rotel dip that makes it disappear faster than any other dish on the table. The aroma of melted cheese infused with the zesty, slightly smoky scent of diced tomatoes and green chilies is enough to draw anyone into the kitchen. Each scoop is thick, creamy, and decadently salty, with a subtle kick of heat that lingers on the palate and pairs perfectly with the crunch of a salty tortilla chip. It is the quintessential ‘social food’ that brings people together over the communal bowl.
Ingredients
- 1 lb Velveeta or processed cheese, cubed
- 1 can (10 oz) Ro-Tel Diced Tomatoes and Green Chilies
- 1/2 lb ground beef or sausage (optional)
- 1/2 teaspoon chili powder
- Tortilla chips for serving
How to make it
- If you are using meat, start by browning the ground beef or sausage in a skillet over medium-high heat until it is fully cooked and no pink remains, then drain the excess fat thoroughly to ensure a non-greasy dip.
- Cut the processed cheese into small, uniform 1-inch cubes; this is a critical step because smaller, even cubes will melt much more smoothly and quickly without scorching.
- Place the cheese cubes and the entire can of Ro-Tel (do not drain the liquid, as the juice provides essential flavor and consistency) into a slow cooker or a heavy-bottomed saucepan.
- If using a saucepan, set the heat to low; high heat will cause the cheese to separate or burn at the bottom, creating a grainy texture.
- Stir the mixture continuously with a wooden spoon or heat-resistant spatula as the cheese begins to soften and liquify, incorporating the meat and chili powder as you go.
- Keep stirring until the mixture is completely smooth, glossy, and bubbling slightly around the edges, indicating it is hot all the way through.
- Transfer to a warmed serving bowl or keep the slow cooker on the ‘warm’ setting to maintain that perfect, dippable liquid gold consistency throughout the party.
The Refreshing Essentials: How to Pack Beach Snacks
Why we love this
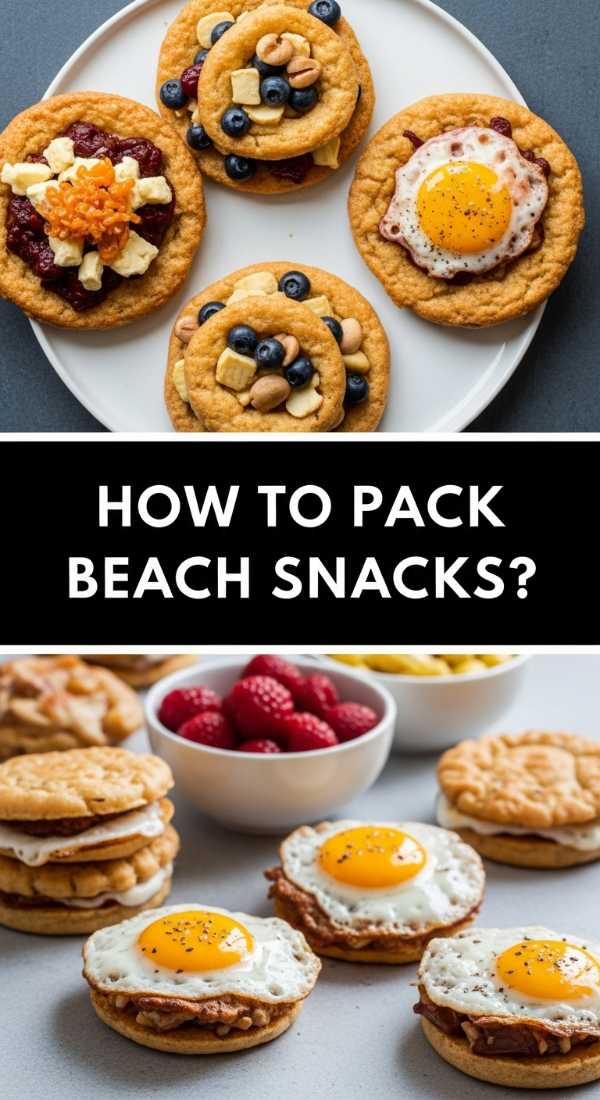
Packing beach snacks is an art form that balances hydration, nutrition, and the sheer joy of eating under the sun without the nuisance of sand. We love this method because it focuses on chilled, crisp textures—like the snap of a cold grape or the refreshing crunch of a cucumber—that provide a much-needed cooling sensation against the heat of the day. The salty sea air makes everything taste better, and having a pre-organized, sand-proof kit feels like the ultimate luxury in outdoor dining, turning a simple beach trip into a gourmet picnic.
Ingredients
- Individual airtight containers
- Frozen water bottles (act as ice packs)
- Pre-cut fruit (grapes, melon, berries)
- Cheese sticks or cubes
- Salty crackers or pretzels
- Hummus or nut butter packets
How to make it
- The secret to successful beach snacking is the ‘Double Barrier’ method; start by choosing airtight, leak-proof containers for every individual item to prevent sand infiltration and moisture loss.
- Wash and thoroughly dry all fruits and vegetables before packing; moisture is the enemy of shelf-life in a hot cooler, so use a paper towel to ensure they are bone-dry.
- Freeze half of your water bottles the night before; place these at the bottom of your insulated cooler bag to serve as long-lasting ice packs that you can drink as they melt.
- Layer your snacks by weight and temperature: place heavy items and those requiring the most chill (like cheese or meat) at the bottom directly against the ice.
- Place lighter, more delicate items like crackers or berries at the top to prevent them from being crushed during transport.
- Include a dedicated ‘clean hand’ station by packing a small container of wet wipes and a dry hand towel at the very top of the bag, so you can clean salty, sandy fingers before touching the food.
- Keep the cooler in the shade once you arrive at the beach and minimize the time the lid is open to maintain the internal temperature.
The Secret to Luxury: How to Make Butter Squishy

Why we love this
There is nothing more frustrating than trying to spread a cold, hard block of butter onto a delicate piece of bread, only to have it tear the crumb apart. We love ‘squishy’ butter because it represents pure, effortless indulgence; it has a velvety, whipped texture that glides across a warm roll like a dream. The aroma of high-quality butter becomes more pronounced at room temperature, releasing its rich, creamy fragrance. When butter is perfectly softened or whipped, it carries seasonings better, allowing you to create a high-end restaurant experience right on your board.
Ingredients
- 1 cup high-quality unsalted butter (room temperature)
- 1/2 teaspoon flakey sea salt
- Optional: Fresh herbs or honey for flavoring
How to make it
- For the ‘Fast Softening’ technique without a microwave, take a glass bowl and fill it with boiling water, let it sit for 2 minutes to heat the glass, then dump the water out and invert the warm bowl over your stick of butter for 5-10 minutes.
- To achieve the ultimate ‘Viral Squishy’ whipped texture, place room-temperature butter into a stand mixer fitted with the whisk attachment.
- Start the mixer on a low speed to break up the butter, then gradually increase to high speed for about 3 to 5 minutes.
- Watch for the visual cue: the butter should transform from a dense yellow to a pale, almost white color and double in volume as air is incorporated.
- Stop the mixer and scrape down the sides, then add your flakey salt and any desired aromatics like minced rosemary or a drizzle of honey.
- Whisk for one more minute on high until the texture is light, airy, and looks like stiff peaks of whipped cream.
- Transfer the butter to a small ramekin or a decorative butter crock, and serve immediately for the best spreadable experience.
The Ultimate Outdoors: How to Prep Camping Meals

Why we love this
Prepping camping meals ahead of time is the difference between a stressful ordeal and a serene wilderness retreat. We love this approach because it allows you to enjoy the smoky, charbroiled flavors of open-fire cooking without the mess of chopping and measuring in the dirt. The scent of pre-marinated meats hitting a hot grate, combined with the crisp forest air, creates a sensory memory that is hard to beat. It’s about the convenience of ‘grab-and-cook’ that lets you spend more time by the fire and less time doing dishes.
Ingredients
- Heavy-duty aluminum foil
- Ziploc freezer bags
- Pre-chopped vegetables (peppers, onions, potatoes)
- Protein of choice (steak tips, chicken, or shrimp)
- Oil and seasoning blends
How to make it
- The ‘Par-Cooking’ strategy is your best friend; for dense vegetables like potatoes or carrots, boil them for 5 minutes at home until they are just slightly softened, then dry and pack them; this ensures they finish cooking at the same time as your meat over the campfire.
- Chop all vegetables and proteins into uniform, bite-sized pieces at home to ensure even cooking and to eliminate the need for knives and cutting boards at the campsite.
- Marinate your proteins directly in heavy-duty Ziploc bags; the transit time in the cooler acts as extra marinating time, allowing the flavors to penetrate deeply into the meat.
- For ‘Hobo Packets,’ portion out a mix of meat and veggies onto large squares of heavy-duty foil, drizzle with oil, add seasonings, and fold the edges tightly to create a sealed steam chamber.
- Label every bag and packet with a permanent marker, noting the contents and estimated cooking time so anyone in the group can help with the cooking.
- Store all prepped meals in a dedicated ‘Food Only’ cooler, keeping raw meats at the very bottom where it is coldest to prevent cross-contamination.
- When ready to cook, simply place the foil packets on a grate over hot coals (avoid direct flames to prevent burning) and cook for 15-20 minutes, flipping once.
The Crisp Refresh: How to Make Cucumber Salad
Why we love this
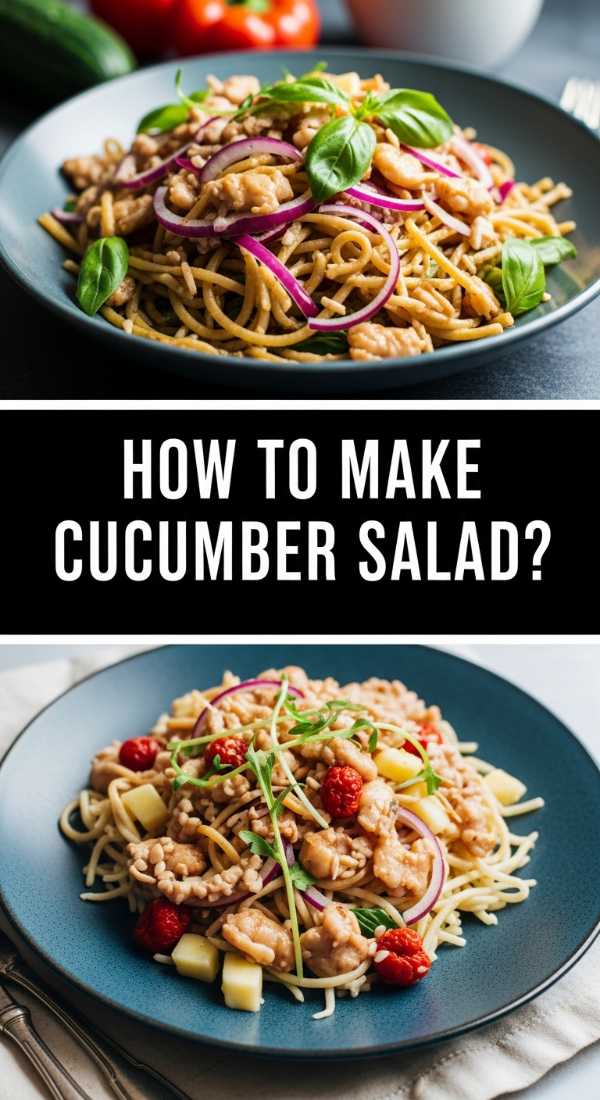
A great cucumber salad is the ultimate palate cleanser on a diverse food board, offering a sharp, vinegary snap that cuts through richer, fattier elements like cheese or dips. We love the vibrant green hues and the way the thin, translucent slices catch the light. The aroma is incredibly fresh—a mix of garden-picked herbs and tangy brine—that makes your mouth water instantly. Its cool, watery crunch is incredibly satisfying on a warm day, providing a light, healthy contrast that keeps you reaching for ‘just one more’ bite.
Ingredients
- 3 large English cucumbers
- 1/2 red onion, thinly sliced
- 1/2 cup rice vinegar or apple cider vinegar
- 2 tablespoons sugar
- 1 teaspoon salt
- 1/4 cup fresh dill, chopped
How to make it
- Select English cucumbers for this salad as they have thinner skins and fewer seeds, which results in a much better texture; use a mandoline slicer on the thinnest setting to achieve uniform, paper-thin rounds.
- Place the sliced cucumbers in a colander and sprinkle with a teaspoon of salt, letting them sit for about 15 minutes; this ‘sweating’ process draws out excess water, ensuring your salad stays crunchy rather than soggy.
- While the cucumbers rest, prepare the dressing by whisking the vinegar, sugar, and a pinch of salt in a large bowl until the sugar has completely dissolved and the liquid is clear.
- Pat the cucumbers dry with a clean kitchen towel to remove the released moisture and the excess salt.
- Add the cucumbers and the paper-thin red onion slices to the dressing bowl, tossing gently with tongs to ensure every slice is submerged or coated.
- Fold in the freshly chopped dill; using fresh herbs rather than dried is essential for that signature garden-fresh aroma.
- Let the salad marinate in the refrigerator for at least 30 minutes before serving; the cucumbers will slightly soften while retaining their snap, and the flavors will meld beautifully.
The Charred Delight: How to Grill Fresh Veggies
Why we love this
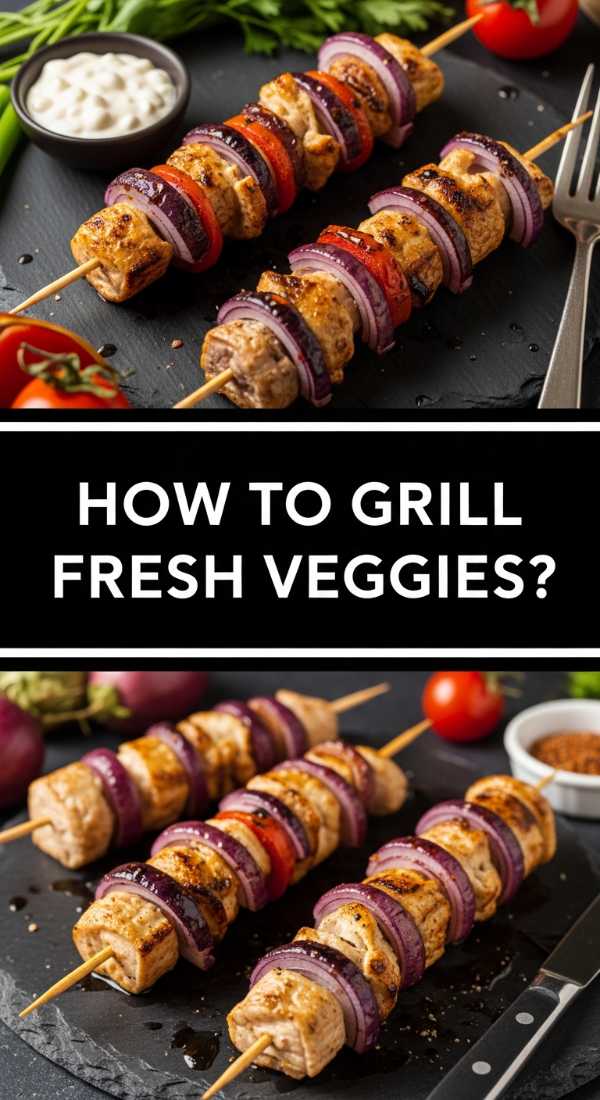
Grilling vegetables transforms humble produce into something deeply savory, sweet, and complex. We love the visual appeal of those dark, caramelized grill marks against the bright colors of peppers and asparagus. The aroma is intoxicating—a blend of natural sugars caramelizing and the subtle smokiness of the fire. The texture changes from raw and rigid to tender-crisp, with the edges becoming delightfully charred and crispy. It’s an easy way to add a sophisticated, ‘cheffy’ element to your board that feels both healthy and indulgent.
Ingredients
- Assorted vegetables (bell peppers, zucchini, asparagus, corn)
- Olive oil
- Balsamic glaze
- Garlic powder and dried oregano
- Salt and cracked black pepper
How to make it
- Preheat your grill to medium-high heat (about 400°F); a hot grill is necessary to get those distinctive sear marks without overcooking the inside of the vegetables.
- Prepare the veggies by cutting them into large, flat shapes (like planks for zucchini or wide strips for peppers) to maximize the surface area that touches the grill grates.
- Toss the vegetables in a large bowl with a generous amount of olive oil, salt, pepper, garlic powder, and oregano; the oil is crucial as it prevents sticking and facilitates even heat transfer.
- Clean your grill grates thoroughly with a wire brush and lightly oil them before placing the vegetables down.
- Place the denser vegetables (like corn or carrots) on the hottest part of the grill first, followed by softer veggies like zucchini and peppers.
- Grill for 3 to 5 minutes per side, using tongs to flip them only once; look for the visual cue of deep brown grill marks and a slight softening of the vegetable’s structure.
- Remove from the heat and immediately drizzle with a high-quality balsamic glaze while the veggies are still hot, allowing the glaze to soak in and intensify the flavors.
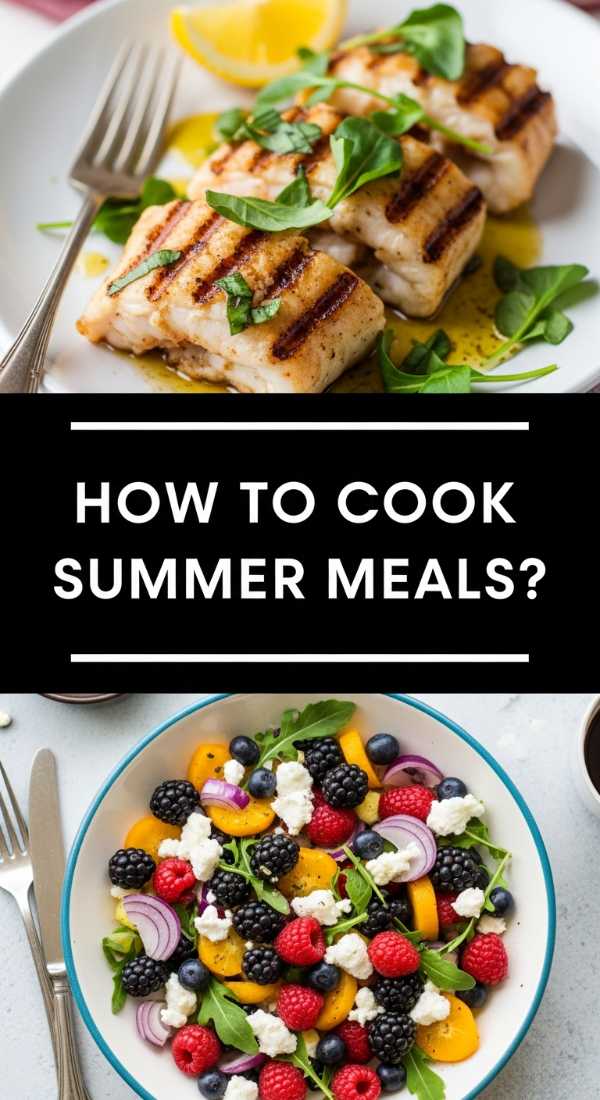
The Light & Easy: How to Cook Summer Meals
Why we love this
Summer cooking is all about minimalism and letting the seasonal ingredients speak for themselves. We love this style of eating because it’s bright, colorful, and doesn’t leave you feeling heavy or lethargic in the heat. There’s a certain magic in meals that require little to no actual ‘cooking’—instead focusing on assembly, fresh herbs, and citrus zests. The aroma of a summer kitchen is filled with lemon, basil, and the sweetness of ripe produce, creating an atmosphere of relaxed, breezy elegance that perfectly matches the longer days and slower pace of the season.
Ingredients
- Fresh greens (arugula or spinach)
- Rotisserie chicken or grilled shrimp
- Seasonal fruit (peaches, berries, or citrus)
- Nuts or seeds for crunch
- Light vinaigrette (lemon and olive oil)
How to make it
- The ‘No-Cook Base’ is the key to summer meals; start with a bed of pre-washed, chilled greens that provide a crisp, cool foundation for your protein and fruit.
- Utilize a ‘Speed Protein’ like a store-bought rotisserie chicken or pre-cooked chilled shrimp to keep your kitchen cool and save time on prep.
- Incorporate a sweet-and-savory element by adding sliced seasonal fruit; the acidity in fruit like peaches or oranges brightens the entire dish and mimics the feeling of summer sunshine.
- Build the meal in layers: start with the greens, then add the protein, then the fruit, and finally a handful of nuts or seeds for a necessary textural contrast.
- Whisk together a 3:1 ratio of extra virgin olive oil to lemon juice, adding a touch of honey and dijon mustard for emulsion; this light dressing won’t wilt the greens as quickly as heavier sauces.
- Keep all components separate in the fridge until the very last moment to maintain their individual temperatures and textures.
- Dress the meal right before serving, tossing lightly so every leaf is coated but not drowned, ensuring a refreshing and vibrant bite every time.
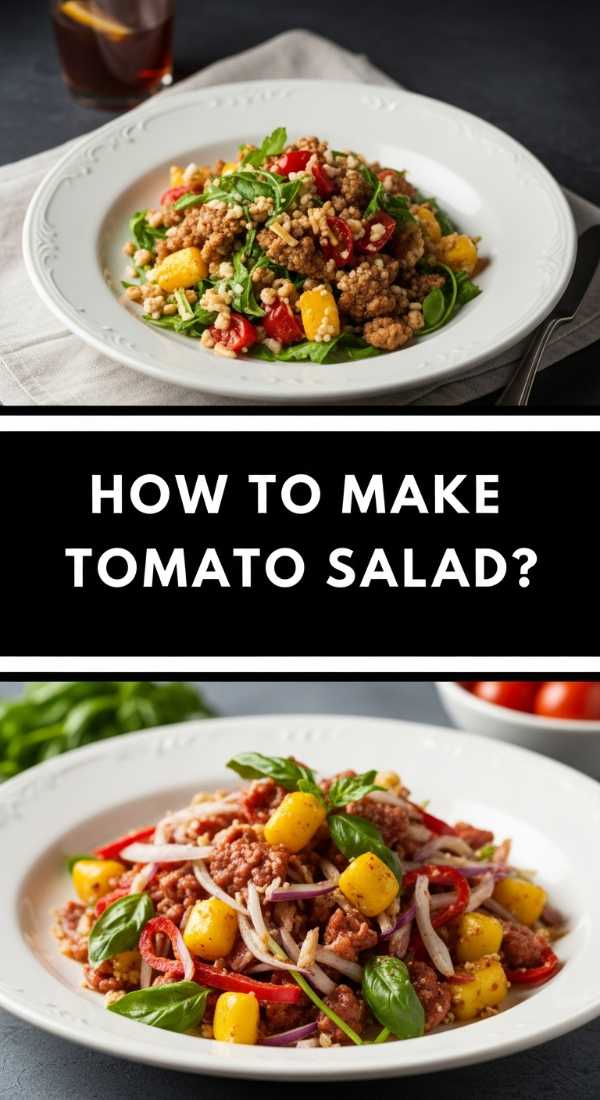
The Garden Showstopper: How to Make Tomato Salad
Why we love this
A true tomato salad is a celebration of the harvest, a dish that feels like it was plucked straight from the vine and served on a plate. We love the variety of shapes and colors—from deep purples to bright yellows—that make this dish look like a piece of art. When you slice into a ripe tomato, the aroma is earthy and sweet, and the taste is a perfect balance of acidity and sugar. Drenched in high-quality olive oil and scattered with fresh basil, it’s a juicy, vibrant experience that captures the very essence of a sunny garden in every mouthful.
Ingredients
- 2 lbs heirloom or vine-ripened tomatoes
- 1 ball fresh Mozzarella or Burrata cheese
- 1/2 cup fresh basil leaves, torn
- 3 tablespoons extra virgin olive oil
- 2 tablespoons balsamic glaze
- Flakey sea salt and cracked black pepper
How to make it
- Select tomatoes of varying sizes, colors, and textures—heirlooms are best for their complex flavor profiles; ensure they are at room temperature, as refrigeration kills the flavor and texture of a tomato.
- Slice the larger tomatoes into thick rounds or wedges, and cut smaller cherry tomatoes in half to create visual interest and different ‘mouthfeels.’
- Arrange the tomatoes on a large, shallow platter rather than a bowl; this prevents the tomatoes at the bottom from getting crushed and allows the dressing to distribute evenly.
- Tear the fresh mozzarella or burrata into rustic chunks and nestle them among the tomatoes; the creaminess of the cheese is the perfect foil to the tomato’s acidity.
- Scatter the torn basil leaves over the top; tearing the leaves by hand rather than chopping them with a knife prevents the edges from bruising and browning, keeping the aroma potent.
- Drizzle the olive oil and balsamic glaze in a zigzag pattern across the entire platter, ensuring every component gets a bit of the liquid gold.
- Finish with a generous sprinkle of flakey sea salt and cracked black pepper just seconds before serving; the salt draws out the tomato juices, creating a delicious ‘jus’ at the bottom of the plate that is perfect for dipping bread into.
The Ultimate Melt: How to Make Cheesy Dip

Why we love this
There is nothing quite as universally adored as a hot, bubbling cheesy dip with a golden-brown crust. We love the theatricality of the ‘cheese pull’ when a chip is lifted from the bowl, revealing a stretchy, gooey interior that is the definition of decadence. The aroma of toasted cheese and garlic wafting through the room is an instant mood-booster, signaling that the party has truly started. It provides a rich, savory anchor for the food board, offering a warm, salty satisfaction that pairs beautifully with everything from crisp veggies to toasted baguette slices.
Ingredients
- 8 oz cream cheese, softened
- 1 cup shredded sharp cheddar cheese
- 1 cup shredded mozzarella cheese
- 1/2 cup sour cream
- 2 cloves garlic, minced
- 1 teaspoon onion powder
- Optional: Chopped jalapeños or cooked bacon
How to make it
- Start with softened cream cheese; if it’s too cold, it will remain lumpy throughout the baking process, so leave it on the counter for at least an hour or give it a 15-second zap in the microwave.
- In a large mixing bowl, combine the cream cheese, sour cream, garlic, and onion powder, beating them together with a spatula until the mixture is completely smooth and aerated.
- Fold in 3/4 of your shredded cheddar and mozzarella; using a blend of cheeses is vital because cheddar provides the sharp flavor while mozzarella provides the iconic stretchy texture.
- Transfer the mixture into a small oven-safe baking dish or a cast-iron skillet, smoothing the top with the back of a spoon.
- Sprinkle the remaining 1/4 of the cheese over the top to create a dedicated ‘crust’ layer that will brown beautifully in the oven.
- Bake in a preheated oven at 375°F for 20-25 minutes; look for the ‘bubble and brown’ cue—the edges should be vigorously bubbling, and the cheese on top should have patches of golden brown.
- For an extra professional touch, turn on the broiler for the last 60 seconds of cooking to get a perfectly charred, crispy top, then let it rest for 5 minutes before serving so the dip sets slightly and doesn’t burn your guests.
Conclusion
Building the perfect food board is less about following a strict set of rules and more about embracing the joy of variety and the warmth of shared moments. Whether you’re layering a crisp cucumber salad next to a decadent, bubbling cheesy dip or serving a nostalgic strawberry pie as the sweet finale, the goal is to create a spread that feels personal, abundant, and welcoming. These recipes and techniques are designed to take the guesswork out of hosting, allowing you to step out of the kitchen and into the conversation. So, grab a board, gather your favorite ingredients, and watch as your table becomes the heart of the home.