

The Viral Simple Food Board That’s Breaking the Internet
There is something almost magical about the way a gathering transforms when a massive, beautifully curated food board is placed in the center of the table. It’s more than just a meal; it’s an invitation to linger, to laugh, and to share stories over bites of something truly delicious. Lately, I’ve been obsessed with the ‘Simple Food Board’ trend taking over my feed—it’s that perfect mix of effortless elegance and nostalgic comfort that makes everyone feel right at home the moment they walk through the door.
I remember the first time I put one of these together for a small backyard celebration. The sun was dipping low, casting a golden glow over everything, and as my friends reached for a slice of tart rhubarb or a decadent chocolate truffle, the atmosphere just shifted. It’s about the tactile joy of picking exactly what you want and the sensory explosion of colors and textures. Today, I’m sharing the ultimate guide to the components that make this board viral-worthy, from zesty pestos to the sweetest graduation treats.
How do you bake a graduation cake that actually tastes as good as it looks?
Why we love this
This cake is the crown jewel of any celebration board, offering a moist, tender crumb that melts on the tongue with a whisper of vanilla bean and rich buttercream. We love how the velvety texture contrasts with the slight snap of decorative fondant, creating a multisensory experience that feels both indulgent and light. The aroma of toasted sugar and high-quality butter fills the room, signaling a moment of pure achievement and joy. It’s a classic center-of-the-table showstopper that invites everyone to take a slice and celebrate the hard work that led to this sweet finish.
Ingredients
- 2 1/2 cups all-purpose flour
- 1 1/2 teaspoons baking powder
- 1/2 teaspoon salt
- 1 cup unsalted butter, softened
- 1 3/4 cups granulated sugar
- 2 large eggs plus 3 egg yolks
- 1 tablespoon vanilla bean paste
- 1 cup whole milk, room temperature
How to make it
- Preheat your oven to 350°F (175°C) and generously grease two 8-inch round cake pans, lining the bottoms with parchment paper to ensure a clean release.
- In a medium bowl, sift together the flour, baking powder, and salt; sifting is crucial here to aerate the flour and prevent any dense pockets in your crumb.
- Using a stand mixer fitted with the paddle attachment, cream the softened butter and sugar on medium-high speed for at least 5 minutes until the mixture is pale, voluminous, and resembles whipped cream.
- Lower the speed and add the eggs and yolks one at a time, ensuring each is fully incorporated before adding the next, then stir in the vanilla bean paste.
- Alternately add the dry ingredients and the milk in three batches, starting and ending with the flour mixture; mix only until the last streaks of flour disappear to avoid over-developing the gluten.
- Divide the batter evenly between the pans and bake for 30-35 minutes, or until a wooden skewer inserted into the center comes out clean with just a few moist crumbs attached.
- Cool in the pans for 10 minutes before inverting onto a wire rack to cool completely before frosting with your favorite Swiss meringue buttercream.
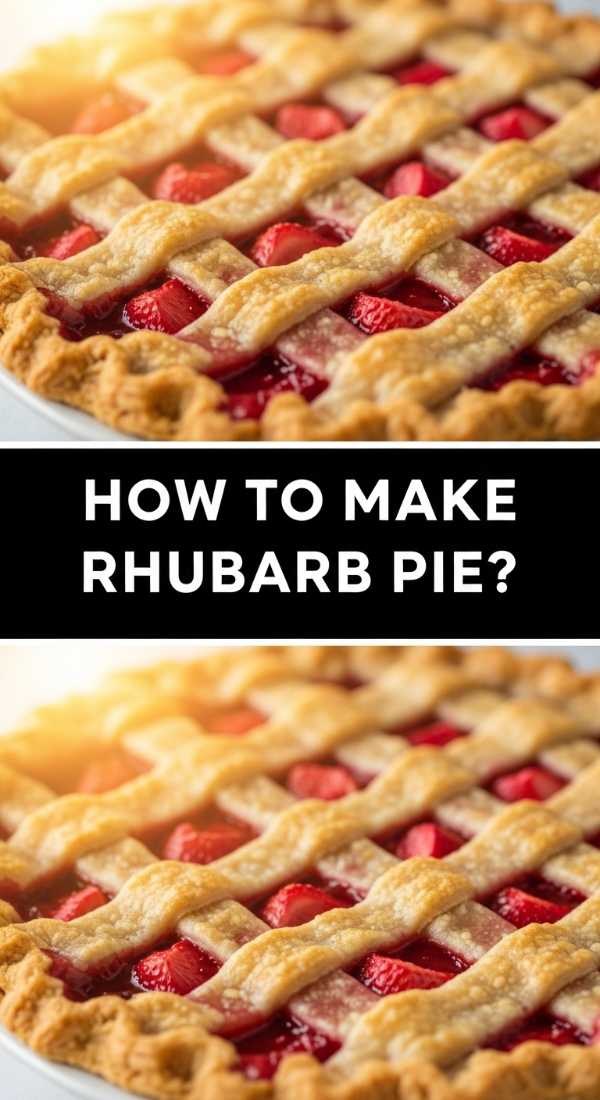
How can you master the perfect tart-to-sweet ratio in a rhubarb pie?

Why we love this
There is nothing quite like the neon-pink allure of a fresh rhubarb pie sitting on a rustic board, its flaky, buttery crust shattering at the touch of a fork. We adore the sophisticated balance of flavors—the sharp, acidic tang of the rhubarb stalks mellowed by a golden caramelization of sugar and a hint of warm spice. The filling becomes thick and jammy as it bakes, releasing a bright, fruity aroma that cuts through the richness of the pastry. It’s a nostalgic nod to early summer garden harvests that provides a refreshing, vibrant contrast to heavier sweets.
Ingredients
- 4 cups fresh rhubarb, chopped into 1/2-inch pieces
- 1 1/4 cups granulated sugar
- 1/4 cup cornstarch
- 1/2 teaspoon ground cinnamon
- 1/4 teaspoon salt
- Double crust pie pastry (homemade or store-bought)
- 1 tablespoon unsalted butter, cubed
- 1 egg beaten with 1 tablespoon water (egg wash)
How to make it
- In a large mixing bowl, toss the chopped rhubarb with sugar, cornstarch, cinnamon, and salt; let this mixture sit for 20 minutes to allow the rhubarb to macerate and release its natural juices.
- Roll out your bottom pie crust on a lightly floured surface and fit it into a 9-inch pie plate, leaving a slight overhang.
- Pour the rhubarb mixture into the crust, including all the juices that have collected at the bottom of the bowl, and dot the top of the fruit with the small cubes of butter.
- Roll out the second crust and place it over the top, either as a solid sheet with steam vents cut into it or as a decorative lattice for a professional look.
- Crimp the edges tightly to seal in the filling, then brush the entire top crust with the egg wash to ensure a deep golden-brown finish.
- Bake at 425°F (220°C) for the first 15 minutes to set the crust, then reduce the heat to 375°F (190°C) and bake for another 40-45 minutes until the filling is bubbling thick through the vents.
- Allow the pie to cool for at least 3 hours; this is the most critical step as it allows the fruit pectins to set so the slices hold their shape.
How do you decorate graduation cookies that don’t crumble under pressure?

Why we love this
These cookies are the ultimate portable treat for a food board, offering a satisfying, buttery crunch followed by the smooth, sweet snap of royal icing. We love the infinite possibilities for customization, from diploma-shaped shortbread to mortarboard-shaped sugar cookies that can be personalized with school colors. The texture is firm enough to handle detailed piping but soft enough to be a delight to bite into, with a subtle almond and vanilla fragrance. They act as tiny, edible pieces of art that spark conversation and make for the perfect Instagram-worthy addition to your spread.
Ingredients
- 3 cups all-purpose flour
- 1 teaspoon baking powder
- 1 cup unsalted butter, cold and cubed
- 1 cup granulated sugar
- 1 large egg
- 1 teaspoon vanilla extract
- 1/2 teaspoon almond extract
- Royal icing (confectioners’ sugar, meringue powder, and water)
How to make it
- Whisk the flour and baking powder together in a bowl; using cold butter is the secret here to prevent the cookies from spreading too much in the oven.
- Cream the butter and sugar until just combined—do not over-aerate, or the cookies will puff up and lose their sharp edges.
- Add the egg and extracts, then slowly incorporate the dry ingredients until a stiff dough forms that pulls away from the sides of the bowl.
- Roll the dough between two sheets of parchment paper to a 1/4-inch thickness and chill in the freezer for 15 minutes before cutting out your shapes.
- Arrange the shapes on a baking sheet and bake at 350°F (175°C) for 10-12 minutes, just until the edges are barely starting to turn golden.
- Let the cookies cool completely on the pan to ensure they firm up properly without breaking.
- Prepare your royal icing to a ’15-second consistency’ for flooding, outline the edges of the cookies first, then fill the centers and allow them to dry for at least 6 hours before adding fine-line details.
How do you create a funny cake that’s the life of the party?
Why we love this
A ‘funny cake’ adds a layer of levity and personality to your food board, breaking the ice with clever puns or whimsical designs. We love the way a well-executed humorous cake—whether it’s shaped like a giant taco or decorated with a relatable ‘adulting’ meme—draws people in and gets them laughing. Beyond the visual gag, the cake itself is often a rich, chocolatey delight with a moist interior and a decadent fudge frosting that keeps guests coming back for more than just the joke. It’s the perfect way to show that while you take your baking seriously, you don’t take life too seriously.
Ingredients
- 2 cups all-purpose flour
- 2 cups granulated sugar
- 3/4 cup unsweetened cocoa powder
- 2 teaspoons baking soda
- 1 teaspoon salt
- 1 cup buttermilk
- 1/2 cup vegetable oil
- 2 large eggs
- 1 cup hot coffee
How to make it
- Preheat your oven to 350°F (175°C) and prep your chosen cake mold or pans with non-stick spray and a dusting of cocoa powder.
- Combine all dry ingredients in a large bowl and whisk thoroughly to remove any cocoa lumps.
- Add the buttermilk, oil, and eggs, mixing on medium speed until the batter is smooth and dark.
- Carefully pour in the hot coffee; the batter will be very thin, but the hot liquid blooms the cocoa powder for a deeper, more intense chocolate flavor.
- Bake for 30-35 minutes, then let the cake cool completely before you begin the ‘funny’ transformation.
- Use a crusting buttercream for the base layer so you can easily draw or pipe your humorous message or design on top.
- For the ‘funny’ element, use edible markers or colored piping gels to create high-contrast text or characters that will stand out clearly on the board.
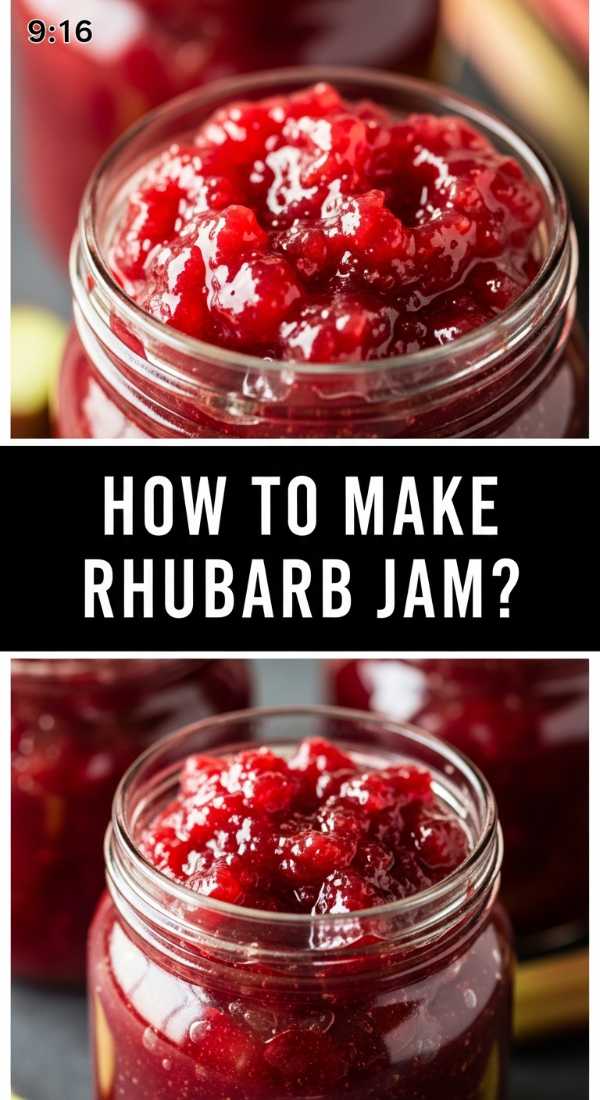
How do you preserve spring forever with homemade rhubarb jam?

Why we love this
Adding a jar of homemade rhubarb jam to your food board provides a versatile, jewel-toned condiment that pairs beautifully with both cheeses and pastries. We love the concentrated, tart punch of flavor and the glossy, thick texture that spreads like silk across a warm scone or a slice of baguette. The aroma is purely evocative of a country kitchen, with hints of lemon zest and ginger often peeking through the bright fruit notes. It’s a way to capture the fleeting essence of the season and bring a pop of vibrant color to your presentation.
Ingredients
- 1 pound fresh rhubarb, cut into 1/2-inch pieces
- 1 1/2 cups granulated sugar
- 2 tablespoons fresh lemon juice
- 1 teaspoon lemon zest
- 1/2 teaspoon grated fresh ginger (optional)
How to make it
- Combine the rhubarb and sugar in a heavy-bottomed saucepan and let it sit for about an hour until the sugar looks wet and the rhubarb starts to shrink.
- Place the pan over medium heat and bring the mixture to a slow boil, stirring frequently to prevent the sugar from scorching on the bottom.
- Add the lemon juice, zest, and ginger, which provide the necessary acidity and depth to balance the sweetness.
- Continue to simmer the mixture for 15-20 minutes; use a potato masher if you prefer a smoother jam, or leave the chunks for a more rustic texture.
- To test for doneness, place a small spoonful of jam on a chilled plate; if it wrinkles when you push it with your finger, it has reached the setting point.
- Pour the hot jam into sterilized glass jars, leaving 1/4 inch of headspace at the top.
- Seal the jars and allow them to cool slowly at room temperature, then store in the fridge for a bright addition to your next food board.
How do you pipe the perfect tassel onto a graduation cupcake?
Why we love this
Cupcakes are the perfect bite-sized addition to a board, offering a self-contained explosion of flavor and intricate decoration. We love the visual rhythm they create when lined up, especially when topped with tiny, edible graduation caps and delicate piped tassels. The soft, airy sponge provides the ideal base for a swirl of tangy cream cheese frosting that isn’t too sweet, allowing the buttery notes of the cake to shine. They are easy for guests to grab and enjoy without the need for plates or cutlery, making them the ultimate social food.
Ingredients
- 1 1/2 cups cake flour
- 1 cup sugar
- 1 1/2 teaspoons baking powder
- 1/2 cup unsalted butter, room temperature
- 1/2 cup sour cream
- 1 large egg plus 2 egg whites
- 2 teaspoons vanilla extract
How to make it
- Preheat your oven to 350°F (175°C) and line a cupcake tin with high-quality paper liners.
- Cream the butter and sugar together until very light and fluffy, then whisk in the egg, egg whites, and sour cream until the mixture is smooth.
- Gently fold in the dry ingredients and vanilla, being careful not to overmix, which ensures the cupcakes stay light and airy.
- Fill each liner about 2/3 full and bake for 18-20 minutes or until the tops spring back when lightly touched.
- Once cooled, frost with a flat layer of chocolate ganache to act as the ‘base’ for your graduation cap.
- Place a square chocolate thin on top for the mortarboard.
- Using a very small round piping tip and yellow-tinted buttercream, pipe a small dot in the center of the chocolate square and pull a thin line down the side, ending with a cluster of small vertical lines to create the look of a silk tassel.
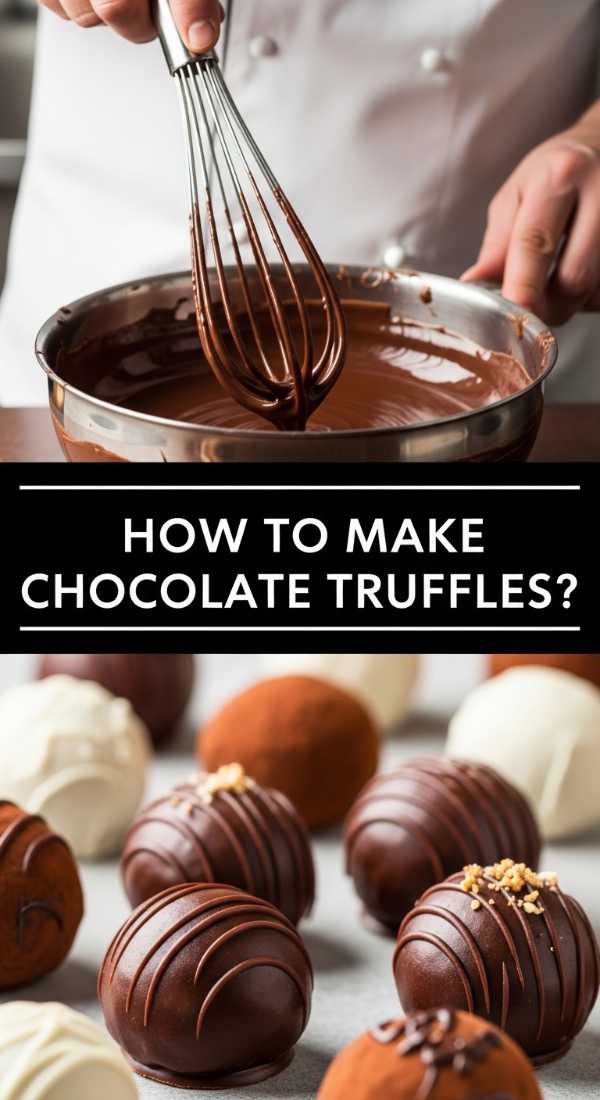
How do you make velvet-smooth chocolate truffles at home?
Why we love this
Truffles are the ultimate luxury item for a food board, offering a rich, dark intensity that satisfies even the deepest chocolate cravings. We love the contrast between the firm, cocoa-dusted exterior and the center that is so soft it practically liquefies upon contact with the warmth of your mouth. The aroma is intoxicatingly earthy and sweet, often enhanced by a touch of sea salt or a splash of espresso. These little gems add a sophisticated, artisanal feel to your board and are remarkably easy to make once you master the art of the ganache.
Ingredients
- 8 ounces high-quality bittersweet chocolate (at least 60% cocoa), finely chopped
- 1/2 cup heavy cream
- 1/2 teaspoon vanilla extract
- Pinch of sea salt
- Unsweetened cocoa powder for rolling
How to make it
- Place the finely chopped chocolate in a heat-proof glass bowl; the finer the chop, the smoother the melt.
- Heat the heavy cream in a small saucepan over medium heat just until it begins to simmer (do not let it come to a rolling boil).
- Pour the hot cream over the chocolate and let it sit undisturbed for 5 minutes to allow the heat to penetrate the chocolate pieces.
- Starting from the center, gently whisk the mixture in small circles until a glossy, smooth ganache forms.
- Stir in the vanilla and salt, then cover the bowl and refrigerate for at least 2 hours until the mixture is firm enough to scoop.
- Use a small melon baller or a teaspoon to portion out the ganache, then quickly roll each piece between your palms to form a sphere.
- Immediately roll the spheres in cocoa powder, shaking off any excess, and store in a cool place until you are ready to assemble your board.
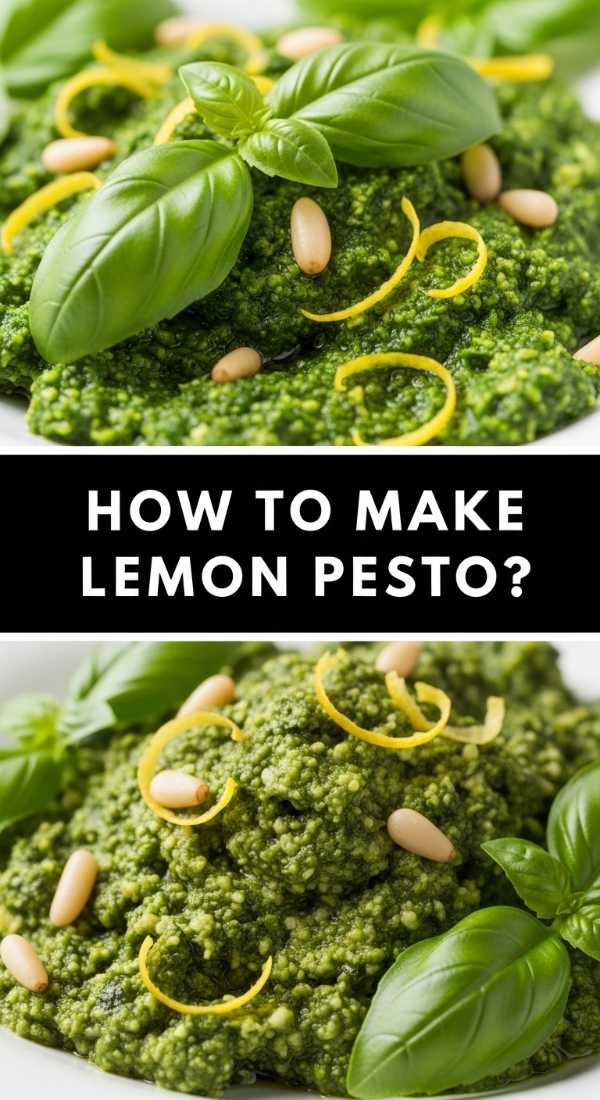
How do you brighten up any dish with a zesty lemon pesto?

Why we love this
While most food boards lean sweet, a bowl of vibrant lemon pesto provides a much-needed savory punch that refreshes the palate. We love the electric green color and the way the sharp acidity of fresh lemon zest cuts through the richness of toasted pine nuts and nutty Parmesan. The aroma is an uplifting blend of fresh basil and citrus sunshine that makes the entire board feel more balanced and sophisticated. It serves as a fantastic dip for crusty bread or a topping for savory crackers, adding a layer of complex, herbal flavor to the mix.
Ingredients
- 2 cups fresh basil leaves, packed
- 1/2 cup freshly grated Parmesan cheese
- 1/3 cup pine nuts, lightly toasted
- 2 cloves garlic, minced
- 1/2 cup extra-virgin olive oil
- Zest of 2 large lemons
- 3 tablespoons fresh lemon juice
- Salt and pepper to taste
How to make it
- Toast the pine nuts in a dry skillet over medium heat for 2-3 minutes until they are golden and fragrant; this step is essential for a deep, nutty base flavor.
- In a food processor, pulse the basil, toasted pine nuts, and garlic until they are coarsely chopped.
- Add the Parmesan cheese and pulse again to incorporate.
- With the processor running on low, slowly drizzle in the olive oil in a steady stream to create a stable emulsion.
- Transfer the mixture to a bowl and stir in the lemon zest and lemon juice by hand; adding the acid at the end helps keep the pesto a bright, vivid green.
- Season generously with salt and pepper, tasting as you go to ensure the citrus and salt are in perfect harmony.
- Store with a thin layer of olive oil on top to prevent oxidation until you’re ready to serve.
How do you whip up café-quality coffee drinks in your own kitchen?
Why we love this
No food board is complete without the perfect beverage pairing, and a customized coffee drink adds a layer of cozy, artisanal charm. We love the way the bitter notes of a well-pulled espresso or a strong cold brew complement the sugars in the cakes and cookies. The sight of frothy, steamed milk swirling into dark coffee is visually soothing, and the scent of freshly ground beans provides an energizing backdrop to the festivities. Whether served hot in a mug or over ice in a glass, a high-quality coffee drink elevates the entire tasting experience from a simple snack to a full-blown event.
Ingredients
- 2 shots of hot espresso (or 1/2 cup very strong brewed coffee)
- 1 cup whole milk or oat milk
- 1 tablespoon vanilla or caramel syrup
- A dusting of cinnamon or cocoa powder
- Ice cubes (if making a cold version)
How to make it
- Begin by brewing your coffee or espresso using your preferred method; for the best flavor, use beans that have been roasted within the last two weeks and grind them just before brewing.
- If making a hot drink, heat the milk in a small saucepan until steaming, then use a handheld frother to create a thick, velvety microfoam.
- Pour your syrup into the bottom of a glass or mug, then add the hot coffee and stir to combine.
- Slowly pour the frothed milk over the coffee, using a spoon to hold back the foam until the end, then dollop the foam on top.
- For a cold version, fill a tall glass with ice, add the syrup and coffee, then pour in cold milk and stir vigorously.
- Top with a light dusting of cinnamon or cocoa for a professional finish that looks as good as it tastes.
- Serve immediately alongside your food board to provide a warm, caffeinated balance to the sweets.
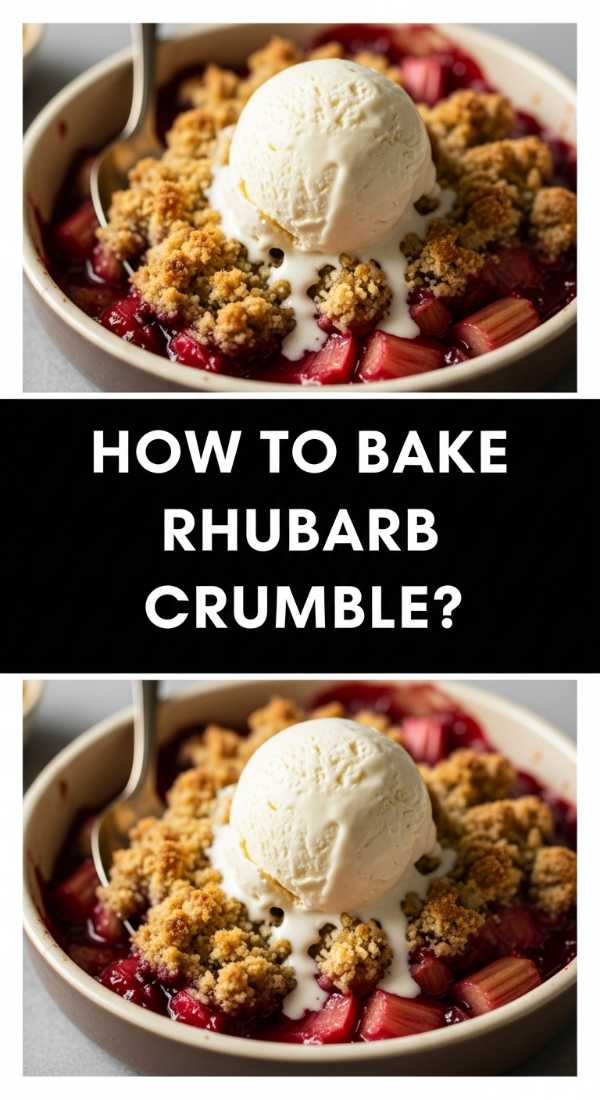
How do you get that ultra-crispy topping on a rhubarb crumble?
[IMAGE_10]
Why we love this
A rhubarb crumble is the ultimate comfort food for a shared board, offering a messy, delicious contrast of textures that people find irresistible. We love the way the bubbling, tart fruit filling seeps through the cracks of the thick, oat-heavy topping, which should be so crispy it makes an audible sound when you spoon into it. The scent of toasted oats and brown sugar is warm and inviting, providing a perfect counterpoint to the sharp tang of the rhubarb. It’s a rustic, unpretentious dish that encourages guests to dig in and help themselves to a big, warm portion.
Ingredients
- 4 cups fresh rhubarb, sliced
- 1/2 cup granulated sugar
- 1 tablespoon cornstarch
- 1 cup old-fashioned rolled oats
- 1 cup all-purpose flour
- 1 cup brown sugar, packed
- 1/2 cup unsalted butter, cold and cubed
- 1 teaspoon cinnamon
How to make it
- Preheat your oven to 375°F (190°C) and lightly butter a 9-inch square baking dish.
- In a bowl, toss the rhubarb with the granulated sugar and cornstarch until the fruit is well-coated; the cornstarch prevents the crumble from becoming too watery.
- In a separate large bowl, combine the oats, flour, brown sugar, and cinnamon.
- Use your fingers or a pastry cutter to work the cold butter into the dry ingredients until the mixture resembles coarse, pea-sized crumbs; don’t overwork it, or it will turn into a paste rather than a crisp topping.
- Spread the rhubarb mixture into the prepared dish and sprinkle the crumble topping evenly over the top, making sure to cover all the fruit.
- Bake for 35-40 minutes until the topping is a deep golden brown and the rhubarb juices are bubbling vigorously around the edges.
- Let it stand for 10 minutes before serving to allow the juices to thicken slightly, then place the whole dish right onto your board.
The Ultimate Board for Every Occasion
Creating a viral-worthy food board isn’t about perfection; it’s about the joy of variety and the beauty of shared flavors. By combining these tart rhubarbs, decadent chocolates, and celebratory graduation treats, you create a landscape of food that tells a story of the season and the milestones we celebrate. Whether you are hosting a formal graduation party or a casual Sunday brunch, these recipes provide the building blocks for an unforgettable experience that will have your guests reaching for their phones to capture the magic—and then reaching for a second helping!