
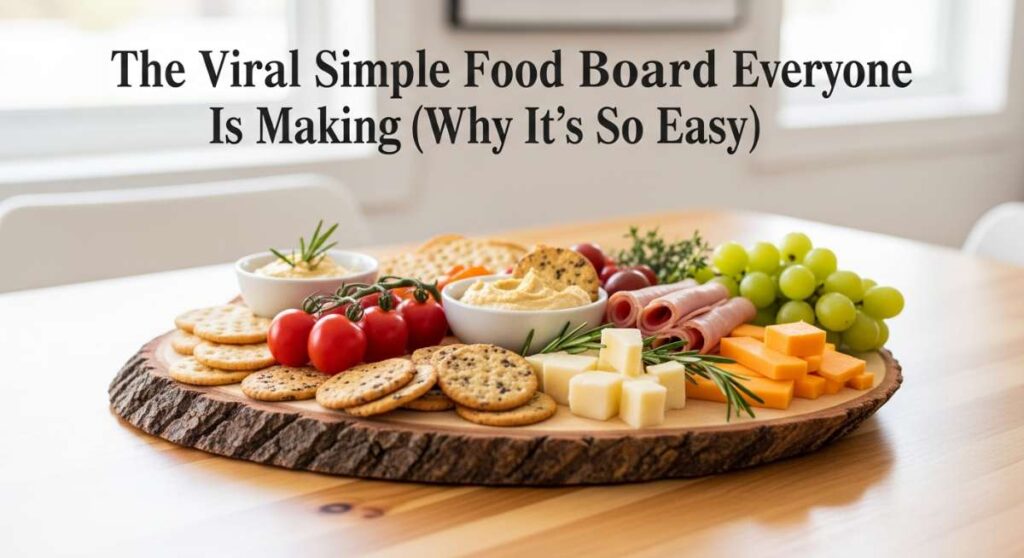
There is something absolutely magical about a table filled with food that invites everyone to linger a little longer. Lately, my social media feed has been taken over by this incredible concept of the ‘Viral Simple Food Board’—a sprawling, artistic arrangement that combines sweet, savory, and celebratory treats into one cohesive, beautiful display. It’s more than just a platter; it’s a conversation starter that celebrates the changing seasons and the big milestones in our lives.
Whenever I host, I want my guests to feel that warm, fuzzy sense of belonging the moment they see the spread. This board is the ultimate hack for effortless entertaining because it allows you to mix homemade favorites with thoughtful decorations. Whether you are celebrating a new graduate or just the arrival of spring rhubarb, this board adapts to your heart’s content, making every gathering feel like a special occasion without the stress of a formal five-course meal.
In this post, I’m breaking down the essential components that make this viral board so iconic. From the zesty bite of fresh rhubarb to the playful sweetness of graduation-themed treats, these recipes and styling tips will help you create a show-stopping centerpiece that your friends will be talking about (and posting about) for weeks.
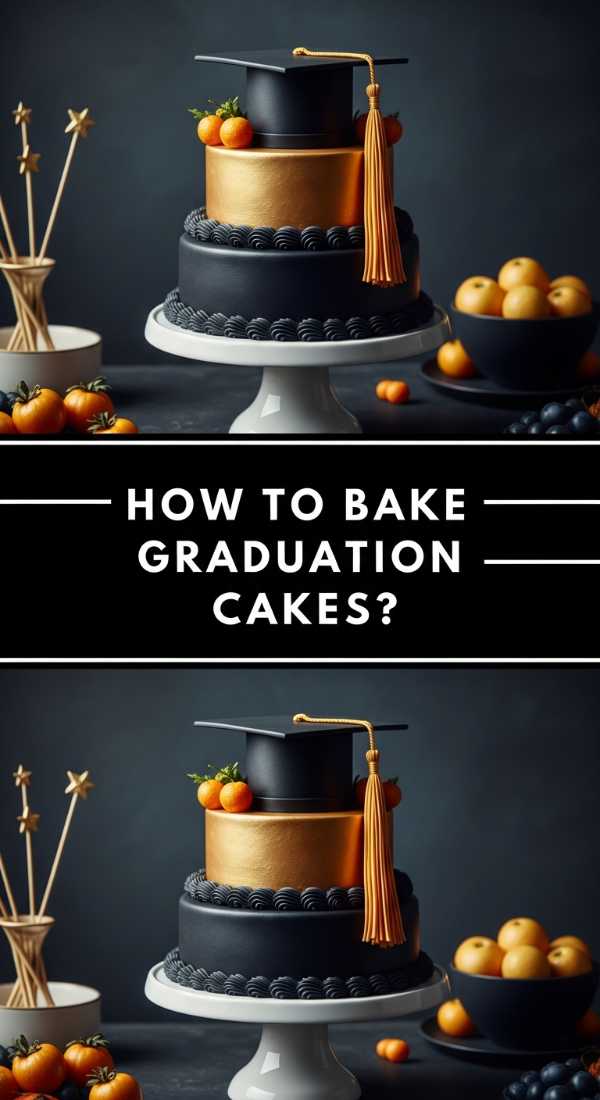
How to bake graduation cakes?
Why we love this
There is nothing quite like the sight of a towering, multi-layered cake to signify a major life achievement. The aroma of pure vanilla bean and whipped butter fills the kitchen, creating an atmosphere of pure celebration even before the first slice is cut. We love this cake for its tender, velvety crumb and the way the silky buttercream melts on the tongue, providing a sophisticated yet comforting finish to any graduation party spread. It’s the kind of dessert that looks professional but tastes like home, anchoring your food board with elegance and pride.
Ingredients
- 3 cups all-purpose flour
- 2 cups granulated sugar
- 1.5 cups unsalted butter, softened
- 4 large eggs, room temperature
- 1 cup whole milk
- 1 tbsp vanilla bean paste
- 1 tbsp baking powder
- 1/2 tsp salt
How to make it
- Preheat your oven to 350°F (175°C) and thoroughly grease three 8-inch round cake pans, lining the bottoms with parchment paper to ensure an easy release.
- In a large stand mixer fitted with the paddle attachment, cream the softened butter and granulated sugar on medium-high speed for at least 5 minutes until the mixture is pale, light, and incredibly fluffy.
- Add the eggs one at a time, beating well after each addition and scraping down the sides of the bowl to ensure a homogeneous emulsion.
- Whisk the flour, baking powder, and salt together in a separate bowl. With the mixer on low, alternate adding the dry ingredients and the milk, starting and ending with the flour mixture to prevent the batter from curdling.
- Divide the batter evenly among the pans and bake for 30-35 minutes. You’ll know they are done when a toothpick inserted into the center comes out with just a few moist crumbs and the edges have slightly pulled away from the sides.
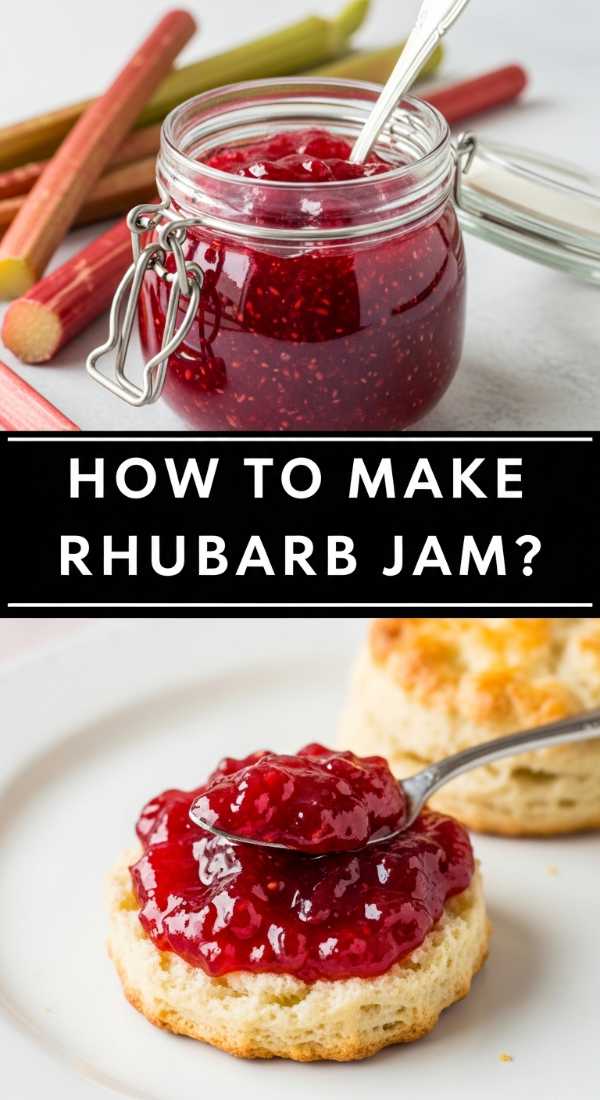
How to make rhubarb jam?
Why we love this
Rhubarb jam is like capturing springtime in a jar; its vibrant, ruby-red hue and sharp, electric tartness are the perfect foil for the sweeter elements on your food board. As it simmers on the stove, the rhubarb breaks down into a luscious, jammy consistency that releases a fragrance of earth and citrus. We love spreading this over warm scones or pairing it with a sharp cheddar; the texture is thick and spreadable with just enough fruit fiber to feel rustic and artisanal. It adds a sophisticated, tangy brightness that keeps the palate refreshed.
Ingredients
- 4 cups fresh rhubarb, chopped into 1/2 inch pieces
- 1.5 cups granulated sugar
- 2 tbsp fresh lemon juice
- 1 tsp lemon zest
- 1/2 tsp vanilla extract
How to make it
- Place the chopped rhubarb and sugar in a heavy-bottomed saucepan and let it sit for about 30 minutes to macerate, which draws out the natural juices and helps the fruit soften.
- Add the lemon juice and zest, then place the pan over medium-high heat, stirring constantly until the sugar has completely dissolved and the mixture reaches a rolling boil.
- Reduce the heat to medium-low and simmer the jam for 20-25 minutes. Use a wooden spoon to occasionally mash the rhubarb pieces against the side of the pan to achieve your desired texture.
- The jam is ready when it reaches 220°F (104°C) or passes the ‘cold plate test’—place a small spoonful on a chilled plate, wait a minute, and if it wrinkles when pushed with your finger, it’s set.
- Remove from heat, stir in the vanilla extract, and let it cool completely before transferring to glass jars for storage.
How to decorate grad cupcakes?

Why we love this
Cupcakes are the ultimate portable treat for a viral food board, and decorating them for graduation adds a personalized, playful touch that guests adore. The contrast between a deep, dark chocolate base and a stark white or school-colored frosting creates a visual pop that is hard to miss. We love the tactile experience of biting through a crisp chocolate cap into a cloud of airy frosting, all while admiring the tiny, edible details that celebrate the graduate’s hard work. It’s a whimsical addition that brings a sense of joy and youthful energy to the table.
Ingredients
- Batch of cooled cupcakes
- 4 cups stiff vanilla buttercream
- Small chocolate squares (Ghirardelli or similar)
- Miniature peanut butter cups
- Sour belt candy or fruit leather strips
- M&Ms or small round candies
- Melted chocolate for ‘glue’
How to make it
- Using a large open star tip, pipe a tall, structured swirl of buttercream onto each cooled cupcake, ensuring the frosting is stiff enough to hold the weight of the decorations.
- To create the ‘mortarboard’ (the cap), place a miniature peanut butter cup upside down in the center of the frosting swirl to act as the base.
- Dip the bottom of a thin chocolate square into a small amount of melted chocolate and press it firmly onto the top of the peanut butter cup, making sure it is level.
- Cut a thin 1-inch strip of sour belt or fruit leather to serve as the tassel. Use a tiny dot of melted chocolate to attach the tassel to the center of the chocolate square.
- Finish by placing a small M&M or candy on top of the tassel’s starting point to cover the joint, creating a polished and professional look.
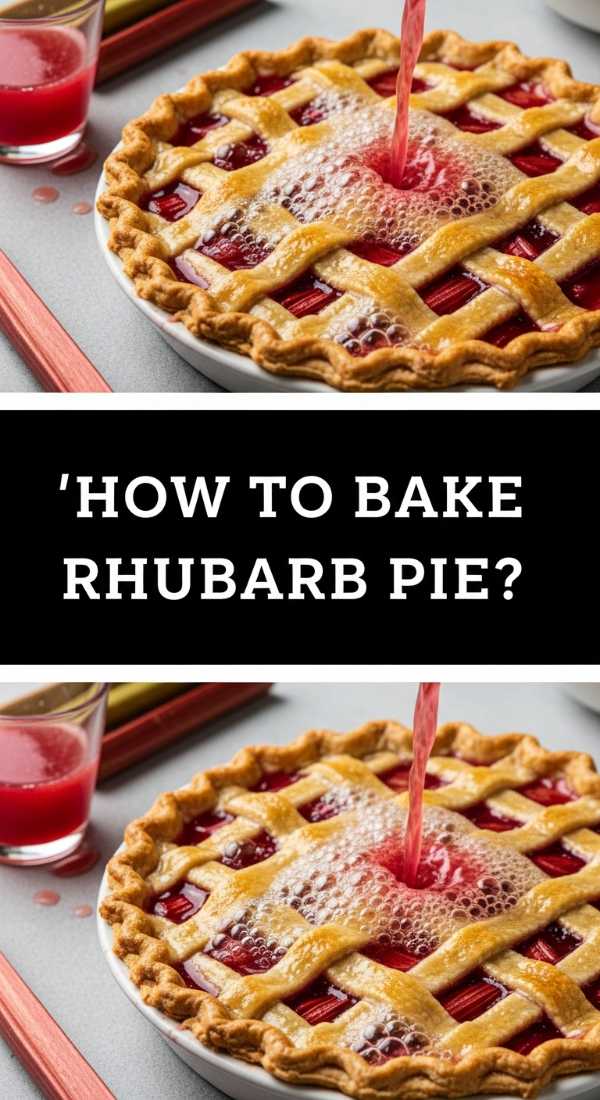
How to bake rhubarb pie?
Why we love this
A rhubarb pie is the undisputed queen of the seasonal dessert table, offering a symphonic balance between a buttery, flaky crust and a deeply tart, bubbling fruit filling. The aroma as it bakes is intoxicating—a mix of caramelized sugar and the sharp scent of fruit that promises a complex flavor profile. We love how the juices thicken into a beautiful magenta syrup that coats every slice, while the golden-brown crust provides a satisfying, salty crunch. It’s a nostalgic masterpiece that feels both humble and grand, making it a perfect anchor for your food board.
Ingredients
- Double pie crust (homemade or store-bought)
- 5 cups rhubarb, cut into 1/2 inch pieces
- 1 1/4 cups granulated sugar
- 1/4 cup cornstarch
- 1/2 tsp ground cinnamon
- 1 tbsp cold butter, cubed
- 1 egg (for egg wash)
How to make it
- Roll out your bottom crust and fit it into a 9-inch pie plate. Chill the dough in the refrigerator for at least 20 minutes to prevent shrinkage during the baking process.
- In a large bowl, toss the rhubarb with sugar, cornstarch, and cinnamon. Ensure every piece is evenly coated, as the cornstarch is vital for thickening the juices into a glossy filling.
- Pour the filling into the chilled crust and dot the top with the small cubes of cold butter to add richness and a silky mouthfeel to the sauce.
- Cover with the top crust—either full or lattice style. If using a full crust, cut several large slits to allow steam to escape. Brush the top with a beaten egg for a glossy, professional finish.
- Bake at 425°F (220°C) for the first 15 minutes, then reduce the heat to 375°F (190°C) and bake for another 40-50 minutes until the crust is deep golden and the filling is bubbling thick through the vents.
How to design funny cakes?

Why we love this
Funny cakes are the ultimate icebreaker, injecting a dose of humor and personality into your viral food board. Whether it’s a cake that looks like a giant taco or one featuring a witty, self-deprecating quote about ‘adulting,’ these designs always spark laughter and photos. We love the creative challenge of using edible mediums to mimic non-food items or to convey a joke; the texture of the ‘mistake’ or the ‘irony’ is captured in sugary form. It reminds us that food should be fun, and it gives the host a chance to showcase their unique sense of humor.
Ingredients
- A chilled, crumb-coated cake
- Various colors of fondant or modeling chocolate
- Edible markers or food coloring pens
- Piping gel and various frosting tips
- Creative props (like clean toys or paper toppers)
How to make it
- Start with a cake that has been crumb-coated and chilled until firm; this provides a stable, flat canvas for your decorations and ensures the ‘joke’ doesn’t slide off.
- Decide on your theme—for a ‘failed’ cake look, intentionally pipe messy borders or use edible markers to write a funny message like ‘I tried’ in purposefully shaky handwriting.
- Use fondant to sculpt 3D elements that look like real-life objects; for example, if making a ‘laundry’ cake, sculpt small socks and t-shirts to drape over the sides.
- Utilize piping gel to create ‘spills’ or ‘leaks’ that look realistic but are perfectly delicious, adding to the visual gag.
- Apply your final message or ‘punchline’ using a fine-tip edible pen or a very small round piping tip with dark frosting to ensure it is legible for the inevitable social media photos.
How to frost sugar cookies?
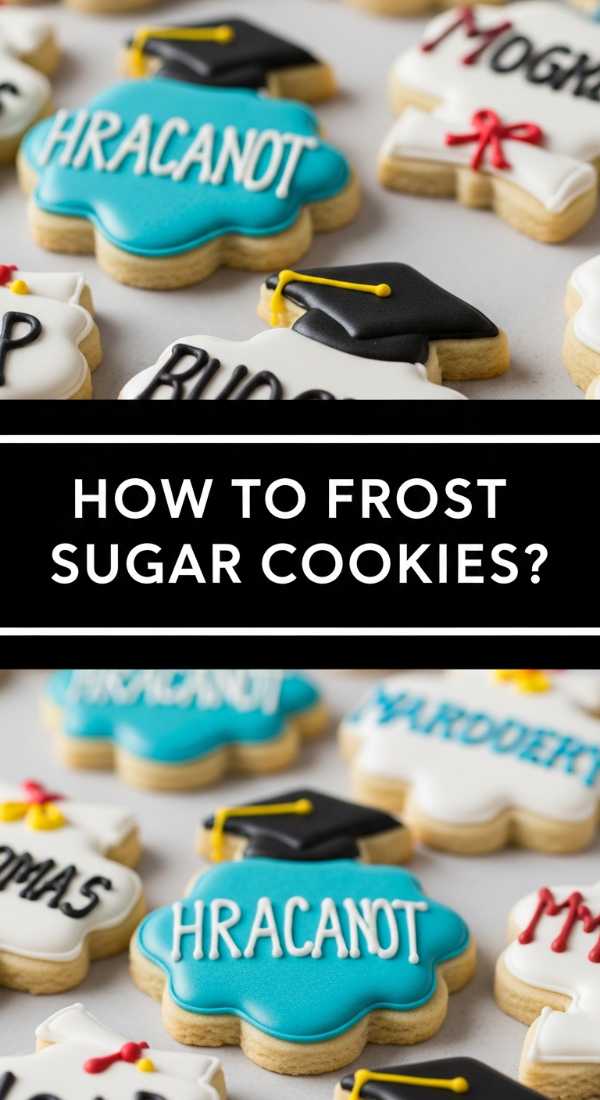
Why we love this
The perfect frosted sugar cookie is a marvel of texture: a soft, buttery base topped with a smooth-as-glass layer of royal icing that yields with a satisfying ‘snap.’ We love the meditative process of flooding these cookies, watching the icing flow into the edges to create a pristine, satin-like finish. The flavor is a delicate balance of almond and vanilla, and the visual appeal of a perfectly decorated cookie adds a touch of artisanal craft to your board. They are the jewels of the display, offering endless possibilities for color and pattern.
Ingredients
- Batch of flat-top sugar cookies
- 4 cups confectioners’ sugar
- 3 tbsp meringue powder
- 5-7 tbsp warm water
- Gel food coloring
- Squeeze bottles or piping bags
How to make it
- Whisk together the confectioners’ sugar and meringue powder. Slowly add water one tablespoon at a time while mixing until you reach a ’15-second consistency’ (when a line drawn in the icing disappears in 15 seconds).
- Divide the icing into bowls and tint with gel food coloring. Transfer the icing into piping bags fitted with small round tips or squeeze bottles for better control.
- Outline the edge of the cookie first with a steady hand, leaving a tiny margin from the edge. Let this ‘dam’ set for about 2 minutes to ensure the icing doesn’t overflow.
- Fill (or ‘flood’) the center of the cookie with more icing, using a toothpick or scribe tool to pop any air bubbles and push the icing into the corners for a seamless look.
- Allow the cookies to dry undisturbed for at least 8-12 hours in a cool, dry place until the icing is completely hard and has a matte or slight satin sheen.
How to make rhubarb crumble?

Why we love this
Rhubarb crumble is the definition of rustic comfort, offering a beautiful interplay between the hot, tart fruit and the cool, sweet crunch of toasted oats. As it bakes, the rhubarb juices bubble up through the topping, creating little craters of concentrated flavor. We love the contrast in textures: the soft, yielding fruit against the chunky, buttery crumble that smells of toasted cinnamon and brown sugar. It’s best served warm, perhaps with a scoop of melting vanilla bean ice cream that mingles with the juices to create a creamy, dreamy sauce right on your plate.
Ingredients
- 6 cups chopped rhubarb
- 3/4 cup granulated sugar (for fruit)
- 1 cup old-fashioned oats
- 1 cup all-purpose flour
- 1 cup brown sugar, packed
- 1/2 cup cold unsalted butter, cubed
- 1 tsp cinnamon
How to make it
- Grease a 9×13 inch baking dish and spread the chopped rhubarb evenly across the bottom. Sprinkle with the granulated sugar and toss slightly to coat the fruit.
- In a medium bowl, combine the oats, flour, brown sugar, and cinnamon. Use a pastry cutter or your fingertips to rub the cold butter into the mixture until it forms pea-sized clumps.
- Avoid overworking the dough; you want distinct, rocky chunks of butter and sugar, which will create the signature ‘crumble’ texture rather than a flat crust.
- Sprinkle the topping generously over the rhubarb, ensuring there are no large gaps but allowing some fruit to peek through the edges.
- Bake at 375°F (190°C) for 35-45 minutes. The topping should be a deep, golden brown and the fruit juices should be thick and vigorously bubbling around the perimeter of the dish.
How to host italian dinner?
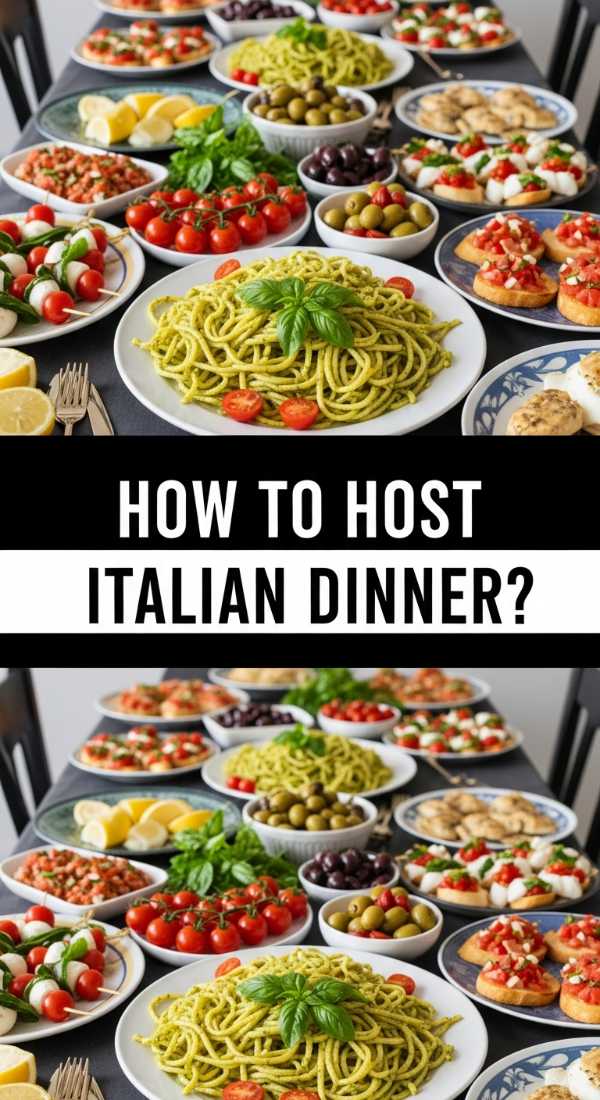
Why we love this
Hosting an Italian dinner is about more than just the food; it’s about the ‘sprezzatura’—an air of effortless elegance and the spirit of ‘la dolce vita.’ The table becomes a sensory playground filled with the scent of fresh basil, the sight of high-quality olive oil shimmering in bowls, and the sound of laughter over clinking wine glasses. We love the slow pace of an Italian meal, where the board is filled with antipasti like cured meats, marinated artichokes, and crusty bread, encouraging guests to pick and choose as they talk. It transforms a simple meal into an evening-long event.
Ingredients
- Assorted cured meats (Prosciutto, Salami)
- Artisan cheeses (Parmigiano-Reggiano, Burrata)
- Marinated olives and roasted peppers
- Fresh focaccia or ciabatta bread
- High-quality Extra Virgin Olive Oil and Balsamic
- Fresh basil and oregano sprigs
How to make it
- Start by selecting a large wooden board or a clean table surface. Lay down parchment paper if you’re placing items directly on the table for that ‘viral’ look.
- Arrange the larger elements first, such as bowls of olives and rounds of cheese, to create ‘anchor points’ around which the rest of the board will flow.
- Fold the cured meats into ribbons or roses to add height and texture. Group them near the cheeses to suggest natural pairings for your guests.
- Fill the gaps with piles of fresh herbs, clusters of grapes, and toasted bread. The goal is to make the board look abundant and overflowing, with no visible ’empty’ spots.
- Serve the board with a variety of small knives and spoons, and ensure there is plenty of room for guests to move around the table, keeping the atmosphere relaxed and communal.
How to mix coffee drinks?
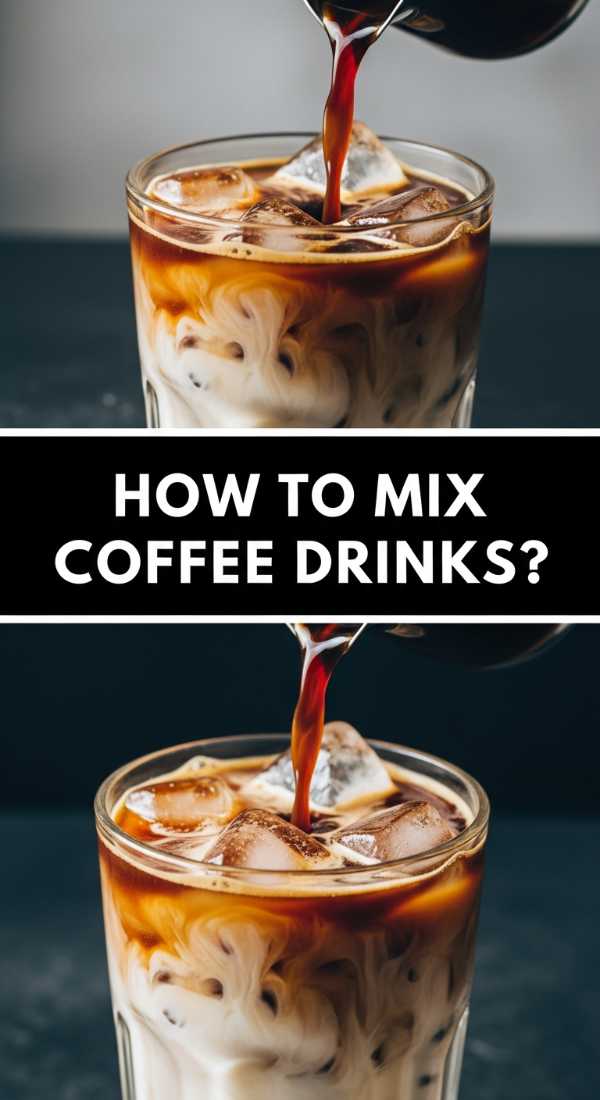
Why we love this
Adding a coffee component to your food board elevates the entire experience, offering a sophisticated pick-me-up that pairs perfectly with sweet treats. The rich, roasted aroma of freshly pulled espresso provides a grounded, earthy balance to the sugary items on the table. We love the artistry of a perfectly layered latte or the refreshing zing of a cold brew tonic with a twist of citrus. It’s a sensory delight to watch the milk swirl into the dark coffee, creating beautiful, marble-like patterns that are as visually pleasing as they are delicious to sip.
Ingredients
- Strong brewed espresso or cold brew concentrate
- Whole milk or oat milk (for frothing)
- Syrups (Vanilla, Caramel, or Lavender)
- Ice cubes (for cold drinks)
- Garnishes like cinnamon sticks or dried orange slices
How to make it
- For a hot drink, steam your milk to 150°F (65°C) using a wand or a handheld frother until it has a silky microfoam consistency—look for tiny bubbles that resemble wet paint.
- If making a layered iced drink, fill a glass with large ice cubes and add 1-2 pumps of your chosen syrup first.
- Pour the milk over the ice, leaving about two inches of space at the top. This will act as the base for your coffee ‘layer.’
- Slowly pour the espresso or cold brew concentrate over the back of a spoon onto the surface of the milk. The spoon breaks the fall and allows the coffee to float on top of the milk, creating a stunning gradient.
- Finish with a light dusting of cinnamon or a garnish, and serve immediately so your guests can experience the temperature and texture contrasts.
How to style cake pops?
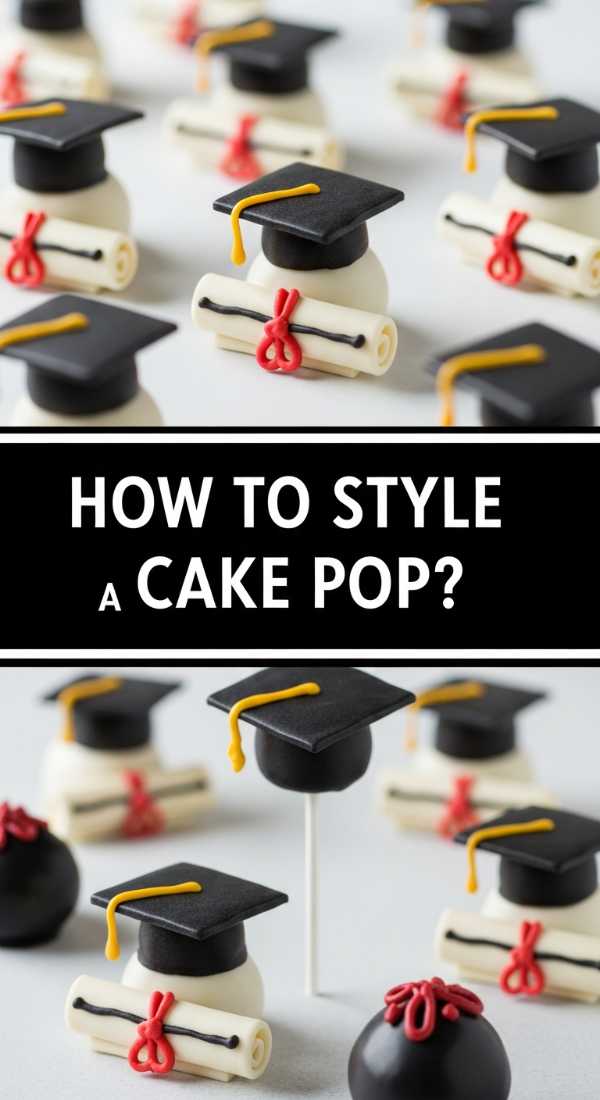
Why we love this
Cake pops are the ultimate bite-sized indulgence, and when styled correctly, they add a whimsical, vertical element to your viral food board. We love the surprise of biting through a crisp chocolate shell to find a moist, fudgy center that is almost truffle-like in consistency. Their round, uniform shape makes them incredibly satisfying to look at, and they serve as perfect ‘filler’ items to tuck into corners or stand upright in jars. Decorating them with sprinkles or gold leaf adds a touch of glamour that makes the whole spread feel high-end and curated.
Ingredients
- Prepared cake pops (cake crumbs mixed with frosting)
- Candy melts or high-quality dipping chocolate
- Cake pop sticks or decorative straws
- Assorted sprinkles or edible glitter
- A styrofoam block or cake pop stand (for drying)
How to make it
- Ensure your cake pop balls are chilled but not frozen; if they are too cold, the chocolate coating will crack as it contracts.
- Melt your candy coating in a deep, narrow microwave-safe glass, heating in 30-second intervals and stirring until completely smooth and fluid.
- Dip the tip of a cake pop stick into the melted chocolate, then insert it halfway into a cake ball. This acts as ‘glue’ to keep the pop from sliding off the stick.
- Submerge the cake ball completely into the coating in one fluid motion. Lift it out and gently tap your wrist to shake off the excess chocolate, rotating the stick to ensure an even coat.
- While the coating is still wet, add your sprinkles or decorations. Place the stick upright in a stand or styrofoam block to dry completely for about 20 minutes before arranging them on your board.
Wrapping It All Up
Creating the viral simple food board is truly an act of love and creativity. By combining these diverse elements—from the tart zest of rhubarb to the celebratory flair of graduation cakes—you’re not just serving food; you’re building an experience. I hope these detailed guides empower you to step into your kitchen with confidence and joy. Remember, the ‘viral’ part isn’t just about the photos; it’s about the connection and the memories made around the table. Happy hosting!