
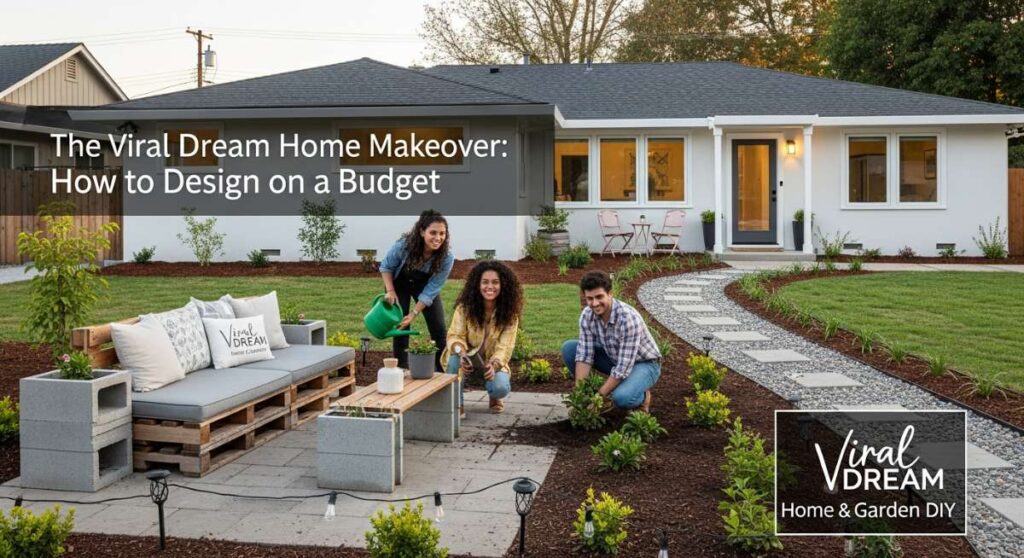
We have all been there—scrolling through endless social media feeds, eyes wide at the stunning, minimalist homes and lush, tiered gardens that look like they cost a fortune. I remember sitting in my own living room, looking at a bare corner and a patchy backyard, wondering if I could ever achieve that ‘viral’ aesthetic without a massive renovation budget. The truth is, your home doesn’t need a designer label to feel like a sanctuary; it just needs a little bit of heart, some elbow grease, and a smart strategy for DIY design.
This journey started for me when I realized that the most beautiful spaces aren’t just about the furniture—they are about the atmosphere. It’s the way the light hits a climbing jasmine vine on a handmade trellis or the satisfying organization of a pantry that makes every morning feel a little less chaotic. In this guide, I’m sharing my favorite viral-inspired DIY projects that will transform your home and garden into the oasis you’ve been dreaming of, all while keeping your bank account intact.
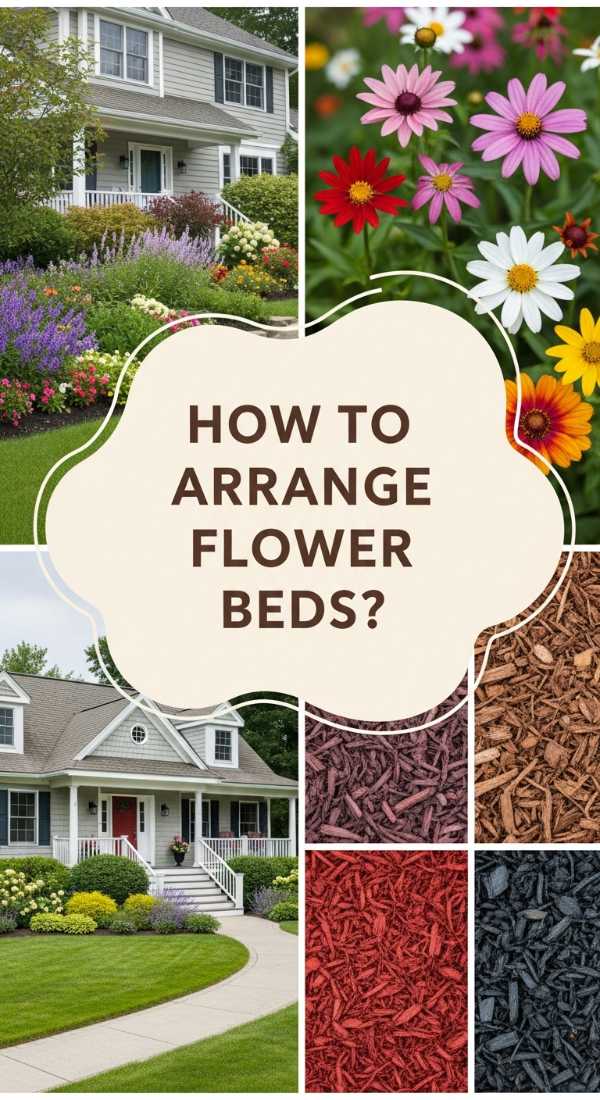
How to Arrange Flower Beds for Instant Curb Appeal
Why we love this
There is nothing quite like the sensory explosion of a well-designed flower bed greeting you as you pull into the driveway. We love the way the rich, dark aroma of fresh mulch anchors the sweet, delicate scents of blooming lavender and roses, creating a welcoming embrace before you even reach the front door. The visual texture of velvety petals against glossy green leaves adds a layer of sophistication that makes any home look instantly more expensive and cared for, providing a seasonal symphony of color that evolves from the bright pops of spring to the deep hues of autumn.
Essential Elements:
- Nutrient-rich topsoil and organic compost
- A variety of perennials (hostas, hydrangeas, coneflowers)
- Annuals for seasonal color (petunias, marigolds)
- Hardwood mulch or cedar chips
- Spade, rake, and garden edging material
How to make it
- Start by defining the shape of your bed using a garden hose to map out organic, flowing curves rather than rigid straight lines; this creates a more natural, professional look.
- Remove all existing grass and weeds from the area, ensuring you dig deep enough to get the roots, then turn the soil to a depth of about 12 inches to ensure proper aeration.
- Mix in your compost and topsoil, leveling it slightly higher in the center of the bed to allow for drainage and to create a visual ‘mound’ effect that showcases the plants better.
- Arrange your plants while they are still in their nursery pots, placing taller varieties in the back (or center if the bed is an island) and shorter ones in the front to create a ‘stadium seating’ effect.
- Once satisfied with the layout, dig holes twice as wide as the root ball, gently tease the roots, and plant them at the same depth they were in the pot, firming the soil around them.
- Apply a 2-3 inch layer of mulch over the entire bed, keeping it away from the base of the plant stems to prevent rot, and water deeply to settle the soil.
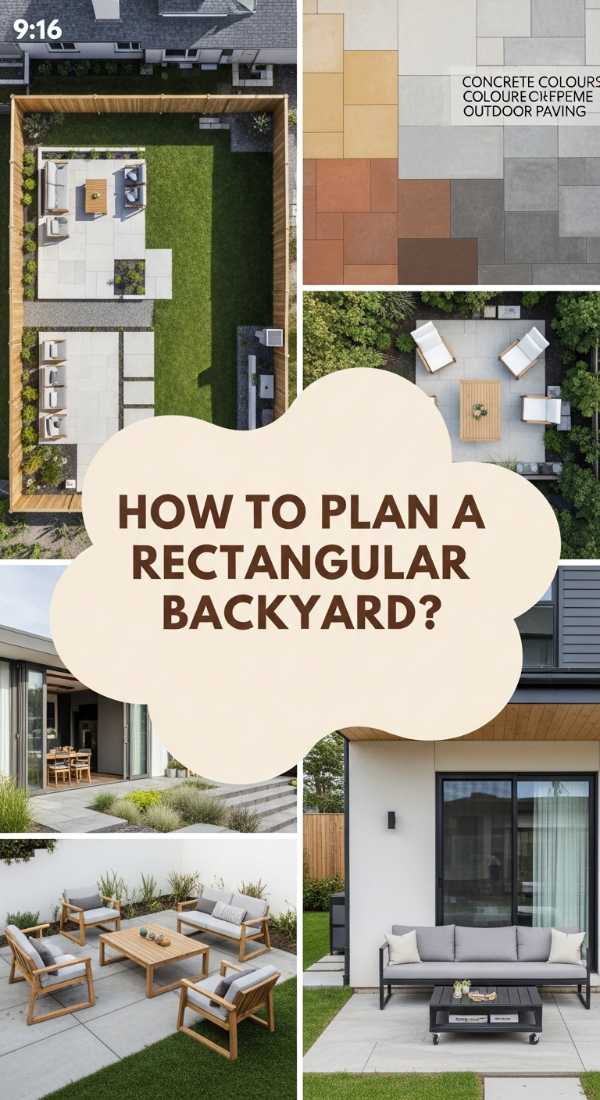
How to Plan a Rectangular Backyard for Maximum Space
Why we love this
A rectangular backyard is a blank canvas that offers incredible potential for ‘zoning,’ which is the secret to making a small space feel expansive. We love the feeling of moving through different ‘rooms’ outdoors—the transition from a cool, shaded lounge area to a bright, open sunning spot feels like a curated journey. By utilizing clean lines and strategic placement, you can turn a boring patch of grass into a multifunctional retreat where the sound of the wind through the trees and the warmth of a fire pit create a private world away from the noise of the neighborhood.
Essential Elements:
- Graph paper or digital landscape planner
- Measuring tape
- Stepping stones or pavers
- Outdoor rugs for zone definition
- Vertical planters or privacy screens
How to make it
- Measure the entire perimeter of your yard and plot it on paper, noting any fixed elements like trees, utility lines, or the slope of the land which will dictate drainage.
- Divide the rectangle into three distinct ‘zones’: an eating area near the house, a central play or lawn area, and a focal point at the far end (like a fire pit or shed) to draw the eye through the space.
- Use ‘pathway psychology’ by installing a winding stepping stone path that connects the zones; a curved path in a rectangular yard breaks up the boxy feel and makes the walk feel longer and more leisurely.
- Create vertical interest by placing taller plants or privacy screens along the long sides of the rectangle, which draws the eye upward and prevents the space from feeling like a hallway.
- Select furniture that scales appropriately; avoid oversized pieces that block the flow of movement, opting instead for modular seating that can be rearranged for different needs.
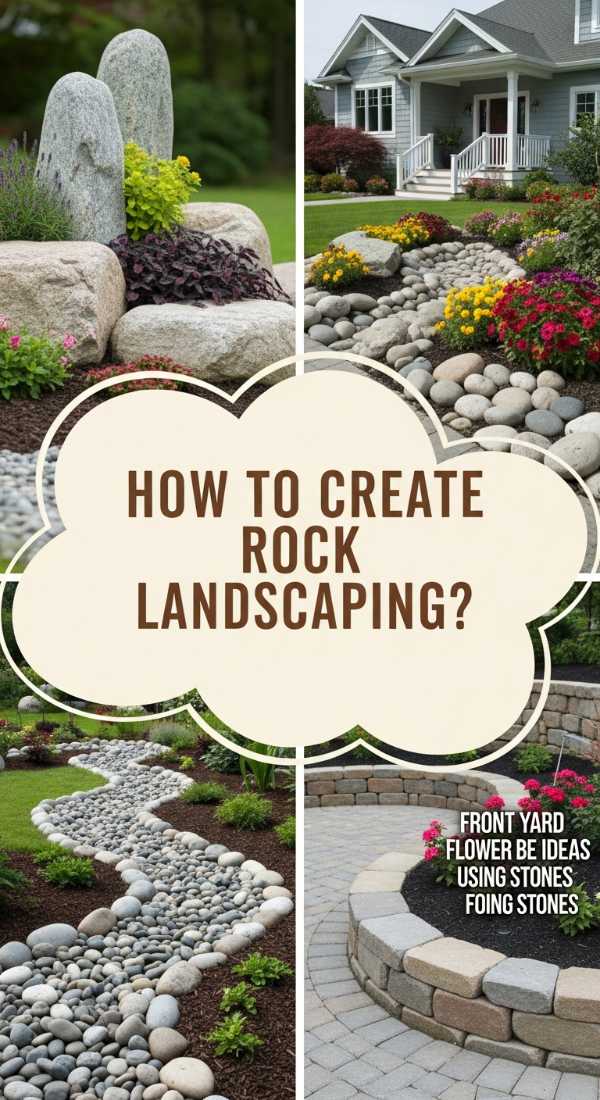
How to Create Rock Landscaping for a Modern Garden
Why we love this
Rock landscaping brings a sense of Zen-like calm and structural permanence to a garden that living plants alone cannot achieve. We love the tactile contrast between smooth, river-worn pebbles and the sharp, architectural edges of slate or granite, especially when they glisten under a light summer rain. It’s a low-maintenance dream that stays looking pristine year-round, offering a crisp, clean aesthetic that highlights the vibrant greens of succulents or the delicate silvery foliage of ornamental grasses, making your outdoor space feel like a modern art gallery.
Essential Elements:
- Heavy-duty landscape fabric (weed barrier)
- Metal or plastic landscape edging
- Variety of rocks (river rock, pea gravel, or lava rock)
- Large ‘hero’ boulders for focal points
- Rake and wheelbarrow
How to make it
- Clear the designated area of all vegetation and level the ground, ensuring there is a slight slope away from your home’s foundation to manage water runoff.
- Install your edging material firmly into the ground to create a crisp border that will keep the rocks from migrating into your lawn or flower beds over time.
- Lay down the landscape fabric, overlapping the seams by at least 6 inches and securing them with garden staples to ensure no weeds can poke through your finished design.
- Place your large ‘hero’ boulders first; bury the bottom third of each boulder in the ground to make them look like natural outcroppings rather than rocks just sitting on the surface.
- Pour your smaller rocks or gravel around the boulders, using a rake to distribute them evenly to a depth of at least 3 inches so the fabric underneath is completely hidden.
- Rinse the rocks with a hose to remove any dust or dirt from the bags, revealing their true colors and giving the garden an instant, polished glow.
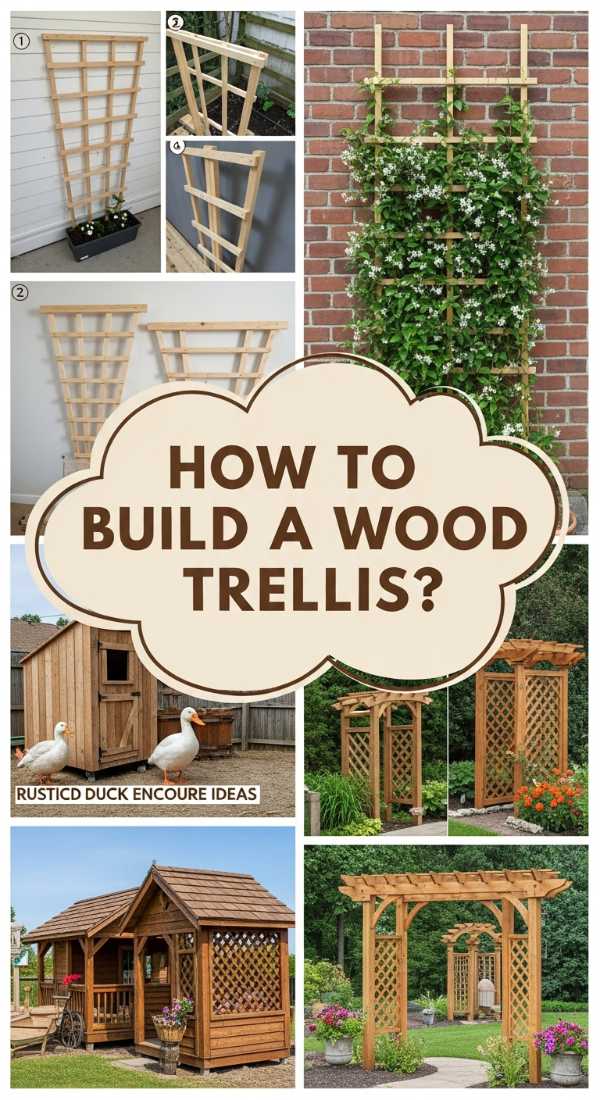
How to Build a Wood Trellis for Vertical Greenery
Why we love this
There is something inherently romantic about a wood trellis covered in climbing vines, turning a flat wall into a living, breathing tapestry. We love the way it adds height and drama to a garden, catching the golden hour light through its slats and providing a home for fragrant blooms like star jasmine or honeysuckle. The smell of cedar combined with the rustle of leaves against the wood creates a sensory sanctuary, offering both privacy and a lush, vertical landscape that makes even the smallest patio feel like a hidden English garden.
Essential Elements:
- Pressure-treated or cedar 2×2 boards
- Galvanized wood screws
- Drill and miter saw
- Exterior wood stain or paint
- Wall spacers or mounting brackets
How to make it
- Measure the height and width of the wall or area where the trellis will live, then cut your vertical outer frame pieces to size using a miter saw for clean edges.
- Lay your vertical pieces on a flat surface and space out your horizontal slats; for a modern ‘grid’ look, space them evenly (about 6-8 inches apart), or for a diamond pattern, cut the ends at 45-degree angles.
- Pre-drill holes at every intersection point to prevent the wood from splitting, then secure the slats to the frame using galvanized screws that won’t rust in the rain.
- Apply a high-quality exterior stain or paint; pay special attention to the end grains of the wood, as these are the most vulnerable to moisture and rot.
- Once dry, mount the trellis to your wall or fence using spacers (at least 1 inch thick) to allow air to circulate behind the plants and prevent the wall from staying damp.
- Plant your climbers at the base and gently weave the first few tendrils through the bottom slats to ‘train’ the plant to start its upward journey.
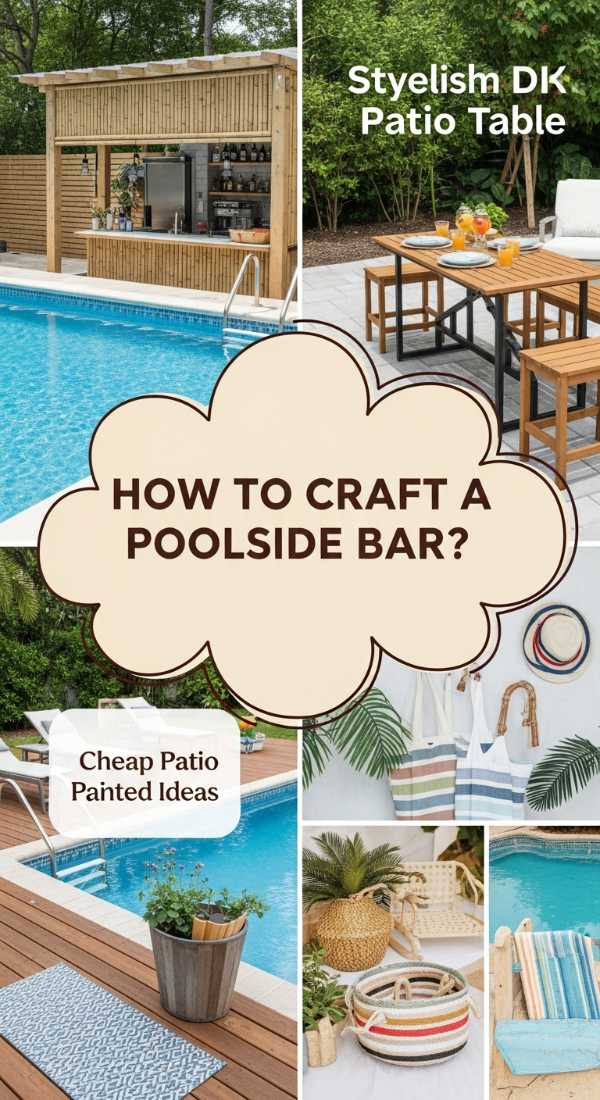
How to Craft a Poolside Bar for Summer Fun
Why we love this
A poolside bar is the ultimate symbol of leisure and the heart of every summer gathering. We love the smooth, cool touch of a polished countertop against the heat of the afternoon sun and the sound of ice clinking in a glass as friends gather around. It transforms a simple pool area into a high-end resort experience, where the aroma of grilled citrus and coconut sunblock mingles with the refreshing splash of water, creating an atmosphere of pure, unadulterated vacation vibes right in your own backyard.
Essential Elements:
- Weather-resistant lumber (Cedar or Teak)
- Stone or waterproof laminate countertop
- Outdoor bar stools
- Built-in cooler or ice bucket insert
- Heavy-duty casters (if you want it mobile)
How to make it
- Build a sturdy rectangular frame using 4×4 posts for the legs and 2x4s for the support beams, ensuring the height is a standard ‘bar height’ of 42 inches for comfortable standing or stool use.
- Add cross-bracing to the frame to ensure it doesn’t wobble; this is crucial if you are serving drinks and heavy glassware on the surface.
- Clad the sides of the bar with vertical or horizontal wood slats, leaving small gaps for a modern look, or use solid plywood for a more traditional aesthetic.
- Install your countertop, ensuring it has a 2-3 inch overhang on the side where people will sit so there is plenty of room for knees and stools.
- If including an ice bucket, cut a hole in the countertop using a jigsaw and drop in a stainless steel insert, sealing the edges with outdoor silicone to keep it watertight.
- Finish the wood with a marine-grade sealant to protect it from chlorine splashes and UV rays, ensuring your bar stays beautiful for many summers to come.
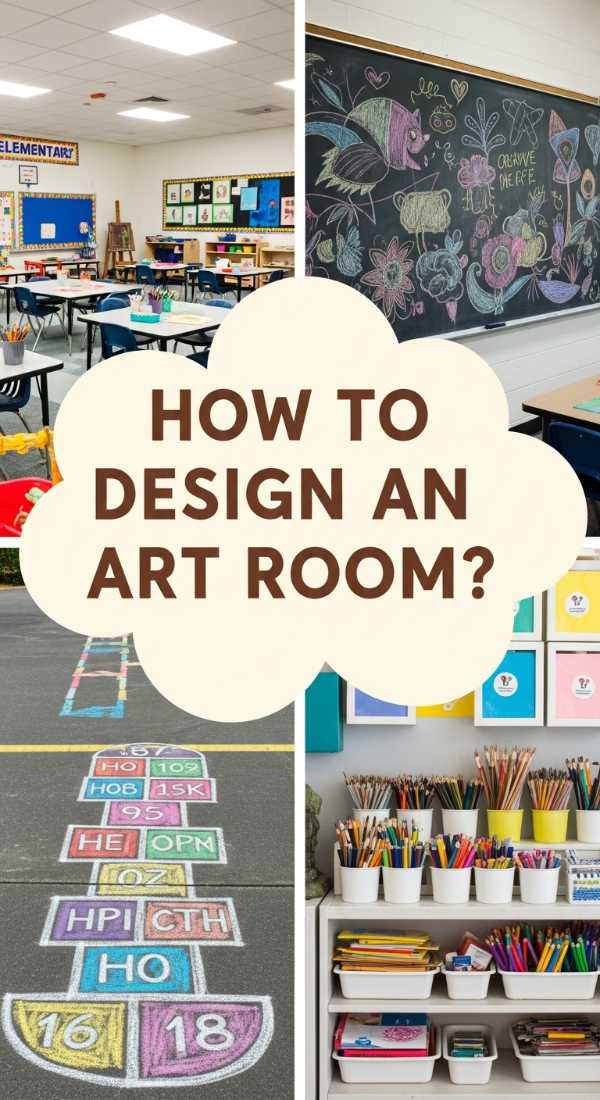
How to Design an Art Room for Creative Inspiration
Why we love this
An art room is more than just a place to work; it is a sanctuary for the soul where the rules of the outside world don’t apply. We love the vibrant visual stimulation of color-coded brushes, the earthy scent of drying oil paints or fresh clay, and the soft, diffused light that makes every project look like a masterpiece in progress. It’s a space that encourages the ‘flow state,’ where the texture of a canvas and the movement of a pen become the only things that matter, providing a much-needed mental escape from the digital grind.
Essential Elements:
- Adjustable easel or large drafting table
- Ample natural and daylight-balanced lighting
- Pegboards or open shelving for supplies
- Washable flooring (like vinyl or a drop cloth)
- Comfortable, ergonomic seating
How to make it
- Identify the room in your house with the most consistent natural light (usually north-facing) to ensure your colors look accurate throughout the day.
- Install ‘daylight’ LED bulbs in your overhead fixtures to supplement the sun, focusing on high CRI (Color Rendering Index) ratings so you can work into the night without color distortion.
- Organize your supplies using open shelving or clear bins; seeing your materials is half the battle in staying inspired, so keep paints, brushes, and papers within arm’s reach.
- Designate a ‘wet zone’ for messy work with a sturdy table covered in a silicone mat, and a ‘dry zone’ for planning, sketching, or digital work to keep your finished pieces safe.
- Add a gallery wall using a simple wire and clip system to hang your current works-in-progress; this allows you to step back and view your progress from a distance, which is a key artistic technique.
How to Master Pantry Organization for a Tidy Kitchen

Why we love this
There is a profound sense of peace that comes from opening a pantry door to see everything perfectly in its place. We love the satisfying ‘click’ of an airtight lid and the uniform beauty of glass jars filled with colorful grains, pastas, and spices. It turns a chore into a joy, where the scent of cinnamon and roasted coffee lingers in a space that feels like a boutique market. It’s not just about aesthetics; it’s about the efficiency and calm it brings to the morning rush, making every meal prep feel like a graceful, organized dance.
Essential Elements:
- Uniform glass or BPA-free plastic canisters
- Custom labels or a label maker
- Tiered risers for canned goods
- Woven baskets for bulky items
- Over-the-door rack for extra storage
How to make it
- Empty your entire pantry and discard any expired items; wipe down the shelves thoroughly with a vinegar solution to ensure a fresh, clean start.
- Group like items together: baking supplies in one area, snacks in another, and breakfast items in a third—this is the foundation of ‘zone’ organization.
- Decant dry goods like flour, sugar, and cereal into your uniform canisters; this not only looks viral-worthy but keeps food fresher for much longer by removing cardboard packaging.
- Use tiered risers for your cans and jars so you can see every label at a glance, preventing you from buying duplicates of things you already have buried in the back.
- Place heavier, bulkier items like gallon oils or soda packs in baskets on the bottom shelf, and use the over-the-door rack for small items like spice packets or tea boxes.
- Apply your labels at the same height on every jar for a clean, linear look that satisfies the eye and makes it easy for the whole family to put things back where they belong.
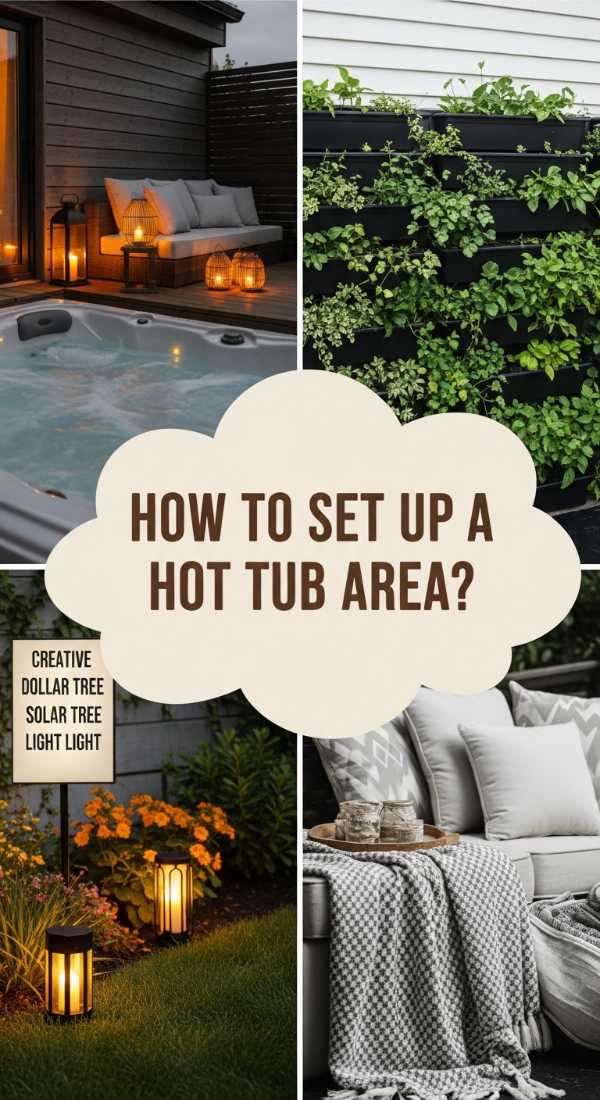
How to Set Up a Hot Tub Area for Ultimate Privacy
Why we love this
Creating a private hot tub area is like building a portal to a world of relaxation right in your backyard. We love the contrast of the crisp night air against the rising steam, and the way the soft glow of fairy lights reflects off the bubbling water. Surrounded by tall grasses or cedar screens, the space feels intimate and secluded, where the only sounds are the gentle hum of the jets and the rustle of leaves. It’s the ultimate sensory reward after a long day, providing a warm, watery cocoon that melts away stress and rejuvenates the spirit.
Essential Elements:
- Privacy screens or tall potted plants (like bamboo)
- Weatherproof outdoor rug
- Subtle LED string lights or solar lanterns
- Side table for towels and drinks
- Aromatherapy salts (safe for hot tubs)
How to make it
- Ensure your hot tub is placed on a reinforced, level surface (concrete pad or heavy-duty deck) that can support the weight of the water and the occupants.
- Position your privacy screens around the tub; if using plants, choose evergreen varieties or tall grasses that provide year-round coverage and a natural, ‘spa’ feeling.
- Lay a soft, outdoor-rated rug from the door to the tub to provide a comfortable, non-slip path for bare feet and to keep debris out of the water.
- Hang string lights overhead or wrap them around the privacy screens, using warm-toned bulbs to create a relaxing ambiance rather than harsh, bright light.
- Place a small, waterproof table within arm’s reach of the tub for essentials like dry towels, water bottles, or a book, ensuring you never have to leave the warmth once you’re in.
- Install a simple towel rack or hooks nearby so your robes and towels stay dry and off the ground while you soak.
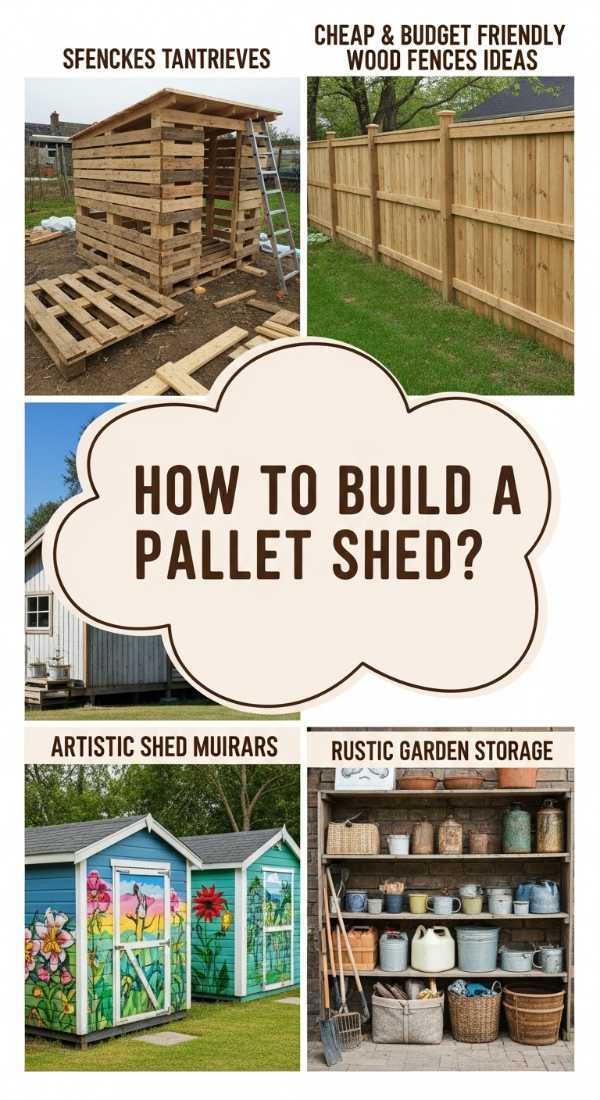
How to Build a Garden Shed Using Reclaimed Pallets
Why we love this
Building something from reclaimed materials is incredibly rewarding, giving ‘waste’ a beautiful new life with a rustic, storied charm. We love the weathered texture of the pallet wood, each board carrying its own history of knots and grain patterns, and the earthy, woody scent of a workshop. It’s a project that feels grounded and sustainable, providing a sturdy, functional space for your tools while adding a touch of farmhouse-chic aesthetic to your garden that looks like it was pulled straight from a viral DIY reel.
Essential Elements:
- 15-20 heat-treated (HT) wood pallets
- Heavy-duty pry bar and hammer
- Framing nails and wood screws
- Corrugated metal or asphalt shingles for the roof
- Plywood for the floor and door
How to make it
- Source pallets marked ‘HT’ (Heat Treated) to ensure they are safe and haven’t been chemically treated; dismantle half of them using a pry bar to get individual planks for siding.
- Build a level foundation using concrete blocks or a gravel bed, then create the floor frame using 2x4s and top it with thick exterior-grade plywood.
- Use the strongest, most intact pallets as the wall frames, screwing them together and to the floor to create a ‘skeleton’ for your shed.
- Nail your dismantled pallet planks onto the wall frames in a ‘lap’ style (overlapping slightly) to ensure rain runs off the sides and the interior stays dry.
- Construct a simple shed roof by angling the top of the walls and attaching a plywood sheet, then finish it with corrugated metal for that classic, durable rustic look.
- Sand down any rough edges on the exterior and apply a clear wood sealer or a colorful stain to protect the reclaimed wood from the elements.
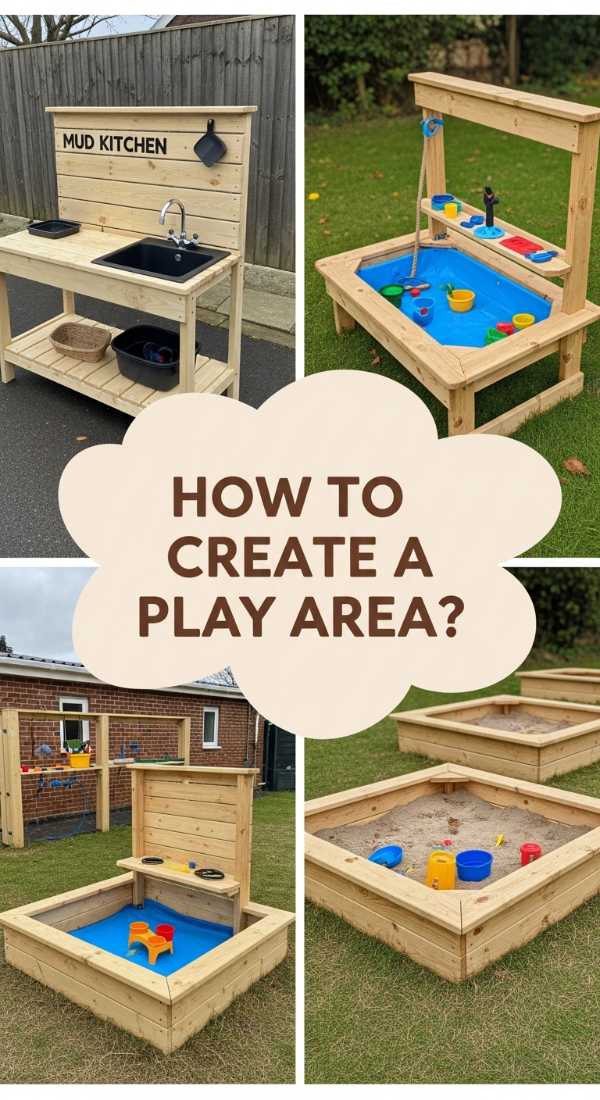
How to Create an Outdoor Play Area for Kids
Why we love this
An outdoor play area is a theater for the imagination, where the sounds of laughter and the sight of bright, bold colors bring the garden to life. We love the soft, springy feel of cedar mulch underfoot and the way a simple chalkboard or sandpit can spark hours of creative exploration. It’s a space designed for joy, where the fresh air and the freedom to get a little messy create the most precious childhood memories, all while fitting seamlessly into your garden’s design with natural materials and clever placement.
Essential Elements:
- Play-grade cedar mulch or rubber tiles
- Timber borders for containment
- Weatherproof chalkboard or mud kitchen
- Shade sail or umbrella
- Storage bins for outdoor toys
How to make it
- Select a spot in the yard that is visible from the house but far enough away to keep the ‘chaos’ contained; ensure the area has a mix of sun and natural shade.
- Level the ground and install timber borders (secured with rebar) to create a defined ‘pit’ that will hold your safety surfacing and prevent it from spreading.
- Fill the bordered area with at least 4-6 inches of play-grade mulch to provide a soft landing for any tumbles or jumps.
- Install a large, weatherproof chalkboard on a fence or wall; use ‘chalkboard paint’ on a piece of exterior plywood for a budget-friendly custom size.
- Add a ‘mud kitchen’ made from an old potting bench or pallets, equipped with stainless steel bowls and spoons for sensory play that is easy to hose down.
- Set up a dedicated toy bin with a lid to encourage kids to clean up after playtime, keeping your viral garden looking tidy and beautiful even with little ones around.
Conclusion: Your Dream Home is Within Reach
Transforming your home doesn’t require a professional team or a bottomless wallet. It requires the vision to see what’s possible and the willingness to get your hands a little dirty. Whether you start with a single flower bed or tackle the ultimate pallet shed, each project brings you one step closer to a space that truly reflects who you are. Remember, the ‘viral’ secret isn’t perfection—it’s the personality and care you pour into every corner. Happy DIYing!
Frequently Asked Questions
- How do I know which pallets are safe for DIY projects?
- Always look for the ‘HT’ stamp on the side of the pallet, which stands for Heat Treated. Avoid pallets marked with ‘MB,’ which indicates they were treated with Methyl Bromide, a harmful pesticide.
- What is the best way to maintain a rock garden?
- Use a leaf blower to remove debris from between the rocks and occasionally hose them down to keep them looking bright. If weeds appear, use a concentrated vinegar spray for a pet-safe removal method.
- Can I use regular indoor paint for my outdoor trellis?
- It’s best to use paint or stain specifically labeled for ‘Exterior’ use. These formulas contain UV inhibitors and fungicides that prevent fading, peeling, and rot in outdoor conditions.
- How do I keep my pantry organization from falling apart?
- The key is labeling! When everything has a clearly marked home, family members are much more likely to return items to their proper places, maintaining the system long-term.