
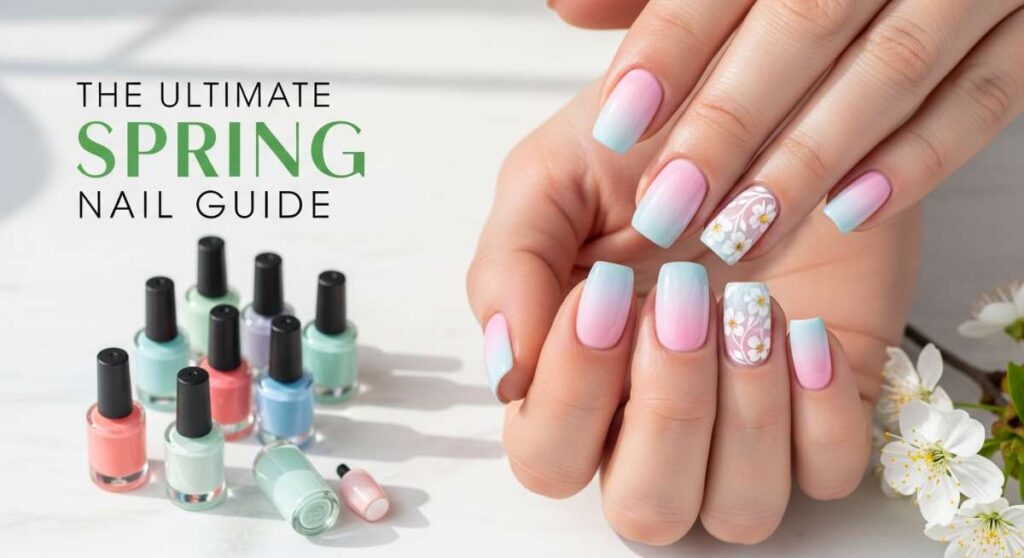
The Ultimate Spring Nail Guide: Pastels, Florals, and Beyond
Hello, my loves! As the frost finally melts away and the first tiny green buds start peeking through the soil, I can feel my spirit beginning to bloom right along with the flowers. There is something so incredibly healing about the transition into spring, isn’t there? It’s a time for shedding the heavy layers of winter and embracing a lightness that feels like a cloud-soft embrace for the soul. I’ve been spending my mornings sipping lavender tea and dreaming of all the ways we can bring that fresh, airy energy into our self-care routines.
Today, I want to sit down with you—like we’re sharing a cozy blanket on a sun-drenched porch—and talk about the ultimate way to celebrate this renewal: our nails! Your hands do so much beautiful work in this world, and they deserve to be adorned in colors that reflect the joy of the season. Whether you’re a fan of the softest butter yellows or the dreamiest florals, this guide is my heart-to-heart gift to you. Let’s dive into a world of color and light together.
Prepare your butter yellow nails in 4 steps

Why to love this Design:
Oh, my loves, butter yellow is the absolute moment right now. It’s like wearing a little slice of sunshine on your fingertips without it being too loud or overwhelming. This shade is soft, creamy, and feels incredibly sophisticated yet playful—perfect for those days when you just want to feel a bit more cheerful every time you look down at your keyboard.
Essential Elements:
- A high-quality base coat
- Creamy butter yellow polish
- Fine-grit nail buffer
- Nourishing cuticle oil
How to Prepare:
- Gently push back your cuticles and buff the nail surface to create a smooth canvas.
- Apply a thin, even layer of base coat to prevent staining.
- Shape your nails into a soft almond or square-round for that modern look.
- Cleanse the nail plate with alcohol to remove any lingering oils.
Budget Range
- Essie ‘Hay There’ – $10.00
- Sally Hansen Cuticle Rehab – $8.00
- Basic Buffer Block – $2.00
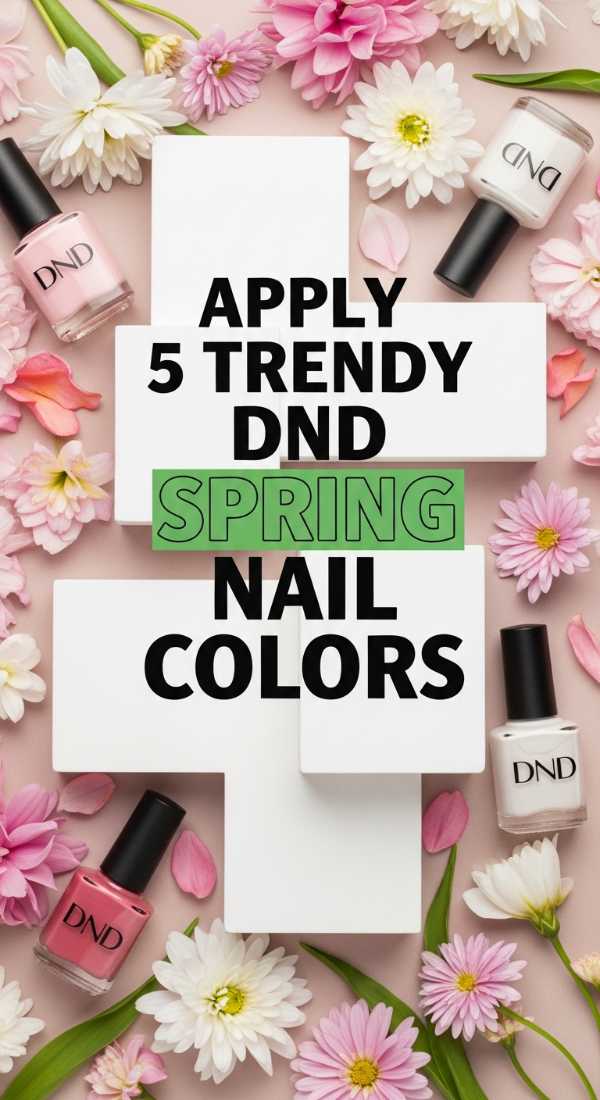
Apply 5 trendy dnd spring nail colors
Why to love this Design:
If you haven’t dived into the world of DnD gel polishes yet, you are in for such a treat. These colors are specifically curated to give you that high-end salon finish at home. They have this magical way of making your hands look instantly polished and expensive, with a pigment payoff that is simply unmatched.
Essential Elements:
- DnD Gel Polish Set
- UV/LED Lamp
- Lint-free wipes
- Gel top coat
How to Prepare:
- Select your five favorite spring shades (think soft mint, lavender, and peach).
- Apply one thin coat of your chosen DnD color to each nail.
- Cure under the LED lamp for 60 seconds.
- Repeat for a second coat to achieve full opacity and depth.
Budget Range
- DnD Duo Set (Gel & Lacquer) – $13.50
- SunUV LED Lamp – $25.00
- Professional Gel Brushes – $12.00
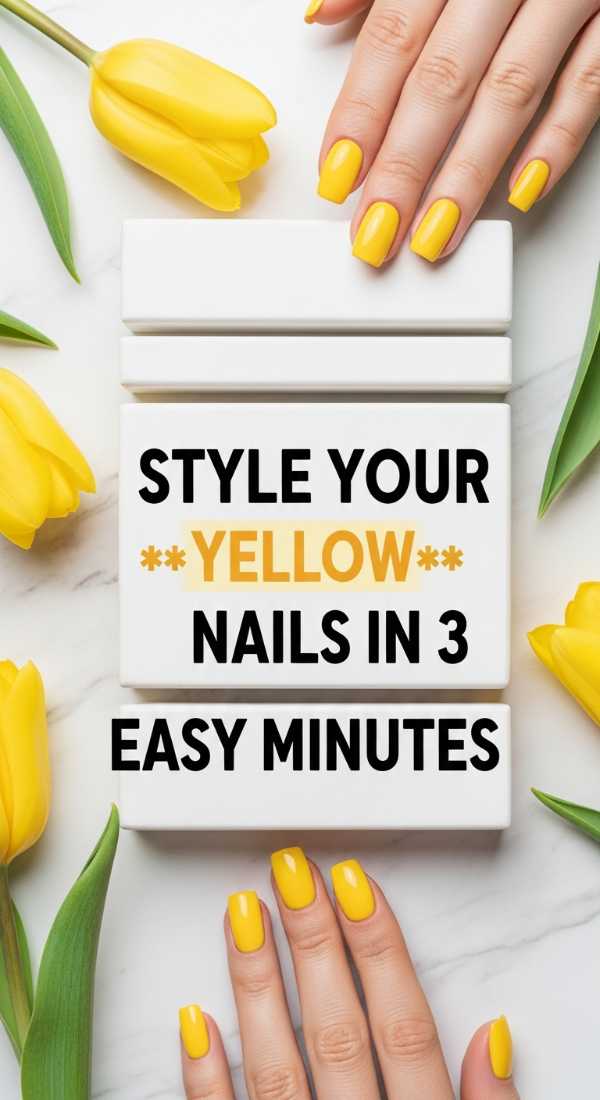
Style your yellow nails in 3 easy minutes
Why to love this Design:
Sometimes we are in a rush, my loves, but that doesn’t mean we have to sacrifice our aesthetic. Styling your yellow nails is all about the accessories and the mindset. It takes a simple manicure and turns it into a full ‘look’ that feels intentional and beautifully curated for a spring brunch or a walk in the park.
Essential Elements:
- Gold stackable rings
- Lightweight floral moisturizer
- A sheer shimmer topcoat
How to Prepare:
- Apply a quick-dry shimmer topcoat over your yellow base for an instant glow-up.
- Stack thin gold bands on your ring and middle fingers to complement the warm yellow tones.
- Massage a small drop of scented lotion into your hands to give them a healthy, dewy sheen.
Budget Range
- Target Gold Ring Set – $15.00
- OPI Top Coat – $11.00
- Hand Cream – $5.00
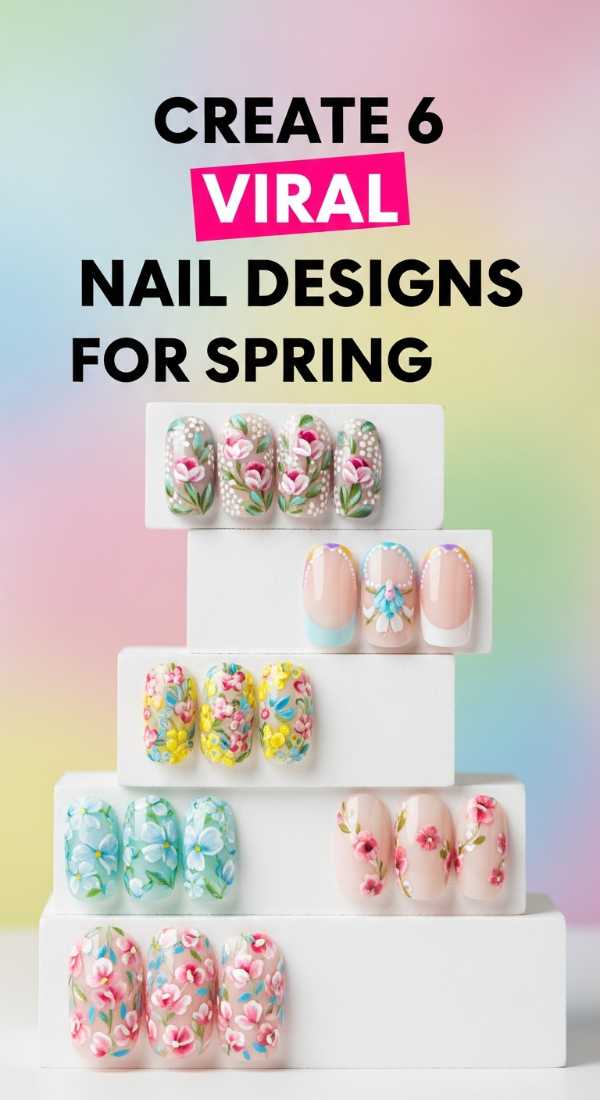
Create 6 viral nail designs for spring
Why to love this Design:
We see these designs all over our feeds for a reason—they spark joy! From tiny hand-painted daisies to the ‘glazed donut’ chrome finish, these designs are about expressing your inner artist. They are conversation starters and little pieces of wearable art that tell the world you’re ready for a fresh start.
Essential Elements:
- Dotting tools
- Chrome powder
- Fine detail brushes
- Spring-themed stickers
How to Prepare:
- Start with a clean, neutral base color like a sheer pink or milky white.
- Use your dotting tool to create simple floral patterns or French tips.
- Apply chrome powder using a sponge applicator for that viral iridescent glow.
- Seal everything with a thick, glossy topcoat to protect your art.
Budget Range
- Nail Art Brushes Set – $9.00
- Holographic Chrome Powder – $12.00
- Floral Nail Decals – $6.00
Paint your spring nails solid color in 2 steps
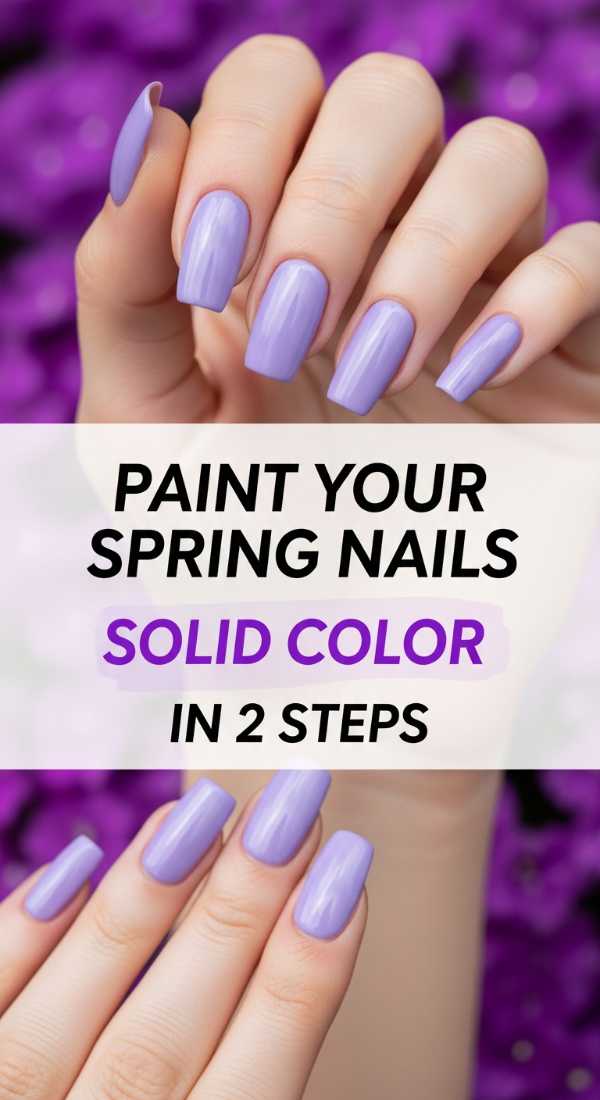
Why to love this Design:
There is a profound beauty in simplicity. A solid, well-applied color is the ‘clean girl’ aesthetic of the nail world. It’s calming, it’s neat, and it allows the natural beauty of your hands to shine through without any distractions. It’s the ultimate choice for the busy soul who loves a minimalist vibe.
Essential Elements:
- One high-pigment spring shade
- Long-wear top coat
How to Prepare:
- Swipe on one smooth, continuous coat of your favorite solid pastel.
- Wait two minutes, then apply a second coat followed immediately by a quick-dry top coat.
Budget Range
- Zoya Professional Lacquer – $12.00
- Seche Vite Dry Fast Top Coat – $9.50
Get 4 edgy spring nails today
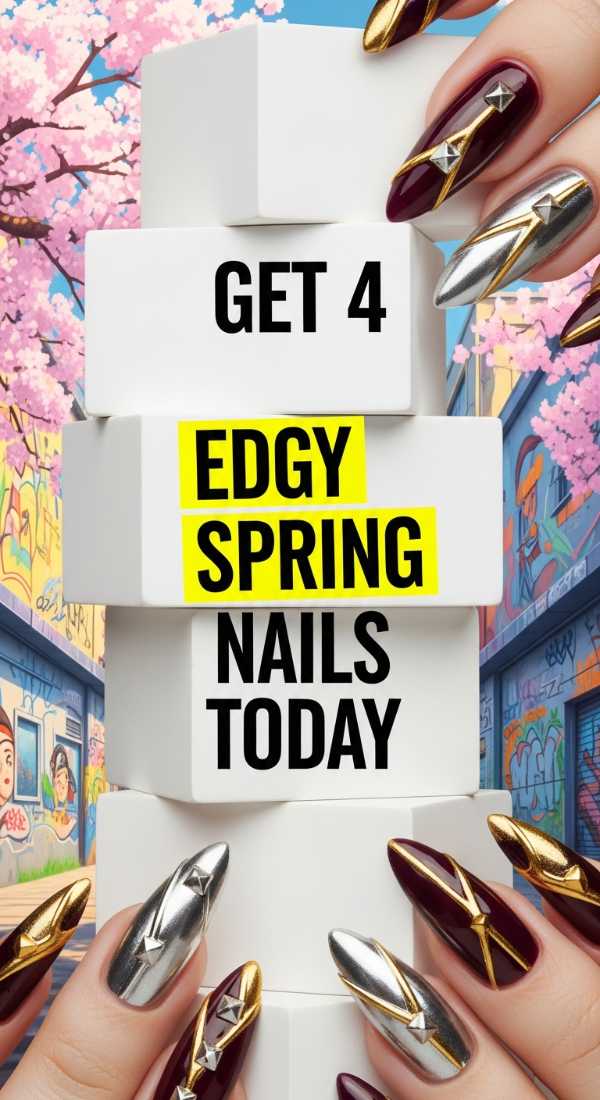
Why to love this Design:
Who says spring has to be all soft pinks and lace? If you have a bit of a rebellious spirit, edgy spring nails are for you. We’re talking cool-toned lilacs, muted sage greens, and maybe even a touch of negative space. It’s for the woman who loves the flowers but isn’t afraid of the thorns.
Essential Elements:
- Matte top coat
- Deep sage or slate blue polish
- Striping tape
How to Prepare:
- Apply your base color and let it dry completely.
- Use striping tape to create sharp, geometric lines or ‘V’ shapes at the base of the nail.
- Fill in the gaps with a contrasting cool tone.
- Finish with a matte top coat for that edgy, modern texture.
Budget Range
- Essie Matte About You – $10.00
- Nail Striping Tape – $4.00
- Orly Sage Polish – $11.00
Finish your butter yellow nails in 5 easy steps
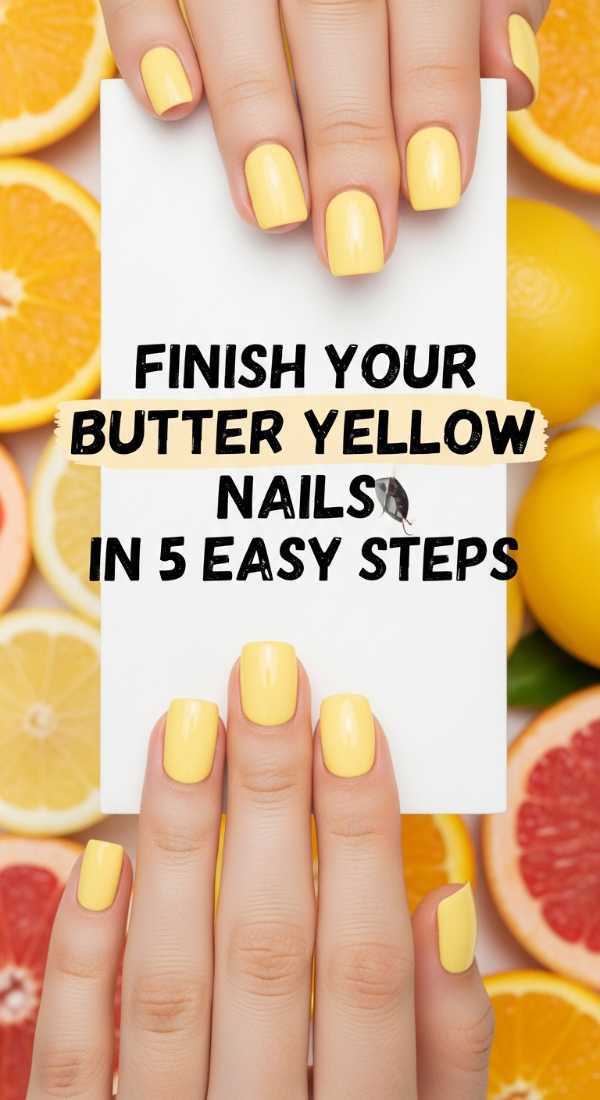
Why to love this Design:
The finish is what takes a manicure from ‘I did this at home’ to ‘I just left the best salon in the city.’ A perfect finish ensures your butter yellow nails don’t look streaky—which yellow is notorious for! It’s all about that glass-like shine and the longevity that keeps you smiling all week long.
Essential Elements:
- Plumping top coat
- Nail dryer spray
- Clean-up brush
- Acetone
How to Prepare:
- Use a small brush dipped in acetone to clean up any polish on the cuticles.
- Apply a generous layer of plumping top coat to hide any imperfections.
- Use a nail dryer spray to set the polish instantly.
- Moisturize the skin around the nail with a heavy balm.
- Buff the edges one last time for a snag-free finish.
Budget Range
- Olive & June Clean Up Brush – $8.00
- Holo Taco Glossy Taco – $11.00
- Nail Polish Solvent – $5.00
Master 3 dnd spring nail colors for beginners
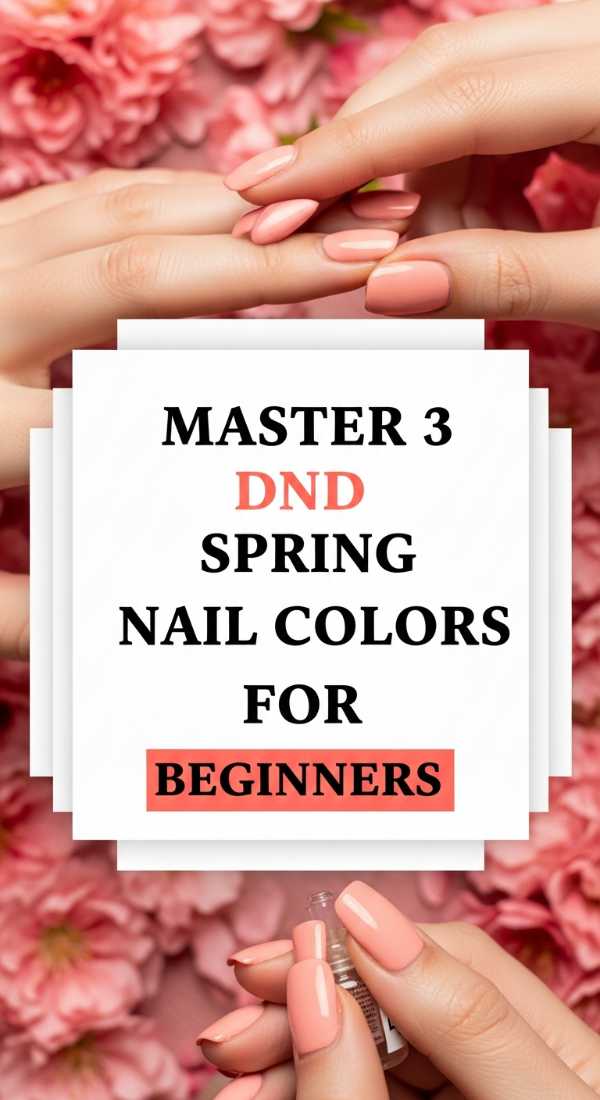
Why to love this Design:
If you’re just starting your gel journey, these three specific DnD shades are your best friends. They are incredibly forgiving, apply like butter, and the colors are so classic they will never go out of style. It’s the perfect way to build your confidence and realize that yes, you can do this!
Essential Elements:
- DnD ‘Soft Peach’
- DnD ‘Lavender Mist’
- DnD ‘Baby Blue’
How to Prepare:
- Prep the nail by lightly removing the shine with a buffer.
- Apply the gel in very thin layers—this is the secret to avoiding peeling!
- Cure for the full recommended time; don’t rush the magic.
Budget Range
- DnD Beginner Trio – $35.00
- Basic Mani Kit – $10.00
Design 7 aesthetic nail designs for spring

Why to love this Design:
Aesthetic nails are all about the ‘vibe.’ Think ethereal, dreamy, and slightly whimsical. These designs often incorporate soft gradients or tiny pearls that catch the light. It’s like wearing a dream on your hands, reminding you to stay soft and hopeful as the world wakes up around you.
Essential Elements:
- Mini nail pearls
- Sponge for gradients
- Sheer iridescent polish
How to Prepare:
- Sponge a light pink and lavender together on the tip of the nail for an ombre effect.
- Apply a sheer iridescent coat over the top to blend the colors.
- Place one tiny pearl at the base of your accent nail.
- Seal with a thick gel-style top coat.
Budget Range
- Nail Pearls Set – $7.00
- Makeup Sponges – $3.00
- Pearl Polish – $9.00
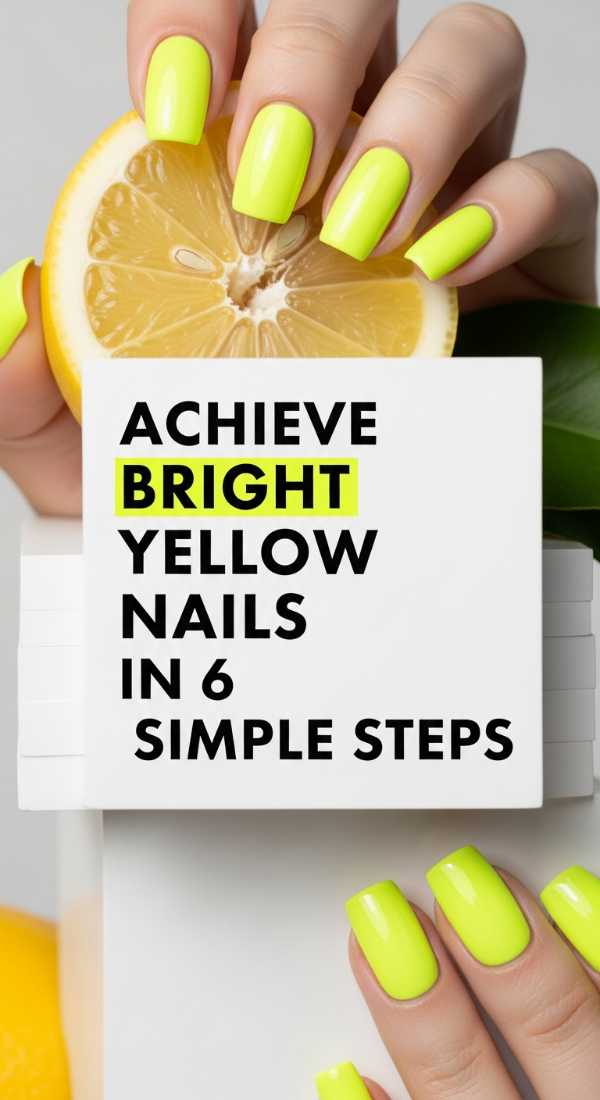
Achieve bright yellow nails in 6 simple steps
Why to love this Design:
Sometimes, we just need a pop of energy! Bright yellow is the ultimate dopamine manicure. It’s bold, it’s fearless, and it screams confidence. It’s the perfect shade for when you’re ready to take on a new project or simply want to be the brightest light in the room.
Essential Elements:
- White base polish (as a primer)
- Neon or bright yellow polish
- High-gloss top coat
How to Prepare:
- Start with a coat of white polish—this makes the yellow ‘pop’ and prevents it from looking sheer.
- Apply two coats of bright yellow.
- Ensure you cap the free edge of the nail to prevent chipping.
- Apply a high-gloss top coat for maximum vibrancy.
- Add a drop of quick-dry oil.
- Step into the sun and admire!
Budget Range
- OPI ‘Exotic Birds Do Not Tweet’ – $11.50
- White Polish Base – $8.00
Embrace Your Spring Glow
My loves, I hope this guide makes you feel inspired to take a little moment for yourself this week. Whether you choose a soft butter yellow or an edgy sage green, remember that the act of painting your nails is an act of love for yourself. It’s a way to slow down, breathe, and appreciate the beauty in the small things. You are blooming beautifully, just like the world around you. Please share your creations with me—I can’t wait to see how you shine! Until next time, stay soft and keep glowing.