
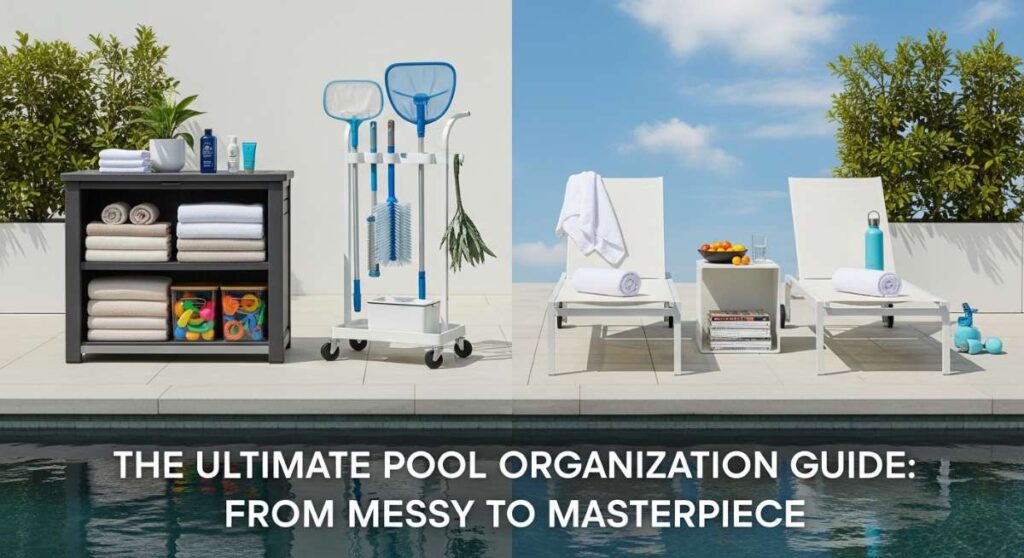
There is nothing quite like the sparkle of sunlight hitting a crystal-clear pool on a Saturday morning, the air thick with the scent of jasmine and sunscreen. But for many of us, that serene vision is quickly interrupted by a mountain of tangled noodles, deflated unicorns, and a trail of soggy towels that seem to multiply when we aren’t looking. We’ve all been there—tripping over a giant inflatable swan while trying to carry a tray of iced tea, feeling like our backyard sanctuary has been taken over by a plastic-heavy chaotic mess.
Transforming your backyard from a cluttered obstacle course into a high-end retreat isn’t just about cleaning up; it’s about reclaiming your peace of mind and creating a space that feels as intentional as a five-star resort. When everything has a designated home, the energy of your outdoor living space shifts from ‘maintenance mode’ to ‘pure relaxation.’ In this guide, I’m sharing the viral secrets to organizing your poolside that will make your neighbors think you’ve hired a professional stylist.
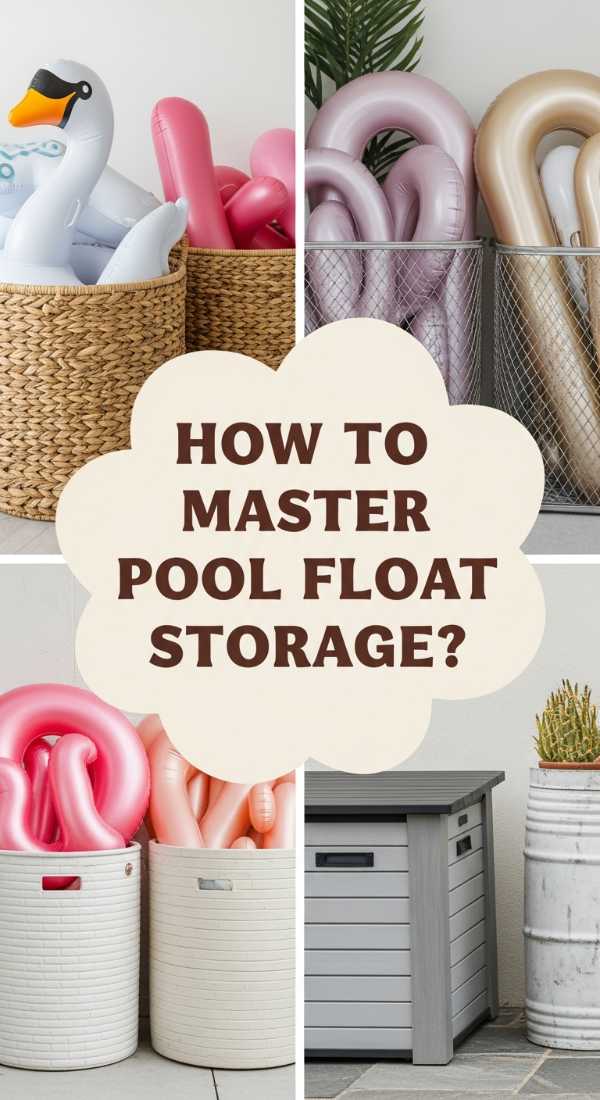
How to Master Pool Float Storage for a Clutter Free Summer
Why we love this
We love this approach because it finally tames those oversized, colorful inflatables that usually end up scattered across the lawn, suffocating the grass and looking messy. Imagine a dedicated, airy zone where your giant flamingos and luxe loungers stand tall and dry, catching the breeze instead of the dirt. The sight of organized, upright floats creates a sense of rhythmic color and order that feels both playful and incredibly sophisticated, allowing the vibrant vinyl textures to become part of the decor rather than an eyesore.
Essential Elements:
- Large mesh storage bin with wheels
- Bungee cords with soft coatings
- A shady, well-ventilated corner near the pool pump
- UV-resistant toy nets
How to make it
- Begin by sorting your floats by size and frequency of use; larger loungers go in first, while small rings and noodles fill the gaps.
- Position your mesh bin in a designated ‘dry zone’ that receives adequate airflow to prevent mildew growth on the vinyl.
- When loading the bin, place the heaviest, thickest floats at the bottom to create a stable base, ensuring they are fully dry before stacking.
- Use the bungee cords to wrap around the exterior of the bin or between upright posts to create ‘shelving’ that prevents smaller items from falling through.
- Check the air pressure in your floats weekly; slightly deflating them (about 10%) allows them to fit more snugly in storage without stressing the seams.
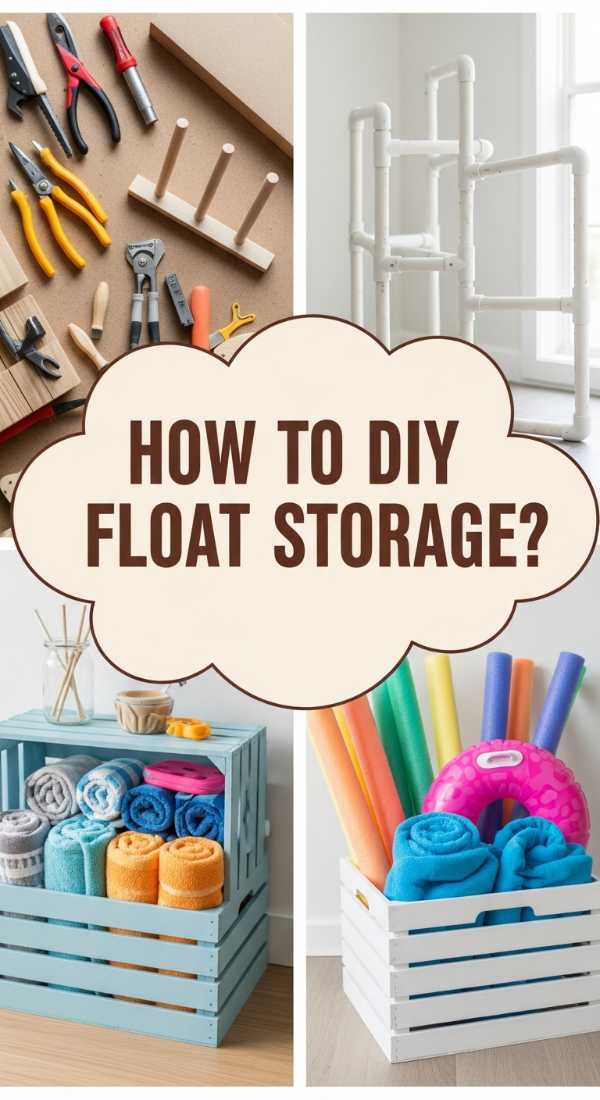
How to Build Your Own Pool Float Storage for Custom Backyard Bliss
Why we love this
There is a unique satisfaction in running your hand along the smooth, cool surface of a custom-built PVC or cedar float rack that fits your specific space like a glove. This DIY project transforms industrial materials into a functional masterpiece, smelling faintly of sawdust and outdoor sealant. It provides a structured, architectural element to your poolside that screams ‘custom luxury,’ keeping your most whimsical floats upright and ready for action without them ever touching the ground.
Essential Elements:
- 1.5-inch furniture-grade PVC pipes or pressure-treated cedar 2x4s
- Heavy-duty PVC cement or exterior-grade wood screws
- Caster wheels with locking mechanisms
- High-gloss outdoor paint or waterproof wood stain
How to make it
- Measure your largest float to determine the width of your bays; typically, a 24-inch gap between vertical bars is the ‘sweet spot’ for most loungers.
- Cut your materials to length using a miter saw for clean, 90-degree angles, ensuring all pieces are uniform to maintain structural integrity.
- Assemble the rectangular base frame first, attaching the locking casters to the four corners so the unit can be moved easily for deck cleaning.
- Insert vertical uprights into the base every 20-24 inches, securing them with PVC cement or wood screws and checking for plumb with a spirit level.
- Apply a high-quality outdoor finish—either a crisp white gloss for a coastal look or a dark wood stain for a modern aesthetic—and let it cure for 48 hours before use.
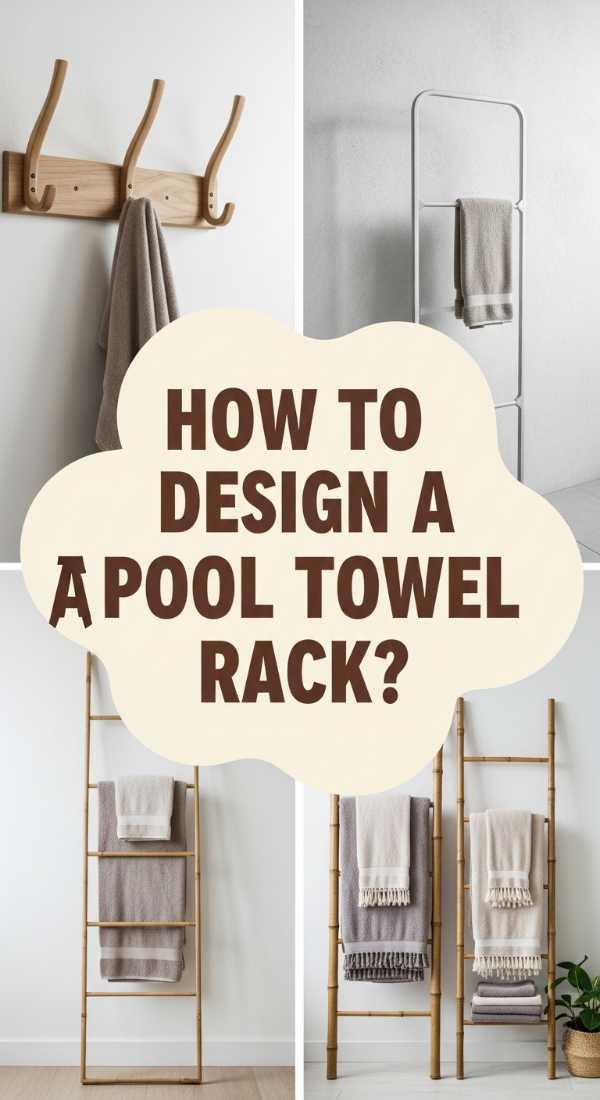
How to Design a Chic Pool Towel Rack for Ultimate Guest Comfort
Why we love this
This setup is the epitome of thoughtful hospitality, offering guests a warm, dry towel exactly when they need it most. We love the tactile experience of reaching for a plush, sun-warmed towel hanging from a sturdy, elegant hook rather than digging through a soggy pile. The visual of a row of matching towels neatly aligned against a wood fence or stone wall adds a rhythmic, textured beauty to your patio that mimics the curated feel of a boutique hotel spa.
Essential Elements:
- Over-the-door or wall-mounted heavy-duty brass hooks
- A reclaimed wood backboard or a sleek metal rail
- Outdoor-rated mounting hardware
- Decorative name tags or color-coded clips
How to make it
- Select a location that is at least five feet away from the splash zone but close enough for guests to reach without walking across hot pavement.
- If using a wood backboard, sand it down to a buttery smooth finish and apply a waterproof sealant to prevent warping from damp towels.
- Space your hooks at least 10 inches apart to allow for maximum airflow between hanging towels, which ensures they dry quickly in the sun.
- Mount the rack at a height of 60 inches—this prevents extra-long beach towels from dragging on the ground and catching debris.
- Install a small ‘drip tray’ or a bed of river rocks beneath the rack to catch any falling water, keeping your deck dry and slip-free.
How to Elevate Pool Towel Storage for a Five Star Resort Vibe
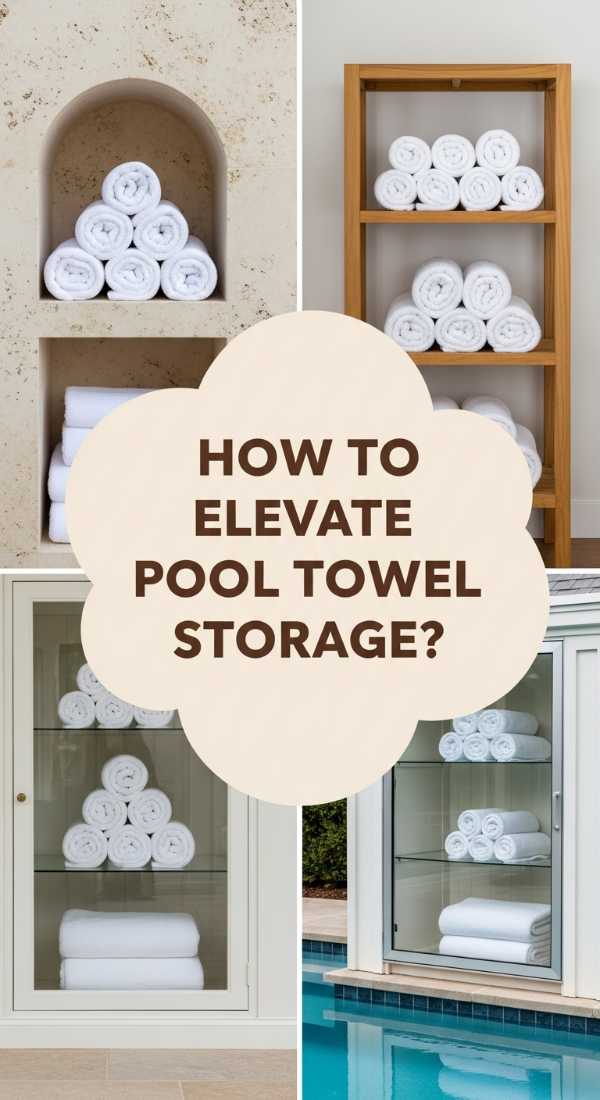
Why we love this
This is all about the ‘wow’ factor that greets you as you step outside—a mountain of perfectly rolled, crisp white towels that look almost too good to touch. It’s the scent of fresh linen mixed with a hint of poolside eucalyptus that really elevates the senses. This storage method turns a basic necessity into a decorative focal point, making every swim feel like a high-end spa treatment and ensuring that your backyard is always ‘camera ready’ for the ‘gram.
Essential Elements:
- Woven seagrass or synthetic wicker baskets
- A multi-tiered wooden ladder or open shelving unit
- Fabric refresher spray (eucalyptus or citrus scent)
- Uniform, high-GSM Turkish cotton towels
How to make it
- Fold each towel in half lengthwise, then roll it tightly from one end to the other to create a uniform ‘burrito’ shape that resists unravelling.
- Arrange the towels in your baskets with the ‘seam’ side down to create a clean, seamless visual appearance across the top layer.
- Place your tiered shelving unit in a covered area of the patio to protect the towels from direct rain while still keeping them accessible.
- Lightly mist the towels with a DIY fabric spray (distilled water and a few drops of essential oil) to provide an immediate sensory upgrade.
- Rotate the towels from the bottom of the stack to the top every few days to ensure they all stay fresh and don’t develop a ‘storage’ scent.
How to Simplify Pool Organization for Stress Free Sunny Days
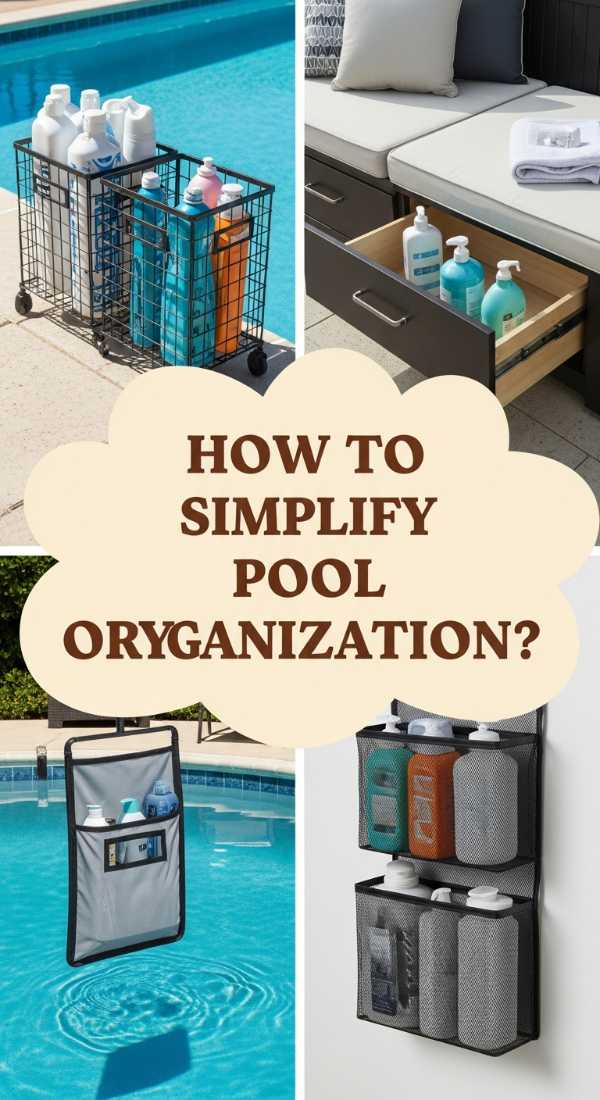
Why we love this
Simplicity is the ultimate sophistication, and this method focuses on reducing ‘visual noise’ so you can actually focus on the water. We love how a simplified system uses ‘zones’ to dictate where things go, meaning you spend less time searching for the goggles and more time floating. It creates a breathable, open atmosphere where the natural beauty of your landscaping can shine through without being interrupted by plastic clutter and mismatched bins.
Essential Elements:
- Identical weather-proof storage bins with lids
- Discreet, waterproof labels
- A dedicated ‘goggle and sunscreen’ station
- A minimalist ‘returns’ basket for items that don’t belong outside
How to make it
- Conduct a ‘pool purge’ at the start of the season, discarding any broken toys or leaking bottles to reduce the volume of items you need to store.
- Designate specific bins for different categories: ‘Active Toys,’ ‘Maintenance Tools,’ and ‘Sun Protection’ to prevent cross-contamination of items.
- Apply clear, minimalist labels to the front of each bin so even the youngest guests know exactly where to put things back.
- Create a ‘dry station’ on a side table featuring a tray for sunglasses and a basket for sunscreens, keeping oily bottles away from your stone surfaces.
- Implement a ‘five-minute sweep’ at the end of every pool session, using your returns basket to quickly gather anything that needs to go back into the house.
How to Optimize Small Backyard Pool Storage for Maximum Fun
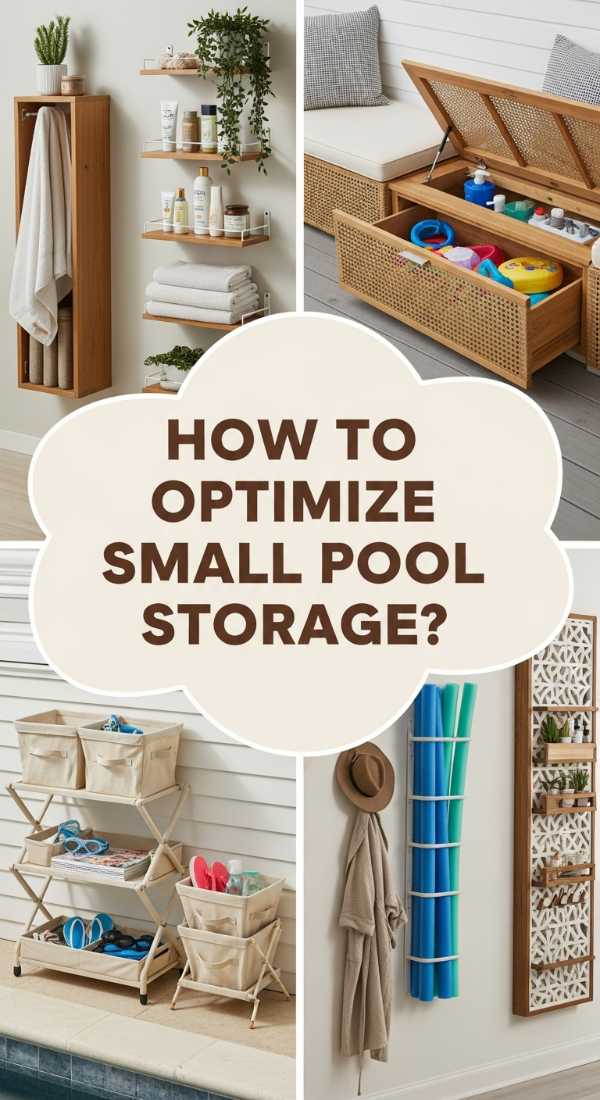
Why we love this
This is the ultimate ‘small space win’ that proves you don’t need a sprawling estate to have a perfectly organized oasis. We love the clever use of vertical space and ‘hidden’ nooks that keep the deck clear for lounging. It’s about the tactile joy of everything having a ‘secret’ home, making a compact backyard feel twice as large and significantly more expensive because the footprint is utilized so intelligently.
Essential Elements:
- Vertical wall-mounted storage grids
- Under-bench storage drawers
- Narrow, tall shelving units
- Magnetic strips for metal pool tools
How to make it
- Identify ‘dead zones’ in your backyard, such as the narrow space behind the pool heater or the area under a deck railing, for hidden storage.
- Install a vertical grid system on a fence or wall to hang nets, brushes, and even small baskets for toys, keeping the floor space completely clear.
- If you have built-in seating, retro-fit the underside with heavy-duty plastic drawers to store pool chemicals or extra towels out of sight.
- Use narrow ‘tower’ shelves that have a footprint of less than 12 inches to store rolled towels or speakers in tight corners.
- Mount a magnetic tool strip to the inside of a cabinet door to hold metal pool thermometers and small maintenance scrapers securely.
How to Create Seamless Pool Storage for a High End Look
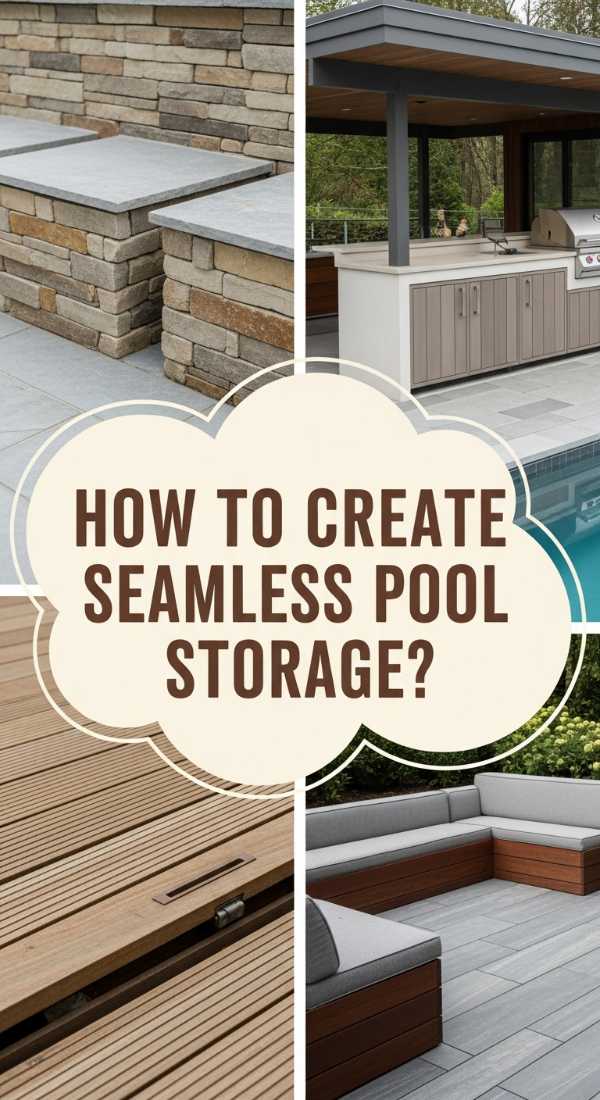
Why we love this
Seamless storage is the ‘quiet luxury’ of pool design, where the storage solutions are built into the architecture itself. We love how this approach creates a clean, uninterrupted horizon line where the eye isn’t snagged by a bright blue bin or a messy pile of gear. It feels like magic—everything you need is right there, tucked into a stone bench or a hidden deck compartment, smelling of warm wood and luxury.
Essential Elements:
- Custom-built deck boxes that match your decking material
- Recessed wall niches in pool cabanas
- Stone-clad storage benches
- Invisible hinges and touch-latch hardware
How to make it
- When planning your deck or patio, integrate storage ‘cells’ directly into the framing so the lids are flush with the floor surface.
- Use the same material for the storage lids as you do for the main deck to ensure the grain and color are perfectly continuous.
- Install gas-strut hinges on heavy stone or wood lids to ensure they open smoothly and stay open safely while you reach inside.
- Line the interior of these built-in compartments with cedar or breathable mesh to allow moisture to escape and prevent wood rot.
- Add soft-close mechanisms to all lids and doors to maintain the serene, quiet atmosphere of a luxury backyard environment.
How to Curate a Functional Pool Area for Perfect Organization
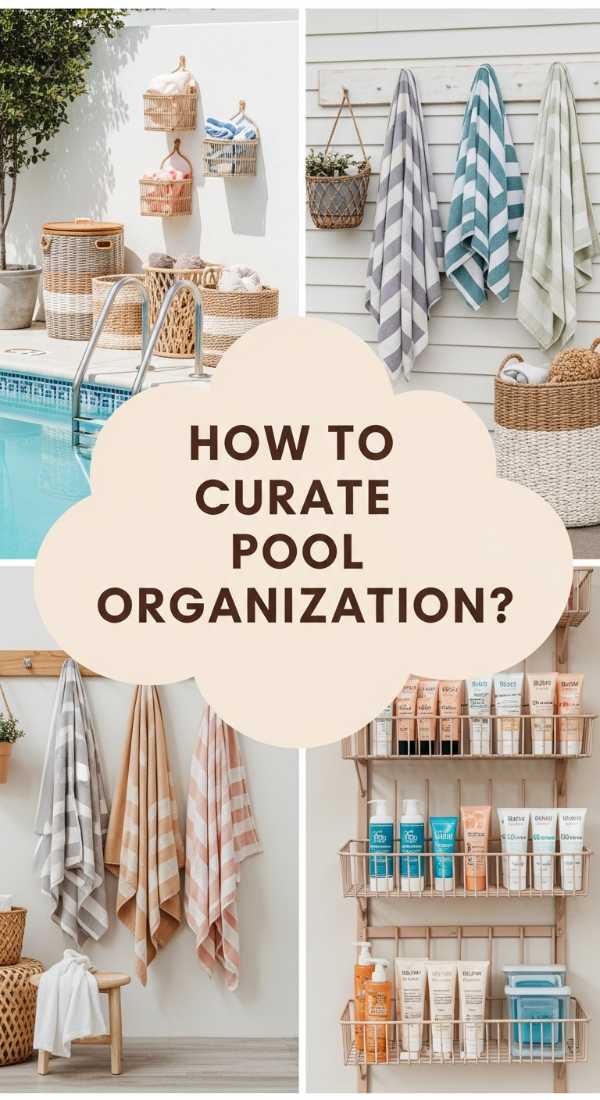
Why we love this
This method focuses on the ‘work-flow’ of a pool day, making everything feel effortless and intuitive. We love the tactile logic of having your ‘wet’ storage separate from your ‘lounging’ storage, which keeps the area around your chairs bone-dry and peaceful. It creates a curated vibe where every item feels hand-picked and placed with purpose, turning your backyard into a masterclass in functional design and aesthetic harmony.
Essential Elements:
- Defined ‘Wet’ and ‘Dry’ zones
- A ‘Sunscreen Bar’ with a tiered tray
- Dual-purpose furniture (storage ottomans)
- All-weather rugs to define functional spaces
How to make it
- Map out your pool deck into three zones: The Splash Zone (active play), The Lounge Zone (relaxation), and The Entry Zone (towels and shoes).
- Place your toy storage and float racks exclusively in the Splash Zone to keep water and clutter contained to one end of the pool.
- Set up a dedicated ‘Sunscreen Bar’ near the entry point, featuring a rotating carousel for different SPF levels and a basket for clean sunglasses.
- Use outdoor ottomans that open up to reveal storage space for extra pillows or outdoor blankets for chilly summer evenings.
- Anchor each zone with an outdoor rug; this visually signals where specific activities take place and helps keep the organization ‘boundaries’ clear.
How to Implement Smart Pool Storage for a Tidy Poolside
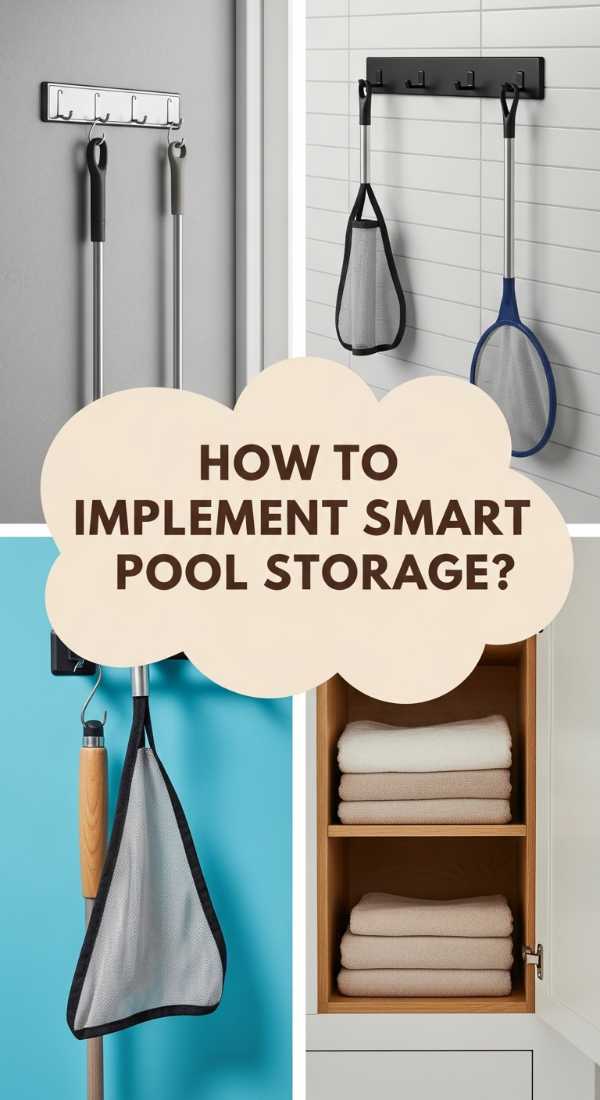
Why we love this
Smart storage is all about leveraging modern materials and tech to make maintenance disappear. We love the feel of high-tech, weather-sealed cabinets that protect your expensive gear from the elements, ensuring that your poolside stays pristine through rain and shine. It’s the ultimate ‘set it and forget it’ system that uses clever engineering to keep your outdoor life organized and your stress levels at an all-time low.
Essential Elements:
- Weather-sealed, UV-resistant storage cabinets
- Solar-powered deck lighting for storage areas
- Remote-controlled storage lids
- Moisture-wicking liners for all bins
How to make it
- Invest in professional-grade outdoor cabinets made from high-density polyethylene (HDPE) which won’t fade, crack, or peel in the sun.
- Install solar-powered LED strip lights inside your storage bins or cabinets so you can easily find toys or towels after the sun goes down.
- Apply a hydrophobic spray to the interior of your storage units to help water bead up and drain away quickly through pre-drilled holes.
- Use ‘smart’ humidity sensors inside large storage boxes that alert your phone if moisture levels get too high, helping you prevent mold growth.
- Organize the interior using adjustable shelving that can be reconfigured as your collection of pool accessories grows over the years.
How to Style Your Pool Towels for Elegant Outdoor Living

Why we love this
Styling is the finishing touch that turns a house into a home, and pool towels are the perfect canvas for texture and color. We love the sophisticated look of ‘fan-folded’ towels or perfectly layered stripes that catch the light and add a pop of personality to your furniture. It’s about the soft, plush feel of a high-quality textile that has been treated with care, making your outdoor living space feel like a curated editorial shoot.
Essential Elements:
- Oversized cabana-striped towels
- Decorative towel clips or weighted rings
- A ‘styling’ tray for extra accessories
- Fabric softener or vinegar rinse for fluffiness
How to make it
- Wash your towels with a half-cup of white vinegar instead of fabric softener to strip away waxy buildup and keep them ultra-absorbent and fluffy.
- Try the ‘Hotel Fold’: Fold the towel in thirds lengthwise, then fold the ends into the middle to create a thick, square shape that sits perfectly on a chair.
- Drape towels over the back of loungers using decorative weighted clips to prevent them from blowing away in a summer breeze.
- Incorporate ‘texture mixing’ by pairing smooth Turkish towels with plush terry cloth versions in a similar color palette for a layered look.
- Change your towel ‘style’ monthly—move from classic stripes in June to vibrant solids in July to keep your poolside aesthetic feeling fresh and inspired.
Conclusion
Organizing your pool area isn’t just about finding a place for the noodles—it’s about creating an environment where you can truly exhale. By implementing these viral storage hacks and styling tips, you’re turning a high-traffic mess into a curated sanctuary that serves your lifestyle. Whether you’re building a custom rack or simply rolling your towels with intention, every small step contributes to a backyard experience that feels effortless, expensive, and perfectly yours. Now, grab a cold drink, pick a freshly styled towel, and enjoy the masterpiece you’ve created!