
The Ultimate Guide to Rocking Extreme 3D Multicolor Nail Masterpieces
Hello, my loves! There is something so magical about looking down at your hands and seeing a literal work of art staring back at you. When life gets a little gray, I truly believe that a splash of vibrant, multi-dimensional color on our fingertips is like a warm, cloud-soft embrace for the soul. It’s not just a manicure; it’s an expression of the beautiful, multi-faceted person you are.
Today, I’m opening up my heart and my vanity drawer to share everything I’ve learned about the world of extreme 3D multicolor nails. Whether you’re a seasoned pro or just starting your journey into the world of artistic expression, I’m here to walk beside you. Let’s dive into this rainbow together, shall we?
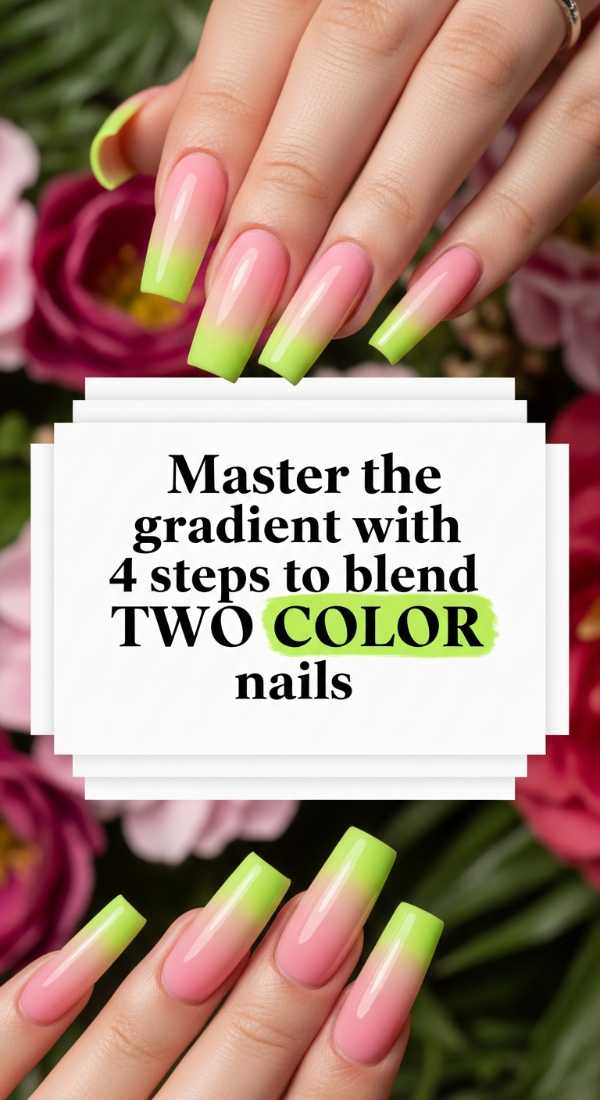
Master the gradient with 4 steps to blend two color nails
Why to love this recipe:
This technique is like watching a sunset unfold on your nails. It’s soft, romantic, and creates a seamless transition that makes even the simplest colors look like high-end luxury.
Essential Ingredients:
- Two contrasting gel polishes
- Latex tape or liquid peel
- A makeup sponge
- High-shine top coat
How to Prepare:
- Apply your base color and let it dry completely.
- Paint parallel stripes of both colors onto your makeup sponge.
- Gently dab the sponge onto the nail, moving it slightly up and down to blur the line.
- Seal the magic with a thick layer of top coat to smooth out the texture.
Budget Range
- Zoya Professional Polish: $12.00
- Wedge Makeup Sponges (50pk): $5.99
- Pueen Latex Tape: $8.99
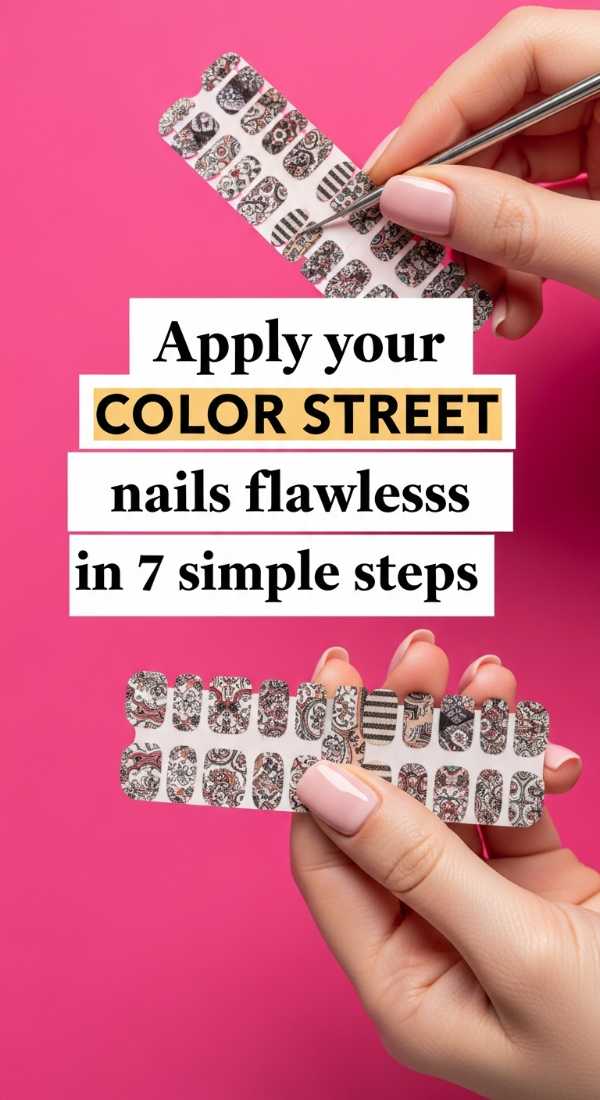
Apply your color street nails flawlessly in 7 simple steps
Why to love this recipe:
For my busy loves who still want that ‘wow’ factor without the salon wait, these are a lifesaver. It’s instant gratification wrapped in a beautiful design!
Essential Ingredients:
- Color Street nail strips
- Alcohol prep pads
- Glass nail file
- Rubber cuticle pusher
How to Prepare:
- Cleanse each nail thoroughly with an alcohol pad to remove oils.
- Select the strip size that best fits each finger.
- Peel the clear plastic cover and the silver tab.
- Align the strip at the cuticle line (don’t overlap the skin!).
- Smooth the strip firmly from the center outward.
- Gently fold the excess over the tip and file downward.
- Avoid water for 30 minutes to let the adhesive set perfectly.
Budget Range
- Color Street Mixed Mani Sets: $13.00 – $16.00
- Bona Fide Glass File: $9.50
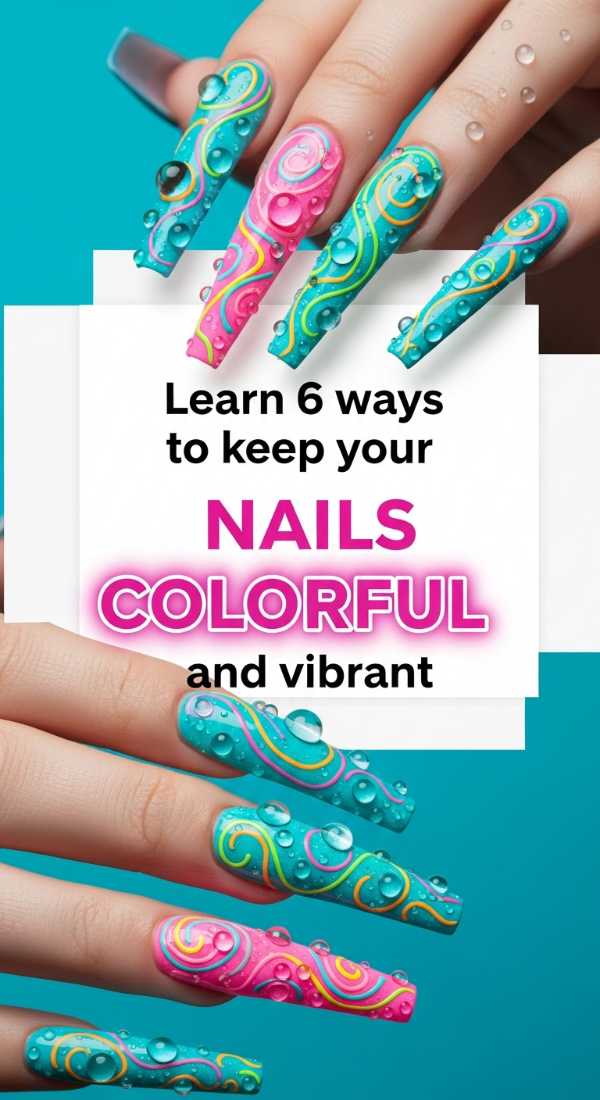
Learn 6 ways to keep your nails colorful and vibrant
Why to love this recipe:
We put so much love into our art; we want it to last! These tips are like a protective shield for your creativity, keeping those colors popping for weeks.
Essential Ingredients:
- UV-protective top coat
- Vitamin E cuticle oil
- Dish gloves
- Non-acetone remover
- Microfiber cloth
- Cold water
How to Prepare:
- Apply a UV-resistant top coat every 3 days to prevent fading.
- Massage cuticle oil daily to keep the acrylic or gel flexible.
- Always wear gloves when cleaning to avoid chemical erosion.
- Rinse hands in cold water after applying lotion to lock in the shine.
- Avoid picking or peeling, which dulls the surface.
- Buff gently with a microfiber cloth to restore luster instantly.
Budget Range
- Seche Vite UV Top Coat: $9.95
- SolarOil Cuticle Care: $12.50
- Reusable Kitchen Gloves: $6.00
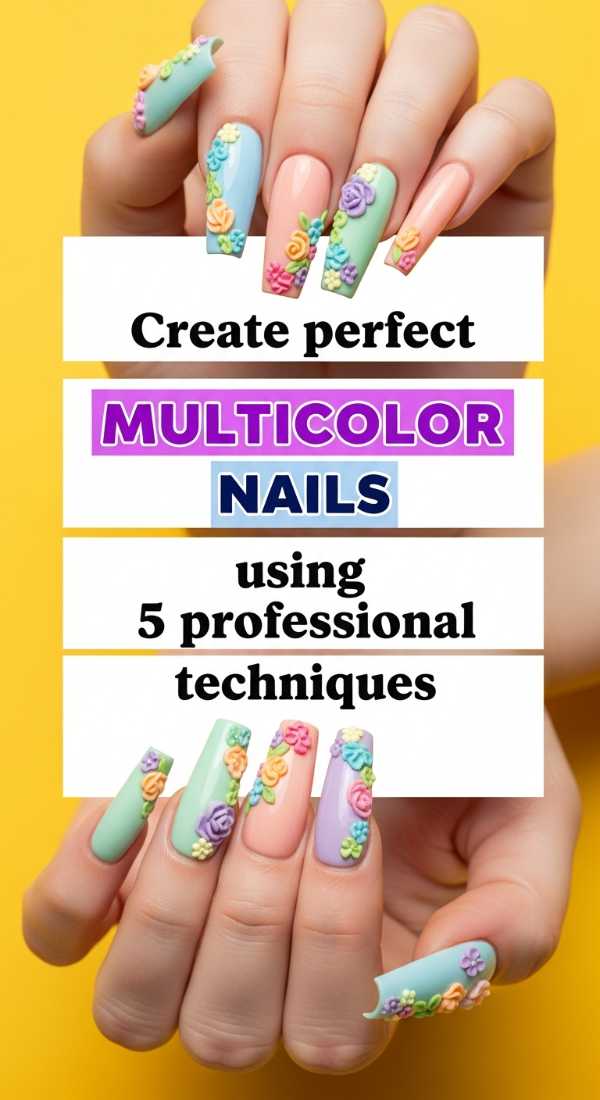
Create perfect multicolor nails using 5 professional techniques
Why to love this recipe:
This is where we get technical but soulful. These methods are the ‘secret sauce’ that professional artists use to get those crisp, high-definition looks.
Essential Ingredients:
- Detailing liner brushes
- Dotting tools
- Alcohol inks
- Stamping plates
- Matte and gloss contrast coats
How to Prepare:
- The Wet-on-Wet Method: Drop colors into wet base for a marble effect.
- Dry Brushing: Use a nearly dry brush for a distressed, edgy look.
- Layering Alcohol Inks: Create watercolor depth over a white base.
- Negative Space: Use tape to leave sections of the natural nail showing.
- Stamping Overlays: Add intricate patterns over your multi-colored base.
Budget Range
- Beetles Nail Art Brush Set: $8.99
- T-Rex Alcohol Ink Starter Pack: $24.00
- What Up Nails Stamping Plate: $7.99
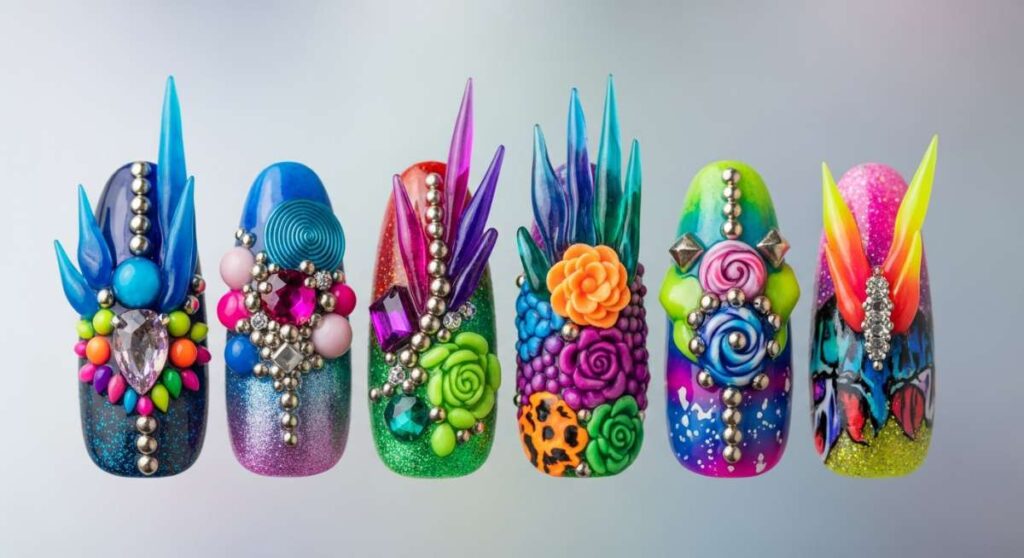
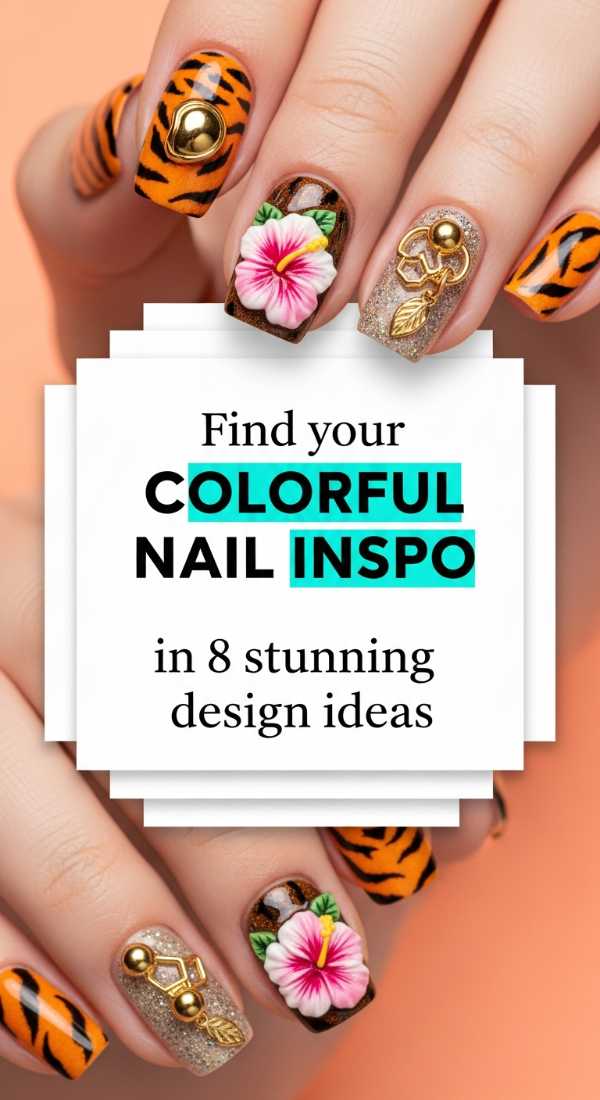
Find your colorful nail inspo in 8 stunning design ideas
Why to love this recipe:
Sometimes our hearts just need a little spark. These eight ideas are the ultimate mood board for your next masterpiece.
Essential Ingredients:
- Neon pigments
- Holographic flakes
- 3D acrylic powder
- Iridescent charms
How to Prepare:
- The Pastel Sunset: Peach, lavender, and soft pink gradients.
- Neon Jungle: Electric green with leopard print accents.
- Holographic Rain: Silver chrome with clear 3D ‘droplets’.
- Candy Swirl: Red and white 3D twisted ‘sugar’ textures.
- Galaxy Deep: Dark blue and purple with hand-painted stars.
- The Floral Garden: 3D sculpted roses on a mint green base.
- Abstract Geode: Layered gold foil and purple amethyst textures.
- The Rainbow Prism: Every finger a different vibrant solid hue.
Budget Range
- Saviland 3D Acrylic Kit: $19.99
- Holographic Nail Flakes: $7.50
- Nail Art Charm Variety Pack: $11.00
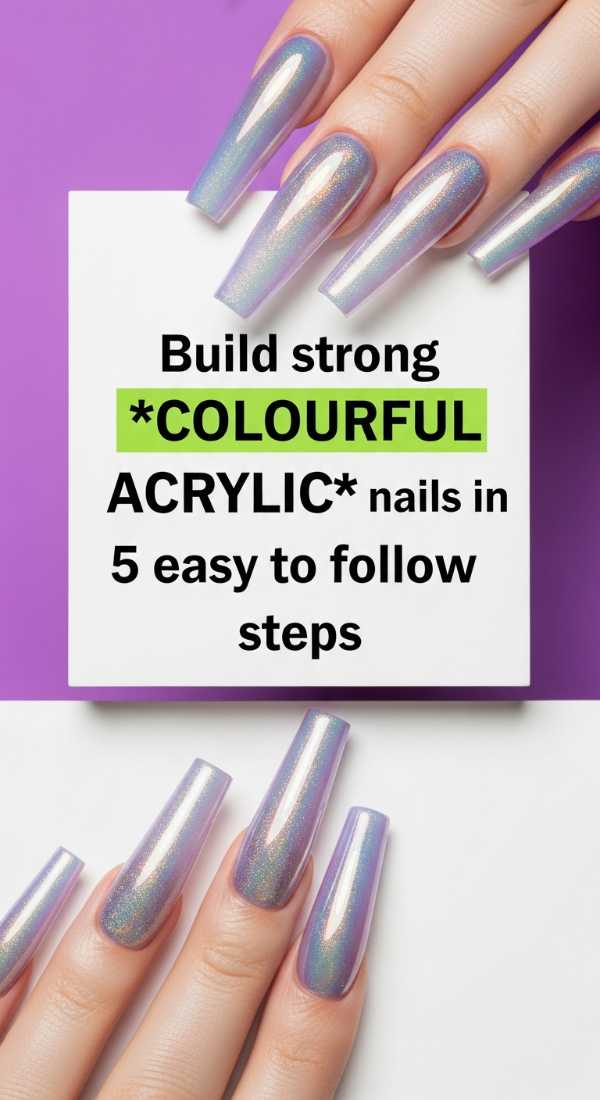
Build strong colourful acrylic nails in 5 easy-to-follow steps
Why to love this recipe:
Strength meets beauty! Building a solid foundation ensures your 3D art has a sturdy ‘canvas’ that won’t snap under the weight of your fabulousness.
Essential Ingredients:
- High-quality acrylic monomer
- Colored acrylic polymers
- Nail forms
- Nail primer (acid-free)
- Kolinsky brush
How to Prepare:
- Dehydrate the natural nail and apply a thin layer of primer.
- Fit the nail form snugly under the free edge.
- Pick up a medium-sized ‘bead’ of colored acrylic with the perfect liquid-to-powder ratio.
- Place the bead at the free edge and blend upward toward the cuticle.
- Focus on building the ‘apex’ (the high point) to provide structural support.
Budget Range
- Mia Secret Acrylic System: $25.00
- Kolinsky Sable Brush #8: $35.00
- Nail Forms (500ct): $12.00
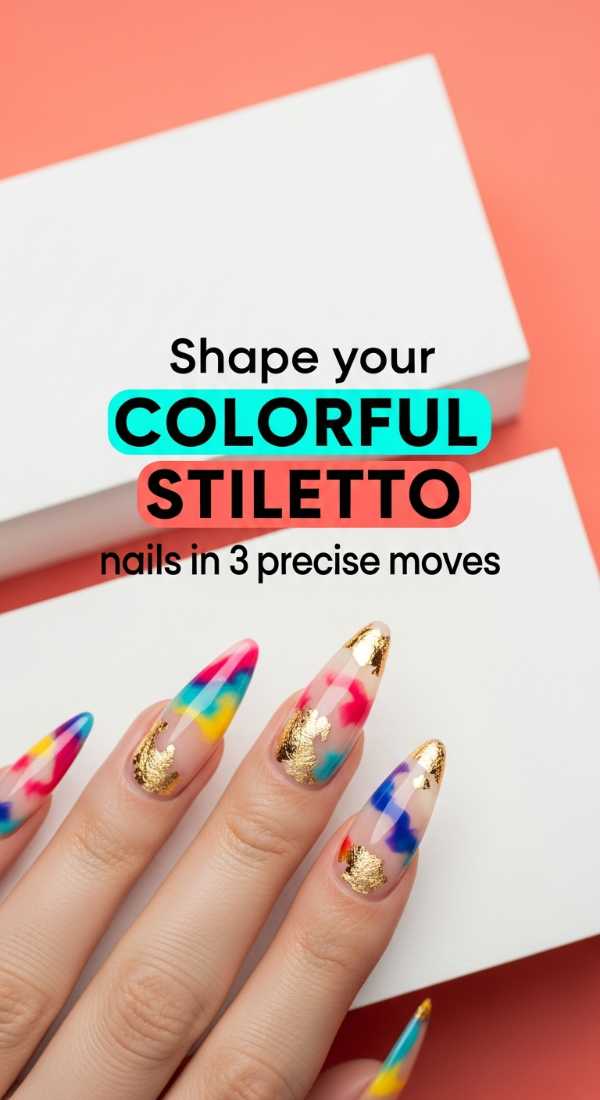
Shape your colorful stiletto nails in 3 precise moves
Why to love this recipe:
Stiletto nails are the ultimate power move. Getting that perfect point is so satisfying—it’s like sharpening your own creative claws!
Essential Ingredients:
- 100/180 grit nail file
- Metal cuticle nippers
- Buffing block
How to Prepare:
- Find your Center: Mark the exact middle of the tip with a dot of polish.
- Taper the Sides: File at a 45-degree angle from the sidewall toward that center mark.
- Refine the Point: Switch to the 180-grit side to smooth the edges into a sharp, elegant tip.
Budget Range
- Makartt Professional Files: $7.99
- Tweezerman Cuticle Nippers: $20.00
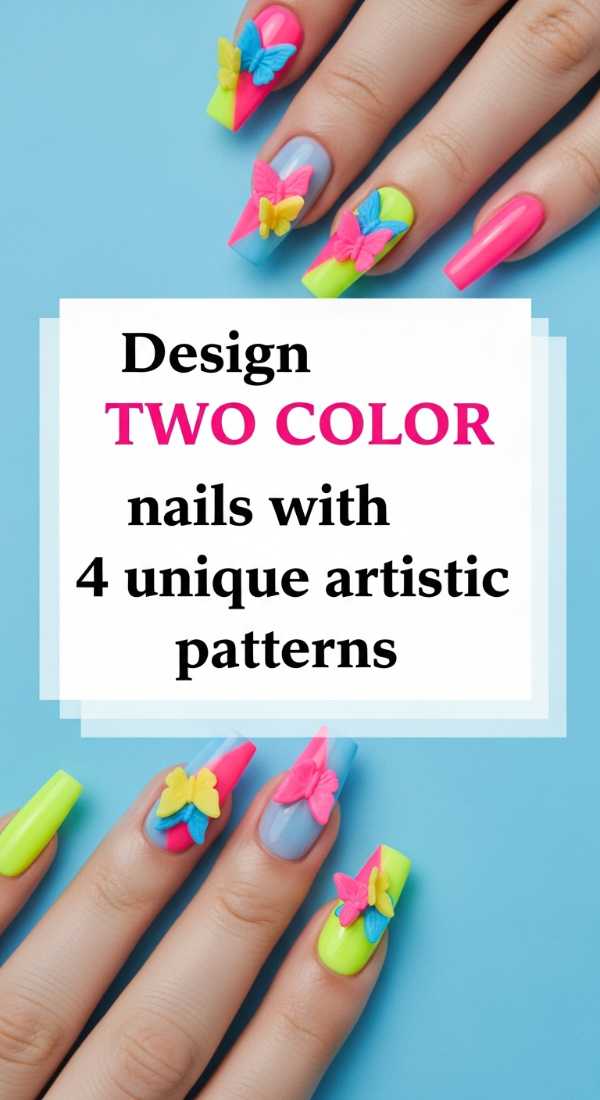
Design two color nails with 4 unique artistic patterns
Why to love this recipe:
Two colors don’t have to be boring! These patterns prove that even a minimal palette can tell a complex, beautiful story.
Essential Ingredients:
- Striping tape
- Angled brushes
- Two high-pigment polishes
How to Prepare:
- The Split Personality: A vertical line down the middle with one color on each side.
- The V-French: Two colors meeting in a sharp ‘V’ at the tip.
- The Chevron Wave: Use striping tape to create interlocking zig-zags.
- The Soft Swirl: Use a fine brush to weave the two colors together in organic loops.
Budget Range
- Maniology Striping Tape Set: $5.00
- Essie High-Pigment Polish: $10.00
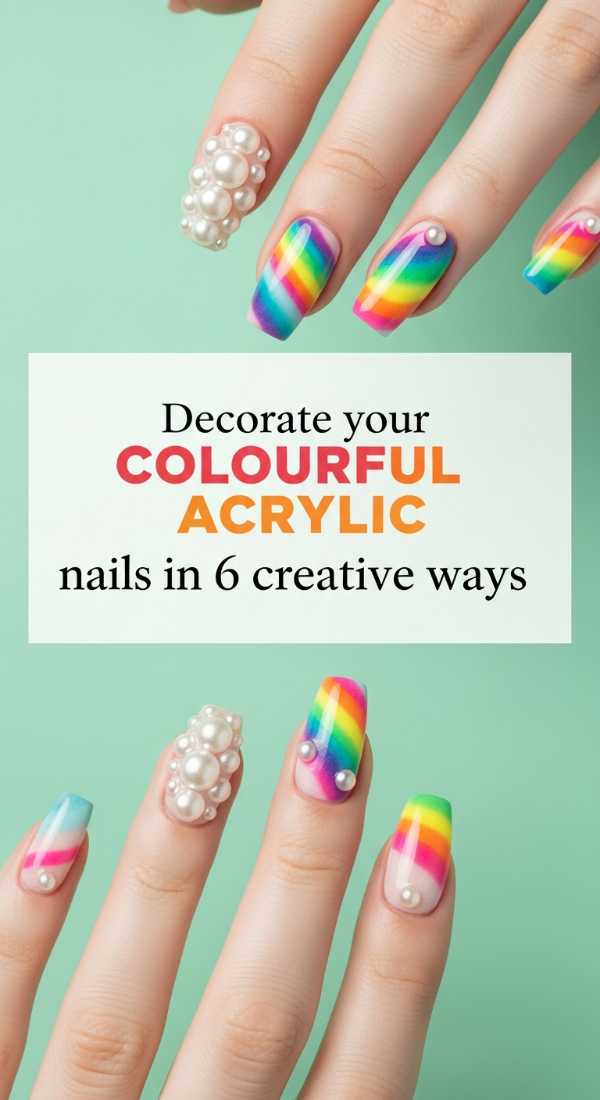
Decorate your colourful acrylic nails in 6 creative ways
Why to love this recipe:
This is the ‘jewelry’ of the nail world. Adding these 3D elements brings so much joy and tactile interest to your hands.
Essential Ingredients:
- Gem glue/Rhinestone gel
- Flat-back pearls
- Dried flowers
- Gold leaf
- Tiny metal chains
- Small caviar beads
How to Prepare:
- Apply a dot of rhinestone gel where you want your focal point.
- Place a large crystal or pearl and cure under the lamp.
- Surround the main gem with smaller caviar beads for a ‘set’ look.
- Embed dried flowers into a thin layer of clear gel.
- Use tweezers to press gold leaf into the tacky layer of polish.
- Drape a tiny chain across the nail and secure both ends with gel.
Budget Range
- Makartt Rhinestone Glue: $10.99
- Mixed Nail Art Decor Box: $14.00
- Real Dried Nail Flowers: $8.99
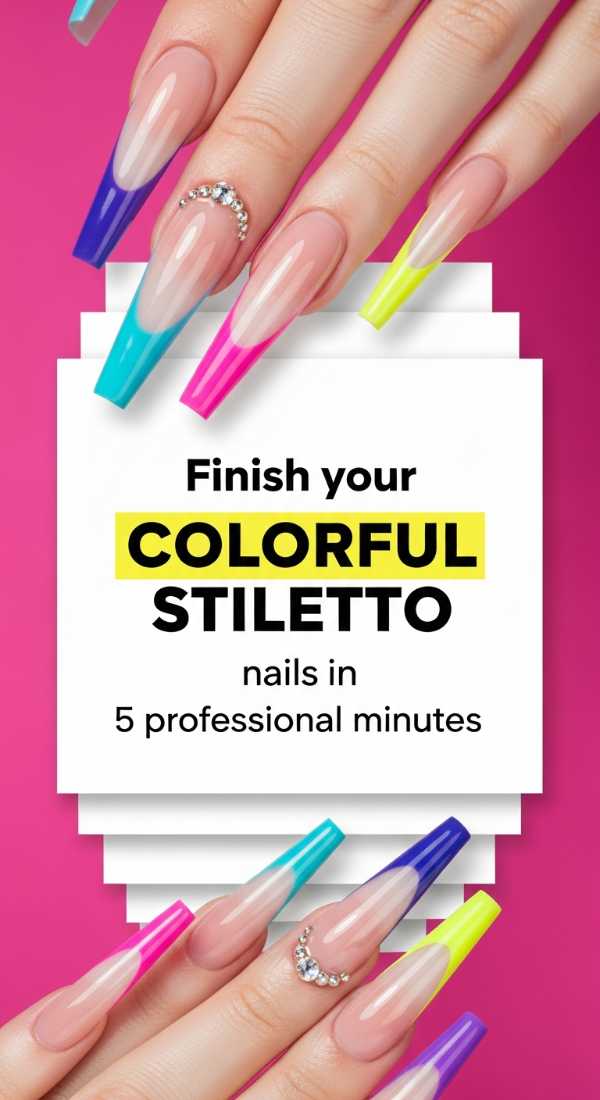
Finish your colorful stiletto nails in 5 professional minutes
Why to love this recipe:
The final touches make the difference between ‘DIY’ and ‘OMG’. These five minutes ensure your work looks flawless and photo-ready.
Essential Ingredients:
- Non-wipe top coat
- Cuticle oil (scented)
- Dust brush
- Isopropyl alcohol
- Buffing oil
How to Prepare:
- Dust off every speck of filing debris with a stiff brush.
- Apply a generous ‘no-wipe’ top coat, sealing the free edge carefully.
- Cure for a full 60 seconds to ensure a rock-hard finish.
- Apply cuticle oil and massage it deeply into the skin.
- Wipe the surface once more with a dry lint-free wipe for a squeaky-clean shine.
Budget Range
- Kupa Mani-Q Top Coat: $15.00
- L’Occitane Shea Oil: $19.00
Conclusion
My beautiful friends, I hope this guide helps you feel empowered to express your wildest, most colorful dreams through your nail art. Remember, there are no mistakes in art—only ‘happy accidents’ and new designs waiting to happen. Your hands do so much for you; why not treat them to a little 3D masterpiece? Go forth, be bold, and let your colors shine bright!