
From Basic to Brilliant: A Colorful DIY Nail Art Masterclass
Oh, my loves, take a deep breath with me. Do you feel that? It’s the soft, quiet magic of a slow afternoon, the kind where the sun spills across your vanity like liquid gold. There is something so profoundly healing about taking a moment just for you—to sit, to breathe, and to paint your world in colors that make your soul dance. I know life gets loud, but today, we’re turning down the noise and turning up the vibrance.
Lately, I’ve been finding so much joy in the little things, like the way a splash of turquoise or a shimmer of sunset pink on my fingertips can completely shift my mood. This isn’t just about ‘doing your nails,’ my darlings; it’s about a cloud-soft embrace for your creativity. It’s about looking down at your hands while you type or sip your tea and feeling a spark of pure, unadulterated happiness. Let’s dive into this colorful journey together, hand in hand.
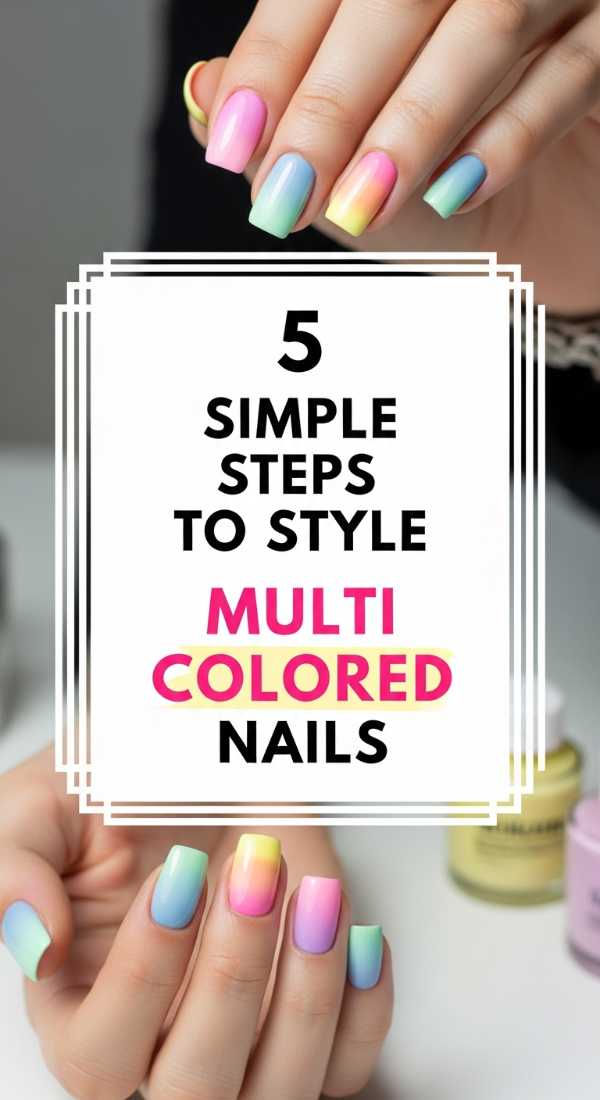
5 simple steps to style multi colored nails
Why to love this recipe:
This look is the ultimate mood-booster! It’s like wearing a confetti party on your fingertips. It’s perfect for when you can’t decide on just one color and want to celebrate the whole spectrum of your personality.
Essential Ingredients:
- 5 different pastel or neon polish shades
- A high-shine top coat
- Nail primer
How to Prepare:
- Cleanse each nail with alcohol to remove oils.
- Apply a thin base coat to protect your natural nail.
- Paint each finger a different color, starting from the thumb to the pinky.
- Let the first coat dry for two minutes before adding a second layer for opacity.
- Seal the rainbow with a glossy top coat.
Budget Range
- Essie Expressie Quick-Dry Polishes ($10 each)
- Sally Hansen Insta-Dri Set ($15)
- Wet n Wild Shine Nail Color ($2)
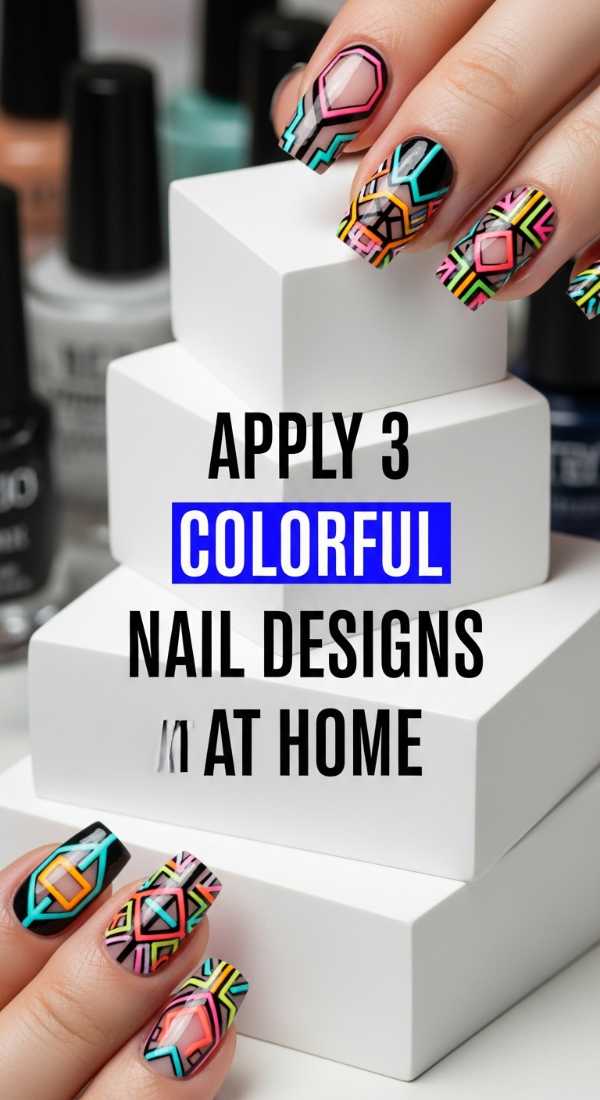
Apply 3 colorful nail designs at home
Why to love this recipe:
These designs are my little secret for looking like I spent hours at a boutique salon when I really just spent twenty minutes in my pajamas. They add a touch of ‘extra’ to your everyday look without the stress.
Essential Ingredients:
- Dotting tool or a toothpick
- Striping tape or thin brush
- Three contrasting polish colors
How to Prepare:
- For design one (Dots): Dip a toothpick into a bright shade and press gently onto a dry base color.
- For design two (Stripes): Use tape to mask off half the nail and paint the exposed side a different hue.
- For design three (Waves): Use a thin brush to draw a wiggly line across the center of the nail.
Budget Range
- Nail Art Brushes Set from Amazon ($6)
- OPI Infinite Shine Duo ($20)
- Zoya Professional Lacquer ($12)
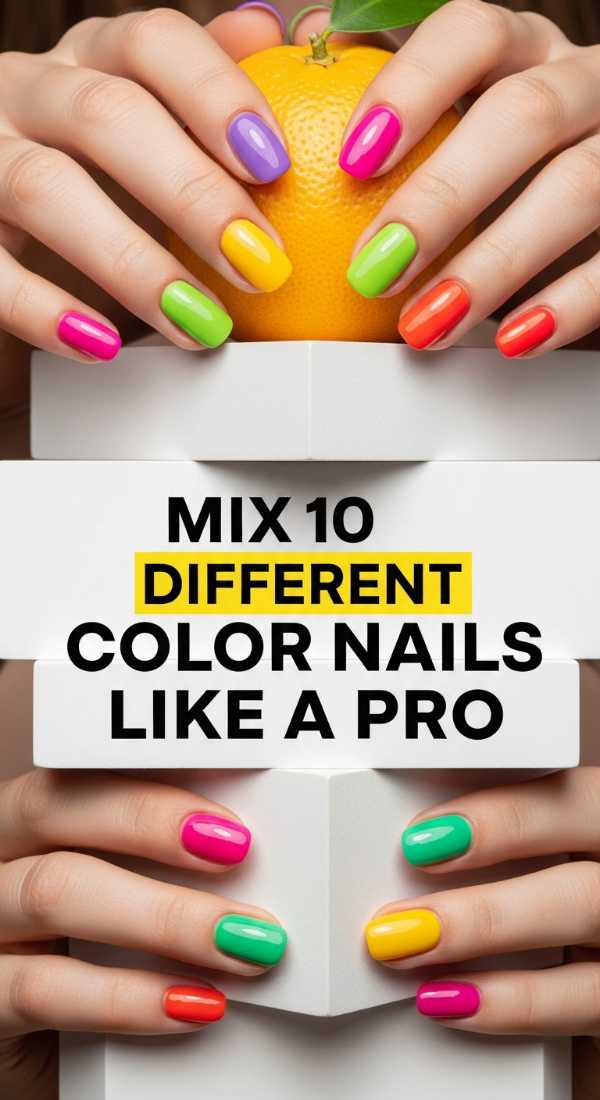
Mix 10 different color nails like a pro
Why to love this recipe:
Mixing ten colors—one for every single finger—is a bold statement of joy! It sounds chaotic, but when done with a cohesive palette (like all jewel tones or all pastels), it looks incredibly sophisticated and high-fashion.
Essential Ingredients:
- 10-piece polish mini set
- Matte top coat (optional for a velvet look)
- Cuticle oil
How to Prepare:
- Lay out your 10 colors in the order you want them on your hands.
- Ensure the undertones (warm or cool) match across all choices.
- Paint each nail carefully, keeping the edges clean.
- Apply a matte top coat to unify the different pigments.
- Massage cuticle oil in for that pro-finish glow.
Budget Range
- Holo Taco Rainbow Bundle ($130)
- Olive & June Paradise Set ($40)
- L.A. Colors Color Craze ($1.50 per bottle)
Create 4 unique colorful junk nails today

Why to love this recipe:
Junk nails are the ‘maximalist’s dream,’ my sweet loves! They are textured, eccentric, and so much fun to touch. It’s about building a little 3D world on your nails using charms and gems.
Essential Ingredients:
- Nail glue or thick builder gel
- Tiny charms, rhinestones, and dried flowers
- Tweezers
How to Prepare:
- Apply your base color and let it dry completely.
- Place a small bead of glue where you want your first ‘junk’ piece.
- Use tweezers to press a charm or gem into the glue.
- Repeat until you have 3-4 unique elements on each accent nail.
- Encase the edges with a thick top coat to prevent snagging.
Budget Range
- Daily Charme Deco Woods Kit ($15)
- Makartt Rhinestone Glue ($8)
- Beads from a local craft store ($5)
Get vibrant color nails in 2 minutes
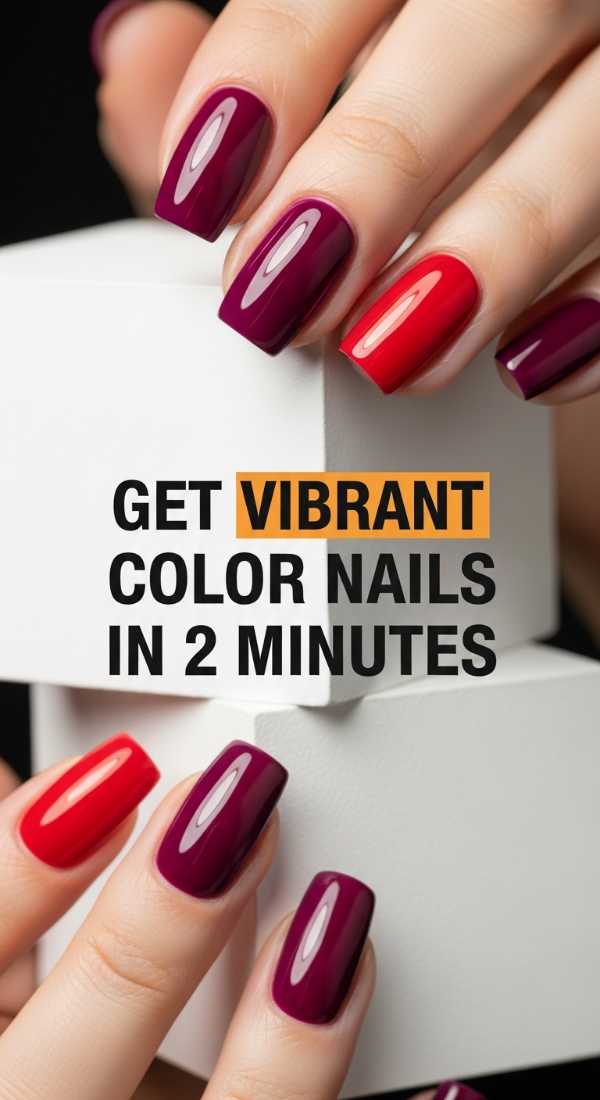
Why to love this recipe:
We all have those ‘on-the-go’ days where we still want to feel beautiful. This method uses high-pigment shades that deliver maximum impact with zero wait time. It’s fast, fabulous, and foolproof.
Essential Ingredients:
- One-coat high-pigment polish
- Quick-dry spray
How to Prepare:
- Swipe one thick, even coat of a neon or primary color.
- Wait 30 seconds.
- Mist with quick-dry spray immediately.
Budget Range
- CVS Pop-arazzi Polishes ($3)
- Orly Breathable 1-Step ($15)
- DeMert Nail Enamel Dryer ($7)
Master these two color nails in 6 steps
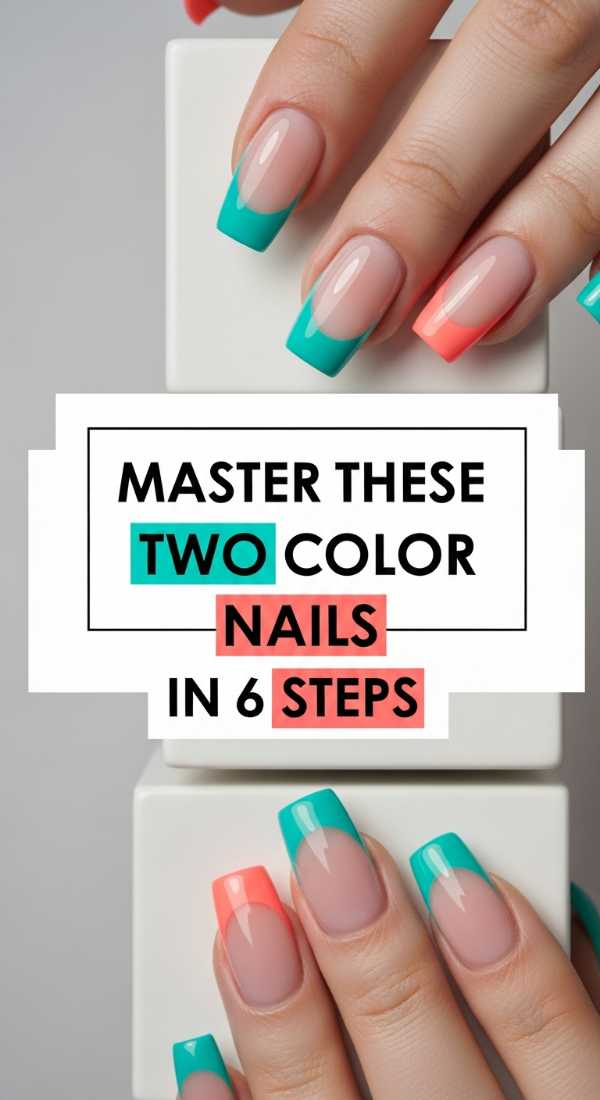
Why to love this recipe:
There is a classic elegance in symmetry. Choosing just two colors—perhaps a soft lavender and a deep plum—creates a rhythmic beauty that feels intentional and grounded. It’s like a soft hug for your hands.
Essential Ingredients:
- Two complementary colors
- Nail vinyls or guides
How to Prepare:
- Paint all nails with the lighter of the two colors.
- Let dry for at least 10 minutes.
- Apply a French tip guide or a diagonal sticker across the nail.
- Paint the darker color over the exposed tip.
- Peel the sticker back slowly while the polish is still wet.
- Seal with a clear coat.
Budget Range
- French Manicure Guide Stickers ($4)
- Chanel Le Vernis ($32)
- Revlon Super Lustrous ($6)
Apply your color street nails in 3 minutes
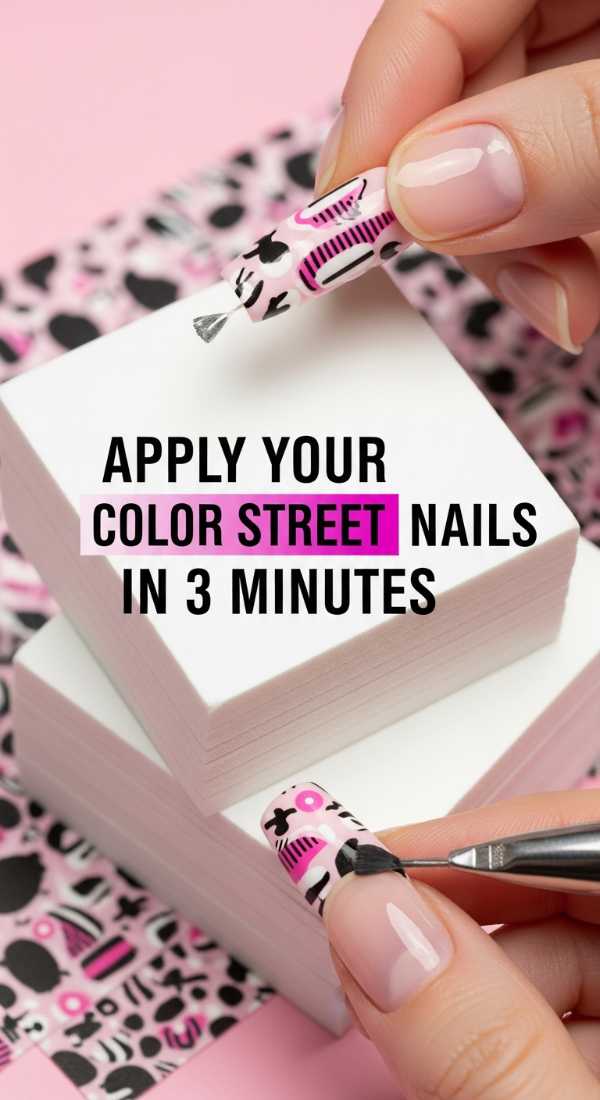
Why to love this recipe:
For my loves who struggle with steady hands, nail strips are a gift from the heavens. No drying time, no smudges—just instant, perfect art that stays vibrant for weeks.
Essential Ingredients:
- Nail polish strips (Color Street or similar)
- Nail file
How to Prepare:
- Peel the clear cover and the polish strip from the paper.
- Center the strip on your nail and press down firmly.
- Fold the excess over the tip and file it away in a downward motion.
Budget Range
- Color Street Sets ($11 – $14)
- Dashing Diva Gloss Strips ($8)
- Lily and Fox Strips ($3)
Make your nails colorful using 5 easy tricks
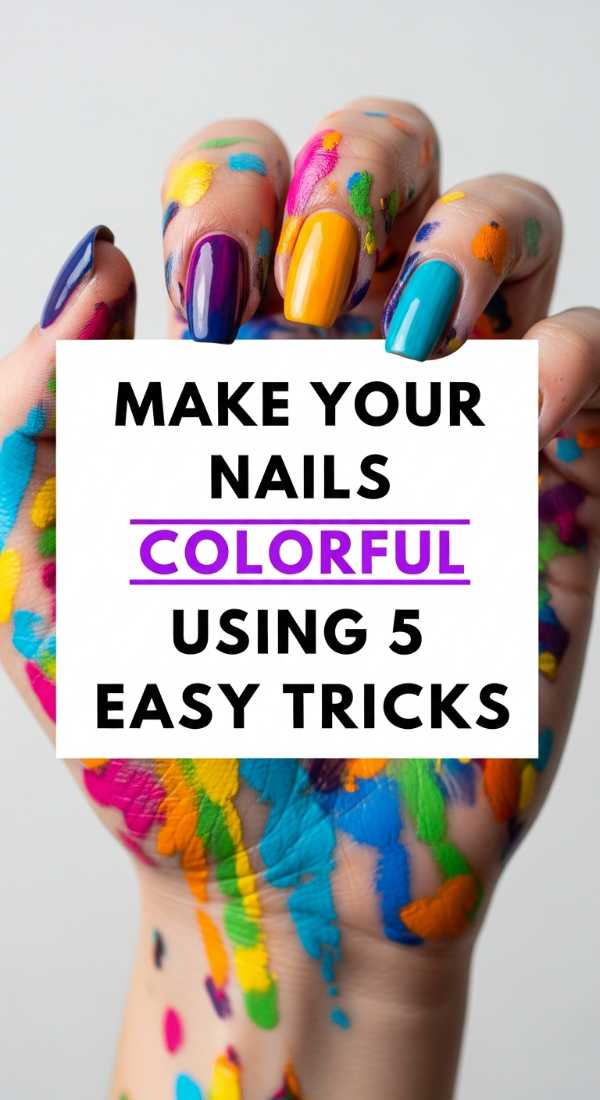
Why to love this recipe:
Sometimes you don’t need new polish, just new tricks! These hacks use household items to create professional-looking gradients and textures that look like a sunset on your fingers.
Essential Ingredients:
- Makeup sponge
- Plastic wrap
- Bobby pin
How to Prepare:
- Trick 1: Dab polish onto a sponge for a gradient.
- Trick 2: Crumple plastic wrap on wet polish for a marble effect.
- Trick 3: Use a bobby pin end for perfect polka dots.
- Trick 4: Mix clear polish with eyeshadow for custom colors.
- Trick 5: Use a sharpie for fine-line details over dry polish.
Budget Range
- Wedge sponges from the dollar store ($1)
- Old eyeshadow palettes (Free!)
- Sharpie Permanent Markers ($5)
Paint stunning multicolor nails in 4 phases
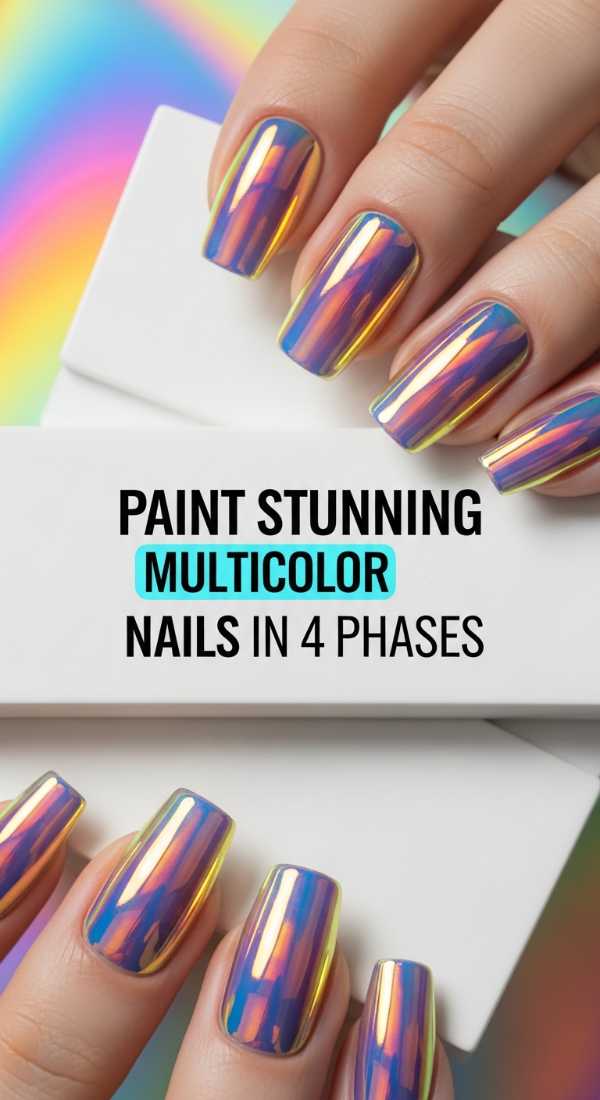
Why to love this recipe:
This is for the perfectionist at heart. By breaking the process into phases, you ensure a long-lasting, salon-quality finish that resists chipping and keeps its vibrant glow for much longer.
Essential Ingredients:
- Dehydrator
- Base coat
- Color palette
- Long-wear top coat
How to Prepare:
- Phase 1: Prep (Dehydrate and prime).
- Phase 2: Color application (Two thin coats).
- Phase 3: Detail work (Cleanup with a brush dipped in acetone).
- Phase 4: Protection (Wrap the tips with top coat).
Budget Range
- Seche Vite Dry Fast Top Coat ($10)
- Mia Secret Nail Prep ($8)
- Lights Lacquer Bundles ($50)
Shape 5 sets of colorful stiletto nails perfectly
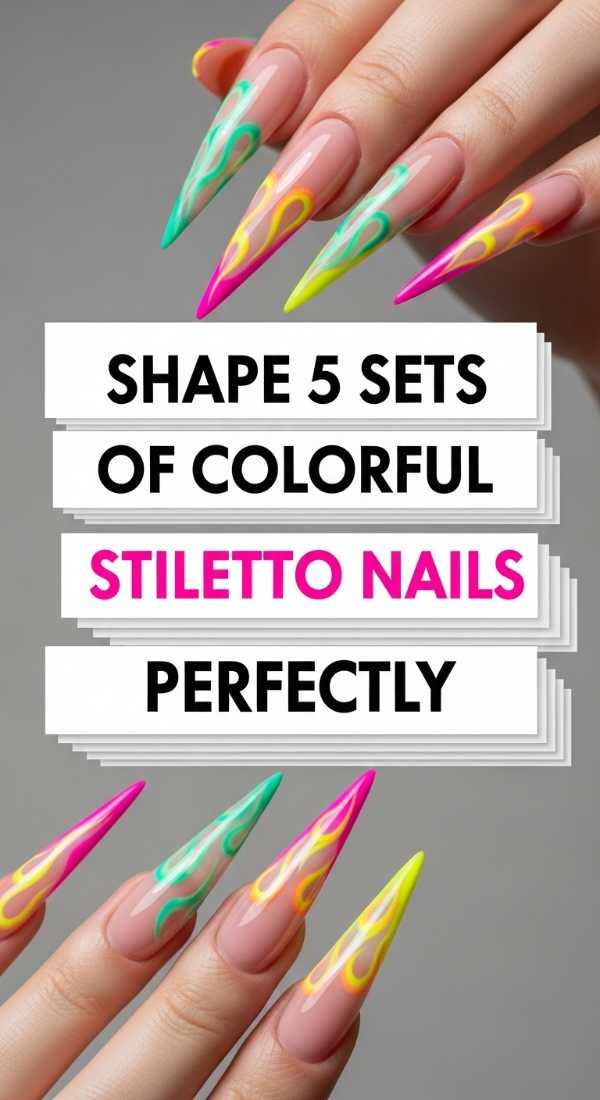
Why to love this recipe:
Stiletto nails are fierce, darling! They elongate the fingers and provide a larger canvas for all those beautiful colors we love. It’s a bold shape for a bold soul.
Essential Ingredients:
- Coarse nail file (100/180 grit)
- Buffer block
How to Prepare:
- Find the center point of your nail tip.
- File the sides at a steep angle toward that center point.
- Taper both sides equally until you reach a sharp point.
- Round off the very tip slightly so it isn’t dangerously sharp.
- Buff the surface smooth before applying your brightest colors.
Budget Range
- Professional Nail File Pack ($5)
- Deborah Lippmann Gel Lab Pro ($20)
- Butter London Patent Shine ($18)
Wrap Your World in Color
As we finish our little masterclass, I want you to take a look at your hands. Whether they are perfectly polished or have a little ‘character’ around the edges, they are beautiful because they are yours. You’ve taken time today to nurture your spirit and play with the colors of the wind. Remember, my loves, you deserve to feel brilliant every single day. Go out there and let your colors shine!
Frequently Asked Questions
Q: How do I make my DIY nail art last longer?
A: Always ‘cap the free edge’ by running your top coat brush along the very tip of your nail to seal it!
Q: What is the easiest way to clean up polish on my cuticles?
A: Dip a small, flat makeup brush into pure acetone and trace around your nail for a crisp, professional edge.
Q: Can I do these designs on short nails?
A: Absolutely, darlings! Colorful designs like dots and simple two-tone splits look incredibly chic on shorter lengths.