
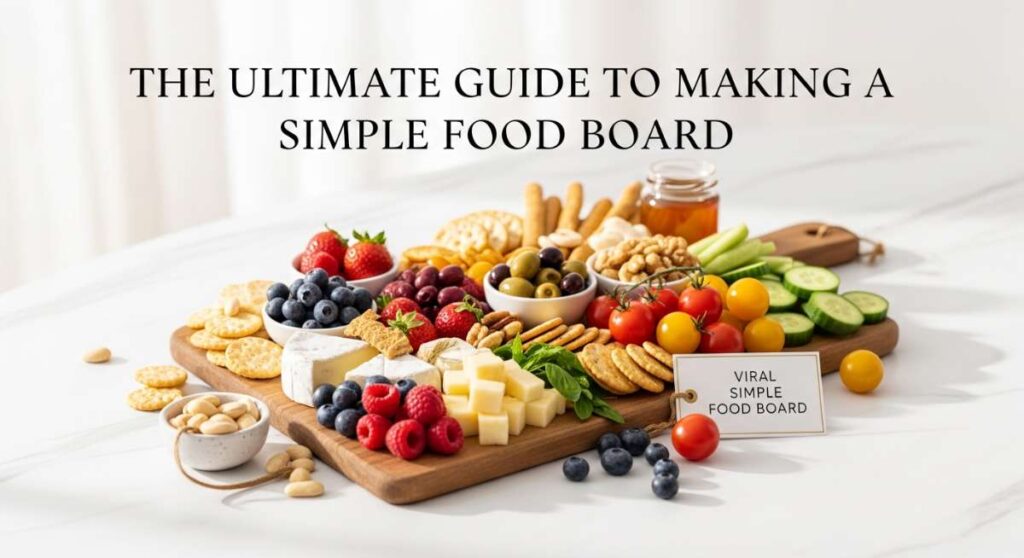
The Ultimate Guide to Making a Viral Simple Food Board
There is something inherently magical about a gathering where the food isn’t just served, but celebrated as a centerpiece. As we transition into the season of graduations, backyard parties, and golden hour soirées, the ‘Viral Simple Food Board’ has become my go-to for creating a moment that feels both effortless and deeply intentional. It’s more than just a platter; it’s a curated experience that tells a story of the season, from the tart zing of fresh rhubarb to the celebratory spark of graduation sweets.
I remember my first attempt at a massive food board; I was overwhelmed by the empty space, but I quickly learned that the secret lies in the layers. By combining homemade elements like zesty pestos and flaky pies with artfully decorated cookies and cakes, you create a visual and culinary rhythm that guests can’t stop talking about. Whether you are honoring a graduate or simply hosting a weekend brunch, this guide will help you master the art of the board, one viral component at a time.
How to bake graduation cakes?
Why we love this
There is an undeniable sense of accomplishment that comes with slicing into a moist, perfectly leveled cake that marks a major life milestone. The aroma of Madagascar vanilla and high-quality butter wafting through the kitchen creates an atmosphere of warmth and celebration before the party even begins. We love how a small-batch graduation cake acts as a stunning anchor for your food board, offering a tender crumb and a velvety finish that feels like a hug in dessert form, making every graduate feel truly seen and celebrated.
Ingredients
- 2 cups all-purpose flour
- 1 1/2 cups granulated sugar
- 3 tsp baking powder
- 1/2 tsp salt
- 1/2 cup unsalted butter (softened)
- 1 cup whole milk
- 2 large eggs
- 1 tbsp vanilla bean paste
How to make it
- Preheat your oven to 350°F (175°C) and meticulously grease two 6-inch round cake pans, lining the bottoms with parchment paper to ensure an effortless release later.
- In a large mixing bowl, sift together the flour, sugar, baking powder, and salt to remove any lumps and aerate the dry base for a lighter crumb.
- Using a stand mixer fitted with the paddle attachment, cream the softened butter into the dry ingredients on low speed until the mixture resembles coarse sand, ensuring no large butter chunks remain.
- Whisk together the milk, eggs, and vanilla bean paste in a separate jug, then gradually pour into the dry mixture while mixing on medium speed for exactly 2 minutes to develop the cake’s structure.
- Divide the batter equally between the prepared pans and bake for 25-30 minutes, or until a wooden skewer inserted into the center comes out clean with just a few moist crumbs.
- Cool in the pans for 10 minutes before transferring to a wire rack; this prevents the cake from collapsing and ensures the edges stay tender.
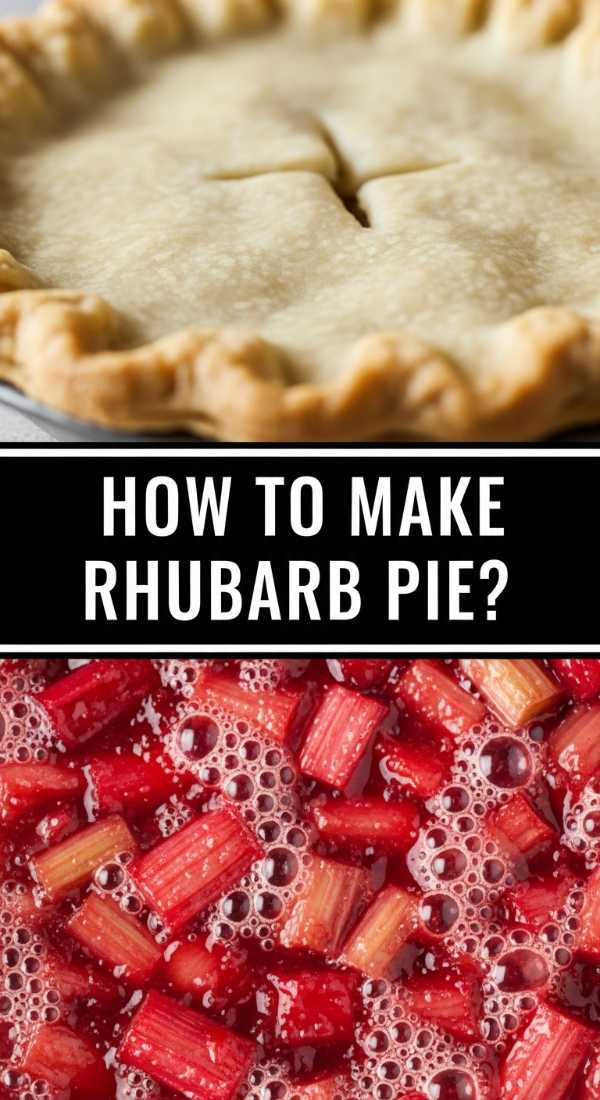
How to make rhubarb pie?
Why we love this
Rhubarb pie is the quintessential taste of early summer, offering a sophisticated tartness that balances perfectly against a sugary, golden crust. The way the ruby-red stalks break down into a jammy, thick filling while retaining their unique floral acidity is nothing short of culinary alchemy. We love the contrast of the crisp, flaky pastry shards against the soft, warm fruit center, especially when a hint of cinnamon brings out the earthy undertones of the rhubarb, making it a nostalgic favorite for any garden-themed food board.
Ingredients
- 4 cups fresh rhubarb (cut into 1-inch pieces)
- 1 1/4 cups granulated sugar
- 1/4 cup cornstarch
- 1/2 tsp ground cinnamon
- 1 tbsp cold butter (cubed)
- Double crust pie pastry
- 1 egg (for wash)
How to make it
- Roll out half of your chilled pie pastry on a floured surface to a 12-inch circle and gently drape it into a 9-inch pie plate, trimming the edges to a 1-inch overhang.
- In a large bowl, toss the sliced rhubarb with sugar, cornstarch, and cinnamon until every piece is evenly coated; the cornstarch is vital here to thicken the natural juices that release during baking.
- Pour the filling into the crust and dot the top with small cubes of cold butter to add a rich, silky mouthfeel to the fruit sauce.
- Roll out the second half of the dough and place it over the filling, either as a solid sheet with steam vents or a beautiful lattice weave for a more professional, viral look.
- Seal and flute the edges, brush the top with a simple egg wash (one egg beaten with a splash of water), and sprinkle with coarse sugar for an extra crunch.
- Bake at 425°F for the first 15 minutes to set the crust, then reduce the heat to 375°F and bake for another 35-40 minutes until the filling is bubbling thick and the crust is deep golden brown.
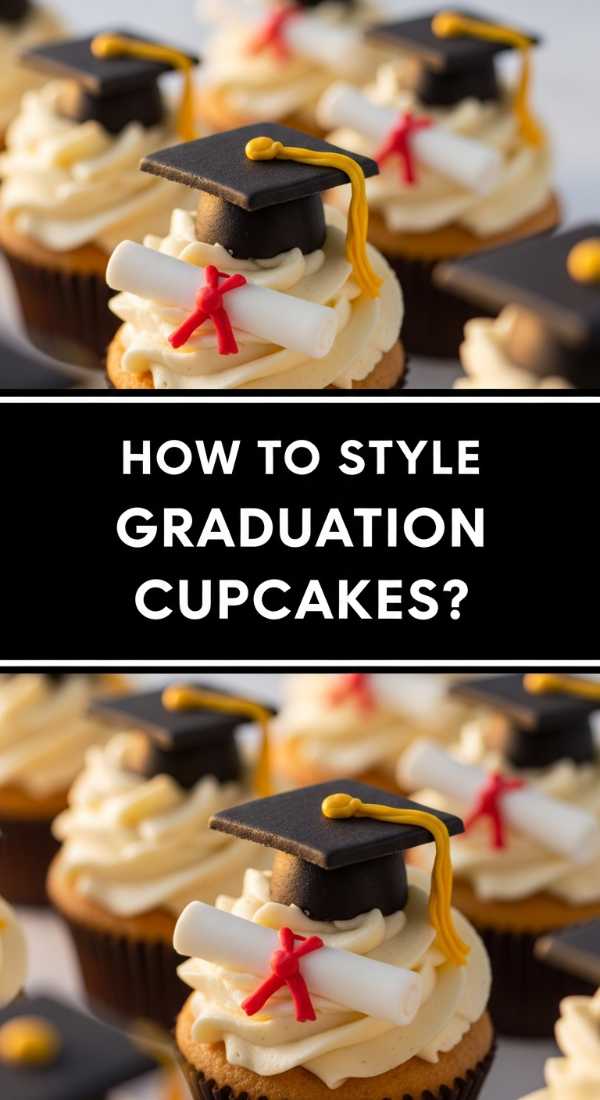
How to style graduation cupcakes?
Why we love this
Cupcakes are the ultimate communal treat, and when styled for a graduation, they become tiny canvases for school spirit and personal achievement. We love how a simple swirl of buttercream can be transformed into a sophisticated display with the right piping technique and a few thoughtful toppers. The tactile joy of picking up a perfectly decorated cupcake, with its smooth frosting and festive accents, adds a layer of interactive fun to your food board that guests of all ages will gravitate toward instantly.
Ingredients
- 12 pre-baked vanilla or chocolate cupcakes
- 2 cups stiff vanilla buttercream
- Food coloring (school colors)
- Miniature graduation caps (fondant or plastic)
- Gold leaf or edible glitter
- Star piping tip (2D or 1M)
How to make it
- Prepare your buttercream so it is firm yet pliable; if it’s too soft, chill it for 10 minutes to ensure it holds the sharp definition of the piping tip.
- Fit a large piping bag with a star tip and fill it with your frosting, ensuring there are no air bubbles trapped in the bag which could cause “pops” in your design.
- Hold the bag vertically and start at the outer edge of the cupcake, spiraling inward and upward to create a classic high-top swirl that mimics a soft-serve cone.
- While the frosting is still slightly tacky, carefully place a miniature graduation cap on the side of the swirl at a slight angle for a whimsical effect.
- Apply a touch of gold leaf or a dusting of edible glitter using a dry paintbrush to give the cupcakes a high-end, viral-ready shimmer that catches the light.
- Arrange them on your food board in clusters of three or five to create visual focal points that draw the eye across the display.
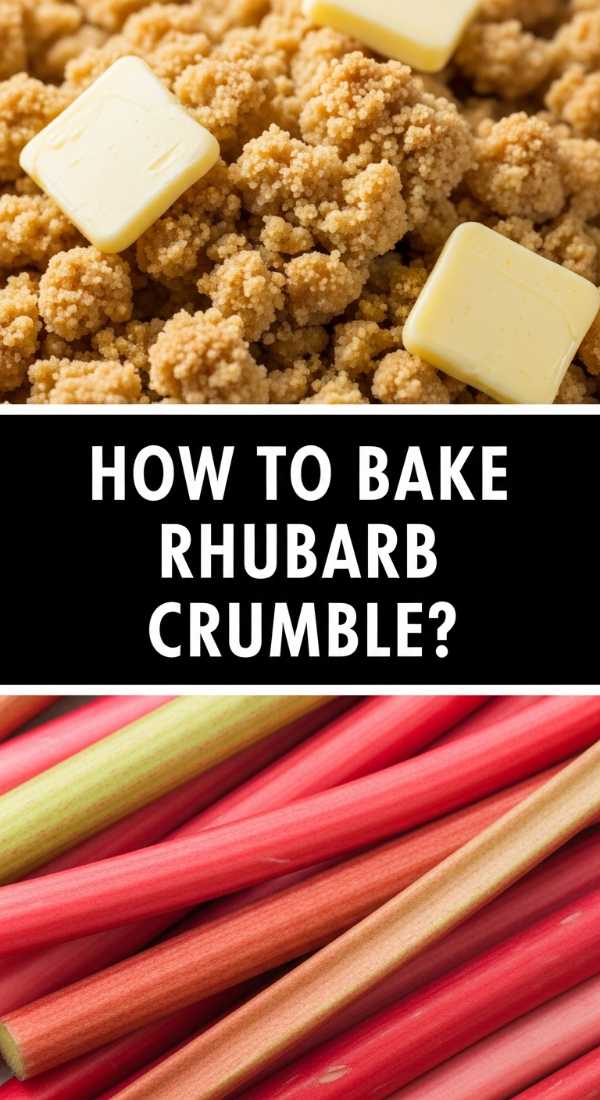
How to bake rhubarb crumble?
Why we love this
If a pie is the elegant cousin, the crumble is the cozy, rustic heart of the rhubarb world, featuring a textural playground of buttery oats and tender fruit. We love the way the brown sugar in the topping caramelizes in the oven, creating a golden, crunchy canopy that hides a bubbling, vibrant pink treasure underneath. The scent of toasted pecans and melted butter combined with the sharp tang of the rhubarb is intoxicating, making this a dish that feels both grounded and incredibly indulgent when served warm.
Ingredients
- 5 cups sliced rhubarb
- 3/4 cup granulated sugar
- 1 cup old-fashioned oats
- 1 cup brown sugar (packed)
- 3/4 cup all-purpose flour
- 1/2 cup cold salted butter (cubed)
- 1/2 cup chopped pecans (optional)
How to make it
- Toss the rhubarb with granulated sugar in a 9×9 inch baking dish, ensuring the fruit is spread in an even layer to promote consistent cooking.
- In a separate medium bowl, combine the oats, brown sugar, flour, and chopped pecans, mixing them thoroughly to distribute the sugars.
- Use a pastry cutter or your fingertips to work the cold, cubed butter into the oat mixture until it forms pea-sized clumps that hold together when squeezed.
- Spread the crumble topping generously over the rhubarb, pressing down slightly so the topping adheres to the fruit juices as they cook.
- Bake at 375°F (190°C) for 35 to 45 minutes; you are looking for the fruit to be tender when pierced and the topping to be a rich, toasted mahogany color.
- Let the crumble rest for at least 15 minutes before serving; this allows the juices to thicken slightly, preventing a watery consistency on your plate.
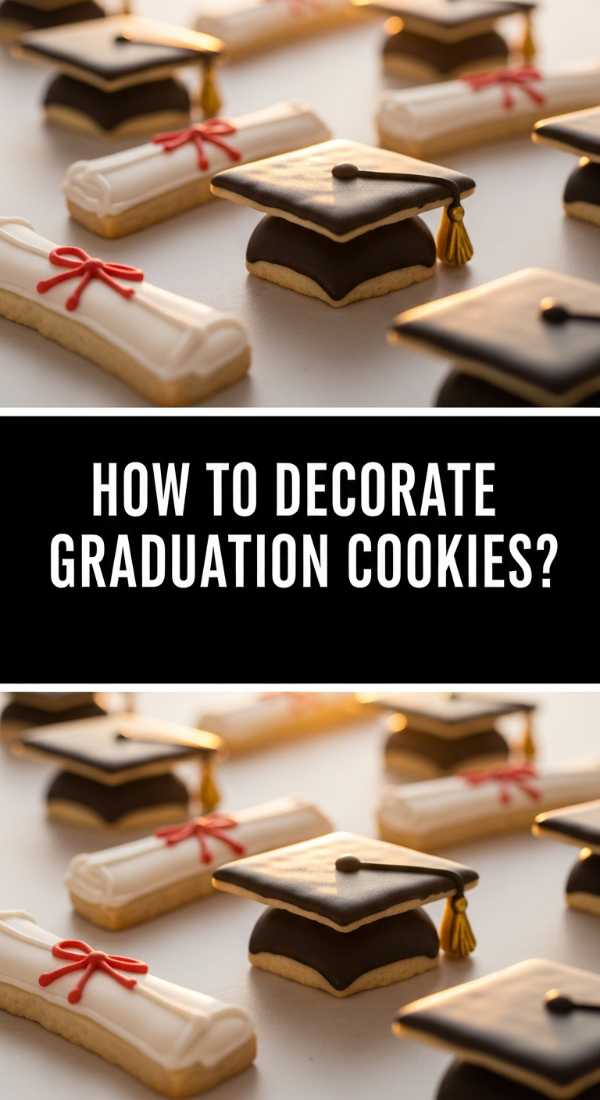
How to decorate graduation cookies?
Why we love this
Graduation cookies are the ultimate “wow” factor on any viral food board because they allow for such intricate, personalized storytelling. We love the satisfying snap of a well-baked sugar cookie paired with the smooth, matte finish of professional royal icing. Being able to pipe names, graduation years, or diplomas onto a cookie turns a simple snack into a cherished keepsake that guests often want to photograph before they even take a bite, adding that essential viral aesthetic to your party spread.
Ingredients
- Batch of flat-surface sugar cookies (chilled)
- Royal icing (flooding and piping consistency)
- Gel food coloring
- Scribe tool or toothpick
- Fine-tip piping bags
How to make it
- Outline your cookie shapes (like diplomas or caps) using a medium-consistency royal icing and a small round tip, creating a “dam” that will hold the thinner icing in place.
- Thin out your remaining icing with drops of water until it reaches a “flood” consistency (it should disappear into itself within 10 seconds) and fill the centers of your outlines.
- Use a scribe tool or toothpick to pop any tiny air bubbles and move the icing into the sharp corners for a perfectly smooth, edge-to-edge finish.
- Allow the base flood to dry completely for at least 6-8 hours; this is crucial to prevent “bleeding” when you add the decorative details on top.
- Switch back to a stiff-consistency icing to pipe graduation tassels, the “Class of 2024” text, or diploma ribbons, giving the cookie a 3D textured appearance.
- Finish with a light spray of edible pearl dust to give the cookies a sophisticated, matte-metallic glow that looks stunning in photos.
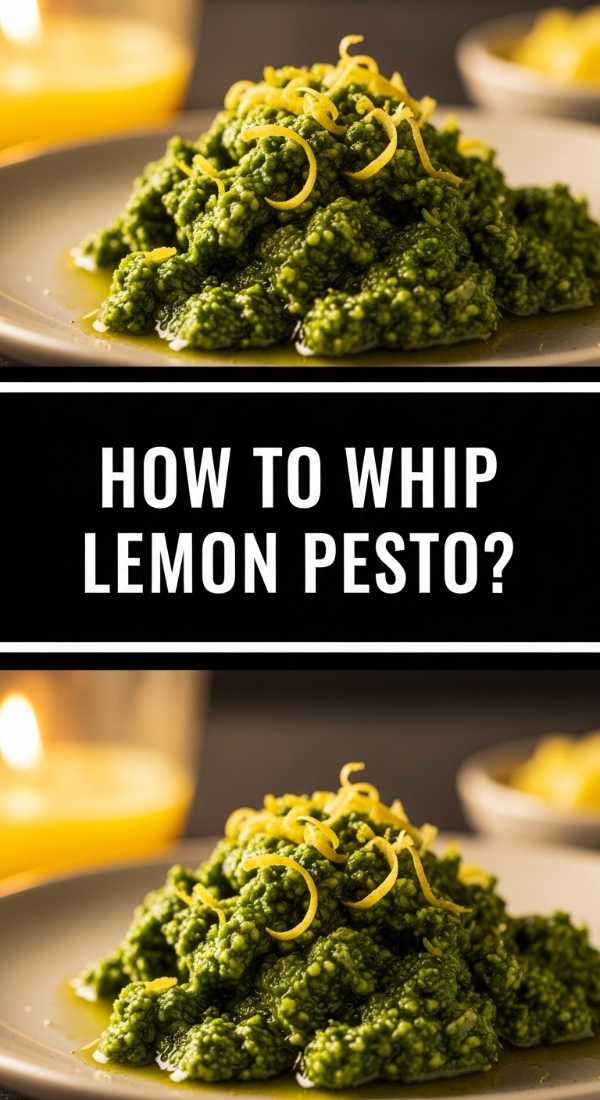
How to whip lemon pesto?

Why we love this
This isn’t your average pesto; the addition of bright lemon zest and juice transforms the heavy, herbaceous classic into something ethereal and sunny. We love how the vibrant green hue of fresh basil pops against the pale yellow of the citrus, creating a sauce that is as beautiful as it is delicious. The aroma is a refreshing blend of garden-fresh herbs and zesty fruit, providing a much-needed acidic balance to the richer, sweeter elements on a diverse food board.
Ingredients
- 2 cups fresh basil leaves (packed)
- 2 cloves garlic (peeled)
- 1/3 cup pine nuts (toasted)
- 1/2 cup freshly grated Parmesan cheese
- 1/2 cup extra virgin olive oil
- Zest and juice of 1 large lemon
- 1/2 tsp sea salt
How to make it
- Begin by toasting your pine nuts in a dry skillet over medium-low heat for 3-5 minutes, tossing them constantly until they are fragrant and golden to unlock their creamy oils.
- In a food processor, pulse the basil leaves and garlic cloves until coarsely chopped; do not over-process at this stage or the basil will begin to oxidize and turn brown.
- Add the toasted pine nuts, Parmesan cheese, lemon zest, and lemon juice to the processor, pulsing a few more times to combine into a thick paste.
- With the processor running on low, slowly drizzle in the olive oil in a steady stream to emulsify the sauce into a smooth, vibrant green whip.
- Season with sea salt and a crack of black pepper, tasting as you go to ensure the lemon acidity is bright enough to cut through the richness of the cheese.
- Store in a glass jar with a thin layer of olive oil on top to preserve the color until you are ready to dollop it onto your board.
How to make viral chocolate?
Why we love this
Viral chocolate is all about that satisfying “snap” and the surprise filling waiting inside, often inspired by the famous Dubai-style bars. We love the decadence of dark chocolate paired with unexpected textures like toasted knafeh or creamy pistachio butter. It’s a sensory explosion—first the smooth, cool touch of the tempered chocolate, followed by a crunch that is so audible it has become an ASMR sensation, making it the most talked-about item on any modern food board.
Ingredients
- 10 oz high-quality dark chocolate (60% cocoa or higher)
- 1/2 cup pistachio cream
- 1/4 cup toasted knafeh pastry (shredded and fried in butter)
- Edible gold flakes
- Silicone chocolate bar mold
How to make it
- Melt two-thirds of your chocolate in a microwave-safe bowl in 20-second bursts, stirring in the remaining third of solid chocolate at the end to “temper” it for a glossy, snappy finish.
- Pour a thin layer of the tempered chocolate into your silicone mold, tilting it to ensure the sides are coated, then refrigerate for 5 minutes until set.
- In a small bowl, mix the toasted, buttery knafeh shreds with the pistachio cream until you have a thick, crunchy paste that smells like toasted nuts and sugar.
- Fill the chocolate shells with the pistachio mixture, leaving a small gap at the top to ensure the final layer of chocolate can seal the bar completely.
- Pour the remaining chocolate over the filling, smoothing it with an offset spatula to create a flat, clean bottom.
- Once fully set in the fridge, pop the bars out of the mold and decorate the top with edible gold flakes for that signature viral look.
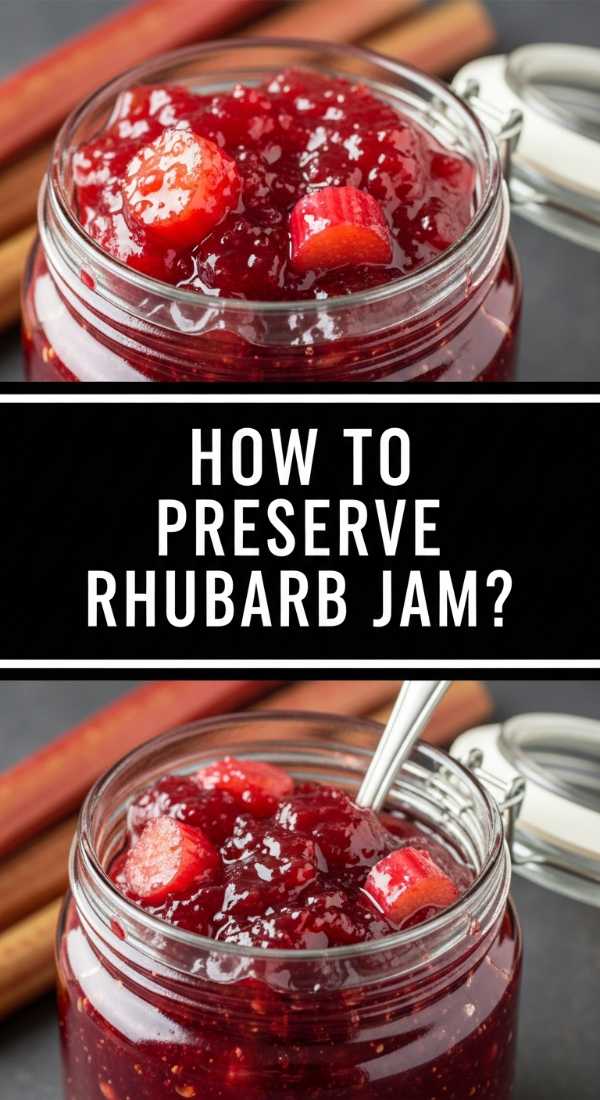
How to preserve rhubarb jam?
Why we love this
Preserving rhubarb jam is like capturing the fleeting essence of spring in a jar, allowing you to enjoy that bright, tart flavor long after the season has ended. We love the thick, spreadable texture and the way the jam glows with a translucent pink hue when held up to the light. It is the perfect accompaniment for crackers or breads on your food board, providing a concentrated burst of fruitiness that pairs exceptionally well with sharp cheeses or creamy bries.
Ingredients
- 6 cups chopped rhubarb
- 4 cups granulated sugar
- 2 tbsp lemon juice
- 1 tsp vanilla extract
- Sterilized glass jars and lids
How to make it
- Combine the rhubarb and sugar in a large, heavy-bottomed pot and let it sit for at least 2 hours (or overnight) to allow the sugar to draw out the natural juices.
- Bring the mixture to a rolling boil over medium-high heat, stirring frequently with a wooden spoon to prevent the sugar from scorching on the bottom of the pot.
- Add the lemon juice and continue to boil for about 15-20 minutes, or until the jam reaches 220°F (104°C) on a candy thermometer, which indicates the pectin has set.
- Stir in the vanilla extract at the very end to preserve its delicate aroma, then remove the pot from the heat and skim off any foam from the surface.
- Ladle the hot jam into sterilized jars, leaving a 1/4 inch headspace, and wipe the rims clean before tightening the lids.
- Process the jars in a boiling water bath for 10 minutes to ensure a shelf-stable seal that will keep your rhubarb fresh for up to a year.
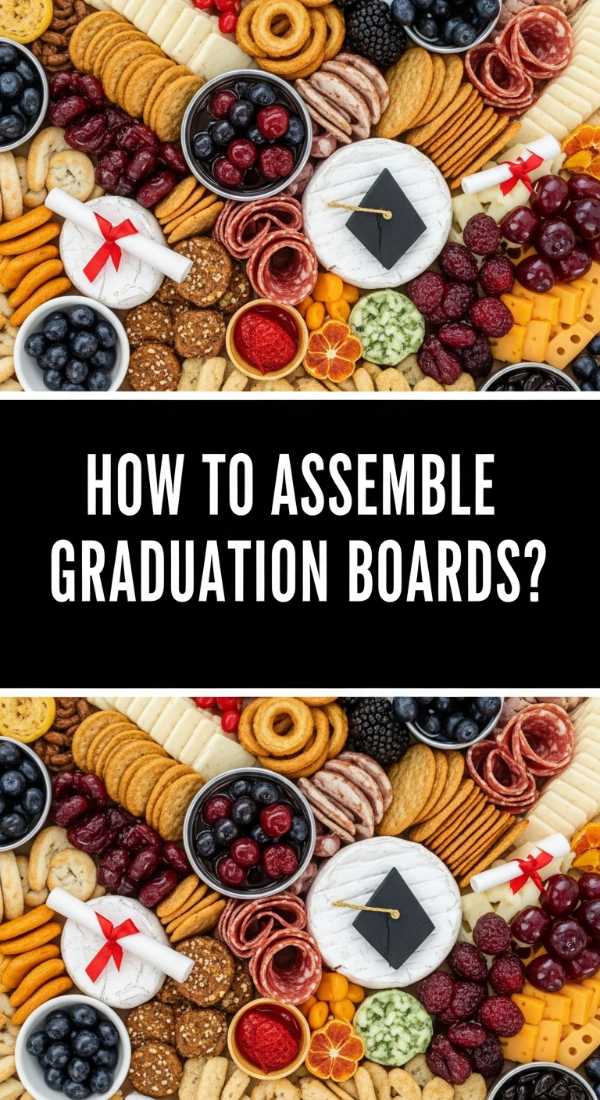
How to assemble graduation boards?

Why we love this
Assembling the board is where the magic happens—it’s the moment all your hard work comes together into a cohesive, breathtaking masterpiece. We love the abundance and variety a graduation board offers, providing a little something for everyone, from the sweet tooth to the savory lover. The visual density of a well-packed board, with its pops of school colors and varying textures, creates an inviting atmosphere that encourages guests to linger, chat, and celebrate the graduate’s achievements over a shared meal.
Ingredients
- Large wooden board or slate platter
- Prepared graduation cookies and cupcakes
- Whipped lemon pesto (in a small bowl)
- Crackers, baguette slices, and pretzels
- Fresh fruit (grapes, berries, and sliced rhubarb)
- Viral chocolate bars (broken into shards)
How to make it
- Start by placing your largest items first—the graduation cake or the bowls of lemon pesto and rhubarb jam—to create anchor points across the board.
- Arrange your themed elements, like the graduation cookies and cupcakes, in a diagonal line or in clusters to guide the eye across the display.
- Fill in the larger gaps with “vessels” like crackers, breadsticks, and sliced baguettes, fanning them out in curves to create movement.
- Add the viral chocolate shards and fresh fruit to provide pops of color and different heights, making sure to place contrasting colors next to each other.
- Use small handfuls of nuts or sprigs of fresh basil to fill the tiny remaining gaps, ensuring the board looks lush and overflowing with no visible wood showing.
- Finish by tucking in a few graduation-themed props, like a small tassel or a “2024” sign, to tie the whole theme together before serving.
How to brew fun coffee?
[IMAGE_10]
Why we love this
No food board is complete without a beverage that matches its energy, and “fun coffee”—whether it’s whipped, iced, or layered—is the ultimate companion. We love the contrast of the dark, rich espresso against the creamy, frothy milk and the creative possibilities of flavored syrups. Holding a glass of beautifully layered coffee, with a dusting of cinnamon or a drizzle of caramel, adds a sophisticated, café-style vibe to your gathering that makes the simple act of drinking caffeine feel like a celebration in itself.
Ingredients
- 2 shots of strong espresso (chilled)
- 1 cup milk of choice (oat, almond, or dairy)
- 1 tbsp vanilla or lavender syrup
- Ice cubes
- Whipped cream or cold foam
How to make it
- Start by filling a tall glass with large, clear ice cubes; this keeps the drink cold without diluting it too quickly as you sip.
- Pour your flavored syrup (vanilla or lavender works beautifully with the rhubarb elements on the board) over the ice.
- Slowly pour in the milk, filling the glass about three-quarters of the way up, leaving enough room for the espresso and foam.
- Gently pour the chilled espresso shots over the back of a spoon onto the milk to create a stunning layered “ombre” effect that is highly photogenic.
- Top the drink with a thick layer of cold foam (made by frothing cold milk for 30 seconds) or a generous dollop of whipped cream for a luxurious texture.
- Finish with a sprinkle of cocoa powder or a single coffee bean on top to give it that final, professional touch before placing it next to your food board.
Wrapping Up Your Viral Food Board Journey
Creating a viral-worthy food board is a labor of love that rewards you with both beautiful photos and even better memories. By focusing on a mix of seasonal flavors like rhubarb and lemon, and grounding the display with celebratory graduation touches, you create a spread that is both timely and timeless. Remember that the best boards are the ones that feel lived-in and shared, so don’t be afraid to let things get a little messy as guests dive in. Happy hosting, and congratulations to all the graduates out there!
Frequently Asked Questions
How long can a food board sit out?
Generally, a food board containing dairy or cooked items should not sit out for more than two hours at room temperature. If you are hosting an outdoor event in the heat, aim for one hour or keep the board on a bed of ice to maintain freshness.
Can I make the rhubarb components in advance?
Absolutely! The rhubarb jam can be made weeks in advance if properly canned, and the rhubarb crumble can be assembled the day before and baked fresh just before your guests arrive.
How do I prevent my cookies from getting soft on the board?
To keep your graduation cookies crisp, make sure the icing is completely dry before placing them on the board, and try to keep them away from high-moisture items like fresh fruit or the lemon pesto bowl.