
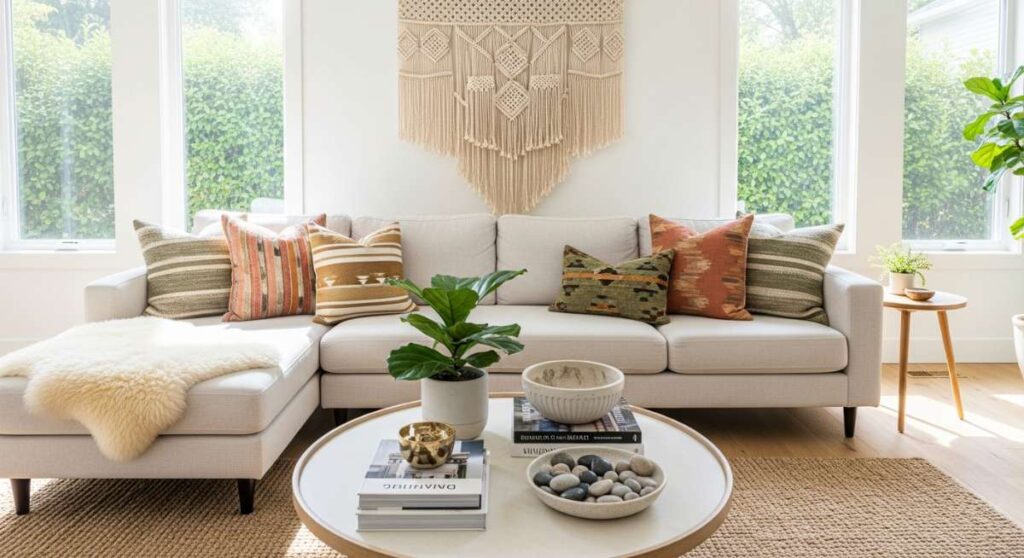
The Ultimate Guide to Designing Your Bohemian Dream Home
There is something inherently magical about walking into a home that feels like a warm, lived-in hug. For years, I chased the ‘perfect’ look—the one with the stiff white sofas and the clinical surfaces—only to realize that my soul craved something deeper. I wanted a space that told a story, where every corner whispered of travels, dreams, and a life well-lived. That is the essence of the Bohemian dream home; it’s not just an aesthetic, it is a philosophy of comfort, creativity, and radical self-expression.
Creating a sanctuary doesn’t happen overnight, and it certainly doesn’t come out of a single cardboard box from a big-box retailer. It’s a slow, intentional process of layering textures, gathering treasures, and listening to what your space needs to feel truly alive. Whether you are starting from scratch or just looking to infuse a bit of soul into a modern apartment, this guide is designed to help you navigate the beautiful, messy, and vibrant world of boho interiors. Let’s dive into how we can turn your house into a haven.
How to Style a Dreamy Bed for Ultimate Cozy Vibes
Why we love this
Stepping into a bedroom that prioritizes tactile comfort over rigid symmetry feels like an immediate reset for the nervous system. We adore the way natural linen catches the golden afternoon light, creating a landscape of soft shadows and inviting creases that practically beg you to dive in. There is a specific, clean aroma of lavender-spritzed sheets mixed with the earthy scent of a nearby potted fern that makes the space feel alive. It’s not just about sleep; it’s about that quiet, stolen hour in the morning where you sit with a steaming mug of tea, feeling the weight of a chunky knit throw against your skin while the world remains perfectly still.
Essential Elements:
- Breathable linen or organic cotton sheet sets
- A plush, oversized down or alternative-down duvet
- Four standard sleeping pillows and two large European shams
- A chunky knit or woven cotton throw blanket
- One long decorative lumbar pillow in a contrasting texture
How to make it
- Begin by smoothing your fitted sheet and laying the flat sheet face down, so the decorative hem shows when folded back. Ensure the sides are even before tucking the bottom using hospital corners for a neat base.
- Place your duvet over the bed, pulling it all the way to the headboard. Fold the top third of the duvet back toward the foot of the bed to create a voluminous, layered look that exposes the sheets beneath.
- Position your large European shams against the headboard to provide height and a soft backrest for sitting up in bed. Place your standard sleeping pillows directly in front of them, either stacked flat or propped upright.
- Drape your chunky knit throw blanket across the bottom third of the bed. Don’t fold it too perfectly; a slightly asymmetrical, ‘tossed’ look adds to the relaxed bohemian charm.
- Place the decorative lumbar pillow in the very center. This serves as the focal point, tying the color palette together and providing that final touch of curated comfort.
How to Decorate a Warm Kitchen for Shared Family Meals
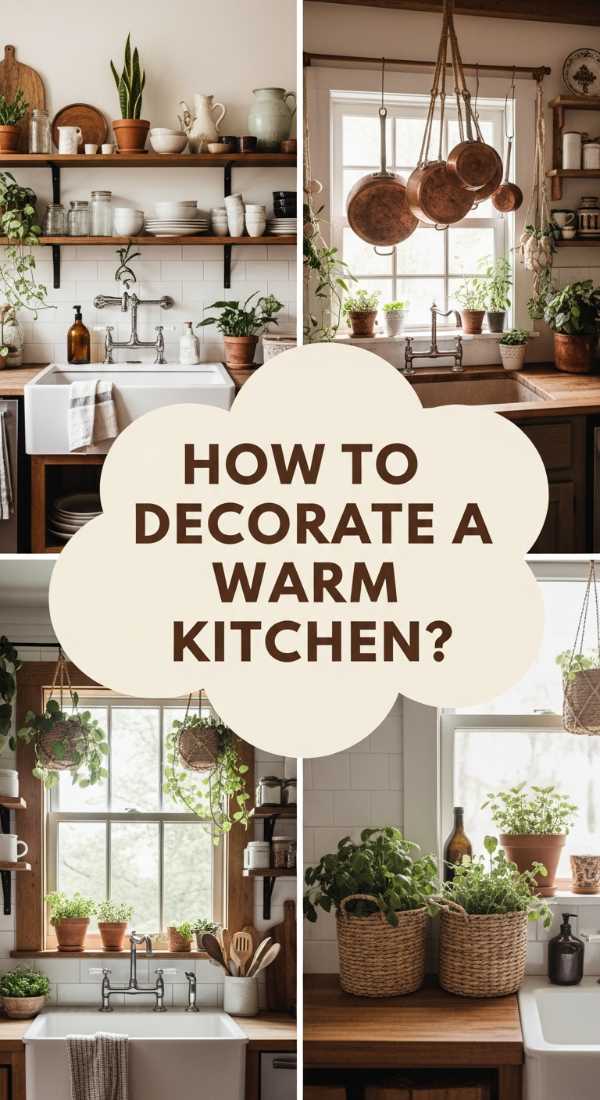
Why we love this
The kitchen is the heartbeat of the bohemian home, a place where the air is heavy with the scent of simmering herbs, roasted garlic, and freshly brewed coffee. We love a kitchen that feels unpretentious and gathered, where open shelving displays well-loved ceramics and mismatched glassware like a tiny art gallery. There is a profound sense of grounding when you stand on a vintage runner, feeling the soft wool underfoot as you chop vegetables on a worn wooden board. It’s a space that invites people to linger, to pour another glass of wine, and to share stories while the steam rises from a communal pot.
Essential Elements:
- Open wooden shelving with matte black or brass brackets
- A collection of mismatched ceramic mugs and bowls
- Hanging copper pots or dried herb bundles
- A vintage Persian-style runner rug
- Abundant greenery in terracotta pots
How to make it
- Remove upper cabinet doors or install floating reclaimed wood shelves to create an open, airy feel. Use a level to ensure brackets are perfectly aligned before drilling into studs.
- Group your everyday items by color or material on the shelves. Place heavier stacks of plates at the bottom and lighter glassware or decorative tea tins on the higher levels to maintain visual balance.
- Install a brass or matte black rail system above the stove or along a blank wall. Use ‘S’ hooks to hang copper pans, wooden spoons, and bundles of drying sage or rosemary for a functional, aromatic display.
- Lay a high-quality vintage runner in front of the sink or main prep area. Ensure you use a non-slip rug pad underneath to prevent movement and provide extra cushioning for long cooking sessions.
- Intersperse small herb pots like basil, mint, and thyme among your kitchen tools. Place them near windows where they can catch at least 4-6 hours of sunlight daily, ensuring the soil stays moist but not waterlogged.
How to Arrange Aesthetic Mirrors for a Bright Airy Space
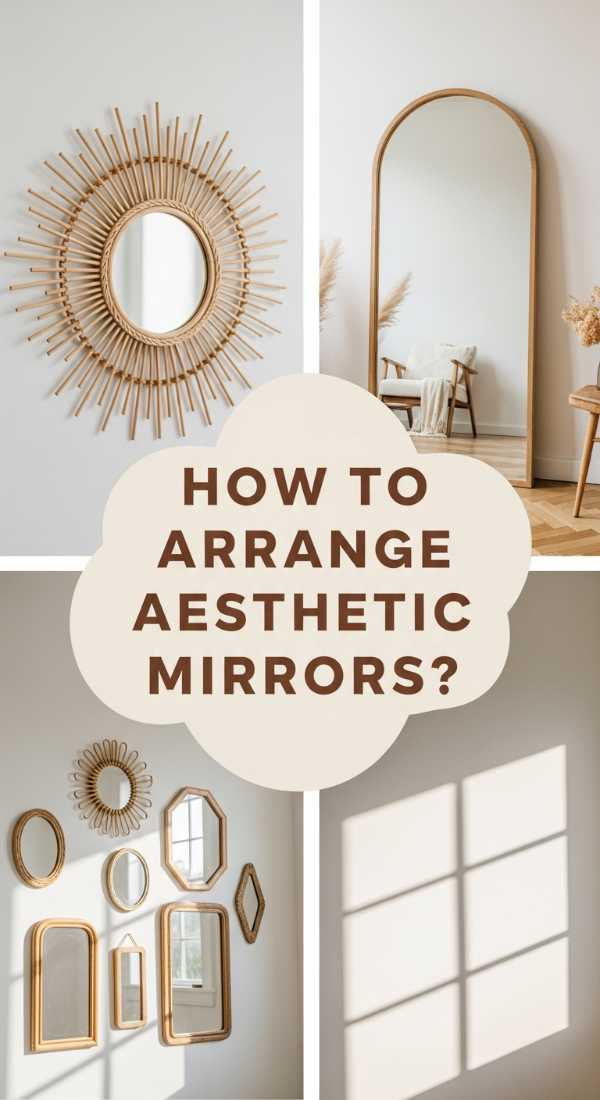
Why we love this
Mirrors are the secret windows of a bohemian sanctuary, capable of doubling the light and expanding the soul of a room. We love how a well-placed mirror captures the flickering dance of a candle flame or the vibrant green of a trailing pothos, reflecting beauty back into the space from every angle. There is a lightness that comes when a sunburst mirror catches the morning rays, scattering tiny prisms of light across the floor. It creates a sense of boundlessness, making even the smallest nook feel like an expansive, sun-drenched hall where the air feels fresher and the spirit feels lighter.
Essential Elements:
- Large full-length floor mirror with a carved wood frame
- A collection of vintage brass sunburst or geometric mirrors
- Heavy-duty wall anchors and a power drill
- Microfiber cloth and natural glass cleaner
- Level and measuring tape
How to make it
- Identify the darkest corner of your room or the wall opposite a window. Placing a mirror here will maximize the reflection of natural light, instantly brightening the entire environment.
- For a gallery wall of mirrors, lay your collection on the floor first to determine the arrangement. Mix different shapes and sizes, keeping about 2-3 inches of space between each frame for a cohesive yet eclectic look.
- Use a stud finder to locate the most secure mounting points. For mirrors not on a stud, use toggle bolts or heavy-duty anchors that can support at least double the weight of the mirror.
- Mount the largest mirror first as your anchor piece at eye level (roughly 57-60 inches from the floor to the center). Work outward with smaller pieces, checking with a level after every installation.
- Polish each mirror with a mixture of water and white vinegar using a microfiber cloth. Wipe in a circular motion to ensure a streak-free finish that allows the reflected light to be as crisp and clear as possible.
How to Layer Textured Rugs for a Lush Grounded Living Room
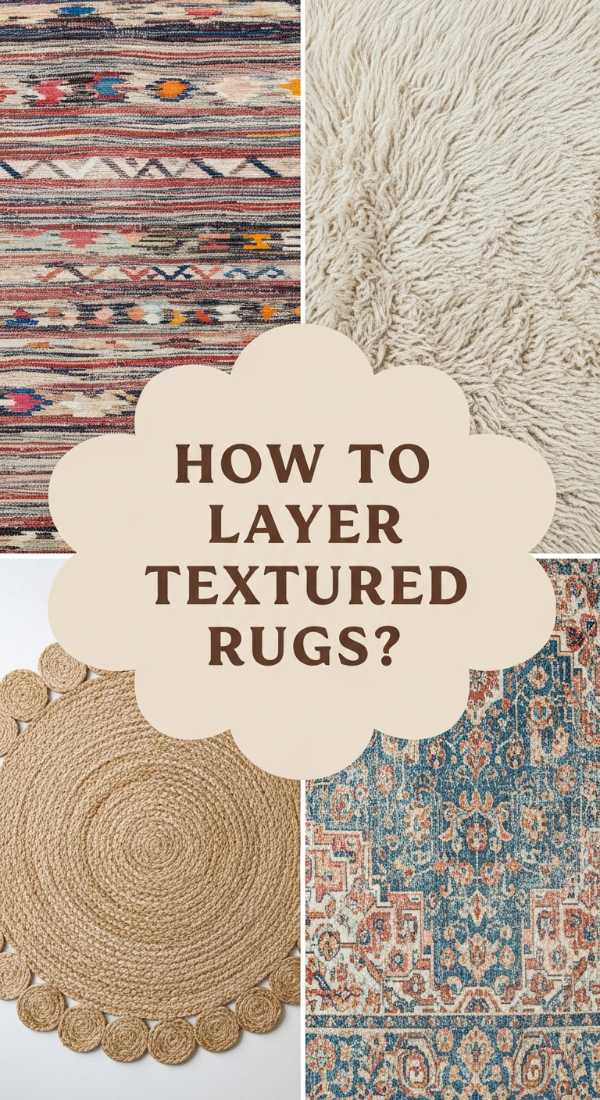
Why we love this
There is nothing quite like the sensory experience of walking barefoot across a floor layered with rich, varied textiles. We love the juxtaposition of a rugged, earthy jute base topped with the plush, intricate softness of a patterned wool rug. It’s a design choice that adds immediate depth and history to a room, muffling the sounds of the outside world and creating a literal foundation of warmth. The subtle aroma of natural fibers like sisal and wool brings an organic, outdoorsy element inside, making your living room feel like a cozy encampment tucked away from the chaos of modern life.
Essential Elements:
- A large, neutral-toned jute or sisal rug (the base layer)
- A smaller, patterned Persian or Moroccan shag rug (the top layer)
- Double-sided rug tape or rug-to-rug pads
- Vacuum with adjustable height settings
- Measuring tape to ensure proper border ratios
How to make it
- Select a base rug that is large enough for all the front legs of your furniture to rest upon. This anchors the room and prevents the space from looking disjointed.
- Place the jute base rug down first, ensuring it is centered with the main seating arrangement and leaving at least 12-18 inches of bare floor around the perimeter of the room.
- Layer your smaller, more colorful rug on top. Position it either directly in the center or at a slight diagonal angle to introduce a sense of movement and ‘perfect imperfection’ characteristic of boho style.
- Apply rug-to-rug grip pads or specialized double-sided tape between the two layers. This is a critical safety step to prevent the top rug from sliding or bunching, which can create a tripping hazard.
- Finalize the look by tucking the edges under the sofa legs to lock everything in place. Use a vacuum on a high-pile setting to fluff the fibers of the top rug, ensuring the transition between textures looks intentional and lush.
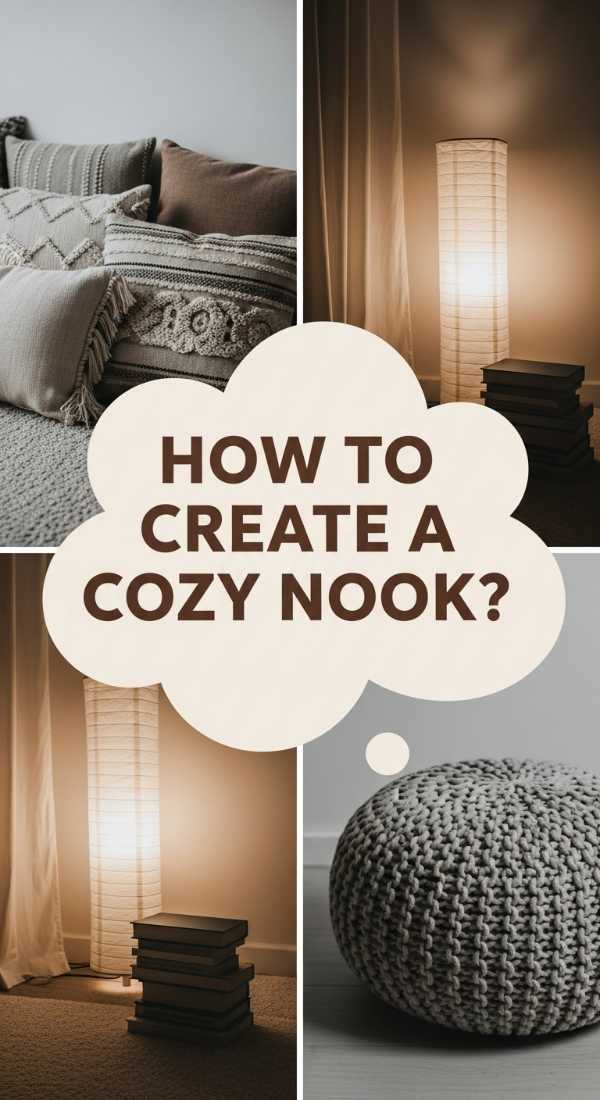
How to Create a Nook with Plush Pillows for Perfect Reading Afternoons

Why we love this
Every home needs a dedicated space for dreaming, and a pillow-filled reading nook is the ultimate indulgence for the imagination. We love the feeling of sinking into a sea of velvet, linen, and fringe, where the world’s noise fades into the background and the only thing that matters is the next chapter. There’s a comforting, cocoon-like quality to a corner filled with soft light and the faint, sweet scent of an old book or a vanilla-scented candle. It’s a tactile sanctuary that encourages slow living, reminding us that rest isn’t just a luxury, but a beautiful necessity for a creative life.
Essential Elements:
- Two large floor cushions or a low-profile bean bag
- An assortment of throw pillows in varied sizes (velvet, silk, cotton)
- A soft, breathable muslin or fleece throw
- A small side table or a stack of vintage suitcases
- Dimmable floor lamp or fairy lights
How to make it
- Choose a quiet corner, ideally near a window for natural light or in a secluded alcove. Clear the area of any clutter to ensure the energy of the space remains calm and focused.
- Place your largest floor cushions at the base to create a supportive seat. If the floor is hardwood, consider adding a small sheepskin rug underneath for extra padding and warmth.
- Stack medium-sized pillows against the wall to create a backrest. Mix textures—put a smooth velvet pillow next to a fringed cotton one—to stimulate the senses and add visual interest.
- Set up your side table within arm’s reach. This will hold your tea, candles, and current reads. Using a stack of vintage suitcases adds a soulful, nomadic touch that fits the boho aesthetic perfectly.
- Install soft lighting. Drape warm-toned fairy lights along the wall or place a lamp with a fabric shade nearby. The goal is a soft, amber glow that mimics the warmth of a sunset, making the nook irresistible during the evening hours.
How to Paint an Earthy Accent Wall for Bold Character
Why we love this
An earthy accent wall acts as an anchor for the soul, bringing the soothing hues of the natural world directly into your living space. We love how a deep terracotta or a dusty sage can completely transform the vibration of a room, making it feel more intimate, grounded, and intentional. There is a richness to flat, clay-like finishes that absorbs light rather than reflecting it, creating a velvety backdrop for your favorite art pieces and green foliage. It feels like a warm embrace, a bold statement of character that says this home isn’t afraid to be deeply connected to the elements of the earth.
Essential Elements:
- Low-VOC interior paint in an earthy tone (terracotta, ochre, or moss)
- High-quality angled brush and a 3/8-inch nap roller
- Painter’s tape and drop cloths
- Sandpaper (fine grit) and wall patch
- Stir stick and paint tray
How to make it
- Prepare the surface by removing all nails and filling holes with wall patch. Once dry, lightly sand the area until smooth and wipe away dust with a damp cloth to ensure the paint adheres perfectly.
- Apply painter’s tape along the ceiling, baseboards, and adjacent walls. Use a credit card or a putty knife to press the edges of the tape down firmly, preventing any paint bleed for a crisp, professional line.
- ‘Cut in’ the edges of the wall using your angled brush. Start about an inch away from the tape and slowly work your way in, creating a 2-3 inch border of wet paint around the entire perimeter of the accent wall.
- While the edges are still wet, load your roller and apply paint in a large ‘W’ or ‘M’ pattern to ensure even distribution. Work in sections of 3×3 feet, overlapping your strokes to avoid visible roller marks.
- Wait at least 4 hours for the first coat to dry completely before applying a second coat. Once the second coat is finished, remove the painter’s tape while the paint is still slightly tacky to achieve the cleanest possible edge.
How to Restore Vintage Furniture for a Sustainable Soulful Home
Why we love this
Restoring a piece of vintage furniture is like having a conversation with the past, honoring the craftsmanship of a different era while giving it a new life. We love the process of stripping away years of grime to reveal the gorgeous, swirling grain of old-growth wood hidden beneath. There is a satisfying, meditative quality to the scent of beeswax polish and the smooth, cool feel of a newly sanded surface. Bringing an antique piece into your home adds a layer of ‘soul’ that mass-produced items simply cannot replicate; it carries a history, a weight, and a unique story that grounds your space in authenticity.
Essential Elements:
- A solid wood vintage find (side table, chair, or chest)
- Fine and medium-grit sandpaper or a sanding block
- Natural wood oil (linseed or tung oil) or a high-quality wax
- Lint-free cotton cloths
- New hardware (brass or ceramic knobs) if needed
How to make it
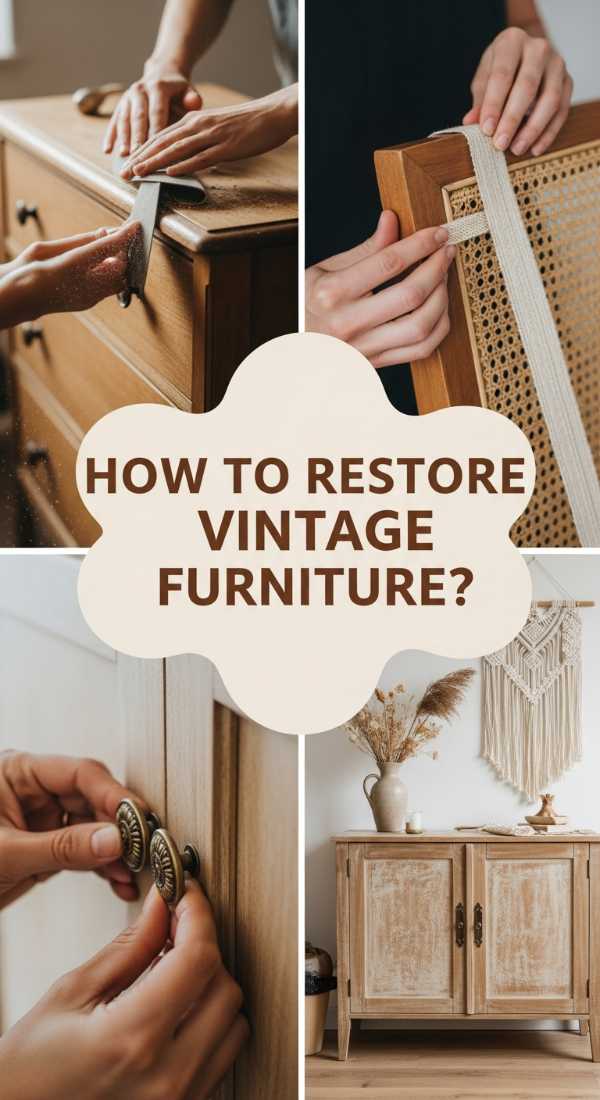
- Begin by cleaning the piece thoroughly with a mixture of mild soap and water to remove surface oils and dust. Remove any old hardware like knobs or hinges and set them aside.
- Sand the entire piece starting with medium-grit sandpaper (around 80-120 grit) to remove the old finish or scratches. Always sand in the direction of the wood grain to avoid leaving permanent cross-grain marks.
- Switch to a fine-grit sandpaper (220 grit) for a final pass. This will leave the wood feeling silky smooth to the touch. Use a tack cloth or a vacuum to remove every speck of sawdust before moving to the oiling phase.
- Apply your chosen wood oil using a clean cotton cloth. Rub it in circular motions, ensuring the wood is fully saturated. Let it sit for 20 minutes, then wipe away any excess oil that hasn’t been absorbed.
- Allow the piece to cure for 24 hours, then apply a second coat if the wood still looks thirsty. Reattach your hardware or upgrade to vintage-style brass pulls to complete the transformation of your soulful, restored treasure.
How to Curate a Cohesive Interior for Peaceful Daily Living
Why we love this
A truly cohesive bohemian home feels like a curated gallery of your own life, where every object has room to breathe and every room flows seamlessly into the next. We love the visual rhythm created when a consistent palette of warm neutrals is punctuated by personal treasures—a ceramic vase from a road trip, a framed textile, or a stack of art books. It’s about finding balance between the ‘more is more’ boho spirit and the ‘less is more’ need for mental clarity. When a space is curated with intention, it ceases to be just a collection of things and becomes a living, breathing environment that supports your daily peace.
Essential Elements:
- A defined color palette (3-4 core colors, 2 accent tones)
- Uniform framing for diverse art pieces
- Natural storage solutions (woven baskets, wooden crates)
- Consistent ‘hero’ materials (e.g., repeating brass or rattan)
- Strategic negative space (empty areas to let the eye rest)
How to make it
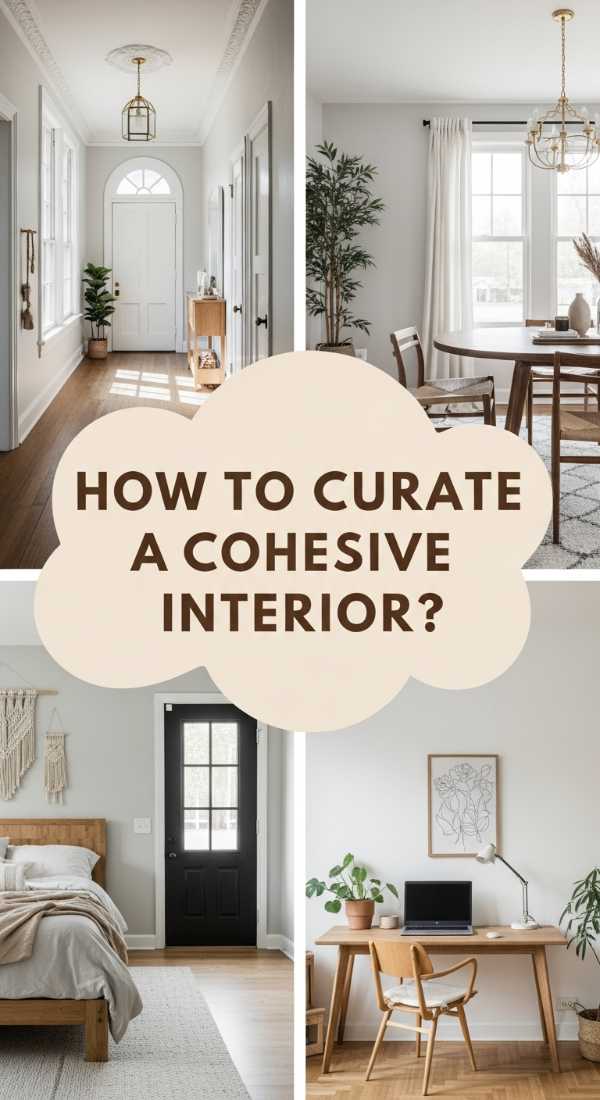
- Start by performing a ‘house edit.’ Walk through each room and remove items that no longer serve a purpose or bring you joy. This decluttering phase is essential for creating the mental and physical space for a cohesive design.
- Choose a ‘thread’ to pull through every room. This could be a specific shade of cream, a type of natural wood, or a metal finish like aged brass. Using this element in every room creates a subconscious sense of continuity.
- Group small objects into ‘vignettes’ on trays or books rather than scattering them across surfaces. This turns clutter into a curated display, making the space feel organized despite having many treasures.
- Use baskets to hide the ‘un-boho’ necessities of modern life, like remote controls, charging cables, and plastic toys. This keeps the visual environment focused on natural textures and beauty.
- Audit your lighting. Ensure every room has at least three sources of light (overhead, task, and ambient) at varying heights. Using warm-toned bulbs across the entire home will unify the atmosphere and create a peaceful, golden-hour glow in every room.
How to Hang Macrame Art for a Soft Textured Gallery

Why we love this
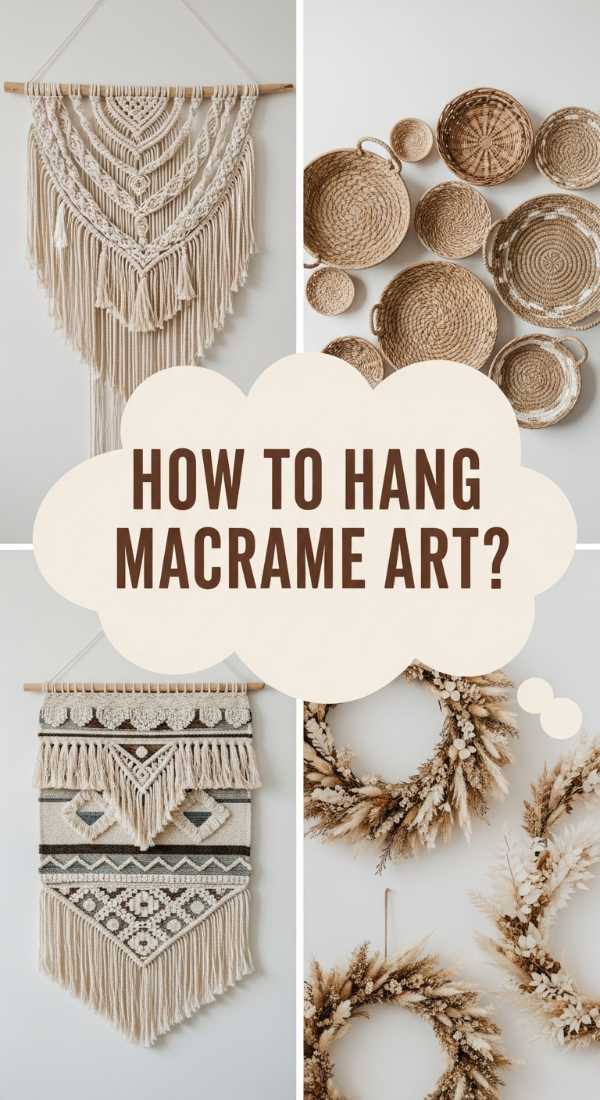
Macrame is the ultimate expression of the bohemian spirit, turning humble cotton cord into intricate, flowing landscapes of texture. We love the way a large-scale fiber piece softens the hard lines of a room, adding a layer of tactile warmth that paint or traditional framed art simply can’t provide. There is a nostalgic, 70s-inspired charm to the knots and tassels that feels both vintage and incredibly modern. Hanging macrame art is like adding a soft, woven heartbeat to your walls; it moves slightly with the breeze, it invites you to touch it, and it brings a sense of handcrafted soul to your gallery.
Essential Elements:
- A handcrafted macrame wall hanging on a driftwood or wooden dowel
- Hammer and decorative brass nails or picture hooks
- A handheld steamer or spray bottle with water
- A wide-tooth comb or fringe brush
- Measuring tape and a pencil
How to make it
- Determine the focal point of your wall. For the best impact, hang your macrame piece at eye level or centered above a piece of furniture like a sofa or a headboard.
- Measure the distance from the hanging cord to the bottom of the dowel to ensure you place your nail at the correct height. Mark the spot lightly with a pencil.
- Drive a decorative brass nail into the wall at a slight downward angle. This ensures the weight of the macrame pulls the nail into the wall rather than out of it, providing better stability for heavier pieces.
- Once hung, use a handheld steamer on a low setting to gently release any creases in the cotton cord caused by shipping or storage. The steam will help the fibers relax and hang straight.
- Use a wide-tooth comb to gently brush out any fringe or tassels at the bottom. Start from the ends and work your way up to ensure the fringe looks lush, separated, and perfectly bohemian.
How to Mix Patterns and Wood for a Chic Eclectic Sanctuary
[IMAGE_10]
Why we love this
The interplay between bold, geometric patterns and the raw, unrefined beauty of natural wood is where the bohemian aesthetic truly comes to life. We love the energy that a vibrant kilim pillow brings when tossed onto a mid-century teak bench—it’s a conversation between structure and whimsy. There is a visual music in mixing a striped rug with a floral throw, grounded by the steady, quiet presence of oak or walnut furniture. This mix creates a space that feels brave and experimental, yet deeply rooted in the comfort of the natural world, allowing your personality to shine through every layer.
Essential Elements:
- A ‘hero’ pattern (usually a large-scale rug or curtain)
- Secondary patterns (smaller prints like ditsy florals or thin stripes)
- A mix of wood tones (light birch, warm teak, and dark walnut)
- Solid-colored ‘bridge’ items to connect patterns
- Textured wood elements (carved details or live edges)
How to make it
- Start with your largest pattern first, such as a patterned rug. This will serve as your ‘anchor’ and dictate the color palette for the rest of the room.
- Incorporate wood furniture in at least two different tones. To keep it cohesive, ensure the wood pieces share a similar ‘undertone’ (all warm/reddish or all cool/grayish) even if the darkness of the wood varies.
- Add secondary patterns through pillows and throws. Use the ‘Rule of Three’: mix one large-scale pattern, one medium-scale pattern (like a geometric), and one small-scale pattern (like a texture or small dot) to prevent visual overwhelm.
- Introduce solid-colored textiles in a hue found within your main pattern. These ‘solids’ act as a visual resting place, preventing the patterns from competing with each other.
- Place wooden decorative objects, like a hand-carved bowl or a set of wooden links, directly onto patterned surfaces. This physical layering of wood on top of pattern cements the ‘eclectic sanctuary’ look and creates a rich, multi-dimensional environment.
Creating Your Forever Sanctuary
Designing a bohemian dream home is a journey that never truly ends, and that is the beauty of it. Your home should be a reflection of your evolving self—a place that grows, changes, and matures right alongside you. By embracing natural textures, honoring vintage history, and surrounding yourself with the patterns and colors that make your heart sing, you aren’t just decorating a house; you are curating a life. Take your time, trust your intuition, and remember that the most beautiful homes are the ones that feel loved.