
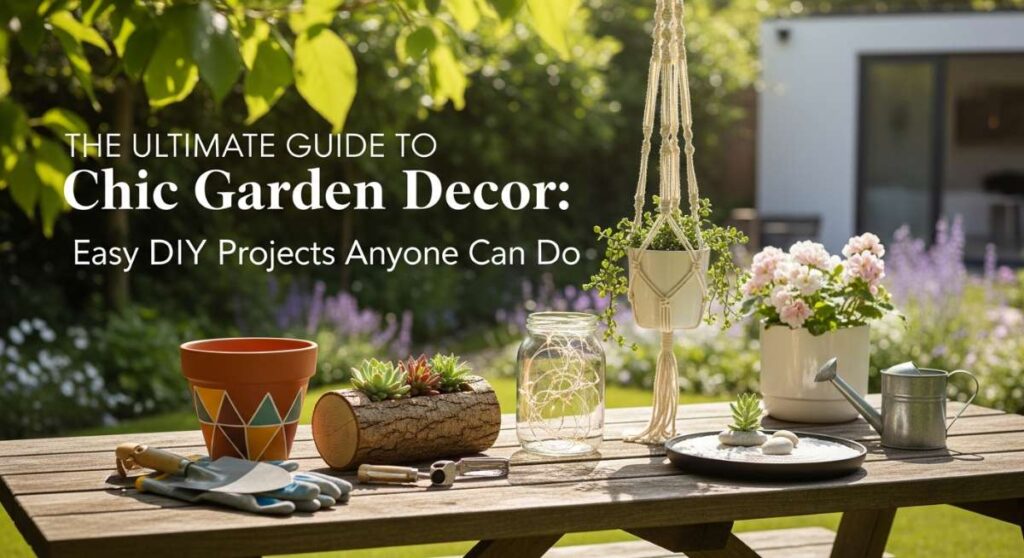
There is something truly magical about stepping into a garden that feels like a personal sanctuary. I remember the first time I sat on my back porch with a steaming mug of coffee, watching the morning mist cling to the petals of my hydrangeas. It wasn’t just about the plants; it was the feeling of peace that washed over me, a realization that my outdoor space had become an extension of my soul. We often think that a Pinterest-worthy garden requires a professional landscaper and a massive budget, but I’m here to tell you that the most charming details often come from your own two hands.
Creating a chic garden isn’t about perfection; it’s about the textures, the smells, and the memories you build within those green walls. Whether you have a sprawling backyard or a tiny apartment balcony, adding these DIY touches will transform your space into a retreat that looks high-end but feels incredibly cozy. Let’s roll up our sleeves and breathe some life into your outdoor oasis with these simple, aesthetic projects.
How to Craft a Budget Bird Oasis for Your Garden Sanctuary
Why we love this
Nothing brings a garden to life like the rhythmic chirping of happy birds and the gentle splash of water under the sun. This budget-friendly oasis creates a focal point that feels expensive and intentional, blending natural elements with a touch of vintage charm. We love the way the water catches the golden hour light, reflecting the vibrant greens of your plants while providing a vital resource for local wildlife. It adds a sensory layer to your garden—the sound of trickling water and the sight of fluttering wings—that instantly lowers your heart rate and makes every afternoon feel like a retreat.
Essential Elements:
- Terracotta pots of varying sizes (one large base, one medium, one small topper)
- A solar-powered fountain pump
- Waterproof exterior sealant or clear glaze
- River stones and smooth pebbles
- Aquatic-safe adhesive
How to make it
- Begin by cleaning your terracotta pots thoroughly to remove any dust. Apply two thin coats of waterproof sealant inside and out; this prevents the porous clay from absorbing all the water and keeps your oasis looking fresh for years.
- Once dry, stack the pots. Use the largest as the base, fill it with a few large stones for stability, and place the medium pot inverted inside or slightly offset. Secure them with adhesive if you want a permanent structure, ensuring there is space for water to pool in the tiers.
- Place the solar fountain pump in the topmost basin. Professional tip: Ensure the solar panel faces south to catch the maximum amount of direct sunlight, which keeps the water flow consistent throughout the day.
- Arrange your river stones around the pump to hide the plastic casing. This not only looks more natural but also provides landing spots for smaller birds like finches to drink safely without falling in.
- Fill the basins with fresh water. Watch for the ‘first bubble’ as the pump primes. If the flow is too splashing, adjust the stones to break the water’s fall, creating a soft, melodic trickle rather than a loud splash.
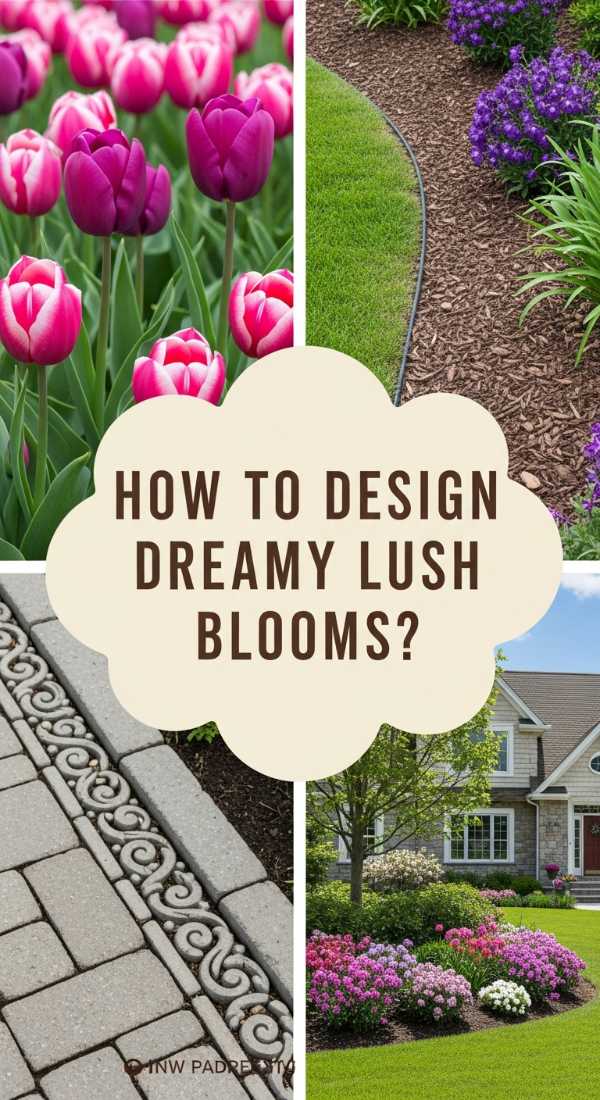
How to Design a Dreamy Entrance with Lush Front Yard Blooms
Why we love this
Your front yard is the first embrace you receive when you come home, and a lush, blooming entrance sets a tone of warmth and hospitality. We adore the explosion of color and the intoxicating scent of jasmine or roses that greets you at the gate, creating an immediate sense of ‘home.’ By layering heights and textures, you create a visual story that guides guests toward your door with elegance. It’s about that ‘stop and stare’ curb appeal that makes neighbors smile and gives you a burst of pride every time you pull into the driveway.
Essential Elements:
- A mix of perennial shrubs (like Hydrangeas or Boxwoods)
- Trailing annuals (like Petunias or Creeping Jenny)
- High-quality organic mulch
- Decorative garden edging (stone or weathered wood)
- Slow-release flower fertilizer
How to make it
- Start by defining your garden bed shape using a garden hose to mark out soft, organic curves. Avoid rigid straight lines; curves feel more high-end and natural.
- Excavate the area to a depth of about 8 inches, removing all grass and weeds. Pro tip: Mix in three inches of aged compost to the soil to give your new blooms the nutrient-rich foundation they need to thrive.
- Plant your tallest ‘anchor’ shrubs at the back or center of the bed. Space them according to their mature width to avoid overcrowding in three years.
- Layer in your mid-sized perennials, focusing on leaf texture. Pair broad-leafed plants with fine-textured grasses for a sophisticated, designer look. Finally, tuck in trailing annuals at the very edge to spill over your garden border.
- Apply a 2-inch layer of dark mulch across the entire bed. This visual contrast makes the green of the leaves and the colors of the flowers pop while suppressing weeds and retaining moisture during hot summer spells.
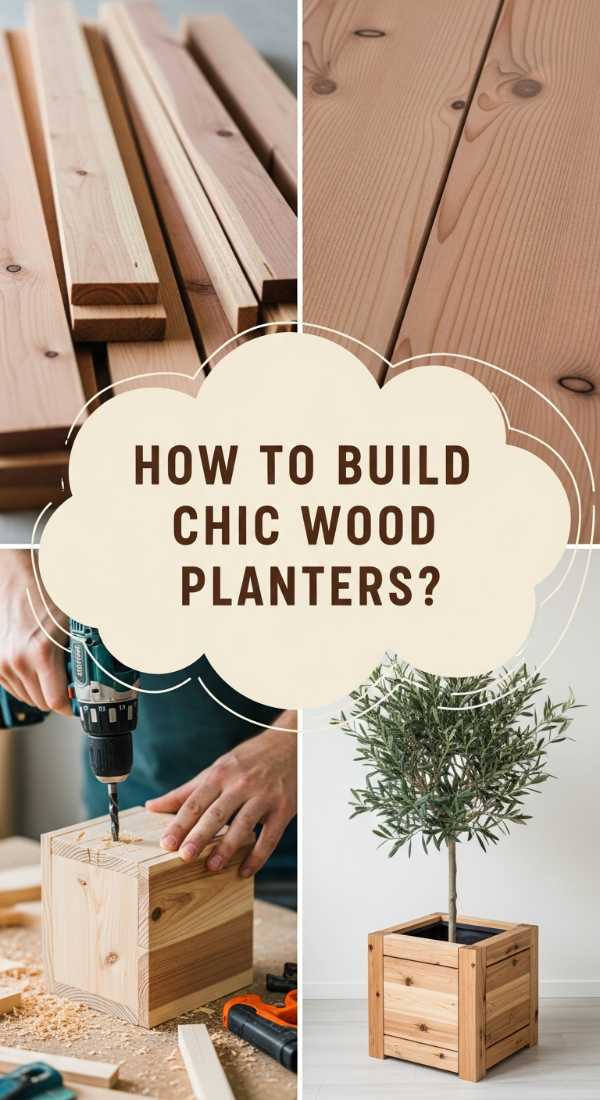
How to Build Custom Cedar Planters for a Chic Porch Aesthetic
Why we love this
Cedar is the gold standard for outdoor decor because of its natural resistance to rot and its breathtaking, warm aroma that heightens the outdoor experience. These custom planters bring a structured, modern aesthetic to your porch, acting as ‘jewelry’ for your home’s exterior. We love the way the raw wood grain develops a beautiful silver patina over time, or stays a rich honey hue if sealed. It’s a tactile, sturdy project that feels substantial and provides a high-contrast backdrop for vibrant greens and structural grasses.
Essential Elements:
- Cedar fence pickets or 1×4 cedar boards
- Exterior-grade wood screws (stainless steel or coated)
- A miter saw or hand saw
- Wood glue (exterior rated)
- Landscape fabric for lining
How to make it
- Measure and cut your cedar boards into four equal panels for the sides and four shorter pieces for the corner ‘cleats.’ For a standard 18-inch planter, cut your panels to 18 inches each.
- Assemble the frame by attaching two panels to two cleats using wood glue and screws. Pre-drill your holes to prevent the cedar from splitting—this is a professional step that ensures a clean, high-end finish.
- Connect all four sides to form a square box. For the bottom, cut three boards slightly shorter than the internal width and screw them into the cleats, leaving small gaps for drainage.
- Sand the edges with 120-grit sandpaper until they are smooth to the touch. This removes any rough factory stamps and gives the wood a luxurious, satin-like feel.
- Line the interior with landscape fabric, stapling it to the sides. This prevents soil from washing out through the gaps while allowing excess water to escape, keeping your plants healthy and your porch clean.
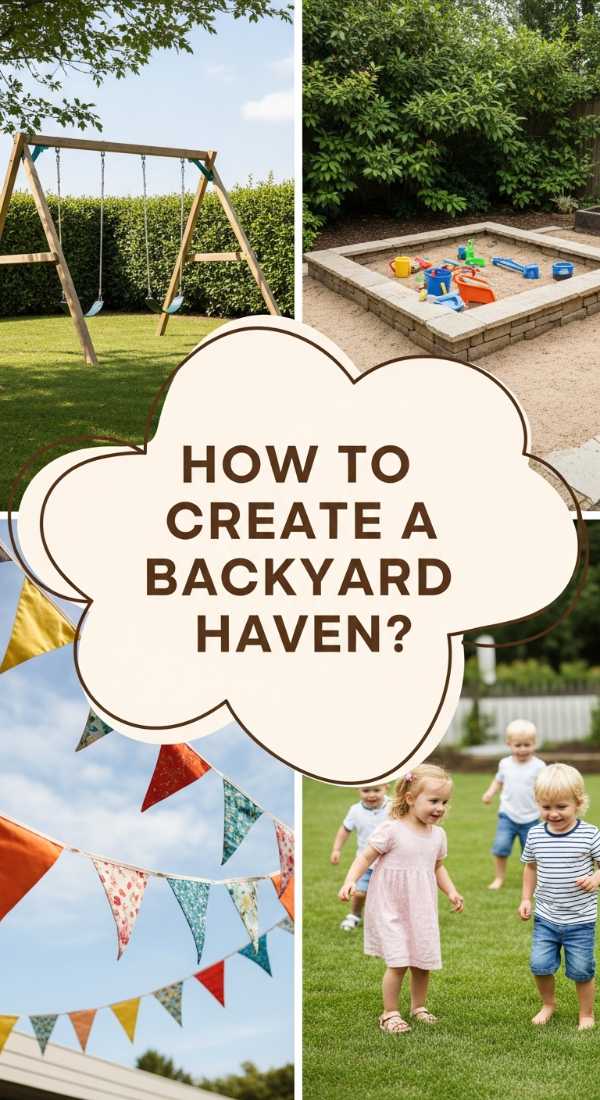
How to Create a Magical Backyard Haven for Boundless Childhood Joy

Why we love this
There is nothing quite as nostalgic as the feeling of a hidden nook in the backyard where imagination can run wild. This haven is designed to be a soft, safe space filled with the scent of crushed mint and the twinkle of solar lanterns. We love how it encourages kids to disconnect from screens and reconnect with the earth, finding magic in the shadows of the leaves. It’s a space that feels like a fairytale garden, blending playfulness with a chic aesthetic that won’t make your backyard look like a plastic-filled playground.
Essential Elements:
- Weather-resistant outdoor rug or pea gravel base
- Heavy-duty canvas teepee or willow play structure
- Solar-powered fairy lights
- Large outdoor floor cushions
- Fast-growing climbing vines (like Honeysuckle or Clematis)
How to make it
- Select a shaded corner of your yard, preferably under a large tree or near a fence line to create a sense of enclosure. Level the ground and lay down your base material—pea gravel is great for drainage and has a lovely crunch underfoot.
- Set up your central structure. If using a canvas teepee, ensure the poles are anchored into the ground or weighted so it doesn’t tip in high winds.
- Drape solar fairy lights around the entrance and through the nearby tree branches. Pro tip: Use ‘warm white’ LEDs to mimic the glow of fireflies, which creates a much more magical atmosphere than ‘cool white’ bulbs.
- Plant climbing vines at the base of the structure. Use a simple twine trellis to guide them upward; within one season, the greenery will wrap around the haven, providing natural shade and a sweet fragrance.
- Scatter outdoor cushions and a small basket of nature-themed books inside. This turns the space from a mere ‘play area’ into a destination for quiet reading and creative dreaming.
How to Style a Creative Mud Station with Charming Rustic Details

Why we love this
Let’s be honest: gardening and outdoor play can be messy, but that mess doesn’t have to be an eyesore. A creative mud station brings organized, rustic charm to your back entry or potting shed area. We love the combination of weathered wood, galvanized metal, and the earthy scent of potting soil. It turns a chore into a curated experience, where every tool has a home and even a muddy boot looks like part of the decor. It’s functional art that celebrates the grit and beauty of a life lived outdoors.
Essential Elements:
- Reclaimed wooden pallet or old potting bench
- Galvanized buckets and bins
- Antique-style brass hooks
- A vintage washbasin or large bucket
- Cast iron boot scraper
How to make it
- Secure your wooden station against a wall or fence. If using a pallet, sand it down thoroughly to avoid splinters and apply a dark walnut outdoor stain for a rich, rustic look.
- Mount your brass hooks at varying heights along the backboard. Use these for hanging trowels, sun hats, and aprons. Pro tip: Group items in threes for a more balanced, designer aesthetic.
- Position the galvanized bins on the lower shelves. Use one for ‘clean’ garden shoes and another for bags of soil or mulch, keeping the visual clutter contained and tidy.
- Set the washbasin on the main surface. Fill it with water and a few drops of lavender essential oil; this creates a refreshing spot to rinse hands or small tools after a session in the dirt.
- Finish the look with a cast iron boot scraper at the base. This provides a clear ‘transition’ point between the garden and the home, ensuring the mud stays exactly where it belongs.
How to Elevate a Relaxing Spa Corner for Ultimate Evening Serenity
Why we love this
After a long day, there is no greater luxury than retreating to a corner of the garden that feels like a five-star spa. This project is all about the ‘vibe’—the soft glow of candles, the rustle of ornamental grasses, and the feeling of complete privacy. We love how this space becomes a sanctuary for meditation or a quiet glass of wine. It’s designed to engage all the senses, from the soft textures of the textiles to the calming visuals of a minimalist layout, providing a mental reset that is absolutely priceless.
Essential Elements:
- Two comfortable weather-proof lounge chairs
- A low wooden coffee table or stone plinth
- Citronella incense or soy candles
- Potted bamboo or tall grasses for privacy screening
- Outdoor Bluetooth speakers (hidden)
How to make it
- Create a ‘room’ effect by arranging your tall grasses or bamboo in a semi-circle. This provides a natural sound barrier and blocks the view of the rest of the yard, making the corner feel intimate.
- Place your lounge chairs at a 45-degree angle facing each other to encourage conversation. Use chairs with deep, plush cushions in neutral tones like cream or slate grey.
- Position your low table between the chairs. Add a tray with a stone coaster and a small vase of fresh-cut greenery from your own garden.
- Integrate lighting at different levels. Use ground-level lanterns for a path and a single, dimmable overhead light if possible. Pro tip: Avoid bright white lights; aim for 2700K temperature bulbs to maintain that ‘spa’ warmth.
- Hide a small Bluetooth speaker behind a planter. Play soft nature sounds or low-fi beats at a volume that is just audible—enough to mask neighborhood noise without being intrusive.
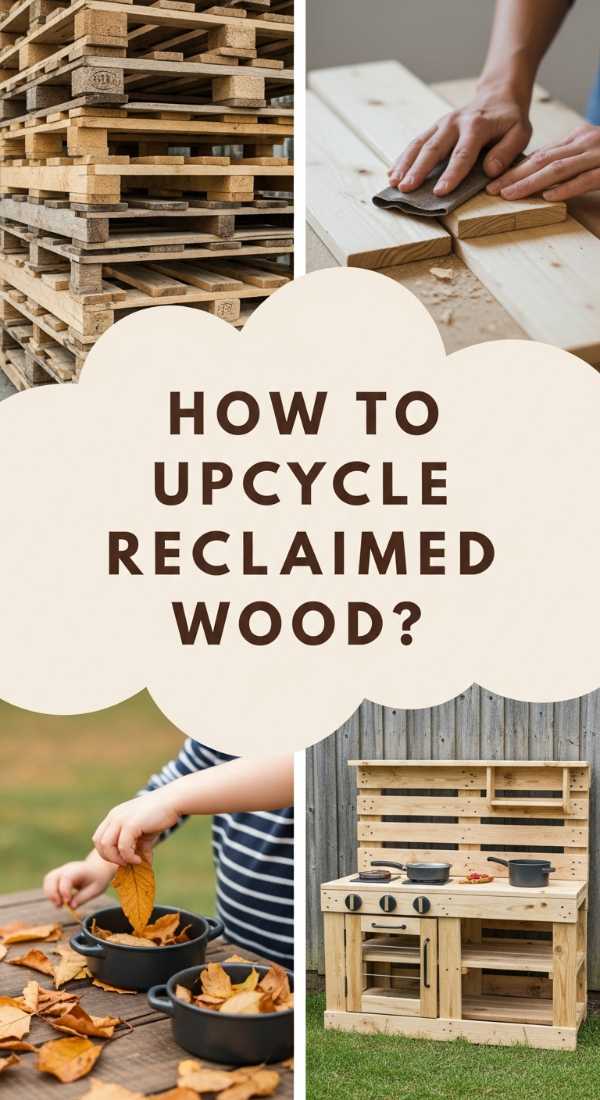
How to Upcycle Reclaimed Wood for an Eco Friendly Play Space
Why we love this
There is a unique soulfulness in using reclaimed wood; it carries the history of its previous life into your garden. This eco-friendly play space is both sustainable and incredibly chic, moving away from bright primary colors toward a muted, organic palette. We love the silver-grey tones of the aged timber and the way it feels cool and smooth to the touch. It’s a project that teaches the value of repurposing while creating a durable, beautiful environment for movement and exploration that blends seamlessly with the natural landscape.
Essential Elements:
- Old barn wood or shipping pallets (HT-stamped for safety)
- Stainless steel outdoor hardware
- Hemp or jute rope
- Natural wood oil (like Tung oil)
- Recycled rubber mulch or wood chips
How to make it
- Deconstruct your reclaimed wood carefully, removing all old nails and staples. Inspect each piece for structural integrity; only use boards that are solid and free of soft rot.
- Sand every surface with a heavy-duty orbital sander. Start with 60-grit to remove the rough exterior and finish with 150-grit. Pro tip: Apply a coat of natural Tung oil; it penetrates the wood to protect it from the inside out without creating a plastic-looking film.
- Build low-profile balancing beams or a ‘nature stage’ by securing the boards together with long structural screws. Ensure all heads are countersunk (driven below the surface) so there are no snags.
- Use the hemp rope to create ‘railings’ or handholds. Hemp is wonderful because it is biodegradable and has a soft, grippy texture that is perfect for little hands.
- Define the area with a border of reclaimed logs and fill with wood chips. This creates a soft landing zone and reinforces the ‘forest-floor’ aesthetic of the play space.
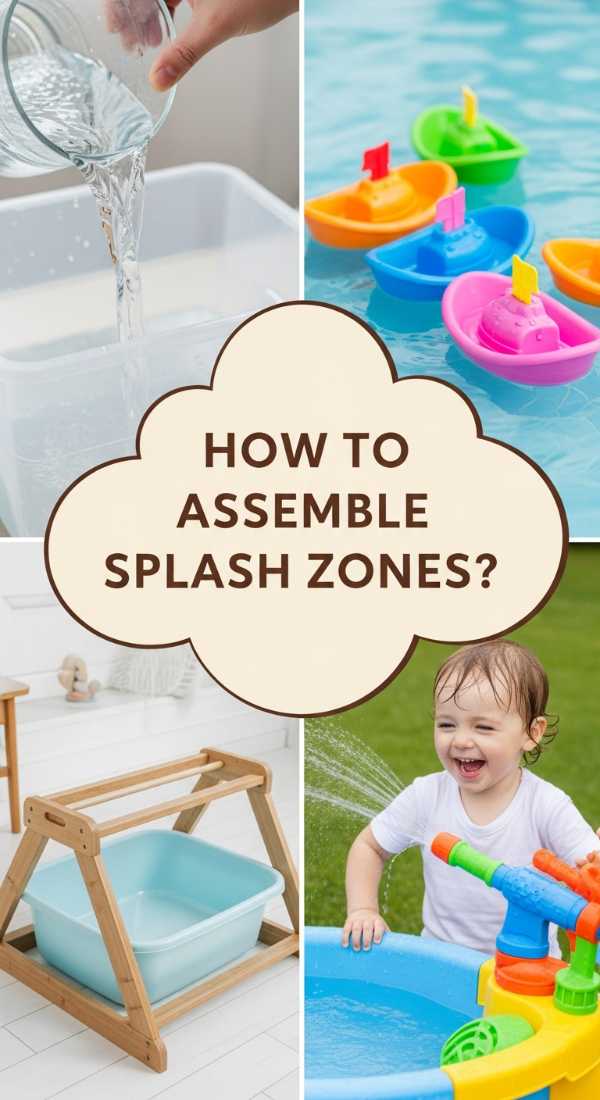
How to Assemble a Sensory Splash Zone for Cool Summer Play

Why we love this
When the summer heat peaks, a sensory splash zone becomes the heart of the garden. We love the way the sparkling water catches the light and the cooling sensation it brings to the air. This isn’t just a sprinkler; it’s a curated experience involving different water pressures, temperatures, and textures. It’s the sound of laughter echoing over the spray and the sight of children (and pets!) staying active and cool. It’s an aesthetic way to handle the heat that looks organized rather than cluttered with plastic toys.
Essential Elements:
- A low-profile galvanized stock tank or large plastic tub
- Assorted plastic pipes and connectors (PVC)
- A hose-to-pipe adapter
- Smooth glass beads and large sea shells
- Waterproof LED submersible lights
How to make it
- Level the ground in a sunny spot and place your galvanized tank as the ‘collection’ point. This tank will hold about 4 inches of water at all times for tactile play.
- Build a simple ‘water wall’ using PVC pipes. Drill small holes at different intervals to create different spray patterns—some like a mist, others like a steady stream.
- Connect the pipe system to your garden hose using the adapter. Pro tip: Install a small ball-valve on the line so you can easily adjust the water pressure from ‘gentle rain’ to ‘active spray’ without running back to the faucet.
- Fill the bottom of the tank with the glass beads and shells. This provides a visual and tactile ‘treasure hunt’ element and makes the water shimmer with blues and greens.
- Drop in your submersible LED lights for evening play. They turn the splash zone into a glowing blue lagoon, making it a beautiful garden feature even when it’s not in active use.
How to Arrange Perennial Borders for Effortless Seasonal Curb Appeal
Why we love this
The beauty of a perennial border is that it is the gift that keeps on giving, evolving with the seasons like a living painting. We love the soft, romantic feel of ‘drifts’ of color—where one plant blends into the next without harsh lines. There is a deep satisfaction in watching the first green shoots of spring turn into the lush fullness of summer and then the structural seed heads of autumn. It’s a low-maintenance way to ensure your home always looks ‘dressed’ and sophisticated with minimal effort year after year.
Essential Elements:
- A mix of early, mid, and late-season bloomers (like Peonies, Lavender, and Sedum)
- Evergreen ‘backbone’ plants (like Yew or Juniper)
- Garden line or spray paint for marking
- Hand spade and garden fork
- Cardboard for ‘sheet mulching’
How to make it
- Plan your border in ‘waves’ rather than rows. Sketch out three tiers: tall in the back, medium in the middle, and low ‘groundcovers’ in the front.
- Use the sheet mulching technique to prepare the bed: lay down flat cardboard over the grass, wet it thoroughly, and cover with 4 inches of soil/compost. This kills the grass and creates a rich bed without tilling.
- Plant your evergreen ‘backbone’ first. These provide structure in the winter when everything else has died back. Space them evenly to draw the eye along the length of the border.
- Group your perennials in odd numbers (3s, 5s, or 7s). This mimics how plants grow in nature and feels much more high-end than single-planting. Pro tip: Choose plants with ‘silver’ foliage like Lamb’s Ear to act as a visual palate cleanser between bright colors.
- Finish by tucking in bulbs like Tulips or Alliums between the perennials. As the perennials wake up in late spring, they will hide the fading foliage of the bulbs, keeping the border looking pristine.
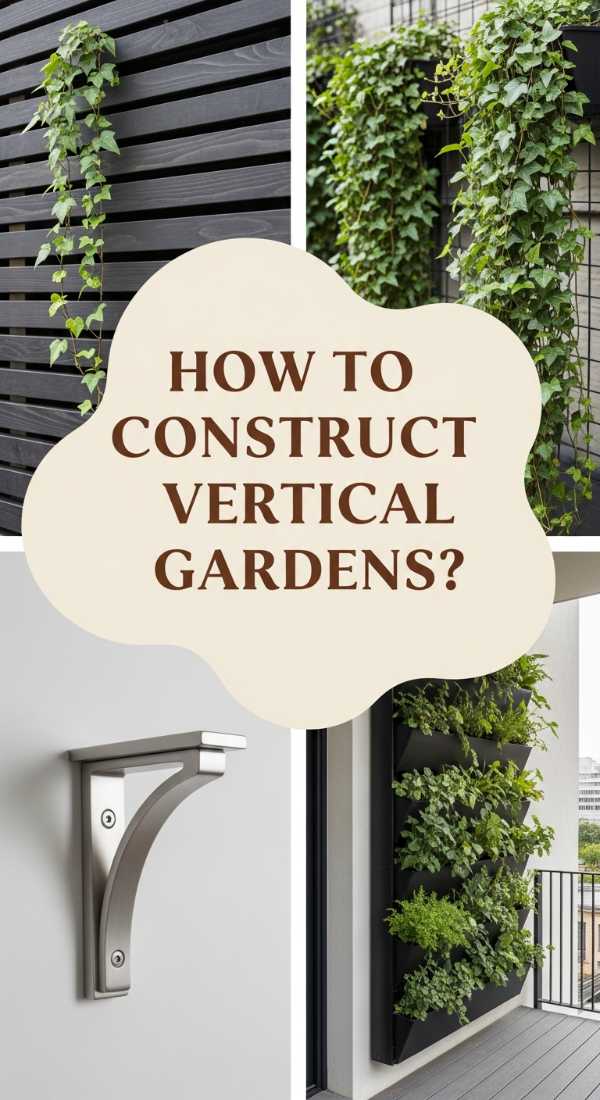
How to Construct Modern Vertical Gardens for a Stylish Minimalist Balcony
[IMAGE_10]
Why we love this
Vertical gardening is the ultimate solution for urban dwellers, turning a cold brick wall into a lush, breathing tapestry of green. We love the minimalist, architectural look of stacked planters and the way they provide a fresh supply of herbs right outside your kitchen door. The aroma of basil and rosemary wafting in through the screen is heavenly. It’s a clean, organized way to garden that maximizes every square inch of your space, proving that you don’t need an acre to have a stunning, productive garden.
Essential Elements:
- Wall-mounted metal grid or wooden lattice
- Matching geometric pots or ‘S’ hooks
- High-quality potting mix with perlite
- A collection of trailing and upright herbs
- Drip irrigation kit (optional but recommended)
How to make it
- Secure your metal grid or lattice to the wall using heavy-duty masonry anchors. Ensure it is perfectly level; even a slight tilt will be very noticeable in a minimalist design.
- Select pots that are uniform in color—matte black or crisp white looks exceptionally modern. Pro tip: Ensure every pot has a drainage hole, but use ‘cachepots’ (outer pots without holes) if you are worried about water dripping onto the balcony below.
- Plant your herbs with the ‘thriller, spiller’ method. Put upright herbs like Chives in the top pots and trailing herbs like Thyme or Oregano in the lower pots to create a waterfall effect.
- Space the pots in a grid pattern on the lattice. Leave enough ‘negative space’ between the pots so the wall behind them is visible; this creates that ‘high-design’ minimalist aesthetic.
- Water from the top down. The runoff from the upper pots will help hydrate the lower ones. If you have a larger setup, weave a thin drip irrigation line through the grid to ensure every plant stays perfectly hydrated during the heat of the day.
Cultivating Your Personal Paradise
Your garden is a reflection of your journey—a place where you can experiment, grow, and find a moment of stillness in a busy world. By taking on these DIY projects, you aren’t just decorating an outdoor space; you are crafting an environment that nurtures your well-being. Start small, perhaps with a single planter or the bird oasis, and watch how your connection to your home transforms. Remember, the most beautiful gardens aren’t the ones that are finished; they are the ones that are lived in, loved, and constantly evolving. Happy gardening!
Frequently Asked Questions
- What is the best wood for outdoor garden projects? Cedar and Redwood are the top choices because they naturally resist rot, insects, and moisture. If you are on a budget, pressure-treated lumber works well but should be sealed or painted.
- How can I keep my DIY garden decor looking new? Apply a fresh coat of UV-resistant sealant every 1-2 years and clean terracotta or stone items with a mild vinegar solution to prevent algae buildup.
- Can I start a garden if I have zero experience? Absolutely! Start with the Perennial Border or the Vertical Garden. These projects use hardy plants that are difficult to kill and provide immediate visual satisfaction.
- How do I attract more birds to my DIY oasis? Keep the water clean, provide a mix of shallow and deep areas for bathing, and place the oasis near a shrub where birds can quickly hide if they feel threatened.