
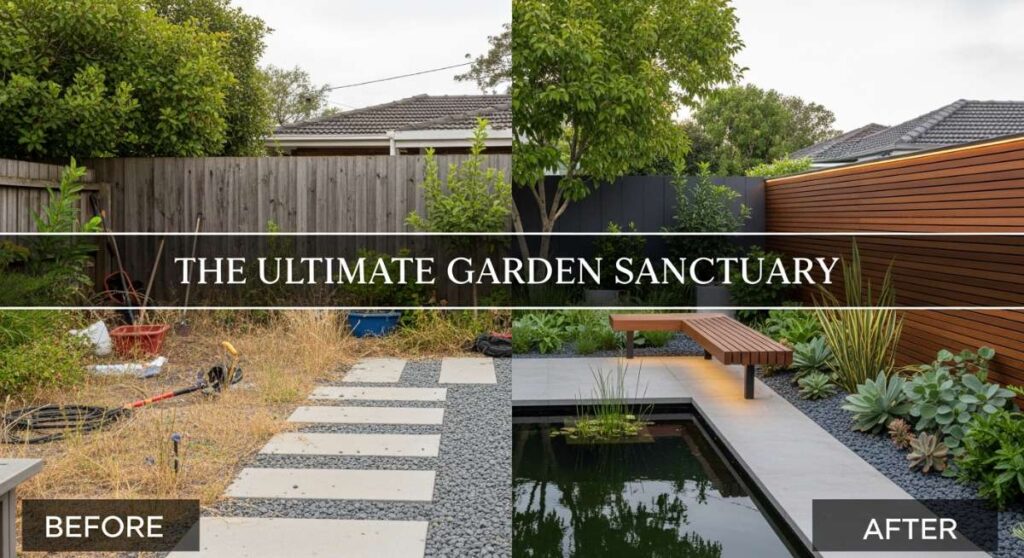
The Ultimate Garden Sanctuary: From Messy Yard to Meditative Oasis
I remember standing on my back porch two summers ago, staring at a patch of weeds and rusted tools, feeling completely overwhelmed. Life was loud, work was relentless, and my yard felt like just another chore on an endless to-do list. I craved a space where the world would go quiet, where I could breathe in the scent of damp earth and blooming jasmine, but I didn’t know where to start. It wasn’t about having a perfect ‘Instagram yard’; it was about finding a place to reconnect with myself.
That journey from chaos to calm transformed more than just my property; it transformed my spirit. Gardening isn’t just about plants; it’s about the slow magic of growth, the tactile joy of soil under your fingernails, and the deep satisfaction of creating a living sanctuary. Whether you have a sprawling estate or a tiny fire escape, you deserve a pocket of peace. Let’s walk through how to turn your outdoor space into the soulful retreat you’ve been dreaming of.
How to Spark Childlike Wonder with Outdoor Play
![]()
Why we love this
There is something profoundly healing about reconnecting with the uninhibited joy of childhood. When we introduce elements of play into our garden—be it a sturdy wooden swing hanging from an oak branch or a hidden fairy trail tucked behind the hostas—the garden stops being a task and starts being an adventure. We love the way the golden hour light catches the movement of a swing, the gentle creak of the rope, and the feeling of weightlessness that instantly dissolves adult anxieties into pure, airy bliss.
Essential Elements:
- A sturdy, weather-resistant wooden or tire swing.
- Heavy-duty jute or hemp rope with high tensile strength.
- Solar-powered fairy lights or copper wire lanterns.
- A hidden ‘secret path’ made of stepping stones or wood rounds.
- Whimsical birdhouses or hand-painted garden gnomes.
How to make it
- Select a mature, healthy tree with a branch at least 8 inches in diameter to ensure safety and stability.
- Measure the height from the branch to the ground; cut your rope to double this length plus three feet for knots.
- Use a ‘running bowline’ knot to secure the rope to the branch, ensuring you use a tree-protector sleeve to prevent the rope from cutting into the bark over time.
- Sand your wooden swing seat until it is butter-smooth to prevent splinters, then seal it with a marine-grade varnish for longevity.
- Attach the seat using a double-loop fisherman’s knot, ensuring the seat is perfectly level by using a spirit level tool.
- Line a pathway with oversized hostas and ferns, placing small, glowing LED ‘fairies’ among the leaves to create a sense of nighttime enchantment.
How to Transform Small Spaces with Lush Potted Greenery

Why we love this
Potted greenery is the ultimate equalizer for those of us living in urban environments or smaller homes. It allows for a curated, jungle-like density that feels lush and protective, wrapping you in a cocoon of emerald shades. The aroma of damp terracotta mixed with the spicy scent of geraniums creates an olfactory escape that masks city noises. We love the versatility of moving pots to chase the sun, creating a dynamic landscape that evolves with the seasons and our moods.
Essential Elements:
- A variety of terracotta, ceramic, and galvanized metal pots.
- High-quality, well-draining organic potting mix.
- Slow-release organic fertilizer granules.
- Trailing plants like Creeping Jenny or Ivy for ‘spiller’ effects.
- Structural plants like Snake Plants or Boxwoods for ‘thriller’ effects.
How to make it
- Choose a variety of pot sizes to create a tiered visual effect; odd numbers usually look more natural and pleasing to the eye.
- Ensure every pot has a drainage hole; if it doesn’t, use a masonry bit to carefully drill one at the bottom center.
- Fill the bottom third of the pot with lightweight drainage material like perlite or small stones to prevent root rot.
- Add your potting mix, leaving about two inches from the rim to allow for watering without overflow.
- Plant your ‘thriller’ (the tallest plant) in the center, surround it with ‘fillers’ (mounded plants), and place ‘spillers’ near the edges to cascade down.
- Group the pots closely together; this creates a microclimate that increases humidity, helping the plants thrive in drier balcony conditions.
How to Look Chic While Cultivating Your Backyard Oasis
Why we love this
There is a unique confidence that comes from being dressed appropriately for the task while still feeling like your most stylish self. Gardening is a sensory experience, and that includes the feel of high-quality linen against your skin or the sturdy weight of a well-crafted leather tool belt. We love this approach because it elevates gardening from a ‘chore’ to a ‘lifestyle ritual.’ When you look the part, you feel more intentional, moving through your garden with a grace that matches the beauty of the plants you’re tending.
Essential Elements:
- Breathable linen or heavy-cotton utility apron with deep pockets.
- Wide-brimmed straw hat with a chin strap for sun protection.
- Durable, waterproof rubber boots in a matte finish.
- Soft leather or reinforced canvas gardening gloves.
- A stylish, vintage-inspired copper watering can.
How to make it
- Layer a moisture-wicking base layer under your linen apron to stay cool and dry during the midday sun.
- Select gloves that fit snugly but allow for full finger dexterity; goatskin is excellent for thorn protection while remaining supple.
- Tie your hair back with a silk scarf before putting on your sun hat to prevent tangles and keep sweat away from your face.
- Apply a high-SPF, non-greasy sunscreen to your neck and hands, even if you are wearing gloves and a hat.
- Organize your utility apron with your most-used tools: a Hori-Hori knife, floral snips, and a spool of twine for easy access.
- Rinse your boots after every use with a garden hose and store them in a cool, dry place to prevent the rubber from cracking over time.
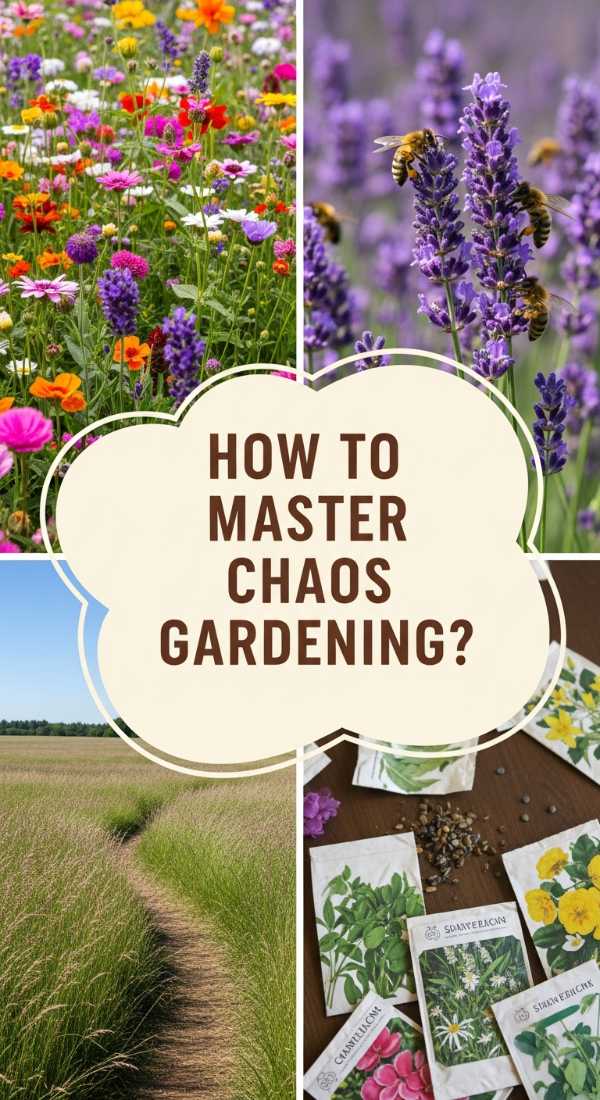
How to Embrace Wild Beauty with Effortless Seed Scattering

Why we love this
There is a rebellious, untamed beauty in a wildflower meadow that a manicured lawn can never replicate. This method, often called ‘chaos gardening,’ invites nature to take the lead, resulting in a vibrant tapestry of colors that hums with the life of bees and butterflies. We love the effortless, romantic aesthetic of tall cosmos swaying next to sturdy zinnias. It’s a low-stress way to achieve high-impact visual poetry, reminding us that sometimes the most beautiful things in life happen when we simply let go of control.
Essential Elements:
- A regional wildflower seed mix (non-invasive species).
- Fine horticultural sand for even seed distribution.
- A hard rake for soil preparation.
- Clear space with at least 6 hours of direct sunlight.
- A light straw mulch to protect seeds from birds.
How to make it
- Clear the area of existing weeds and grass, exposing the bare soil; do not till too deeply, as this can bring dormant weed seeds to the surface.
- Rake the top inch of soil until it is fine and crumbly, removing any large stones or debris.
- Mix your seeds in a bucket with a 1:3 ratio of seeds to dry sand; the sand helps you see where you have already scattered.
- Scatter the mixture across the area using a sweeping motion, aiming for even coverage across the entire plot.
- Walk over the area or use a light roller to press the seeds into the soil; most wildflower seeds need contact with the soil but don’t need to be buried deep.
- Water with a fine mist setting on your nozzle immediately after sowing, keeping the area consistently moist for 2-3 weeks until seedlings are established.
How to Extend Your Growing Season with Glass Shelters
Why we love this
Glass shelters, whether they are ornate Victorian cloches or simple cold frames, act like jewelry for the garden while serving a vital purpose. They allow us to cheat the calendar, starting our spring earlier and keeping our greens crisp well into the frost of autumn. We love the sight of delicate seedlings protected behind glass, glowing like little emeralds in the morning mist. It provides a sense of stewardship and guardianship, allowing us to nurture life even when the weather turns harsh and unforgiving.
Essential Elements:
- Glass cloches or bell jars.
- A DIY cold frame made from old windows and cedar wood.
- A thermometer to monitor internal temperatures.
- Prop sticks or bricks to vent the shelters on warm days.
- Horticultural fleece for extra insulation on sub-freezing nights.
How to make it
- Position your glass shelter in the sunniest spot of your garden, preferably facing south to maximize solar heat gain.
- If building a cold frame, ensure the back is higher than the front, creating a sloped roof that sheds rain and catches more sunlight.
- Place a thermometer inside the shelter; if the temperature rises above 75°F (24°C), use a prop stick to crack the lid open for ventilation.
- For individual cloches, press the rim into the soil about an inch deep to prevent wind from toppling them and to trap ground heat.
- Monitor moisture levels closely, as glass shelters prevent rainfall from reaching the plants; water the base of the plants by hand as needed.
- During extreme cold snaps, cover the glass with an old blanket or horticultural fleece at night, removing it as soon as the sun comes up the next morning.
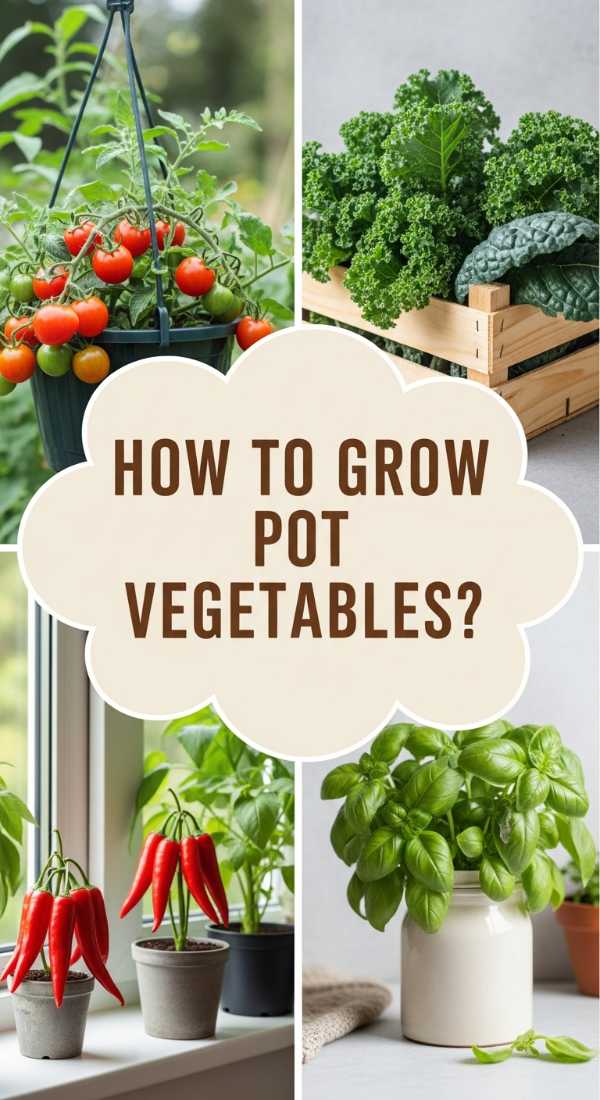
How to Harvest Fresh Flavors from Your Urban Balcony
Why we love this
There is no flavor quite as explosive as a sun-warmed tomato or a handful of basil plucked seconds before hitting the pasta. Bringing a ‘farm-to-table’ ethos to an urban balcony turns a small outdoor space into a functional larder. We love the sensory ritual of the morning harvest: the prickly touch of tomato vines, the peppery aroma of arugula, and the bright zing of mint. It bridges the gap between our high-tech lives and our primal need to nourish ourselves with the fruits of our own labor.
Essential Elements:
- Vertical planter towers or railing-hung boxes.
- Dwarf or ‘patio’ varieties of vegetables (like ‘Tiny Tim’ tomatoes).
- Liquid organic seaweed fertilizer.
- Self-watering reservoirs or a consistent drip system.
- A pair of sharp, bypass pruning shears.
How to make it
- Select crops based on your light levels; leafy greens can handle partial shade, while fruiting plants like peppers need at least 8 hours of sun.
- Use a high-quality organic potting soil specifically formulated for vegetables, which usually contains extra compost and aeration.
- Install a vertical trellis for climbing plants like snap peas or cucumbers to maximize your square footage.
- Feed your plants every two weeks with a diluted liquid fertilizer to replenish nutrients that leach out of pots during frequent watering.
- Pinch off the ‘suckers’ on tomato plants (the small shoots growing in the ‘V’ between the stem and branch) to direct energy toward fruit production.
- Harvest frequently; many vegetables, especially herbs and beans, will produce more if they are regularly picked.
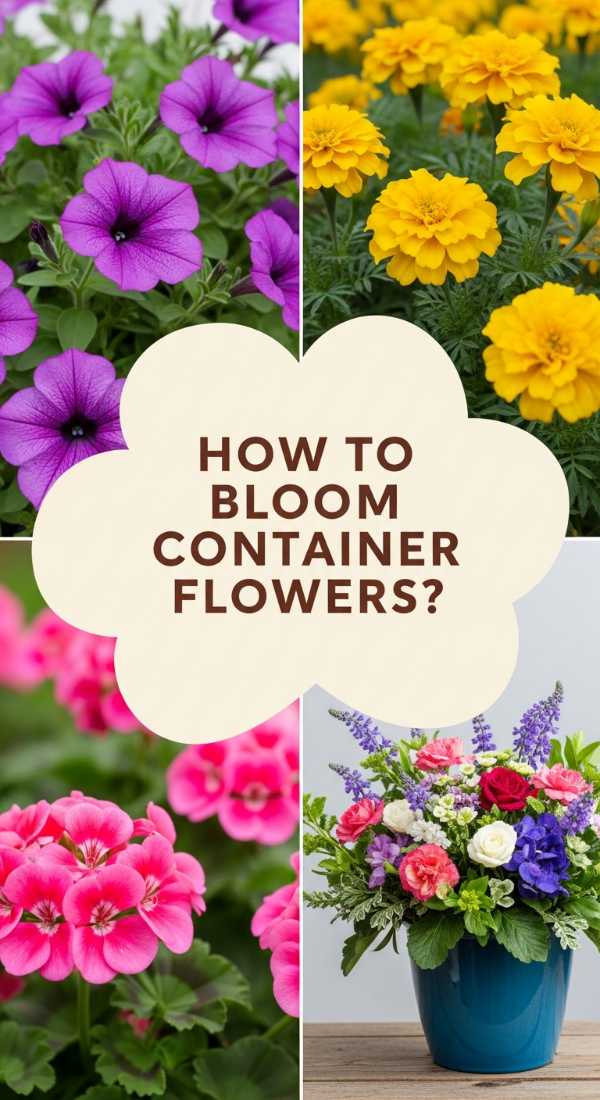
How to Create Vibrant Color Palettes in Small Planters
Why we love this
Designing a planter is like painting a living canvas. The thrill of mixing deep purples with neon lime greens or soft peach tones with silver dusty miller is a form of creative expression that refreshes every season. We love how a well-composed color palette can change the entire mood of a porch, from sophisticated and monochromatic to energetic and tropical. It’s an easy, low-commitment way to experiment with color theory and bring a burst of intentional joy to your doorstep.
Essential Elements:
- A color wheel to help choose complementary or analogous colors.
- Plants with varying foliage colors, not just flowers.
- Consistent pot styles to let the plant colors shine.
- High-quality potting mix with moisture-retention crystals.
- Deadheading snips to keep blooms vibrant.
How to make it
- Choose a theme: ‘Complementary’ uses opposites like purple and yellow; ‘Analogous’ uses neighbors like red, orange, and bronze.
- Start with a ‘base’ color in your foliage—for example, use a dark-leaved Heuchera to make pink flowers pop.
- Place your plants in the pot while still in their plastic nursery containers to ‘test’ the arrangement before committing to planting.
- Plant the tallest, most colorful specimen slightly off-center to create a more dynamic, artistic composition.
- Incorporate silver or white foliage (like Dichondra or Artemisia) to act as a ‘buffer’ that makes other colors appear more saturated.
- Keep the planter looking fresh by ‘deadheading’—removing faded flowers—to encourage the plant to put energy into new, colorful blooms.
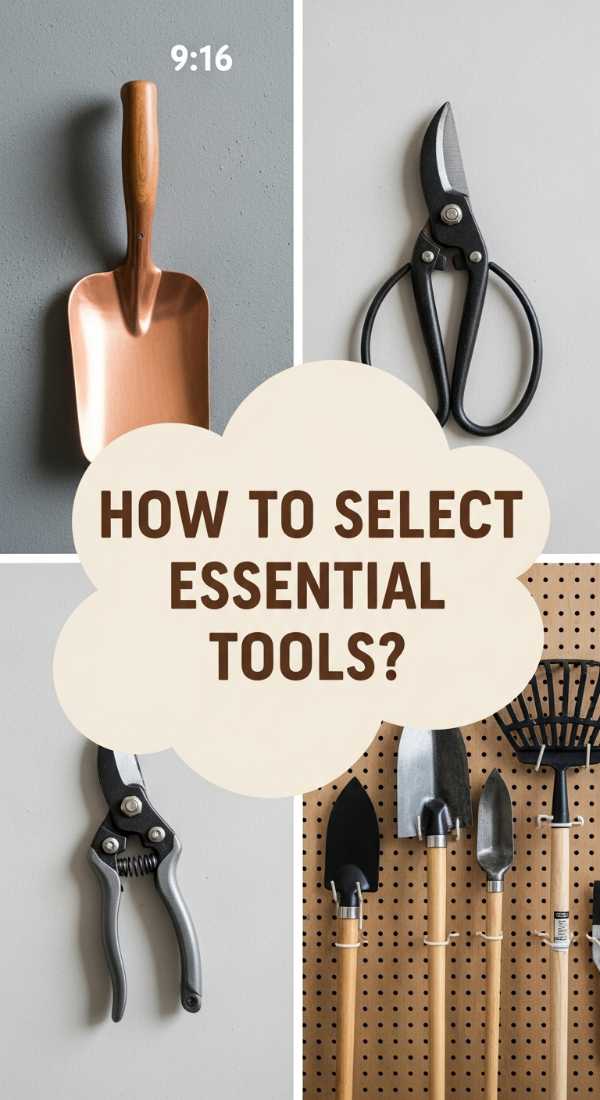
How to Equip Your Shed for Professional Quality Growth
Why we love this
A well-equipped garden shed is more than a storage unit; it is the laboratory of the soul. Having a dedicated space where every tool has a home and every seed is organized creates a sense of professional competence and calm. We love the woody, metallic scent of a clean shed and the sight of sharp, oiled tools hanging in a row. It streamlines the gardening process, removing the friction of searching for lost trowels and allowing you to drop straight into the ‘flow state’ of working with the earth.
Essential Elements:
- A sturdy wooden potting bench at waist height.
- Pegboards with hooks for organized tool storage.
- A sharpening stone and mineral oil for tool maintenance.
- Galvanized bins for bulk soil and amendments.
- A wall-mounted calendar to track planting dates and frost warnings.
How to make it
- Install your potting bench near a window; natural light is essential for delicate tasks like seed sowing and transplanting.
- Trace the outline of your tools on the pegboard with a permanent marker so you can see at a glance if something is missing.
- Set up a cleaning station: a bucket filled with sand and a little motor oil. Plunging your shovels into this after use cleans and coats the metal simultaneously.
- Use clear, airtight glass jars for seed storage, labeling them with the variety and the year they were collected or purchased.
- Hang a chalkboard or whiteboard to keep a running ‘to-do’ list, preventing the mental load of trying to remember which plant needs fertilizer.
- Install a simple battery-powered LED light strip under shelves so you can continue working during the early twilight hours of spring.
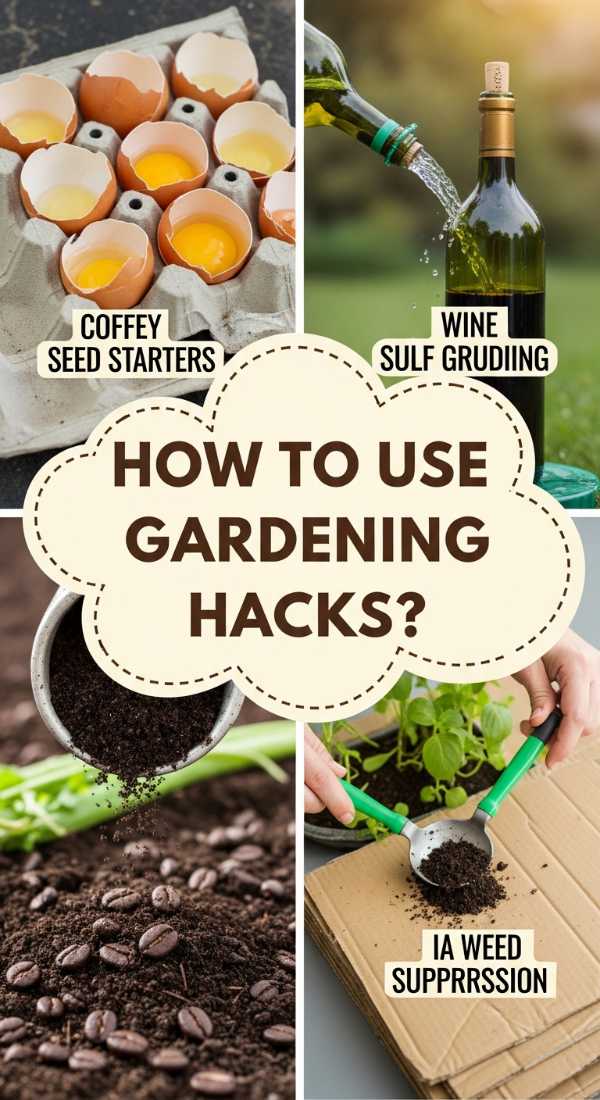
How to Save Time with Genius Planting Shortcuts
Why we love this
We believe that gardening should be a source of relaxation, not a source of stress. Finding shortcuts isn’t about being lazy; it’s about being efficient so you can spend less time weeding and more time swinging in your hammock. We love these ‘life hacks’ because they work with nature’s systems rather than against them. Using techniques like cardboard mulching or pre-sprouting seeds feels like a secret handshake with the earth, proving that a beautiful garden can be sustainable for even the busiest person.
Essential Elements:
- Brown cardboard (tape and staples removed) for sheet mulching.
- Natural wood chips or weed-free straw.
- Paper towels and zip-top bags for pre-sprouting.
- Soaker hoses or automated timer systems.
- Self-seeding annuals that do the ‘planting’ for you next year.
How to make it
- Practice ‘Sheet Mulching’: Layer cardboard over a weedy area, soak it with water, and cover with 4 inches of wood chips to kill weeds without digging.
- Pre-sprout large seeds (like peas or beans) by placing them in a damp paper towel inside a plastic bag for 48 hours before planting to guarantee germination.
- Install a simple battery-operated hose timer; consistent watering at 5 AM is the single best way to ensure plant health with zero effort.
- Use a ‘bulb planter’ tool for more than just bulbs; it’s the fastest way to create uniform holes for all your 4-inch nursery starts.
- Group plants with similar water needs together (hydro-zoning) so you aren’t wasting time and water on plants that don’t need it.
- Leave the leaves in your garden beds over winter; they act as free mulch, suppress weeds, and provide a habitat for beneficial insects.
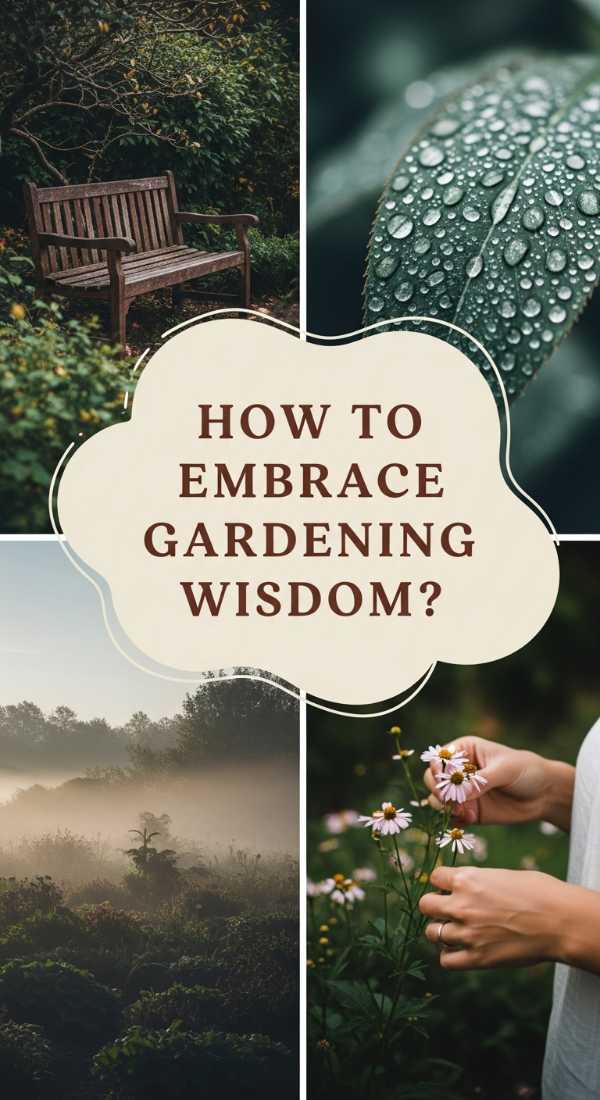
How to Find Soulful Serenity Among the Petals
[IMAGE_10]
Why we love this
At the end of the day, the garden is a mirror. It reflects our patience, our care, and our need for quietude. Finding serenity among the petals is the ultimate goal of the sanctuary—a place where the scent of lavender settles the mind and the rhythmic sound of a fountain slows the pulse. We love this because it reminds us that we are part of something larger. Sitting still in a garden allows us to witness the slow unfolding of life, teaching us that there is beauty in every stage, from the first bud to the falling leaf.
Essential Elements:
- A comfortable outdoor chair or bench placed in a ‘sanctuary’ corner.
- A small water feature (even a solar-powered birdbath).
- Fragrant plants like Jasmine, Lavender, or Scented Geraniums.
- Wind chimes with a deep, melodic tone.
- A ‘no-phone’ rule for this specific area of the garden.
How to make it
- Identify the quietest corner of your yard, ideally away from street noise or air conditioning units.
- Position your seating to face a ‘focal point’—this could be your favorite flowering shrub or a bird feeder.
- Plant fragrant flowers at ‘nose level’—use raised beds or hanging baskets so the scent drifts toward you while you sit.
- Incorporate a water element; the sound of trickling water is scientifically proven to lower cortisol levels and mask white noise.
- Add soft textures nearby, like Ornamental Grasses or Lamb’s Ear, which provide a soothing tactile experience when you run your hands through them.
- Commit to 10 minutes of ‘passive gardening’ every day—this means no weeding, no pruning, just sitting and observing the life around you.
Conclusion: Your Sanctuary Awaits
Building a garden sanctuary isn’t a race to a finish line; it’s a relationship you build over time. Each plant you tuck into the earth, each hour you spend breathing in the fresh air, and each moment of quiet you reclaim is a gift to yourself. Your yard doesn’t have to be perfect to be a paradise—it just has to be yours. So, grab your gloves, pick a corner, and start growing. Your soul will thank you.