
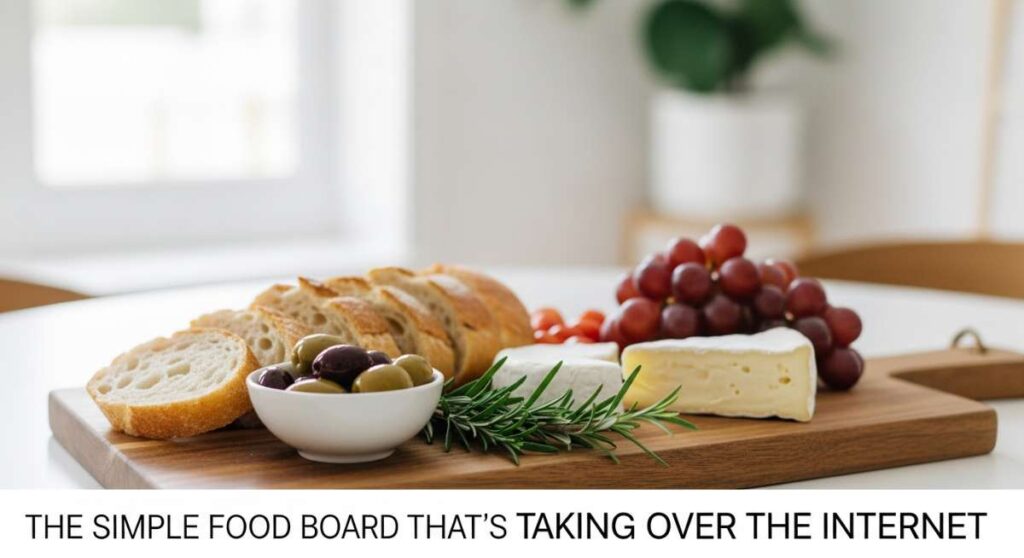
There is something inherently magical about the way a simple spread can turn a regular afternoon into a core memory. I remember the golden light filtering through the kitchen window as my mother laid out a rustic wooden board, not with expensive meats or rare cheeses, but with the humble bounty of our garden and local bakery. It wasn’t just food; it was an invitation to slow down, to talk, and to celebrate the quiet transitions of life. That feeling—the warmth of connection over a shared plate—is exactly why the ‘Simple Food Board’ has captured the internet’s heart this season.
As we navigate the whirlwind of graduation season and the arrival of summer, we find ourselves craving simplicity without sacrificing beauty. We want to celebrate our graduates and our sunny weekends with something that looks like art but tastes like home. Whether you are hosting a backyard bash for a new alum or just enjoying a quiet Sunday morning, these recipes and styling tips are designed to help you create moments that feel as good as they look.
Today, we’re diving into the secrets behind the viral boards that are taking over your feed. From the tart snap of fresh rhubarb to the playful decorations of a graduation party, let’s explore how to bring these aesthetic, delicious concepts to your own table.
How to design graduation cakes?
Why we love this
A graduation cake is more than just a dessert; it is a centerpiece of achievement that anchors the entire celebration. We love the way a well-designed cake captures the personality of the graduate, blending the sophisticated finish of smooth buttercream with the whimsical touch of personalized toppers. There is something deeply satisfying about the aroma of a rich vanilla sponge wafting through the house, paired with the silky texture of a Swiss meringue buttercream that melts on the tongue, signaling that a major milestone has finally been reached.
Ingredients
- 2 1/2 cups cake flour
- 1 1/2 cups granulated sugar
- 1 tbsp baking powder
- 1/2 tsp salt
- 3/4 cup unsalted butter, softened
- 1 cup whole milk
- 1 tbsp vanilla bean paste
- 4 large egg whites
- Gel food coloring (school colors)
- Edible gold leaf or sprinkles
How to make it
- Preheat your oven to 350°F (175°C) and grease three 6-inch round cake pans. Line the bottoms with parchment paper to ensure an easy release.
- In a large bowl, sift together the cake flour, sugar, baking powder, and salt. Using a stand mixer with the paddle attachment, add the softened butter one tablespoon at a time on low speed until the mixture resembles coarse sand.
- In a separate jug, whisk together the milk, vanilla bean paste, and egg whites. Gradually pour half of this liquid into the dry ingredients and beat on medium-high for 2 minutes to develop the structure.
- Add the remaining liquid in two batches, scraping the bowl in between. Divide the batter evenly among the pans. Bake for 25-30 minutes until a skewer comes out clean. Cool completely on a wire rack.
- Level the tops of the cakes with a serrated knife. Apply a thin ‘crumb coat’ of frosting and chill for 30 minutes. Apply a final thick layer of frosting, using an offset spatula to create a smooth, sharp edge. Decorate with a miniature mortarboard topper or custom calligraphy.
How to bake rhubarb pie?

Why we love this
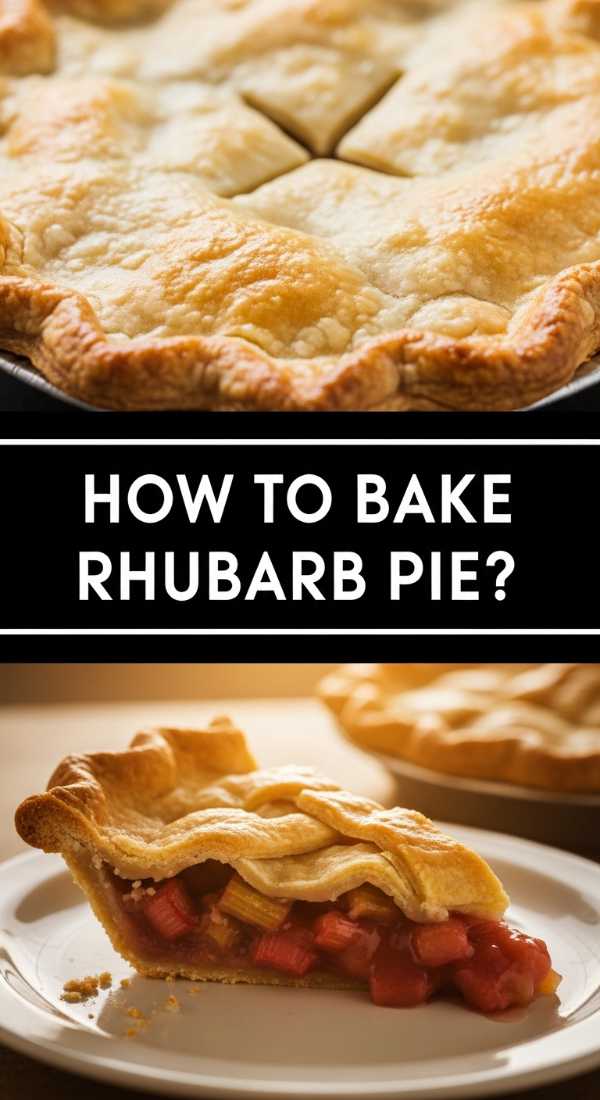
Rhubarb pie is the ultimate herald of spring, offering a sophisticated contrast between the mouth-puckering tartness of the stalks and the buttery, flaky embrace of a golden crust. When you pull it from the oven, the ruby-red juices bubble through the lattice, smelling of caramelized sugar and warm earth. Each bite provides a textural symphony—the crunch of the sugar-dusted pastry giving way to the soft, jammy interior that reminds us of nostalgic family picnics and the arrival of warmer days.
Ingredients
- 2 batches of chilled pie dough
- 5 cups fresh rhubarb, cut into 1/2 inch pieces
- 1 1/4 cups granulated sugar
- 1/4 cup cornstarch
- 1/2 tsp cinnamon
- 1/4 tsp salt
- 1 tbsp cold butter, cubed
- 1 egg (for egg wash)
- Turbinado sugar for topping
How to make it
- Roll out one disk of pie dough on a floured surface to about 12 inches. Drape it over a 9-inch pie plate, leaving an overhang. Chill while you prepare the filling.
- In a large bowl, toss the sliced rhubarb with sugar, cornstarch, cinnamon, and salt. Let it sit for 10 minutes to allow the juices to begin to macerate. This ensures the filling isn’t too runny once baked.
- Pour the filling into the prepared crust and dot the top with the small cubes of cold butter. This adds a rich silkiness to the sauce as it forms.
- Roll out the second disk of dough and cut into 1-inch strips. Weave a lattice pattern over the rhubarb, crimping the edges to seal. Brush the dough with a beaten egg and sprinkle generously with turbinado sugar for a professional crunch.
- Bake at 425°F (220°C) for 15 minutes to set the crust, then reduce heat to 375°F (190°C) and bake for another 40-50 minutes. The filling must be bubbling vigorously in the center to ensure the cornstarch has thickened properly.
How to frost graduation cupcakes?

Why we love this
Cupcakes are the perfect vessel for creativity, especially when you want to showcase school pride in a way that’s easy for guests to grab and enjoy. We adore the visual impact of a ‘high-swirl’ frosting technique, where the peaks catch the light and create a professional, bakery-style finish. The scent of sweet almond frosting paired with the soft, pillowy cake is irresistible, making these little treats the highlight of any graduation food board where color and texture take center stage.
Ingredients
- 24 pre-baked vanilla or chocolate cupcakes
- 2 cups unsalted butter, softened
- 5 cups powdered sugar
- 2 tsp clear vanilla extract
- 2 tbsp heavy cream
- Gel food coloring in two shades
- Fondant for miniature tassels
How to make it
- In a stand mixer, beat the softened butter on medium-high for at least 5 minutes until it becomes pale and very airy. This is the secret to a ‘cloud-like’ texture.
- Turn the mixer to low and gradually add the powdered sugar one cup at a time. Once incorporated, add the vanilla and heavy cream. Increase speed to high and whip for another 3 minutes.
- Separate the frosting into two bowls. Use gel coloring to create high-contrast shades (like navy and gold). Fit a large piping bag with a 1M or 2D star tip.
- To achieve a marble effect, use a spatula to paint stripes of the different colors down the inside of the piping bag before filling with the main frosting color.
- Hold the bag vertically over the cupcake. Start in the center, spiral outward to the edge, and then spiral back up toward the center to create a tall, tiered swirl. Release pressure and pull up quickly to create a sharp peak.
How to make funny cakes?
Why we love this
Sometimes, the best way to celebrate a major life change like graduation is with a healthy dose of humor. Funny cakes break the ice and bring a sense of lightheartedness to the party, using clever puns or ‘expectation vs. reality’ designs. We love the way these cakes smell of classic birthday fun—sweet, nostalgic, and festive. They remind us that while the future is serious, the celebration shouldn’t be, providing a soft, delicious bite alongside a much-needed laugh.
Ingredients
- Double batch of sturdy chocolate cake batter
- Peanut butter frosting
- Edible ink markers
- Modeling chocolate or fondant
- Letter-shaped cookie cutters
How to make it
- Bake two deep 8-inch round cakes. Ensure they are completely level by using a cake leveler or a large bread knife. For funny cakes, a ‘taller’ look often helps with the comedic proportions.
- Stack and frost your cake with a smooth finish. If you are going for a ‘meme’ style cake, a flat white surface works best as a canvas.
- Choose a relatable quote or a funny graduation pun (e.g., “The tassel was worth the hassle, but the student loans aren’t”). Use edible markers to sketch your design lightly on the frosting before committing.
- Create small 3D figures out of modeling chocolate—perhaps a miniature graduate looking exhausted or a ‘crying’ emoji. These add a tactile, humorous element to the board.
- Arrange these figures on top of the cake in a chaotic but intentional manner. The key is to make the design look high-end while the message remains hilarious and grounded.
How to cook rhubarb jam?

Why we love this
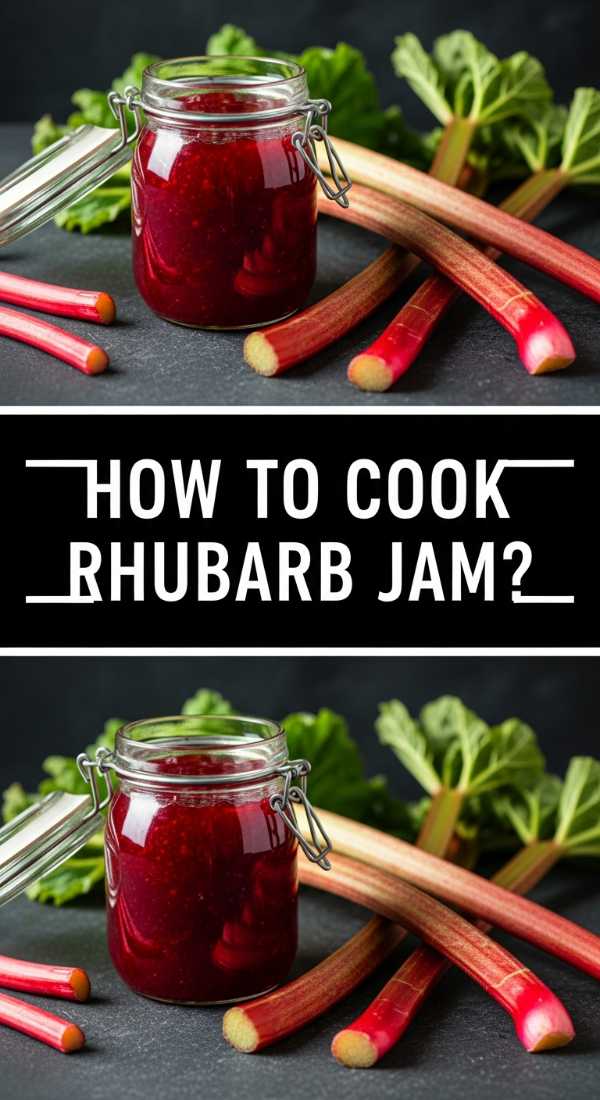
Rhubarb jam is like capturing sunshine and tartness in a jar. We love how the vibrant pink hue looks when spread across a warm scone or a piece of sourdough. The cooking process fills the kitchen with a sweet, tangy aroma that feels like a warm hug. It has a thick, glossy texture with tiny flecks of fruit that burst with flavor, providing a sophisticated addition to any brunch board that elevates the entire dining experience with its homemade charm.
Ingredients
- 2 lbs fresh rhubarb, trimmed and chopped
- 3 cups granulated sugar
- Juice and zest of one large lemon
- 1 tsp vanilla bean paste
- 1/2 tsp fresh grated ginger (optional)
How to make it
- In a large, heavy-bottomed pot, combine the chopped rhubarb, sugar, lemon juice, and zest. Let the mixture sit for 2 hours at room temperature; the sugar will draw out the moisture from the rhubarb, creating a natural syrup.
- Place the pot over medium heat and stir until the sugar has completely dissolved. Add the vanilla paste and ginger if using.
- Bring the mixture to a rolling boil. Continue to cook, stirring frequently to prevent the bottom from scorching. Use a spoon to skim off any foam that rises to the surface for a clear, jewel-toned jam.
- Cook for about 15-20 minutes. To test for doneness, place a small spoonful on a chilled plate. If it wrinkles when pushed with your finger, it has reached the setting point (220°F / 104°C).
- Ladle the hot jam into sterilized jars, leaving a 1/4 inch headspace. Process in a water bath for 10 minutes or simply store in the refrigerator for up to a month.
How to decorate grad cookies?

Why we love this
Graduation cookies are the ultimate edible party favors. There is a meditative quality to the process of flooding a sugar cookie with royal icing, watching the surface become perfectly smooth and reflective. We love the crisp snap of the cookie followed by the sweet, melt-away icing. Decorating them allows for endless personalization—from tiny diplomas tied with ribbons to the specific graduation year—making them a thoughtful and beautiful addition to a simple food board.
Ingredients
- Batch of chilled sugar cookie dough
- 4 cups powdered sugar
- 3 tbsp meringue powder
- 1/3 cup warm water
- Gel food coloring
- Fine-tip piping bags
How to make it
- Roll out your dough to 1/4 inch thickness and cut into shapes like mortarboards, diplomas, and stars. Bake at 350°F until the edges are just barely golden. Let them cool completely—icing will melt on a warm cookie!
- Prepare the royal icing by whisking powdered sugar, meringue powder, and water until stiff peaks form. Divide and color as needed.
- Thin a portion of the icing to ‘flood’ consistency by adding water a drop at a time until it reaches the consistency of honey. Keep a ‘stiff’ consistency for outlining and detail work.
- Outline the cookie shape with the stiff icing using a small round tip. Immediately fill the center with the flood icing, using a toothpick to pop any bubbles and move the icing into the corners.
- Let the base layer dry for at least 4 hours. Once hard, use the stiff icing to add details like the ‘2024’ text or the texture of a tassel. Allow to dry overnight before stacking.
How to make fun coffee?
Why we love this
Fun coffee is the secret weapon of a successful morning board. It transforms a standard caffeine fix into a sensory experience, with layers of cold foam, swirls of caramel, and the rich, roasted aroma of espresso. We love how the different densities of milk and coffee create beautiful gradients in a glass, topped with a dusting of cocoa or a sprig of mint. It feels indulgent and special, providing that necessary boost of energy with a touch of aesthetic flair.
Ingredients
- 2 shots of high-quality espresso
- 1 cup milk of choice (oat works beautifully)
- 1 tbsp lavender or vanilla syrup
- Ice cubes
- Butterfly pea flower tea (for a purple tint)
- Dried rose petals
How to make it
- Start with a tall glass and fill it to the brim with large, clear ice cubes. Pour your chosen syrup over the ice first; this acts as the base layer.
- Gently pour the milk over the syrup. If you want a layered effect, pour the milk slowly over the back of a spoon.
- Prepare your espresso shots. If you want the viral ‘purple coffee’ look, whisk a teaspoon of butterfly pea flower powder into the milk beforehand.
- Slowly pour the hot espresso over the cold milk. The temperature difference combined with the slow pour will create a stunning ‘bleeding’ effect where the coffee streaks through the white milk.
- For the finish, froth a small amount of cold milk until it reaches a thick, velvety foam consistency. Dollop it on top and garnish with dried rose petals or a dusting of cinnamon.
How to bake rhubarb scones?

Why we love this
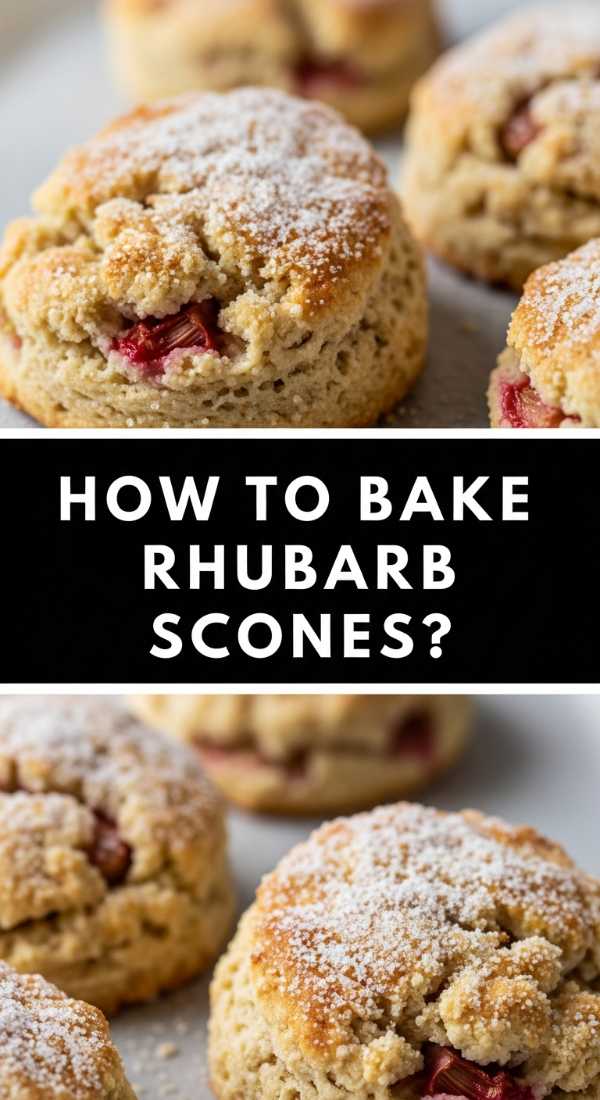
Rhubarb scones are the height of sophisticated comfort food. We love the contrast between the crumbly, buttery exterior and the moist, tender center studded with tart bits of fruit. As they bake, the butter browns slightly, releasing a nutty aroma that fills the home. They aren’t overly sweet, which makes them the perfect companion for a dollop of clotted cream or the rhubarb jam we made earlier. Every bite feels like a rustic, elegant treat from a high-end countryside bakery.
Ingredients
- 3 cups all-purpose flour
- 1/2 cup granulated sugar
- 1 tbsp baking powder
- 1/2 tsp salt
- 3/4 cup cold unsalted butter, grated
- 1 cup fresh rhubarb, finely diced
- 1 cup heavy cream (plus more for brushing)
- 1 tsp vanilla extract
How to make it
- In a large bowl, whisk together the flour, sugar, baking powder, and salt. The key to flaky scones is keeping everything cold, so chill your bowl if it’s a warm day.
- Grate the cold butter directly into the flour mixture. Use your fingertips to quickly toss the butter with the flour until it resembles small peas. Do not overwork, or the heat from your hands will melt the butter.
- Fold in the finely diced rhubarb. In a separate measuring cup, mix the heavy cream and vanilla, then pour into the center of the dry ingredients.
- Stir gently with a fork until a shaggy dough forms. Turn onto a floured surface and pat into a 1-inch thick circle. Cut into 8 wedges.
- Place wedges on a baking sheet, brush with extra cream, and sprinkle with sugar. Bake at 400°F (200°C) for 18-22 minutes until the tops are golden brown and the centers are set.
How to host summer dinner?
Why we love this
Hosting a summer dinner is about embracing the long, lingering twilight and the ease of seasonal eating. We love the transition from the bright afternoon heat to the cool evening breeze, centered around a table filled with vibrant colors and fresh flavors. The scent of grilled herbs and chilled wine sets the mood for deep conversation. It’s a time to ditch the formalities and focus on the ‘Simple Food Board’ style of serving, where everyone can graze and enjoy at their own pace.
Ingredients
- Assorted seasonal fruits (peaches, berries)
- Fresh basil and mint
- Artisanal breads and whipped feta
- Light rosé or sparkling water with citrus
- String lights and linen napkins
How to make it
- Set the scene by choosing a location with good airflow, like a patio or near a large open window. Use a simple linen runner instead of a formal tablecloth to keep the vibe relaxed.
- Focus on ‘assembly’ rather than intensive cooking. Prepare a large board with whipped feta, drizzled with honey and topped with fresh thyme, surrounded by toasted sourdough and sliced cucumbers.
- Create a ‘Build-Your-Own’ drink station with chilled glass dispensers. Fill one with water, cucumber slices, and mint, and another with a light summer punch.
- Keep the lighting low. Use warm-toned string lights or unscented beeswax candles to create an intimate atmosphere without attracting too many evening bugs.
- Serve everything family-style. Place the main boards in the center of the table and encourage guests to pass plates around. This removes the stress of plating and fosters a sense of community.
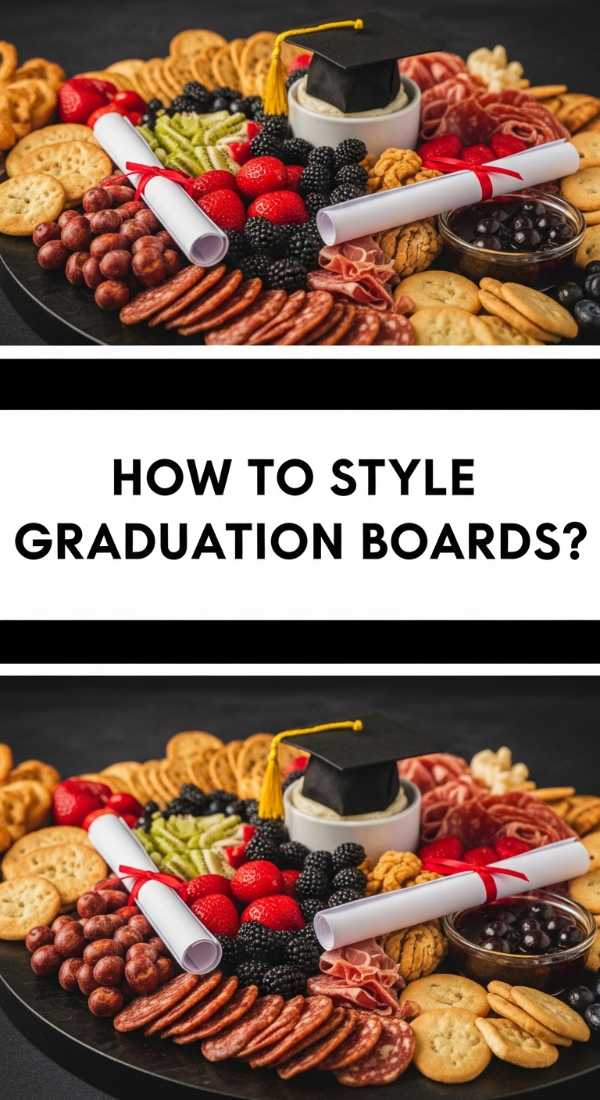
How to style graduation boards?
[IMAGE_10]
Why we love this
Styling a graduation board is where all these elements come together to create a viral-worthy masterpiece. We love the abundance of a well-curated board—the way the vibrant red of the rhubarb jam sits next to the sharp black of a graduation cap cookie. It is a visual feast that celebrates transition and success. The mix of textures, from the crunch of the scones to the silkiness of the coffee foam, creates a celebratory landscape that guests will be talking about long after the last crumb is gone.
Ingredients
- A large wooden or marble board
- Prepared graduation cookies and cupcakes
- Jars of rhubarb jam and bowls of fresh fruit
- Small decorative items (tassels, confetti)
- Cheese and crackers for balance
How to make it
- Start with your ‘anchor’ items—these are the largest pieces like the graduation cake or the jars of jam. Place them off-center to create a dynamic, asymmetrical look.
- Add your ‘medium’ items around the anchors. Place the scones and graduation cookies in small clusters, varying the heights by stacking some or leaning others against the jars.
- Fill in the larger gaps with ‘movement’ items. Slices of fruit or long crackers can be arranged in sweeping curves that lead the eye across the board.
- Incorporate the graduation theme using small, non-edible touches. Tuck a few clean graduation tassels into the corners or sprinkle gold star confetti in the empty spaces between the food.
- Finish with ‘fillers’ like fresh herbs or edible flowers. These add a pop of organic color and make the board look lush and professionally styled. Serve immediately while the textures are at their peak.
The Joy of the Simple Spread
In a world that often feels rushed, the viral simple food board is a reminder that the best things in life are often the ones we share. Whether it’s the tart sweetness of a rhubarb pie or the laughter shared over a ‘funny’ cake, these moments of connection are what we truly celebrate during graduation season. By bringing together beautiful textures, seasonal flavors, and a bit of creative styling, you’re not just serving food—you’re creating an experience. So, grab a board, gather your favorites, and let the celebration begin!