

The Minimalist’s Manifesto: 5 Understated Nail Designs That Scream Sophistication
Hello my loves, and welcome back to my little corner of the internet. There is something so profoundly soul-soothing about a clean, quiet aesthetic, isn’t there? In a world that often feels like it’s shouting, choosing a minimalist look feels like a soft, cloud-like embrace. It’s about finding the beauty in the ‘less’ and realizing that sophistication doesn’t need to be loud to be heard.
Today, I wanted to share my heart (and my hands!) with you. We’re diving deep into the world of DIY aesthetic nails. Whether you’re sipping a matcha latte or curling up with a worn-in paperback, these designs are meant to make you feel polished, grounded, and effortlessly chic. Let’s create something beautiful together, one brushstroke at a time.
The Art of the Simple Aesthetic
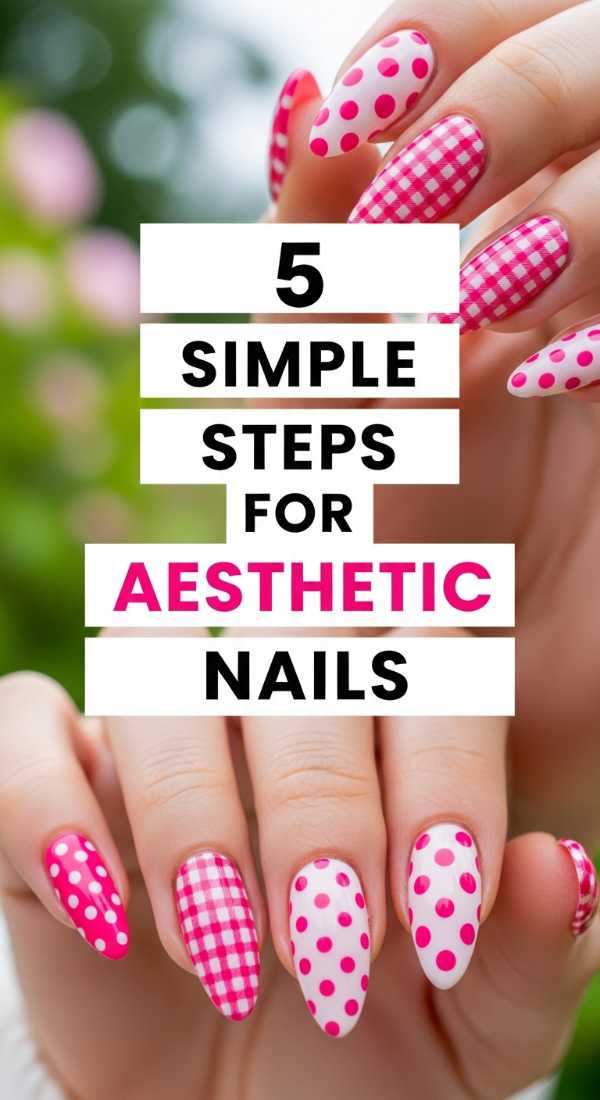
Why to love these Nails:
These nails are the ultimate ‘clean girl’ staple. They offer a refined clarity that works for a Monday morning board meeting just as well as a Sunday morning farmer’s market run. It’s about celebrating your natural beauty with just a whisper of enhancement.
Essential Items:
- Fine-grit nail file
- Glass cuticle pusher
- Nude or sheer pink polish
- High-shine top coat
- Cuticle oil
How to Prepare:
- Gently shape your nails into a soft oval or almond shape.
- Apply a drop of cuticle oil and push back cuticles gently.
- Apply one thin layer of base coat to protect the nail plate.
- Paint two layers of your chosen sheer neutral shade.
- Seal with a high-shine top coat for that glass-like finish.
Budget Range
- Essie Ballet Slippers ($10)
- Olive & June Glass Nail File ($12)
- Sally Hansen Top Coat ($6)
Phase-by-Phase Bridal Preparation
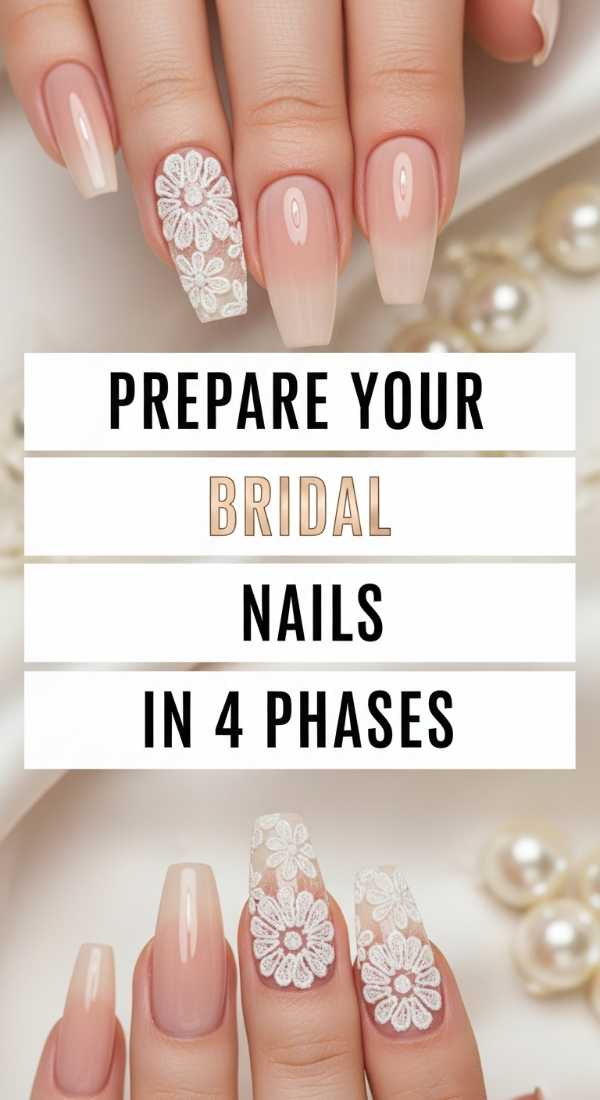
Why to love these Nails:
Bridal nails should be a timeless reflection of love. This four-phase approach ensures your hands look photo-ready and feel incredibly pampered for your big day without the stress of last-minute salon rushes.
Essential Items:
- Nail strengthener
- Hydrating hand mask
- Pearl-toned polish
- Buffer block
How to Prepare:
- Phase 1: Strengthen. Start using a nail hardener daily three weeks before the date.
- Phase 2: Hydrate. Use weekly hand masks to ensure the skin is velvet-soft.
- Phase 3: Color Selection. Test three shades of white/nude against your dress fabric.
- Phase 4: The Polish. Apply your final color 24-48 hours before the ceremony.
Budget Range
- OPI Nail Envy ($19)
- Aveeno Hydrating Hand Masks ($4)
- Zoya Professional Lacquer ($12)
Styling Your Pastel Dreams
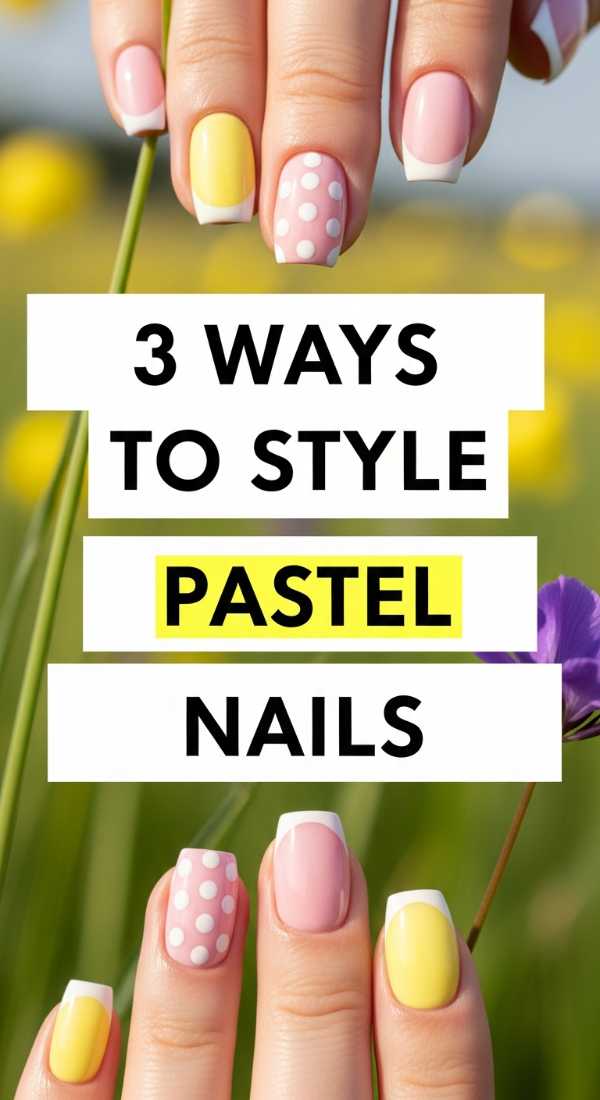
Why to love these Nails:
Pastels are like a spring breeze on your fingertips. They bring a soft pop of color that feels youthful yet incredibly sophisticated when styled with the right textures and finishes.
Essential Items:
- Matte top coat
- Lavender or Mint polish
- Liner brush
How to Prepare:
- Style 1: Go for a full matte finish for a modern, ‘velvet’ look.
- Style 2: Try a pastel French tip using a thin liner brush for a subtle wink of color.
- Style 3: Create a soft ombre gradient by sponging two pastels together at the mid-nail.
Budget Range
- Holler and Glow Pastel Set ($15)
- NYX Matte Top Coat ($7)
- Winstonia Liner Brushes ($8)
The Press-On Perfection Guide
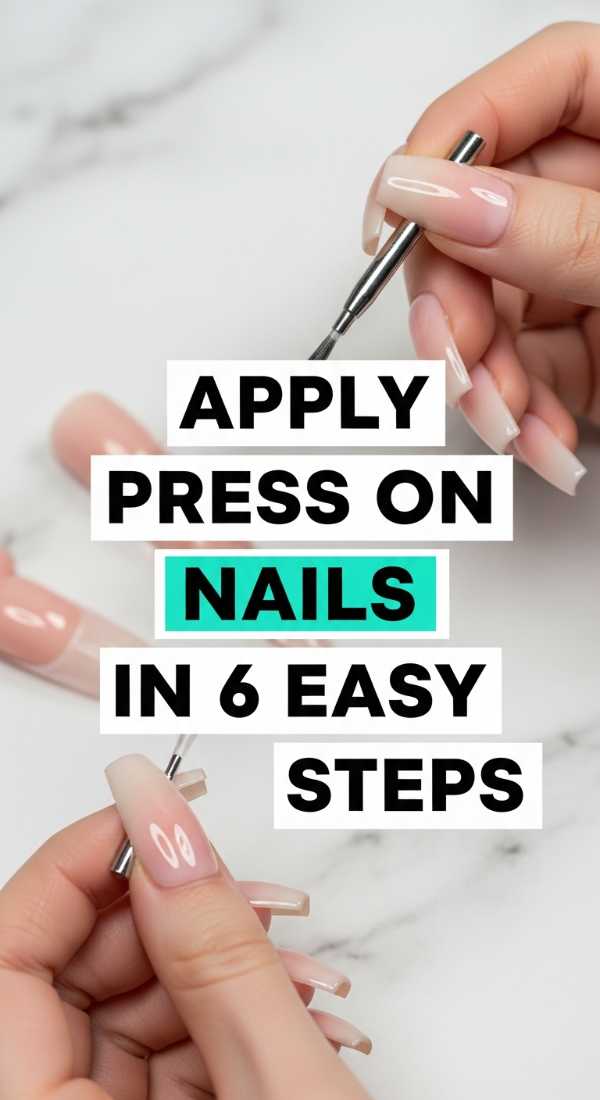
Why to love these Nails:
Sometimes we need a quick transformation, loves! Press-ons have come such a long way. They offer salon-quality length and design in minutes, perfect for those of us with a busy, beautiful life.
Essential Items:
- Quality press-on nail kit
- Alcohol prep pads
- Nail glue or adhesive tabs
- Nail clipper
How to Prepare:
- Push back your cuticles to create more surface area for the nail to grip.
- Lightly buff the natural nail surface to remove shine.
- Cleanse thoroughly with an alcohol pad to remove oils.
- Size each press-on to your fingers before applying glue.
- Apply a small dot of glue to both your nail and the press-on.
- Press firmly at a 45-degree angle and hold for 30 seconds.
Budget Range
- Static Nails Reusable Pop-On Nails ($16)
- Glamnetic Press-On Kit ($20)
- Beauty Secrets Drip-On Glue ($3)
Hacks for Stunning Short Nails
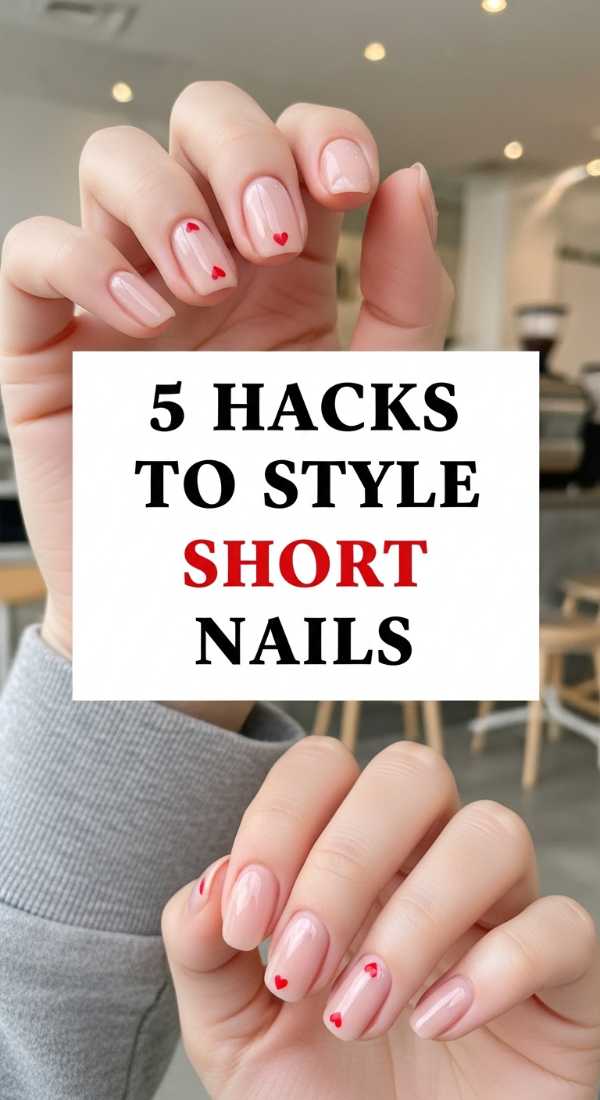
Why to love these Nails:
Short nails are so practical and chic! There’s a certain ‘cool-girl’ vibe to a short, dark manicured nail or a perfectly clean short nude. It’s about being active and stylish simultaneously.
Essential Items:
- Deep burgundy or navy polish
- Cuticle remover gel
- Shine buffer
How to Prepare:
- Hack 1: Paint vertical stripes to elongate the look of the nail bed.
- Hack 2: Try a half-moon design at the base to add interest without clutter.
- Hack 3: Stick to micro-French tips—the thinner the line, the longer the nail looks.
- Hack 4: Use a high-gloss finish to reflect light.
- Hack 5: Stick to ‘nude-for-you’ tones to create a seamless line from finger to tip.
Budget Range
- Revlon ColorStay Gel Envy ($8)
- Blue Cross Cuticle Remover ($6)
- Flowery 4-Way Buffer ($2)
Secrets for Perfect Long Nails
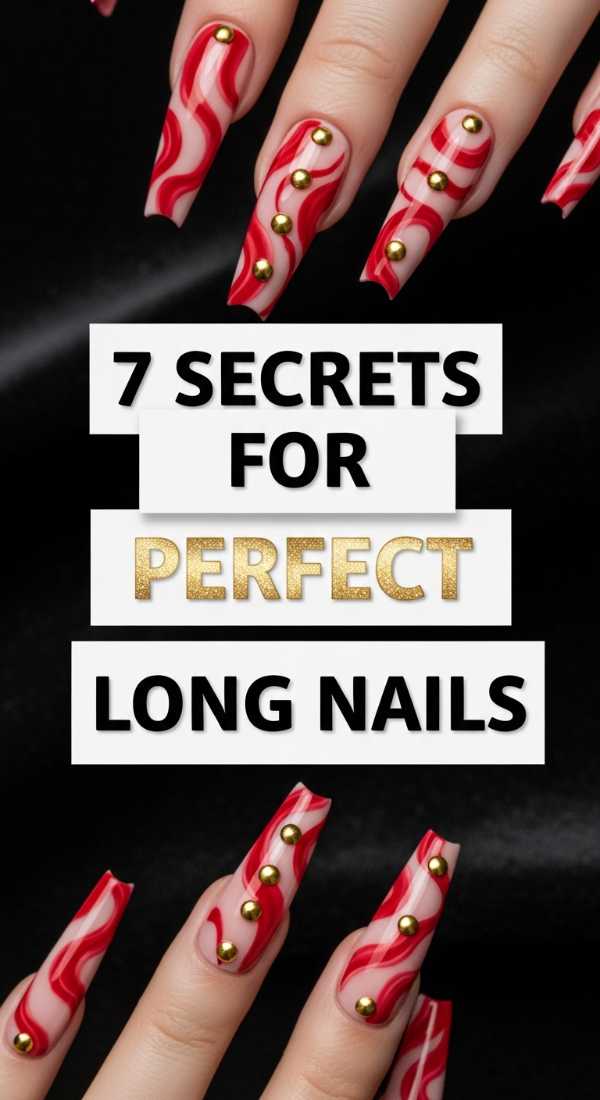
Why to love these Nails:
Long nails are a canvas for elegance. They elongate the fingers and provide a dramatic, sophisticated silhouette that feels like a piece of jewelry in itself.
Essential Items:
- Biotin supplements
- Jojoba-based cuticle oil
- Glass nail file
- Reinforcing base coat
How to Prepare:
- Secret 1: Take Biotin daily to strengthen the nail from the inside out.
- Secret 2: Apply cuticle oil every single night without fail.
- Secret 3: Only file in one direction to prevent microscopic tears.
- Secret 4: Use a glass file to seal the nail edge.
- Secret 5: Wear gloves while doing dishes or cleaning.
- Secret 6: Apply a ‘thickening’ base coat to add structural support.
- Secret 7: Schedule ‘naked’ days once a month to let nails breathe.
Budget Range
- Nature’s Bounty Biotin ($12)
- Bliss Kiss Simply Pure Oil ($15)
- Bona Fide Glass File ($10)
Mastering Trends in Minutes

Why to love these Nails:
Trends are fun, but we don’t want to spend hours on them. This is about taking what’s ‘now’ and making it ‘you’ with minimal effort and maximum impact.
Essential Items:
- Chrome powder or metallic polish
- Dotting tool
- Matte and Glossy top coats
How to Prepare:
- Way 1: Follow ‘NailTok’ for 15 minutes a week to spot emerging colors.
- Way 2: Use Pinterest to create a ‘Vibe Board’ for the current season.
- Way 3: Mix two colors on a palette to create a custom ‘trend’ shade.
- Way 4: Layer a matte top coat over just half the nail for a textured contrast.
Budget Range
- Artdone Chrome Powder ($9)
- Color Club Nail Lacquer ($8)
- Nail Art Dotting Tool Set ($5)
Techniques for Pure Elegance
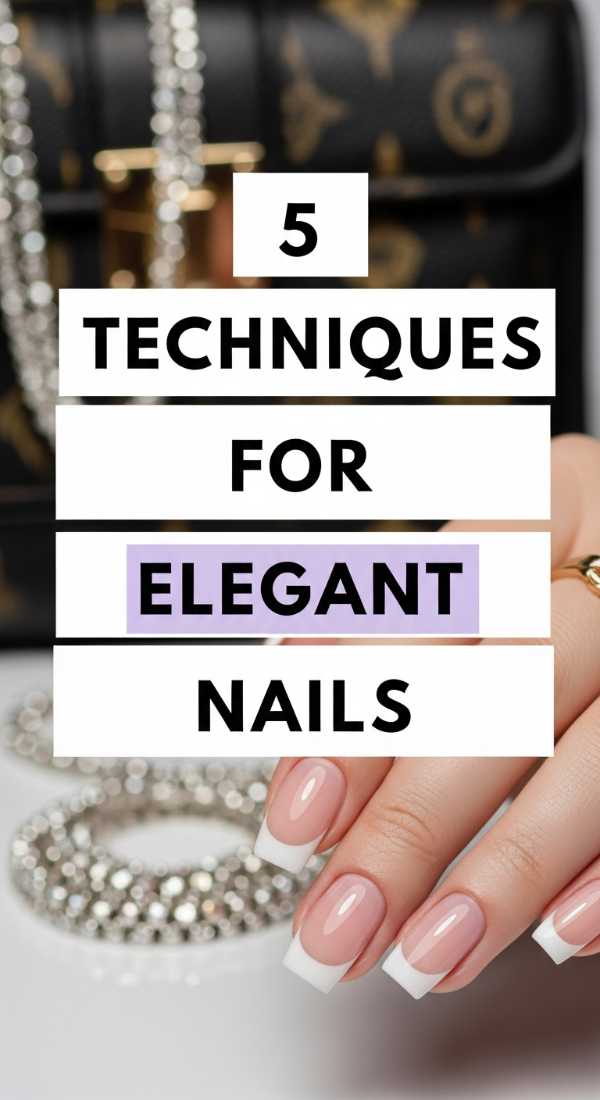
Why to love these Nails:
Elegance is an aura. These techniques focus on precision and the ‘expensive’ look of well-maintained, subtly decorated nails that whisper luxury.
Essential Items:
- Milky white polish
- Gold leaf flakes
- Tweezers
- Clean-up brush
How to Prepare:
- Technique 1: Shape into a ‘Soft Square’ for a modern, architectural look.
- Technique 2: Use a ‘Milky’ base—less opaque than white, more coverage than sheer.
- Technique 3: Place one tiny gold leaf flake near the cuticle of the ring finger.
- Technique 4: Use a clean-up brush dipped in acetone for perfect, crisp edges.
- Technique 5: Triple-layer your top coat for a ‘gel-plump’ appearance.
Budget Range
- DND Milky White Gel ($12)
- Kupa Clean-up Brush ($15)
- Mona Lisa Gold Leaf ($7)
The Floral Whisper Guide

Why to love these Nails:
Florals don’t have to be loud. Delicate, dainty botanical touches feel like carrying a tiny garden with you. It’s feminine, soft, and incredibly artistic.
Essential Items:
- Toothpicks or ultra-fine brushes
- Pastel yellow and white polish
- Sage green polish
How to Prepare:
- Tip 1: Use a dotting tool to create 5 small white dots in a circle.
- Tip 2: Place a tiny yellow dot in the center for a simple daisy.
- Tip 3: Keep the floral design to just one or two ‘accent’ nails.
- Tip 4: Use a toothpick to drag a bit of green polish into a leaf shape.
- Tip 5: Ensure your base color is completely dry before starting the art.
- Tip 6: Apply a matte seal to make the flowers look like a watercolor painting.
Budget Range
- Beetles Nail Art Liner Set ($10)
- Sinful Colors Sage ($3)
- Orly Matte Top ($11)
Achieving the Perfect Nude
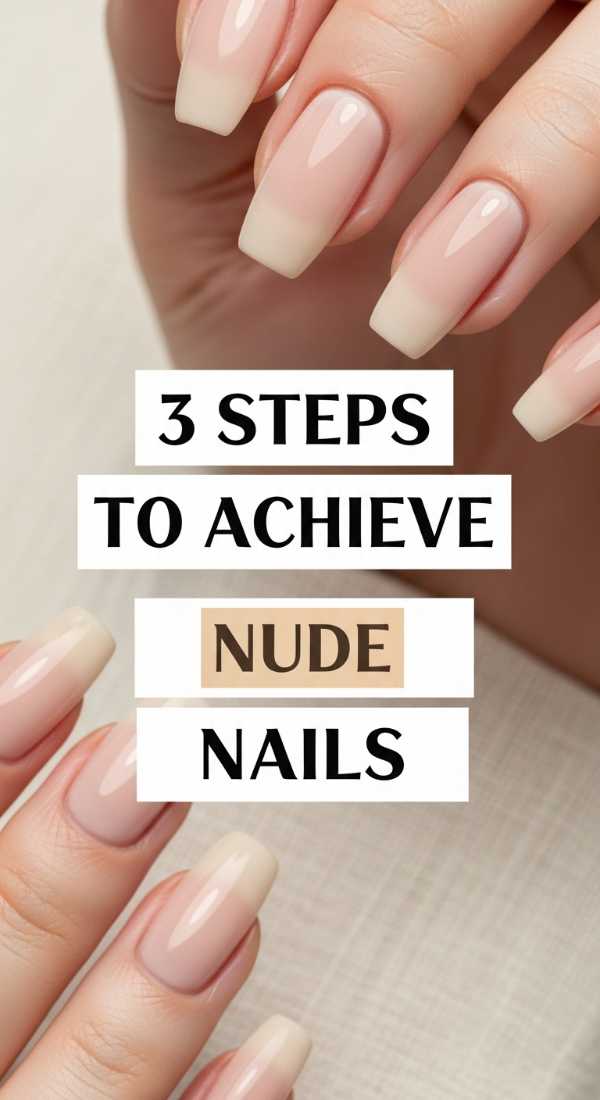
Why to love these Nails:
The perfect nude is the ‘little black dress’ of the nail world. It makes your hands look elongated, clean, and effortlessly put together, regardless of your outfit.
Essential Items:
- 3 shades of nude polish (cool, warm, neutral)
- High-quality base coat
- Acetone for cleanup
How to Prepare:
- Step 1: Match the polish to your undertone (look at your veins—blue for cool, green for warm).
- Step 2: Apply 2-3 sheer layers rather than one thick one to avoid streaking.
- Step 3: Clean the cuticle line perfectly for that professional ‘manicure’ look.
Budget Range
- Lights Lacquer Nude Collection ($13)
- Cirque Colors Sheer Neutrals ($12)
- Ella + Mila Soy Polish Remover ($11)
Embrace Your Inner Minimalist
Sweet friends, I hope these tutorials inspire you to take a moment for yourself this week. Doing our nails isn’t just about the aesthetic; it’s a ritual of self-love. It’s a way to say, ‘I am worth the time it takes to feel beautiful.’ Remember, there is so much power in simplicity. You don’t need a million crystals or neon colors to shine—you already have everything you need within you. Sending you so much love and light until next time!