
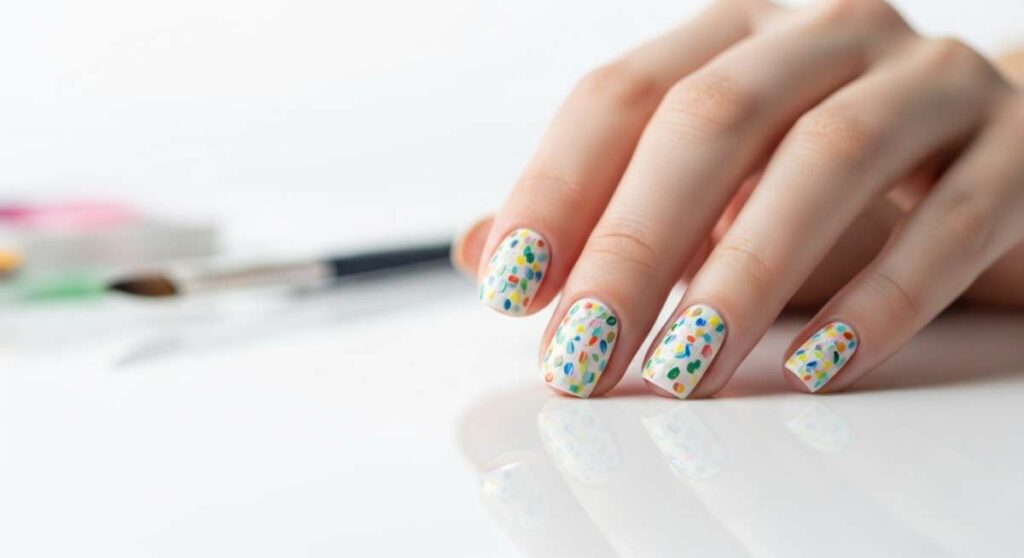
Canvas at Your Fingertips: Elevating Every Manicure Stroke
Hello, my loves! There is something so profoundly healing about sitting down with a cup of tea, a soft playlist, and a palette of colors spread before us. Our hands do so much for us—they hold the ones we love, they create, they comfort—and giving them a little extra magic feels like a warm, cloud-soft embrace for the soul. It’s not just about the paint; it’s about the ritual of self-love.
Lately, I’ve been finding so much joy in the tiny details. A stroke of pink here, a sparkle of stardust there; it’s like we are carrying ten tiny canvases wherever we go. Whether you are a seasoned artist or just starting to play with color, I want this space to feel like a cozy corner where we can create together. Let’s dive into some of my favorite aesthetic tutorials that will make your heart (and your nails) sing.
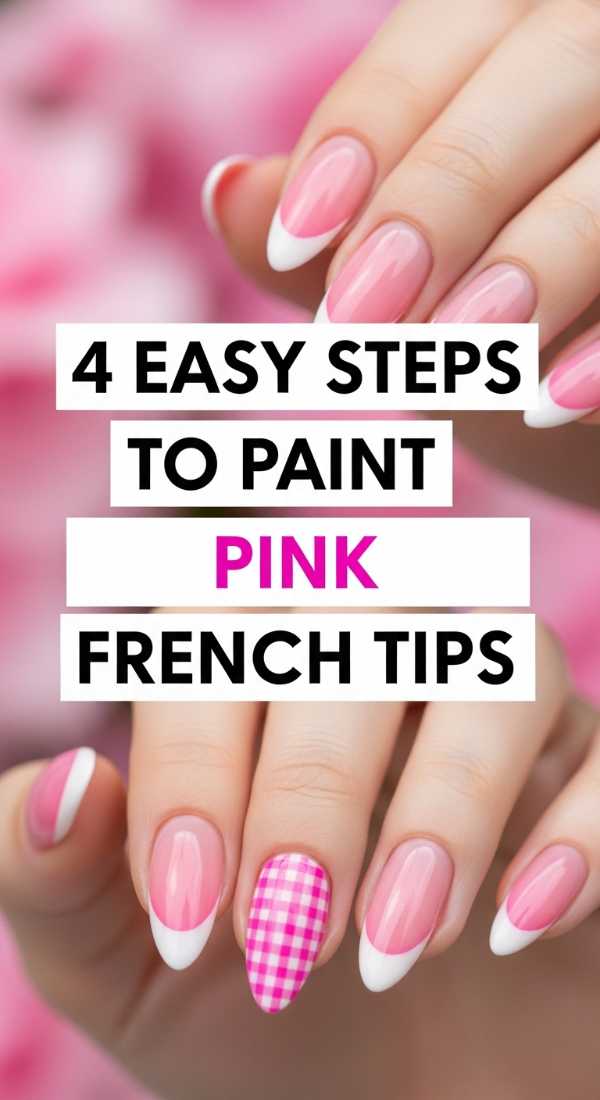
4 Easy Steps to Paint Pink French Tips
Why to love these Nails:
These are the ultimate ‘soft girl’ aesthetic. There is a gentleness to a pink French tip that a classic white just can’t match. It’s like a whisper of spring on your fingertips, making every movement feel a little more graceful and romantic.
Essential Items:
- Sheer base polish
- Soft petal pink polish
- Fine liner brush
- Glossy top coat
How to Prepare:
- Apply a single layer of your favorite sheer base and let it dry completely.
- Dip your liner brush into the pink polish and trace a thin arch following the natural curve of your nail tip.
- Fill in the tip with the pink polish, ensuring the edges are smooth and even.
- Seal the look with a high-shine top coat to give it that salon-quality finish.
Budget Range
- Essie ‘Mademoiselle’ ($10)
- OPI ‘Pink to Envy’ ($11)
- Beetles Nail Art Brushes ($7)
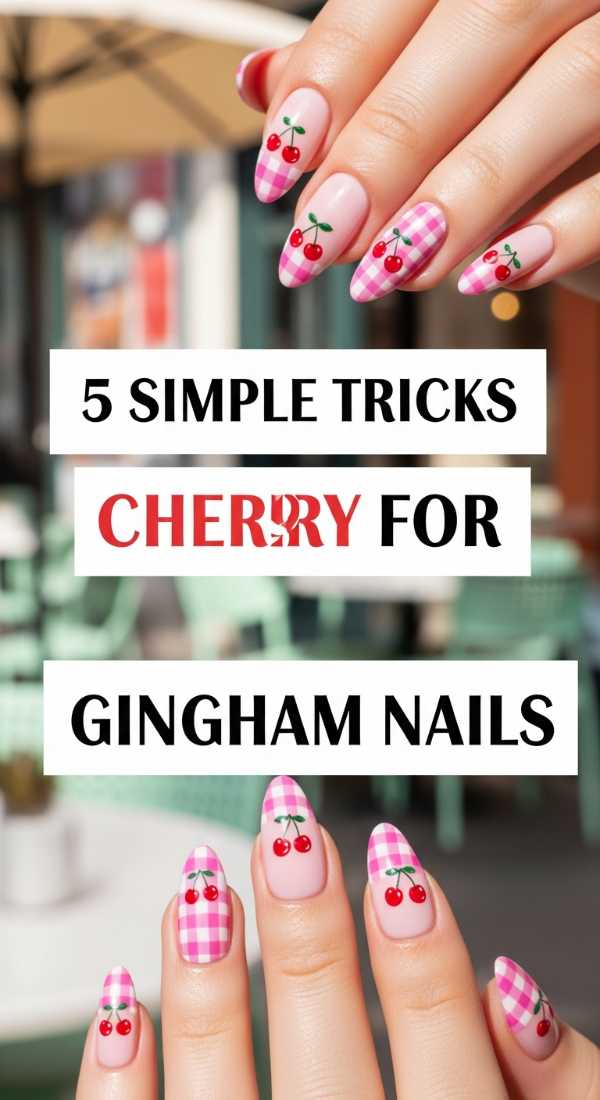
5 Simple Tricks for Cherry Gingham Nails
Why to love these Nails:
Oh, my loves, these are just pure nostalgia! They remind me of sunny picnics and vintage dresses. It’s a playful, sweet look that brings a bit of cottagecore charm to your everyday life, and honestly, they are much easier to achieve than they look.
Essential Items:
- White opaque polish
- Cherry red polish
- Light red or pink polish
- Dotting tool
How to Prepare:
- Paint your base white and let it settle into a smooth canvas.
- Use the light red polish to create a grid of vertical and horizontal lines.
- Where the lines intersect, add a small square of the darker red for that ‘gingham’ effect.
- Use your dotting tool to place two red circles for cherries and a tiny green line for stems.
- Apply a matte or glossy top coat depending on your mood!
Budget Range
- Holo Taco ‘Not Milky White’ ($13)
- Sally Hansen ‘Red-y to Glow’ ($6)
- Nail Art Dotting Tool Set ($5)
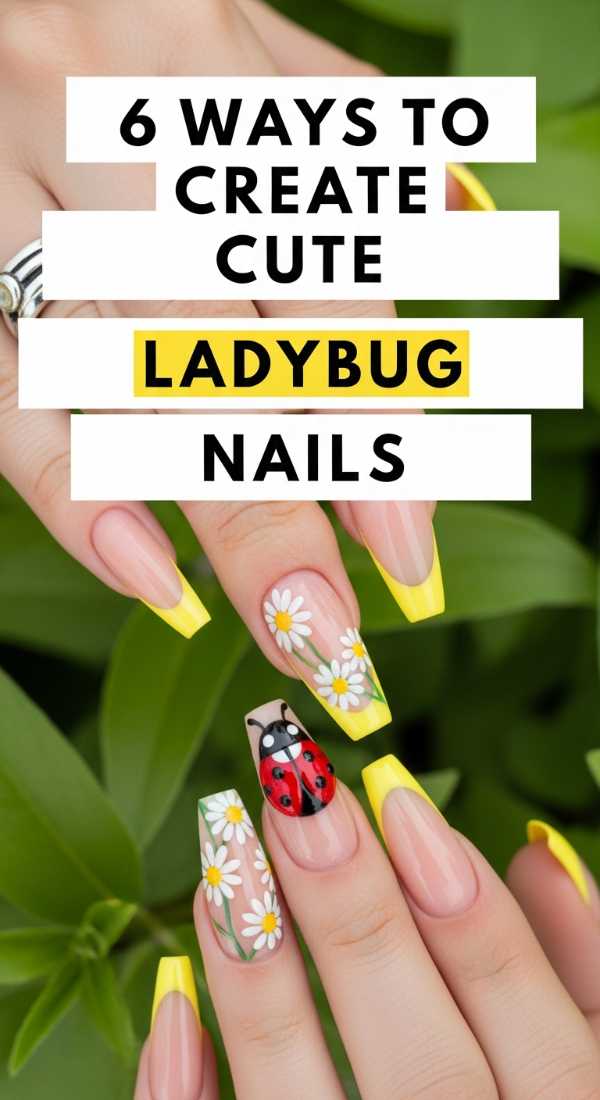
6 Ways to Create Cute Ladybug Nails
Why to love these Nails:
Ladybugs are a symbol of good luck, and who doesn’t need a little extra luck in their life? These nails are whimsical and joyful. Every time you look down at your hands, you’ll be reminded of the beauty found in the smallest creatures of nature.
Essential Items:
- Bright red polish
- Jet black polish
- Dotting tool
- Clear base coat
How to Prepare:
- Start with a clear base to protect your natural nails.
- Paint the entire nail or just the tip with a vibrant red.
- Using a thin brush, draw a black line down the center of the red area.
- Create a black semicircle at the base of the nail for the ladybug’s head.
- Use a small dotting tool to add black spots on either side of the center line.
- Finish with two tiny white dots on the head for eyes!
Budget Range
- Revlon ‘Big Apple Red’ ($5)
- Wet n Wild ‘Black Cream’ ($2)
- Generic Nail Stickers for Accents ($3)
3 Fast Steps to Master Chrome Nails
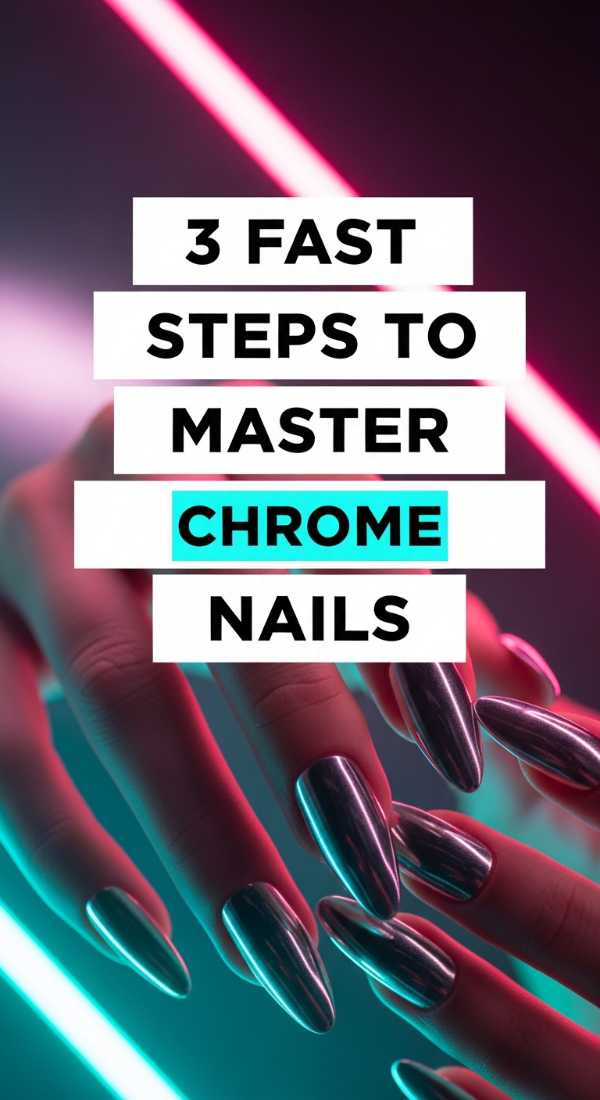
Why to love these Nails:
For when you’re feeling like a futuristic goddess! Chrome nails are so chic and powerful. They catch the light in the most mesmerizing way, turning your hands into a statement piece that feels both modern and ethereal.
Essential Items:
- No-wipe gel top coat
- Chrome powder (silver or pearl)
- Sponge applicator
- LED/UV Lamp
How to Prepare:
- Apply your base color and a no-wipe top coat, then cure it under the lamp.
- Rub the chrome powder onto the nail using the sponge applicator until it’s mirrored and smooth.
- Apply another layer of top coat and cure again to lock in that incredible shine.
Budget Range
- Born Pretty Chrome Powder ($8)
- Modelones Gel Top Coat ($7)
- Mini UV Light ($12)
7 Secrets for Elegant Bridal Nails
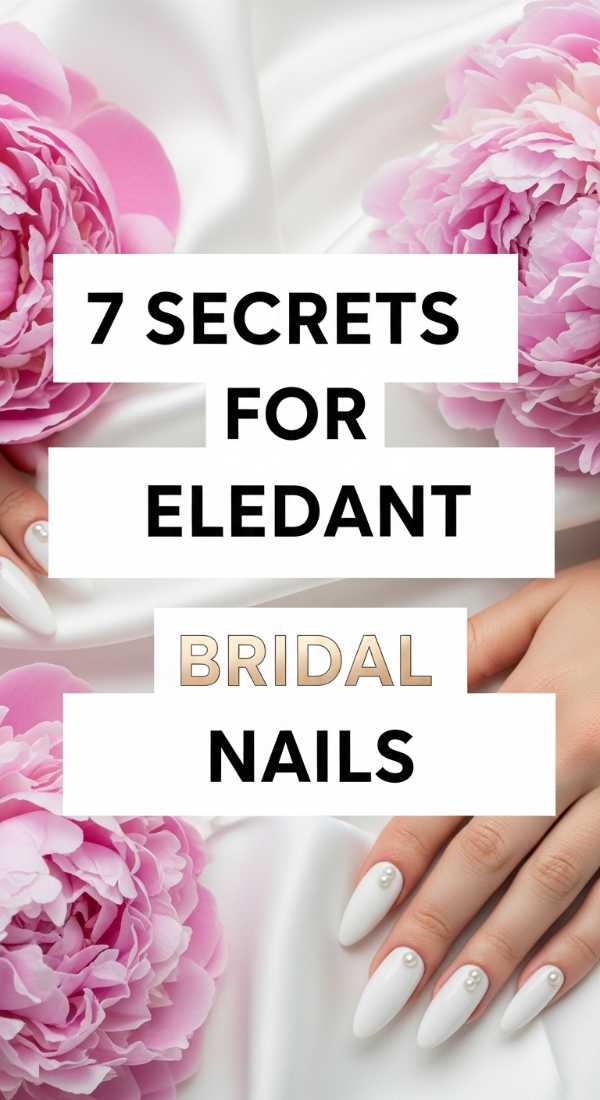
Why to love these Nails:
Even if you aren’t walking down the aisle, bridal nails represent the pinnacle of sophistication. They are timeless, clean, and radiate a sense of calm elegance. It’s about celebrating your own light with pearlescent finishes and soft textures.
Essential Items:
- Soft nude or milky white polish
- Fine pearl decals
- Tweezers
- Strength-building base coat
How to Prepare:
- Nourish your cuticles with oil before starting for a clean look.
- Apply two thin coats of a milky white or soft nude polish.
- Wait for it to be slightly tacky, then use tweezers to place a tiny pearl at the base of the nail.
- Press it down gently to ensure it sticks.
- Apply a thick top coat to encapsulate the pearl.
- Repeat on accent nails for a balanced look.
- Finish with a moisturizing hand cream.
Budget Range
- Zoya ‘Naked Manicure’ Kit ($25)
- Dashing Diva Pearl Accents ($6)
- Chanel ‘La Base’ ($30)
5 Easy Methods for Glitter Ombre Nails
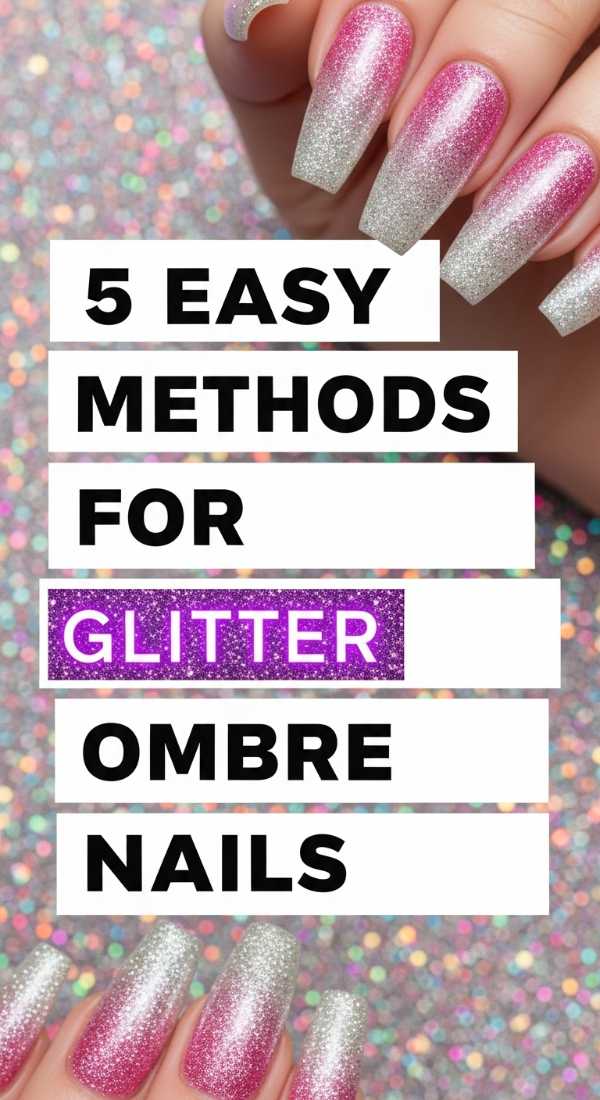
Why to love these Nails:
Glitter ombre is like wearing a trail of stardust. It’s perfect for those days when you need a little extra sparkle without the commitment of a full glitter nail. It’s soft, transitionary, and oh-so-dreamy to look at under the sun.
Essential Items:
- Neutral base color
- Fine glitter polish
- Cosmetic sponge
- Clean-up brush
How to Prepare:
- Paint your base color and let it dry.
- Apply a bit of glitter polish to the edge of a cosmetic sponge.
- Dab the sponge onto the tips of your nails, fading the intensity as you go toward the middle.
- Add a second layer of glitter only at the very tips for depth.
- Clean the edges with a brush dipped in remover and seal with a top coat.
Budget Range
- ILNP ‘Stardust’ Glitter ($10)
- Essie ‘Gel Couture’ Top Coat ($13)
- Wedge Sponges ($4)
4 Steps to Achieve Minimalist Gel Nails
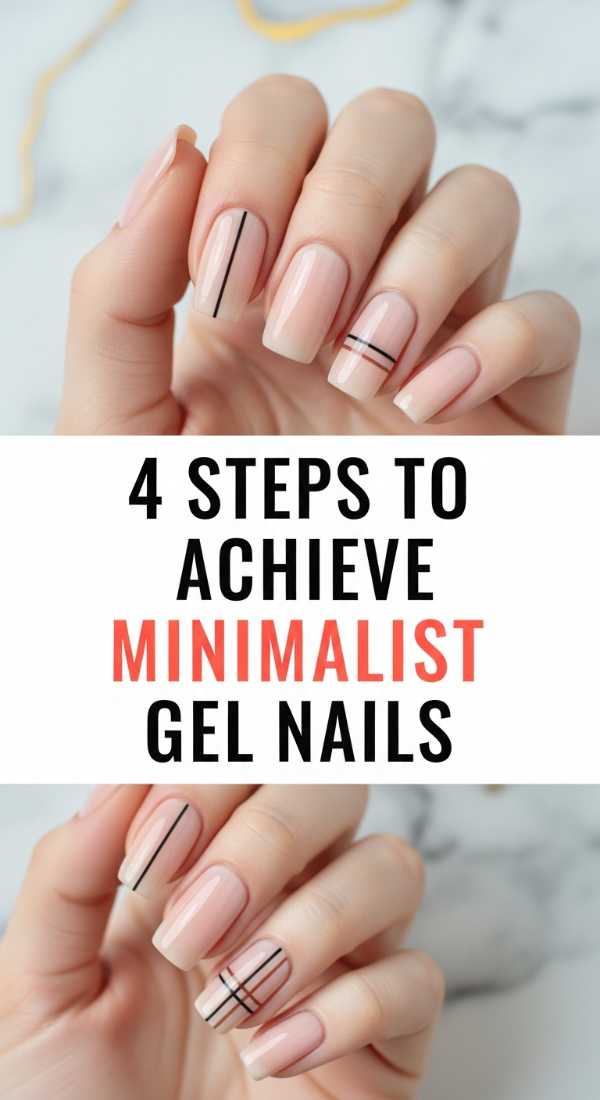
Why to love these Nails:
There is such beauty in simplicity, isn’t there? Minimalist gel nails are the ‘clean girl’ staple. They look professional, polished, and they last so long, giving you one less thing to worry about in your busy, beautiful life.
Essential Items:
- Gel base and top coat
- Sheer tinted gel polish
- Alcohol wipes
- UV/LED Lamp
How to Prepare:
- Gently buff the nail surface and wipe with alcohol to remove any oils.
- Apply a very thin base coat and cure for 60 seconds.
- Apply two coats of your sheer gel, curing between each layer.
- Finish with a top coat, cure, and wipe away any sticky residue for a glass-like finish.
Budget Range
- Le Mini Macaron Kit ($35)
- Beetles Gel Polish Set ($15)
- Nail Buffer Blocks ($5)
6 Quick Tips for Trendy Coffin Nails
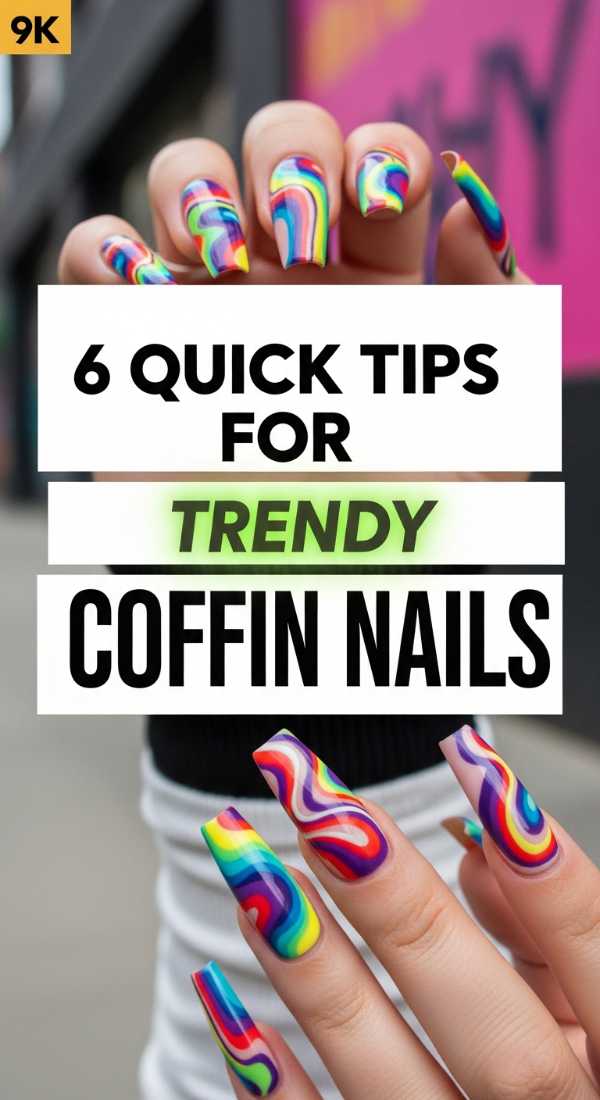
Why to love these Nails:
Coffin nails are for the bold, the dreamers, and the trendsetters. The shape is incredibly elongating and flattering, making your fingers look long and slender. It’s a canvas that begs for creativity and confidence.
Essential Items:
- Coffin-shaped nail tips
- Nail glue
- Heavy-duty file
- Mauve or taupe polish
How to Prepare:
- Size the tips to your natural nails and glue them on securely.
- File the sides straight and the tip flat to perfect that ‘coffin’ shape.
- Buff the transition between the tip and your natural nail.
- Apply your favorite moody neutral color.
- Use a strengthening top coat to prevent chipping.
- Apply cuticle oil daily to maintain the look.
Budget Range
- Makartt Nail Extension Kit ($20)
- KISS PowerFlex Glue ($4)
- OPI ‘You Don’t Know Jacques’ ($11)
5 Ways to Style Pastel Aesthetic Nails

Why to love these Nails:
Pastels are like a box of macarons—sweet, light, and impossible to pick just one! Styling them in a ‘mismatched’ way is so trendy right now. It shows off your playful side and goes with literally every outfit in your closet.
Essential Items:
- Lavender polish
- Mint green polish
- Pale yellow polish
- Peach polish
- Matte top coat
How to Prepare:
- Pick 5 different pastel shades that share the same undertone.
- Paint each nail a different color for a Skittles-style mani.
- Keep the layers thin to ensure the pastels don’t look chalky.
- Apply a matte top coat for a soft, velvety ‘velvet’ look.
- Hydrate your hands to keep the colors looking fresh.
Budget Range
- Olive & June Pastel Set ($40)
- L.A. Girl Pastel Polishes ($4 each)
- China Glaze Matte Magic ($7)
3 Easy Steps for Red Heart Tips
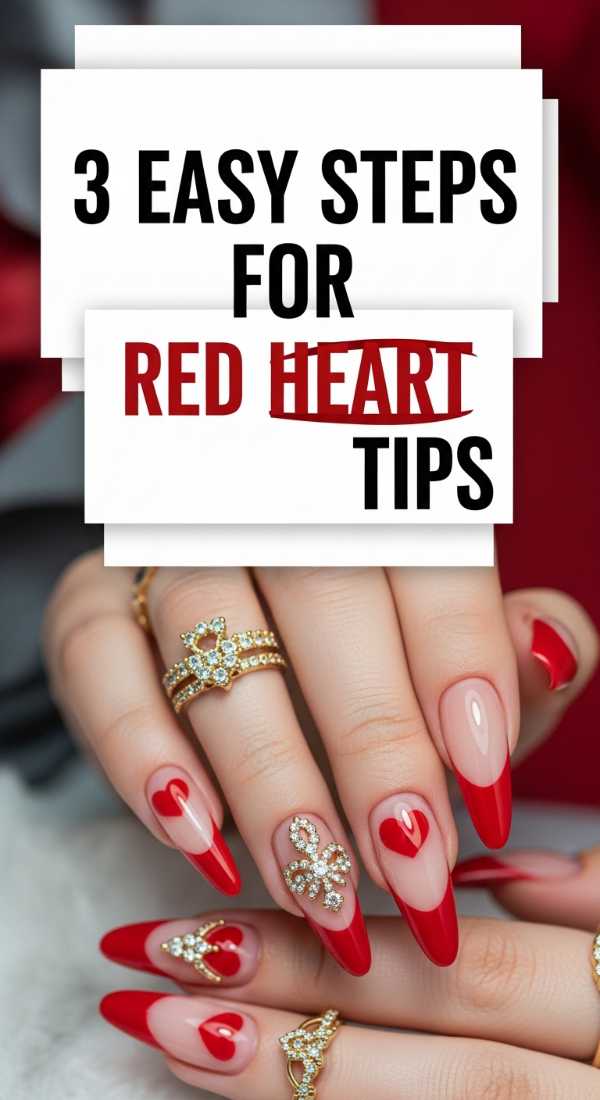
Why to love these Nails:
Wear your heart on your… nails! These are so incredibly darling and perfect for a date night or just because you’re feeling romantic. They are a little love letter to yourself that you get to see all day long.
Essential Items:
- Nude base polish
- Classic red polish
- Large dotting tool
How to Prepare:
- Apply a nude base that matches your skin tone perfectly.
- Use a dotting tool to place two red dots side-by-side at the tip of the nail.
- Use a toothpick or thin brush to drag the bottom of the dots into a ‘V’ shape to form the heart.
Budget Range
- OPI ‘Big Apple Red’ ($11)
- Essie ‘Sugar Daddy’ ($10)
- Professional Dotting Tools ($6)
Embrace Your Inner Artist
My loves, I hope these tutorials inspire you to take a moment for yourself this week. Whether you choose the bold shimmer of chrome or the quiet whisper of a minimalist gel, remember that your hands are a reflection of your unique journey. Don’t worry about perfection; beauty is found in the process and the love you pour into yourself. Tag me in your creations—I can’t wait to see your beautiful canvases!
Frequently Asked Questions
I know you might have some questions as you start your nail journey, so I’ve gathered a few common ones here just for you!