
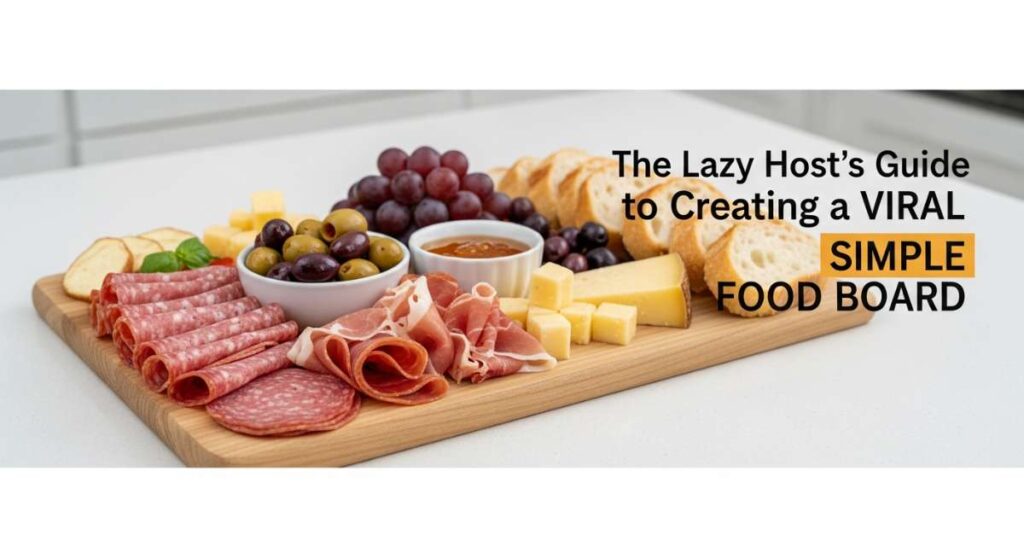
The Lazy Host’s Guide to Creating a Viral Simple Food Board
We’ve all been there—the doorbell is about to ring, your heart is racing, and you’re staring at a kitchen that looks more like a disaster zone than a Pinterest dream. I used to think hosting meant spending eight hours in the kitchen, missing out on all the laughter and wine because I was tethered to a hot oven. But then, I discovered the magic of the ‘Food Board.’ It’s the ultimate lazy host’s secret weapon: a gorgeous, overflowing spread that looks like a work of art but requires half the effort of a formal dinner.
The beauty of a viral food board isn’t just in the aesthetic; it’s in the effortless way it brings people together. There’s an emotional connection that happens when friends lean over a wooden plank to grab a spicy chicken wing or a perfectly crispy potato. It’s communal, it’s relaxed, and it’s undeniably chic. Today, I’m sharing my secrets for building a board that will have your guests reaching for their phones to snap a photo before they even take a bite.
How to make spicy chicken?
Why we love this
There is something absolutely intoxicating about the aroma of caramelized honey and charred chili flakes wafting through the kitchen. These spicy chicken bites offer a symphony of textures—a sticky, sweet exterior that gives way to tender, juicy meat with a slow-burn heat that lingers just long enough to make you reach for another. It’s the kind of bold, vibrant flavor that acts as the anchor for your entire food board, providing a satisfying protein that feels indulgent yet manageable.
Ingredients
- 1.5 lbs boneless skinless chicken thighs, cut into bite-sized pieces
- 3 tbsp honey
- 2 tbsp Sriracha or gochujang
- 1 tbsp soy sauce
- 2 cloves minced garlic
- 1 tsp smoked paprika
- 1 tbsp avocado oil
- Fresh lime wedges for serving
How to make it
- Begin by patting your chicken pieces completely dry with paper towels; removing excess moisture is the professional secret to achieving a deep brown sear rather than steaming the meat.
- In a medium glass bowl, whisk together the honey, Sriracha, soy sauce, garlic, and smoked paprika until the marinade is smooth and emulsified.
- Heat a heavy cast-iron skillet over medium-high heat with the avocado oil until the oil shimmers and just begins to smoke slightly.
- Add the chicken in a single layer, ensuring you don’t crowd the pan (cook in two batches if necessary) to maintain a high searing temperature.
- Let the chicken sit undisturbed for 3-4 minutes until a dark, golden-brown crust forms on the bottom, then flip and cook for another 3 minutes.
- Pour the marinade over the chicken and toss constantly for 1-2 minutes; the sugars in the honey will rapidly caramelize and create a thick, glossy glaze that clings to every crevice.
- Remove from heat immediately once the internal temperature reaches 165°F (74°C) to ensure the meat remains succulent and juicy.
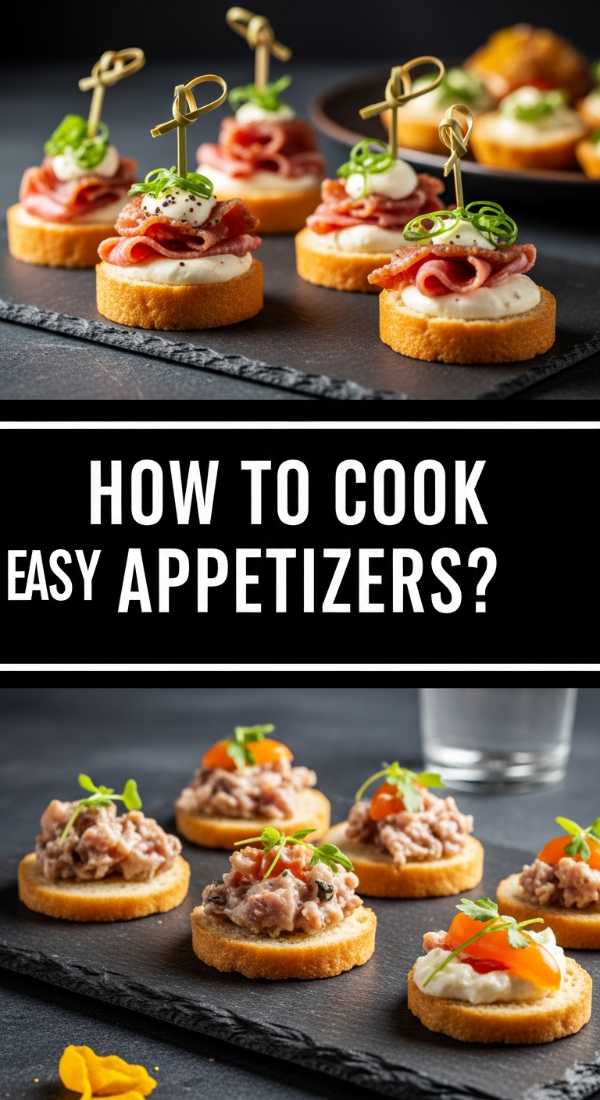
How to cook easy appetizers?
Why we love this
Easy appetizers are the backbone of any stress-free gathering, offering a sophisticated touch without the frantic prep. Imagine the creamy, velvet-smooth texture of a whipped feta dip paired with the crisp, golden crunch of a toasted baguette slice. The contrast of the salty cheese against a drizzle of floral honey creates a sensory experience that feels high-end, yet takes only minutes to assemble, allowing you to focus on your guests rather than the timer.
Ingredients
- 8 oz block of feta cheese
- 1/2 cup Greek yogurt
- 1 tbsp lemon zest
- 1 baguette, sliced into rounds
- Olive oil for brushing
- Dried oregano and red pepper flakes
How to make it
- Preheat your oven to 375°F (190°C) and arrange the baguette slices on a large baking sheet in a single, neat layer.
- Lightly brush each side of the bread with high-quality olive oil and sprinkle with a pinch of sea salt to enhance the natural grain flavors.
- Toast the bread for 8-10 minutes, flipping halfway through, until the edges are golden and the center is slightly firm but not rock-hard.
- While the bread toasts, crumble the feta into a food processor and add the Greek yogurt and lemon zest.
- Process on high speed for 2-3 minutes, stopping to scrape down the sides, until the mixture transforms from chunky to incredibly airy and smooth.
- Spread the whipped feta into a shallow bowl, create a well in the center with the back of a spoon, and fill it with a generous glug of olive oil and your dried herbs.
- Serve the warm crostini alongside the cool dip for the perfect temperature contrast.
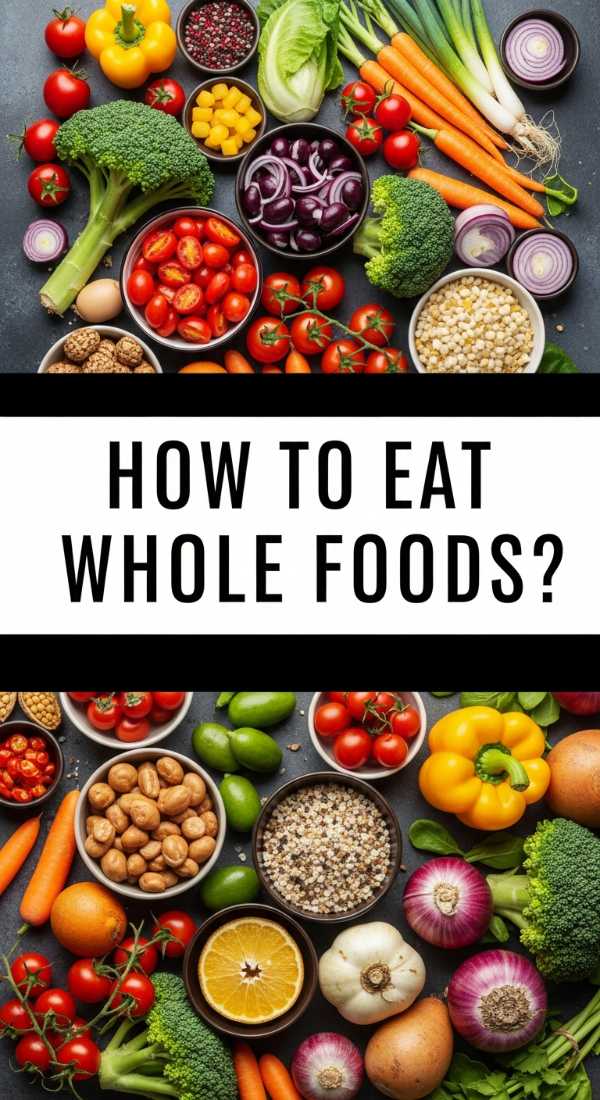
How to eat whole foods?
Why we love this
Incorporating whole foods into a board adds a vibrance that processed snacks simply can’t match. We love the crisp, snapping sound of a fresh Persian cucumber and the earthy, sweet crunch of rainbow carrots dipped into a homemade hummus. These ingredients bring a lightness to the spread, cleansing the palate between richer bites and providing a colorful, nutrient-dense foundation that makes the entire board look like a lush garden harvest.
Ingredients
- 1 bunch rainbow carrots, scrubbed and halved lengthwise
- 3 Persian cucumbers, sliced into thick spears
- 1 pint cherry tomatoes
- 1 cup raw walnuts or almonds
- 1 batch of classic chickpea hummus
- Fresh parsley for garnish
How to make it
- Select the freshest produce available; for whole foods, the quality of the ingredient is the seasoning, so look for firm, brightly colored vegetables.
- Wash all vegetables in cold water and dry them thoroughly; water droplets can make the board soggy and dilute the flavors of your dips.
- Slice the carrots and cucumbers into uniform lengths to create a sense of visual rhythm on your board, which makes the display look professionally styled.
- To prep the nuts, lightly toast them in a dry pan over medium heat for 3-5 minutes until they release a nutty, toasted aroma, which significantly improves their texture.
- Place the hummus in a central bowl and garnish with a dusting of paprika and fresh parsley to elevate its appearance.
- Arrange the vegetables in clusters around the dip, following the natural curves of the bowl to create an organic, flowing look.
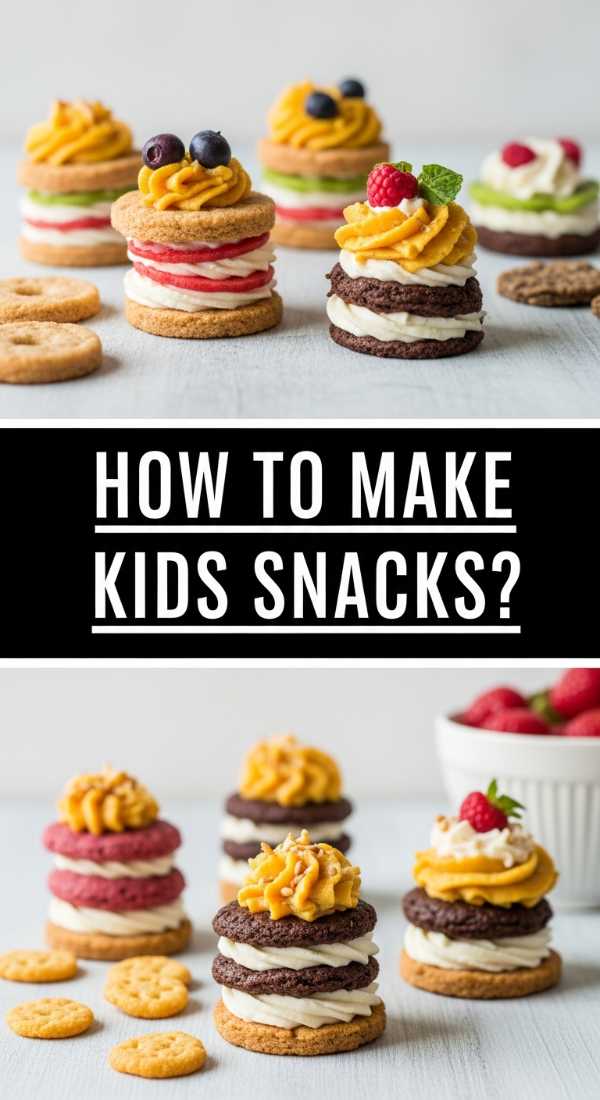
How to make kids snacks?
Why we love this
Kid-friendly snacks don’t have to be boring or beige; they can be the most whimsical part of your board! We love the playful combination of sweet fruit and savory cheese cut into fun shapes, which encourages little ones to explore different flavors. The joy of seeing a child’s face light up at a star-shaped slice of cheddar or a colorful fruit skewer adds a layer of warmth and family-centric charm to your hosting experience.
Ingredients
- Block of mild cheddar cheese
- Slices of deli turkey or ham
- Green and red grapes
- Apple slices (soaked in lemon water to prevent browning)
- Small cookie cutters (stars, hearts, or circles)
- Wooden appetizer picks
How to make it
- Slice the block of cheddar into 1/4-inch thick planks and use your cookie cutters to punch out fun shapes, ensuring the cheese is cold for the cleanest edges.
- Roll the deli meat tightly and slice into 1-inch spirals, securing them with a pick if they won’t stay rolled on their own.
- To create fruit skewers, alternate different colored grapes and apple slices on the picks, leaving enough room at the bottom for little hands to grip.
- For the apples, submerge them in a bowl of cold water with a squeeze of lemon for 5 minutes; this acidity prevents oxidation and keeps them looking fresh for hours.
- Arrange these items in a dedicated ‘kid corner’ of your board, keeping them lower and more accessible for the younger guests.
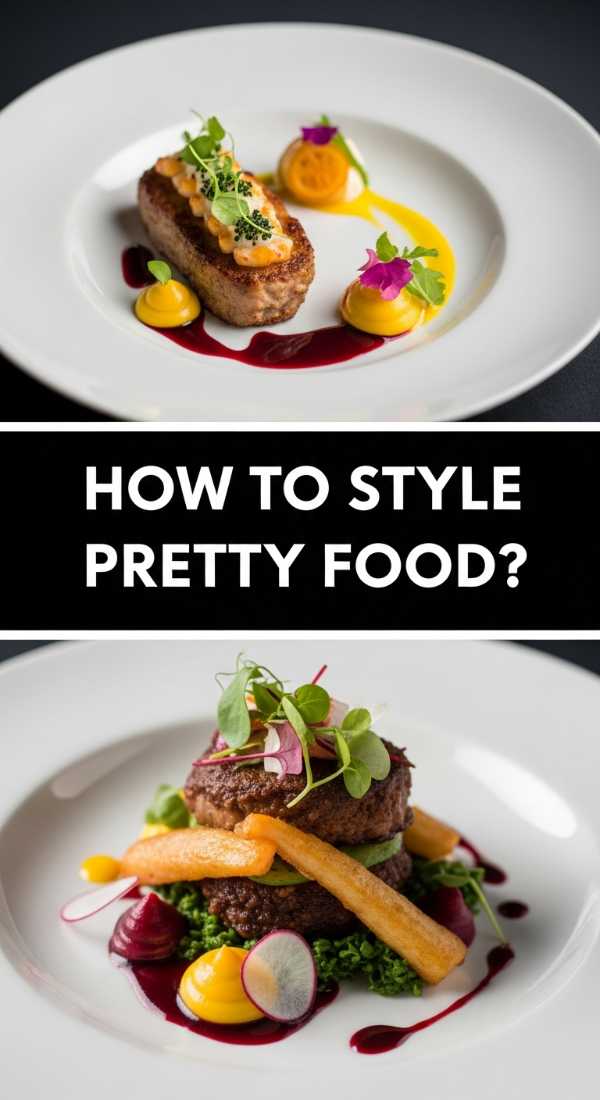
How to style pretty food?

Why we love this
Styling is where the magic happens—it’s the difference between a plate of food and a viral sensation. We love the process of layering textures, from the rough edge of a sourdough loaf to the glossy sheen of olives. A well-styled board tells a story of abundance and care, creating a visual feast that heightens the anticipation of the meal and turns a simple snack into a memorable event.
Ingredients
- Fresh rosemary or thyme sprigs
- Edible flowers (optional)
- Small ramekins or bowls of various heights
- A large wooden or slate board
- Pomegranate seeds or dried cranberries for pops of color
How to make it
- Start with your ‘anchors’—place your bowls of dips, olives, or nuts on the board first to create a structural framework.
- Follow the ‘S-curve’ rule: arrange your largest items (like crackers or sliced meats) in a winding path across the board to guide the eye.
- Fill in the large gaps with your proteins and cheeses, making sure to vary the colors so no two similar-looking items are touching.
- Use the ‘clustering’ technique for smaller items like berries or nuts, tucking them into the tiny crevices until no part of the board is visible.
- Add height by stacking certain items or using a small pedestal for one of the bowls, which creates a dynamic, 3-dimensional look.
- Finish by tucking fresh herb sprigs under the edges of the food; the green color adds life and the fragrance will hit guests as they approach.
How to make crispy potatoes?

Why we love this
There is no greater comfort than a perfectly crispy potato. We love the ‘smashed’ method because it creates an incredible surface area of craggy, golden-brown edges that shatter when you bite into them, revealing a fluffy, cloud-like center. Seasoned with sea salt and rosemary, these little gems provide a salty, starchy satisfaction that grounds the board and keeps everyone coming back for ‘just one more.’
Ingredients
- 1 lb baby Yukon Gold potatoes
- 3 tbsp extra virgin olive oil
- 2 tsp flaky sea salt
- 1 tbsp chopped fresh rosemary
- 1/2 tsp garlic powder
How to make it
- Place the whole baby potatoes in a large pot of cold, salted water and bring to a rolling boil; cook for 15-20 minutes until they are fork-tender.
- Drain the potatoes and let them steam-dry in the colander for 5 minutes; removing that surface moisture is vital for maximum crispiness.
- Preheat your oven to 425°F (220°C) and grease a large baking sheet generously with olive oil.
- Place the potatoes on the sheet and use the bottom of a heavy glass or a potato masher to gently press down until they are about 1/2 inch thick and slightly shattered.
- Drizzle the tops with more olive oil and sprinkle evenly with sea salt, garlic powder, and rosemary.
- Roast for 25-30 minutes, flipping halfway through with a thin spatula, until the skins are deeply bronzed and the edges are translucent and crispy.
How to host birthday parties?

Why we love this
Hosting a birthday party with a food board removes the formality of a sit-down dinner and replaces it with a celebratory, grazing atmosphere. We love how a board can be customized to the guest of honor’s favorite flavors, creating a personalized edible tribute. It allows the host to actually enjoy the party, mingling and celebrating instead of being stuck in the kitchen during the ‘Happy Birthday’ song.
Ingredients
- Selection of artisanal cheeses
- Cured meats (prosciutto, salami)
- Small birthday candles
- A mini cake or cupcakes for the center
- Sparkling juice or champagne for toasts
How to make it
- Theme your board by choosing a color palette that matches the party decorations, using fruits or napkins to tie the look together.
- Incorporate a ‘hero’ element in the center of the board, like a small 4-inch cutting cake or a cluster of decorated cupcakes, to signify the occasion.
- Pre-slice the cheeses and meats into easy-to-grab portions so guests don’t have to struggle with knives while holding a drink.
- Set up a ‘beverage station’ next to the board with glassware and ice, so the flow of the party remains centered in one social area.
- Prepare as much as possible two hours before guests arrive, covering the board with a damp paper towel (for veggies) or plastic wrap to keep everything fresh.
How to cook fast food?
Why we love this
Fast food style snacks on a board bring a sense of nostalgic indulgence that everyone secretly craves. We love the ‘elevated’ version of sliders and mini fries—hot, salty, and incredibly satisfying. Making these items at home means better ingredients and less grease, but with all the punchy, savory flavors that make fast food so addictive, making them an instant hit on any viral spread.
Ingredients
- Mini brioche slider buns
- Ground beef or plant-based patties
- American cheese slices, quartered
- Frozen shoestring fries
- Pickle chips and ‘special sauce’ (mayo, ketchup, relish)
How to make it
- Bake the shoestring fries at a high temperature (425°F) on a preheated tray to ensure they are extra crunchy and not limp.
- Form the beef into small 2-ounce balls and smash them onto a smoking-hot griddle to create a ‘diner-style’ crust.
- Top each patty with a cheese square and cover with a lid for 30 seconds to achieve that perfect, gooey melt.
- Lightly toast the mini brioche buns in the burger fat for a rich, buttery flavor and a sturdy base that won’t get soggy.
- Assemble the sliders with a single pickle and a dollop of special sauce, securing them with a bamboo knot pick for a professional look.
- Serve the fries in small paper cones or cups on the board to keep them upright and easy to grab without making a mess.
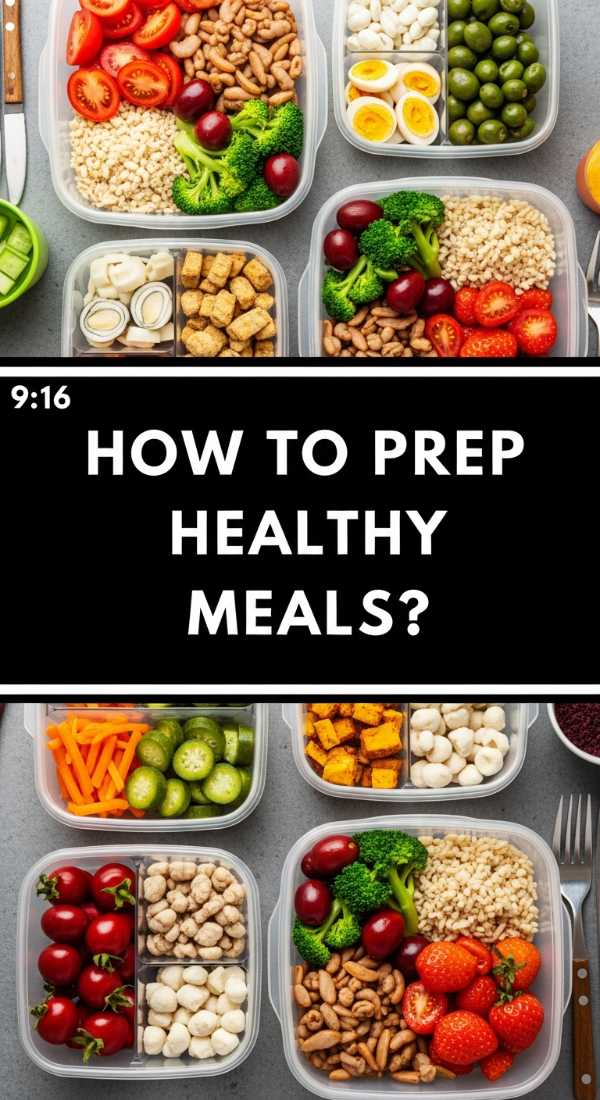
How to prep healthy meals?
Why we love this
Healthy meal prepping for a board ensures that even your ‘cheat’ days feel balanced. We love the inclusion of roasted chickpeas and lean proteins that provide a satisfying crunch and long-lasting energy. It’s about proving that ‘healthy’ doesn’t mean ‘boring’—a well-prepped board with vibrant greens, nuts, and lean meats is as visually stunning as it is nourishing for the body.
Ingredients
- 1 can chickpeas, rinsed and dried
- Grilled chicken breast strips
- Hard-boiled eggs, halved
- Avocado slices with lemon juice
- Steamed edamame with sea salt
How to make it
- For the crispiest chickpeas, toss the dried beans with olive oil and salt and roast at 400°F for 20-30 minutes until they are completely dried out and crunchy.
- Prepare the hard-boiled eggs by placing them in boiling water for exactly 9 minutes, then immediately shocking them in an ice bath for easy peeling and a perfect creamy yolk.
- Slice the chicken breast against the grain to ensure every bite is tender, and season simply with lemon and herb salt.
- When prepping the avocado, leave the pit in the unused half and brush the slices with lemon to prevent the brown oxidation that can ruin the look of a healthy board.
- Arrange these high-protein items in organized rows to give the board a clean, ‘meal-prep’ aesthetic that feels fresh and intentional.
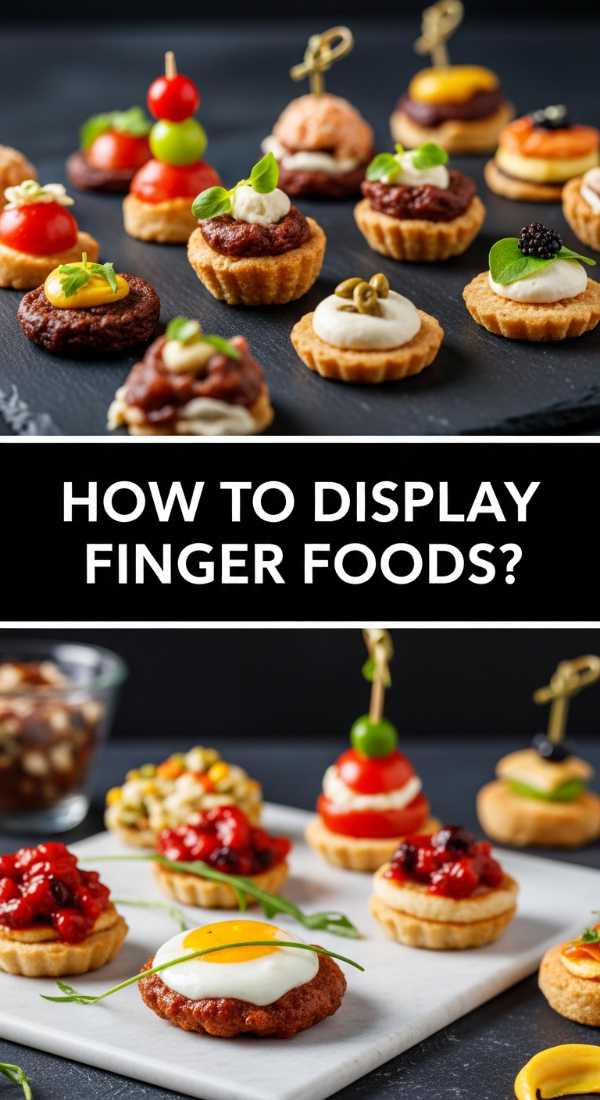
How to display finger foods?
[IMAGE_10]
Why we love this
The display of finger foods is an art form that maximizes space and accessibility. We love how small, bite-sized portions allow guests to sample a little bit of everything without needing a plate. It creates a dynamic eating experience where the textures—from the snap of a cracker to the softness of a grape—are the stars of the show, all presented in a way that feels abundant and inviting.
Ingredients
- Assorted crackers (multigrain, water crackers, breadsticks)
- Small clusters of grapes
- Cubed manchego or gouda
- Prosciutto-wrapped melon
- Dark chocolate squares
How to make it
- Create ‘zones’ on your board for different flavor profiles: sweet, salty, creamy, and crunchy.
- Fan out the crackers in a circular motion around the edge of the board to create a frame for the smaller finger foods.
- Group the cheese cubes in small piles rather than spreading them out, which makes them easier to grab with fingers or toothpicks.
- Wrap thin ribbons of prosciutto around cantaloupe wedges to create a finger food that combines sweet, salty, and juicy elements.
- Place the chocolate squares near the fruit as a ‘dessert corner’ to offer a sweet finish to the savory grazing.
- Always include a small ‘discard bowl’ nearby for any stems, pits, or picks, keeping the main display looking clean and appetizing throughout the party.
Conclusion: The Art of Effortless Hosting
Creating a viral food board isn’t about being a master chef; it’s about the joy of assembly and the love of sharing good food with great people. By focusing on textures, colors, and a few key ‘wow’ items like those crispy potatoes or spicy chicken bites, you can create a masterpiece that feels both high-end and totally relaxed. So, grab a board, clear your counter, and start layering. Your guests—and your Instagram feed—will thank you!