
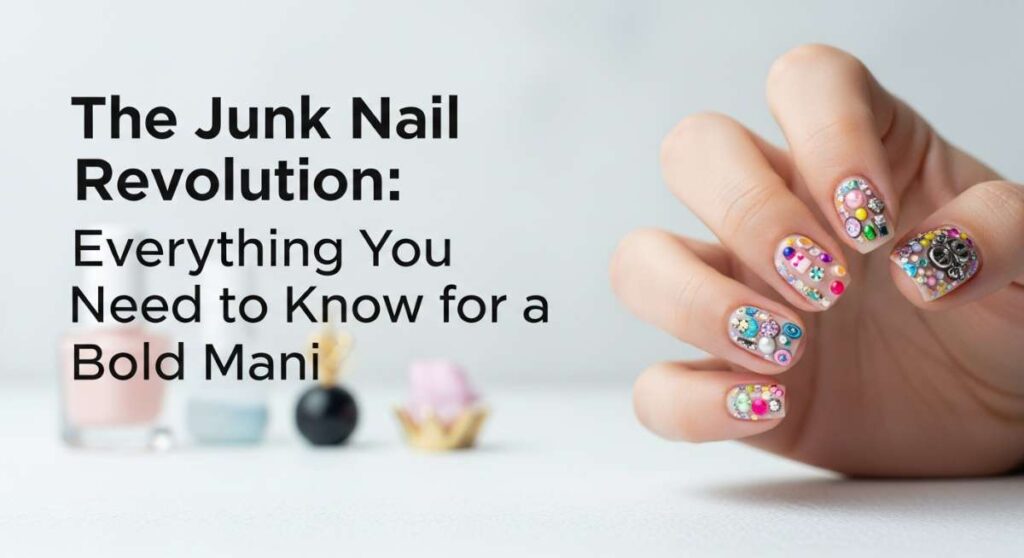
The Junk Nail Revolution: Everything You Need to Know for a Bold Mani
Hello my loves, and welcome back to our cozy little corner of the internet! Today, I want to talk about something that feels like a warm, sparkly hug for your fingertips. You know those days when you just can’t decide on one color or one vibe? Well, the universe heard our indecision and gave us the ‘Junk Nail’ revolution, and honestly, my soul has never felt more seen. It’s all about maximalism, tactile joy, and wearing your personality like a tiny, colorful gallery on every finger.
I remember sitting in my sun-drenched living room last week, looking at my plain nails and feeling like they needed a bit of magic—a bit of ‘me.’ That’s when I dove headfirst into the world of colorful junk nails. It’s not just a trend; it’s a form of self-love that says, ‘Yes, I want the glitter, the charms, the mismatched colors, and all the chaos.’ It’s about breaking the rules and finding beauty in the clutter. So, grab a cup of tea, wrap yourself in your softest blanket, and let’s explore how to create your own vibrant masterpieces.
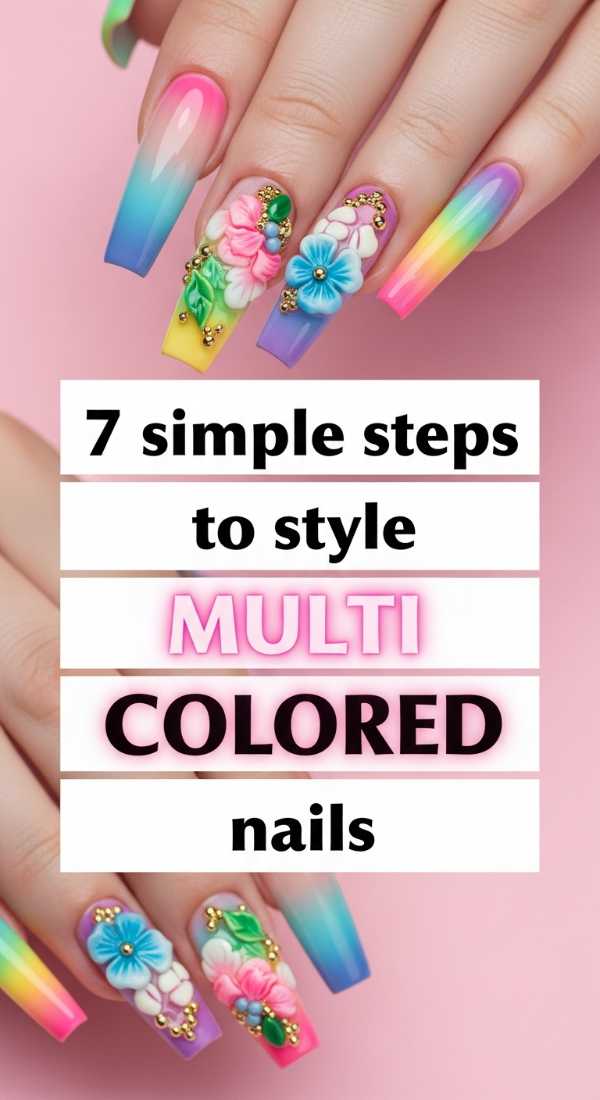
7 simple steps to style multi colored nails
Why to love this recipe:
This approach is like a soft sunrise for your hands. It’s the perfect introduction to the world of color without feeling overwhelmed. Styling multi-colored nails allows you to play with gradients and moods, making every glance at your keyboard a little moment of joy.
Essential Ingredients:
- A palette of 5-7 complementary pastel or neon polishes
- Clear top coat
- Nail file
- Nourishing cuticle oil
How to Prepare:
- Shape your nails into a soft oval or square.
- Choose a color story (like sunset oranges or ocean blues).
- Apply one unique color to each finger on your first hand.
- Repeat or slightly vary the order on your second hand.
- Clean up edges with a small brush dipped in remover.
- Seal with a high-shine top coat.
- Massage in cuticle oil for that healthy glow.
Budget Range
- Essie Glossy Shine Polish ($10)
- Olive & June Clean Up Brush ($8)
- Sally Hansen Insta-Dri Top Coat ($6)
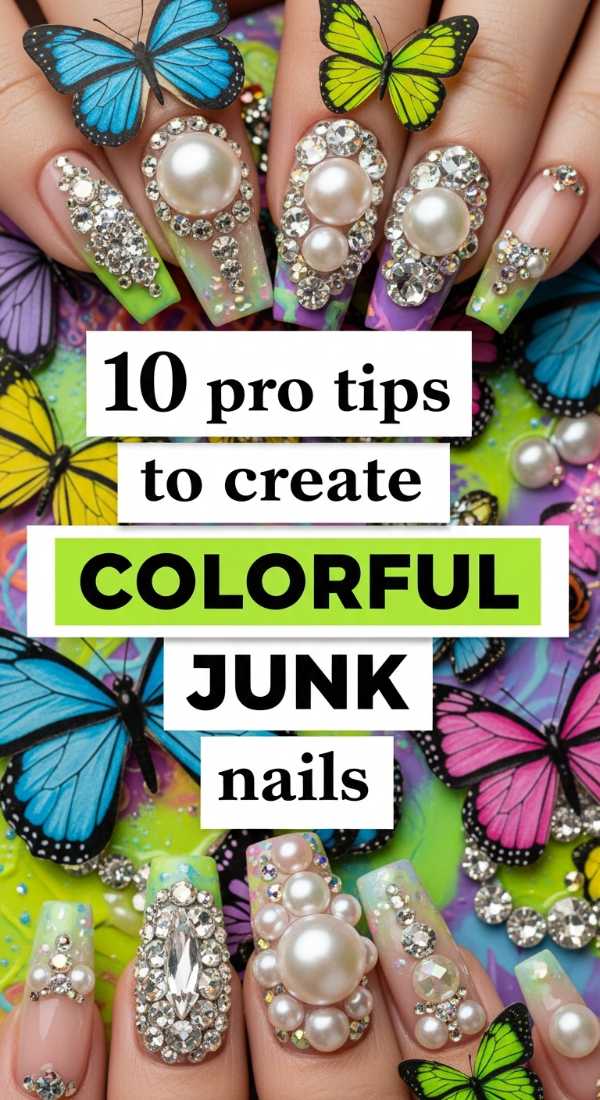
10 pro tips to create colorful junk nails
Why to love this recipe:
This is where the real magic happens, my loves. Creating junk nails is like scrapbooking for your hands. It’s tactile, adventurous, and incredibly rewarding because no two nails will ever be the same.
Essential Ingredients:
- 3D nail charms (bows, gummy bears, hearts)
- Nail glue or thick builder gel
- Tweezers
- Assorted rhinestones
- Small pearls
How to Prepare:
- Start with a vibrant base color on each nail.
- Plan your ‘junk’ layout on a flat surface before sticking.
- Apply a small dot of builder gel where you want your largest charm.
- Secure the charm with tweezers and cure under a UV lamp.
- Fill in the gaps with smaller rhinestones and pearls.
- Use a thin liner brush to add tiny painted details between charms.
- Seal only the base areas around charms to keep their sparkle.
- Add a matte top coat to some nails for texture contrast.
- Ensure charms are snug so they don’t snag your favorite sweater.
- Finish with a hydrating hand cream.
Budget Range
- Makartt Rhinestone Glue Gel ($12)
- Amazon Bulk Nail Charm Kit ($15)
- Professional Nail Tweezers ($7)
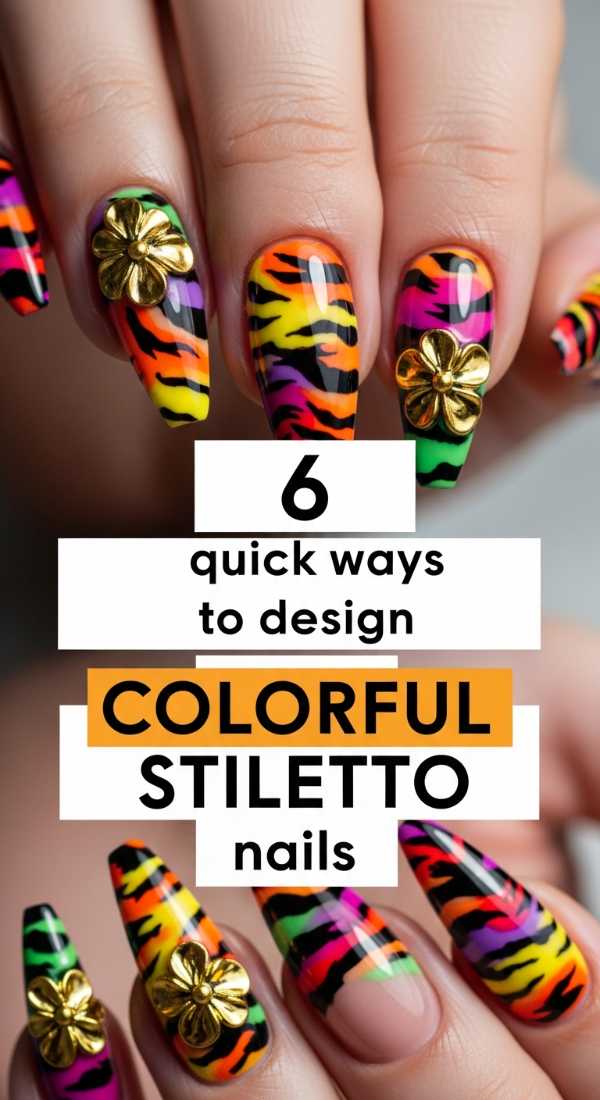
6 quick ways to design colorful stiletto nails
Why to love this recipe:
Stiletto nails are bold and fierce, like a little protective armor for your spirit. Adding vibrant colors to this sharp silhouette creates a stunning contrast that feels both sophisticated and playful.
Essential Ingredients:
- Long stiletto nail tips or extensions
- Bright acrylic paints or gel polish
- Fine detail brush
- Gold leaf flakes
How to Prepare:
- Prepare your stiletto base to ensure a smooth canvas.
- Apply a different bold hue to each tip.
- Add a vertical stripe of a contrasting color down the center.
- Place a small piece of gold leaf near the cuticle for elegance.
- Use a detail brush to create tiny swirls at the point.
- Top with a long-wear gel coat for extra durability.
Budget Range
- Beetles Gel Polish Set ($20)
- Gold Leaf Flakes ($6)
- Modelones Stiletto Tips ($9)
4 easy techniques for two color nails
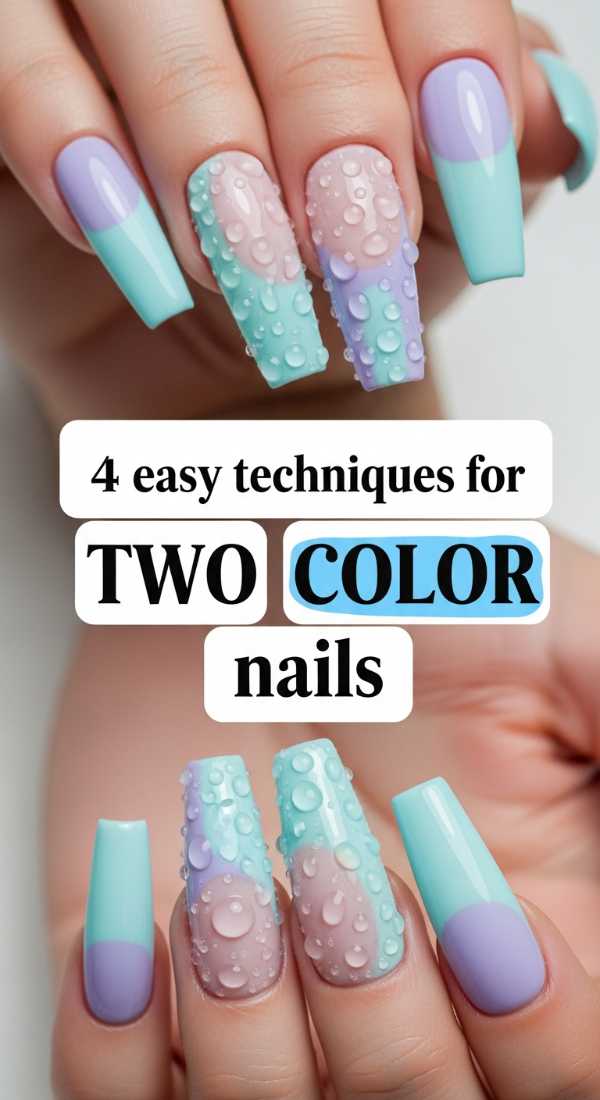
Why to love this recipe:
Sometimes, we just want a simple, cozy harmony. Two-color nails are the perfect way to show off a favorite duo, like lavender and lemon or sage and cream. It’s balanced and sweet.
Essential Ingredients:
- Two high-contrast or tonal polishes
- Sponge for ombre effects
- Striping tape
How to Prepare:
- Paint half the nail one color and the other half the second color.
- Use a sponge to create a soft ‘aura’ effect in the center.
- Apply striping tape for a crisp geometric divide.
- Alternating.
- Alternate which color is dominant on each finger.
Budget Range
- OPI Nail Lacquer Duos ($22)
- Nail Art Striping Tape ($5)
- Makeup Sponges ($3)
8 secrets for perfect colorful nail inspo
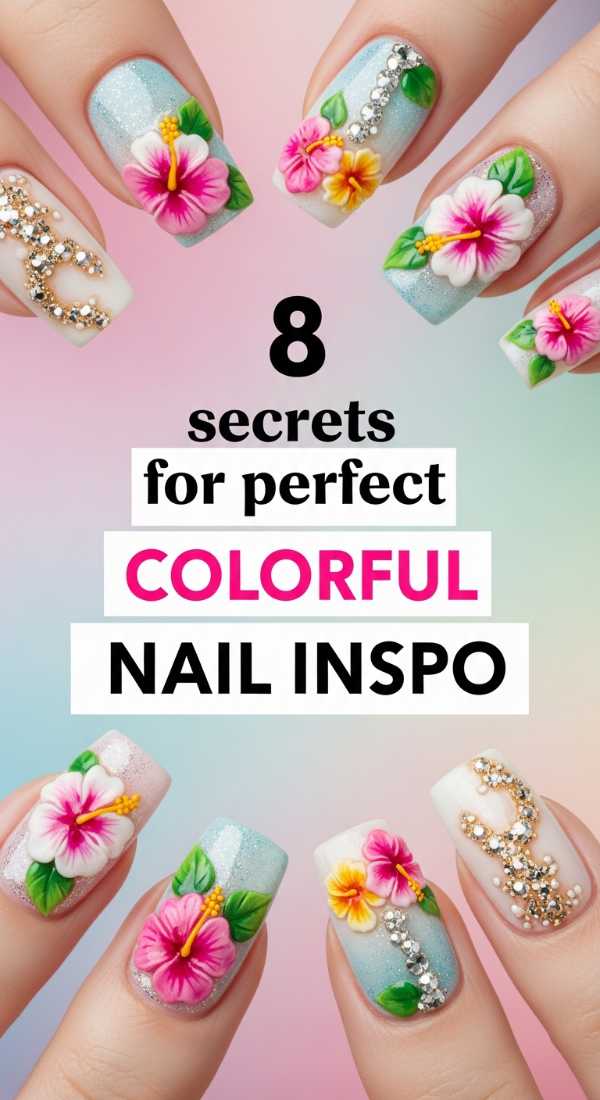
Why to love this recipe:
Finding inspiration is like catching butterflies in a jar. These secrets will help you look at the world differently, seeing potential nail designs in everything from vintage wallpaper to a wildflower bouquet.
Essential Ingredients:
- Pinterest or Instagram app
- A mood board (digital or physical)
- Color wheel
- Your favorite fashion magazine
How to Prepare:
- Look at nature for organic color palettes.
- Save textures you love, like velvet or ceramic glazes.
- Use a color wheel to find unexpected complementary shades.
- Screenshot designs that make your heart flutter.
- Keep a ‘color journal’ of things that inspire you.
- Follow maximalist nail artists for daily sparks.
- Look at candy packaging for fun color combinations.
- Don’t be afraid to mix ‘ugly’ colors—they often look chic together!
Budget Range
- Pinterest App (Free)
- Pocket Color Wheel ($4)
- Vogue Magazine Subscription ($15)
5 DIY methods for colorful nail designs
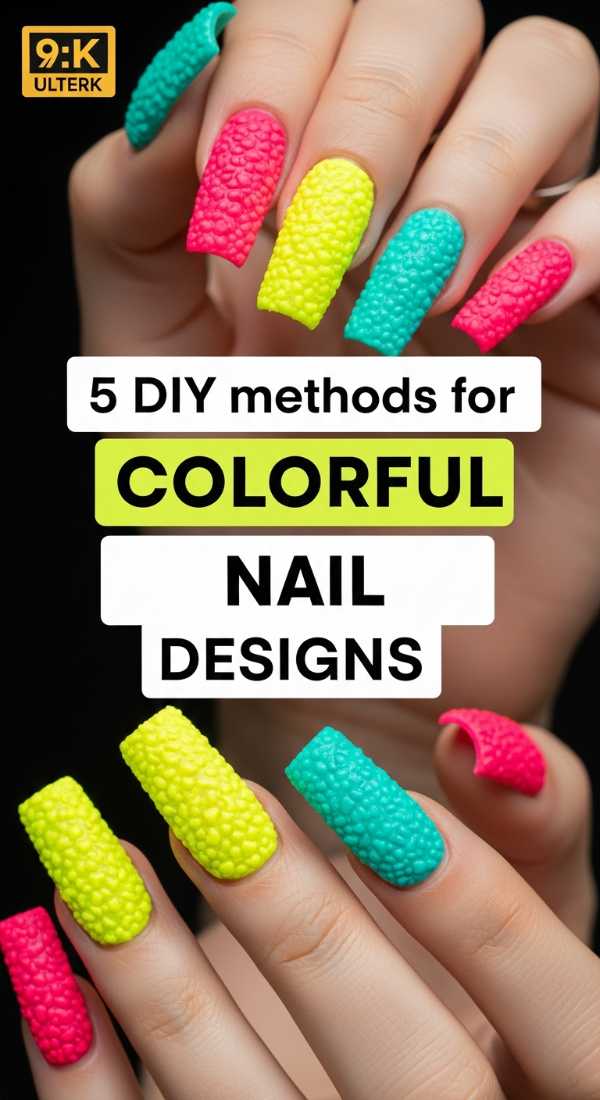
Why to love this recipe:
There is such a deep sense of accomplishment in saying ‘I did this myself!’ These DIY methods bring the salon experience into your warm living room, making art accessible to everyone.
Essential Ingredients:
- Toothpicks or dotting tools
- Old makeup brushes
- Water for marbling
- Cornstarch for matte finishes
How to Prepare:
- Use a toothpick to create tiny flower petals.
- Try ‘water marbling’ by dropping polish into a cup and swirling.
- Mix cornstarch into clear polish for a custom matte look.
- Use a dry brush technique for a ‘distressed’ artistic vibe.
- Create ‘splatter art’ by blowing polish through a straw.
Budget Range
- Household Toothpicks ($1)
- Generic Dotting Tools ($5)
- Cornstarch ($2)
3 foolproof steps to apply color street nails
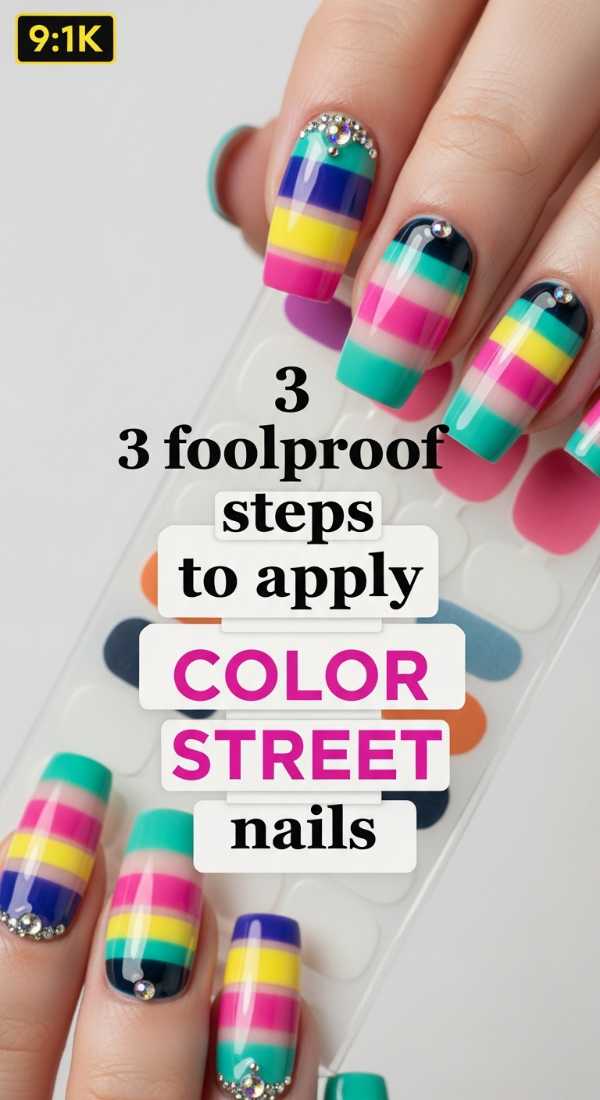
Why to love this recipe:
For my busy loves who still want that vibrant glow, nail strips are a lifesaver. They offer intricate patterns without the dry time, giving you a professional look in minutes.
Essential Ingredients:
- Color Street nail strips
- Alcohol prep pads
- Nail file
How to Prepare:
- Cleanse your nails thoroughly with alcohol to remove oils.
- Peel the strip, apply to the nail, and stretch gently for a smooth fit.
- Fold the excess over the tip and file downward to remove.
Budget Range
- Color Street Mixed Mani Sets ($13)
- Standard Nail File ($2)
9 expert hacks for multicolor nails
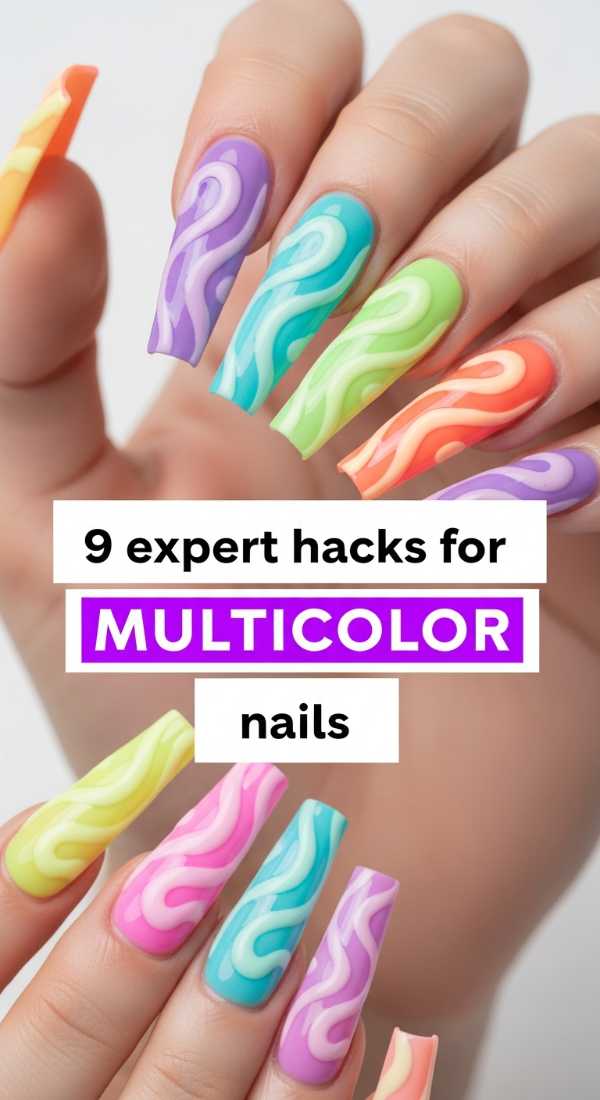
Why to love this recipe:
Hacks are the little whispers of wisdom that make our lives easier. These expert tips ensure your multicolor masterpiece lasts longer and looks cleaner.
Essential Ingredients:
- Liquid latex
- White base coat
- Cold water
- Vaseline
How to Prepare:
- Apply liquid latex around cuticles for easy cleanup.
- Use a white base coat to make neon colors ‘pop.’
- Dip wet nails in cold water to speed up drying.
- Apply Vaseline to the skin to prevent staining from dark pigments.
- Store polish in a cool, dark place to maintain consistency.
- Roll the bottle instead of shaking to avoid bubbles.
- Apply thin coats for faster drying and less chipping.
- Use a fan brush for easy rainbow streaks.
- Clean your brushes immediately with acetone.
Budget Range
- Liquid Latex for Nails ($9)
- White Primer Polish ($8)
- Vaseline ($4)
12 must-try looks for colourful acrylic nails
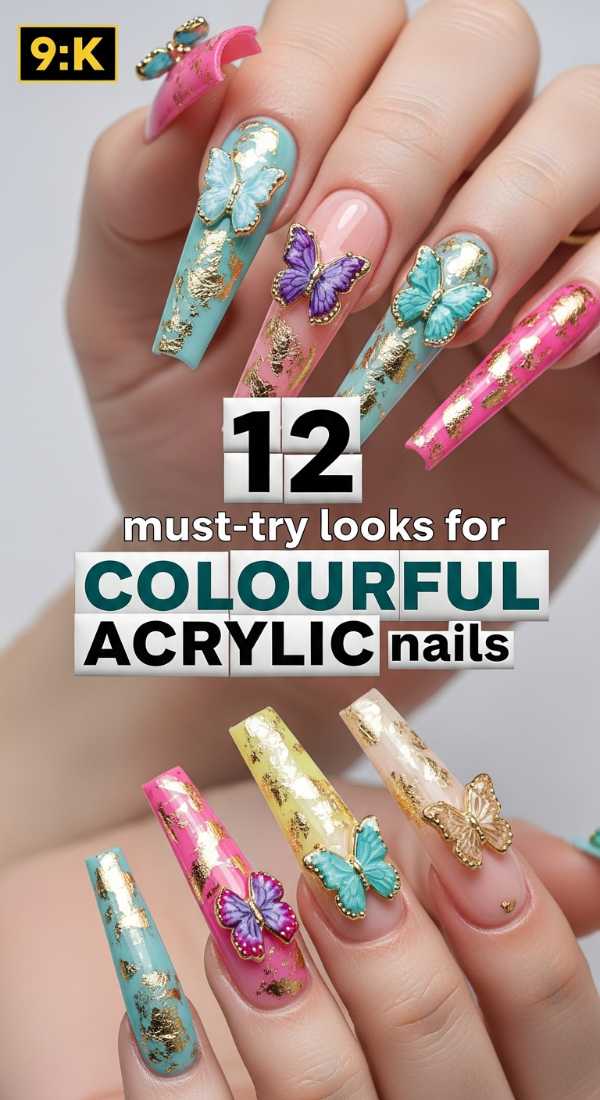
Why to love this recipe:
Acrylics provide a sturdy, long canvas for the most ambitious junk nail designs. These looks are for the days you want to feel truly extra, like a walking piece of art.
Essential Ingredients:
- Acrylic powder and monomer
- Encapsulated glitter
- Dried flowers
- Mylar flakes
How to Prepare:
- Create a base layer of clear or colored acrylic.
- Place dried flowers into wet acrylic for a botanical look.
- Encapsulate chunky glitter for depth.
- Try a ‘milky’ ombre with white and pink.
- Add 3D ‘drip’ effects with builder gel.
- Use chrome powder for a futuristic shine.
- Embed tiny watch gears for a steampunk vibe.
- Apply jelly polishes for a glass-like finish.
- Mix matte and gloss finishes on a single nail.
- Add small chains or piercings to the tips.
- Use thermal pigments that change color with heat.
- Create a ‘checkerboard’ pattern with bright squares.
Budget Range
- Mia Secret Acrylic System ($25)
- Dried Nail Flowers ($8)
- Chrome Powder Set ($12)
11 ways to master vibrant color nails
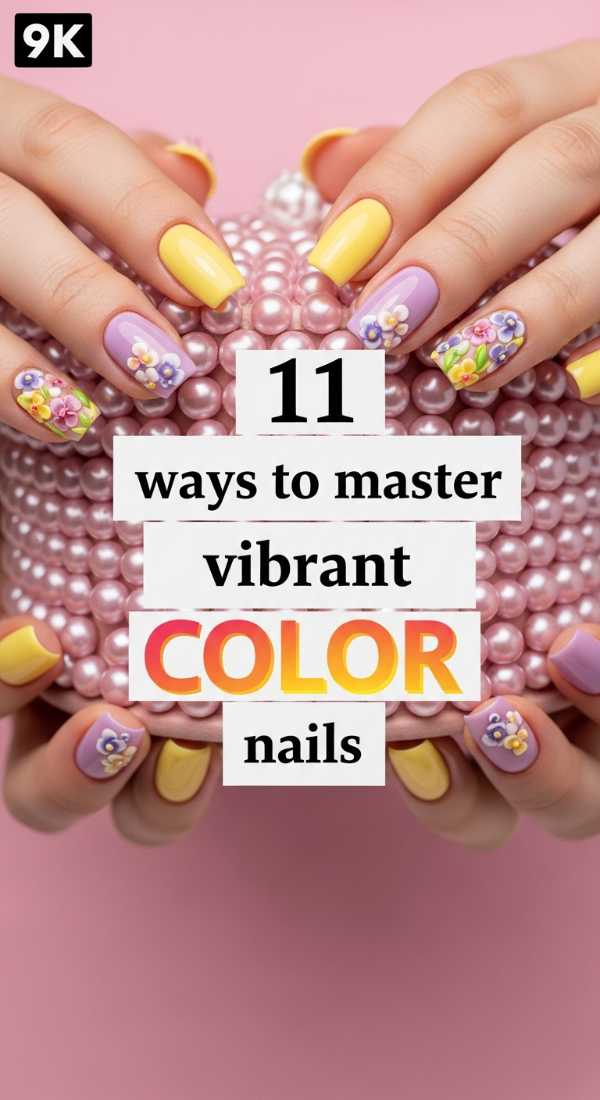
Why to love this recipe:
Mastery comes from practice and a dash of bravery. These ways to master color will give you the confidence to wear the brightest shades in the rainbow with total grace.
Essential Ingredients:
- Neon pigments
- Glossy top coat
- Confidence
- A smile
How to Prepare:
- Start with one ‘accent’ vibrant nail.
- Progress to ‘skittle’ nails (different color on each finger).
- Experiment with neon French tips.
- Layer sheer colors to create new shades.
- Use negative space to balance bright colors.
- Try ‘aura’ nails with a soft color bleed.
- Match your nails to your favorite bright accessory.
- Wear vibrant colors on shorter nails for a modern look.
- Use a matte top coat to make neons look ‘velvety.’
- Incorporate metallic accents to ground the brightness.
- Practice makes perfect—don’t be afraid to start over!
Budget Range
- Neon Pigment Powder ($10)
- Seche Vite Top Coat ($9)
- Holler and Glow Polish ($6)
A Future Full of Color
My loves, I hope this guide has sparked a little flame of creativity in your hearts. The Junk Nail Revolution isn’t just about the lacquer or the charms; it’s about the permission to be loud, colorful, and unapologetically yourself. Whether you start with a simple two-tone look or go full maximalist with 3D teddy bears and glitter, remember that your hands are a reflection of your beautiful, vibrant soul. Go forth and create something that makes you smile every time you catch a glimpse of it. I can’t wait to see what you dream up!