
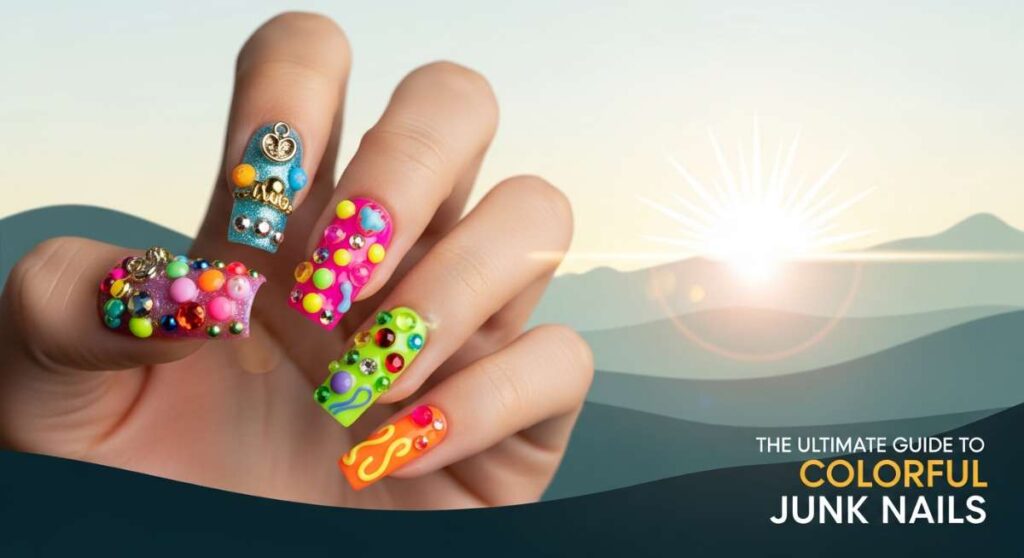
3D, Bright, and Bold: How to Master the Colorful Junk Nail Trend
Hello, my beautiful loves! I am so incredibly happy you’re here in our little corner of the world today. Lately, I’ve been feeling like our hands deserve to tell a story that’s just as vibrant and chaotic as the most wonderful parts of our lives. You know those days when you just want to sparkle from your fingertips to your toes? That’s exactly what we’re diving into today with the ultimate guide to colorful junk nails.
If you haven’t heard of the ‘junk nail’ trend yet, oh darling, you are in for such a treat. It’s all about maximalism, texture, and unapologetic joy. It’s like a tiny, 3D art gallery right on your nail beds! We’re moving past the simple French tip and embracing a world where more is truly more. Let’s wrap ourselves in this creative cloud and learn how to manifest the most beautiful, bright, and bold sets together.
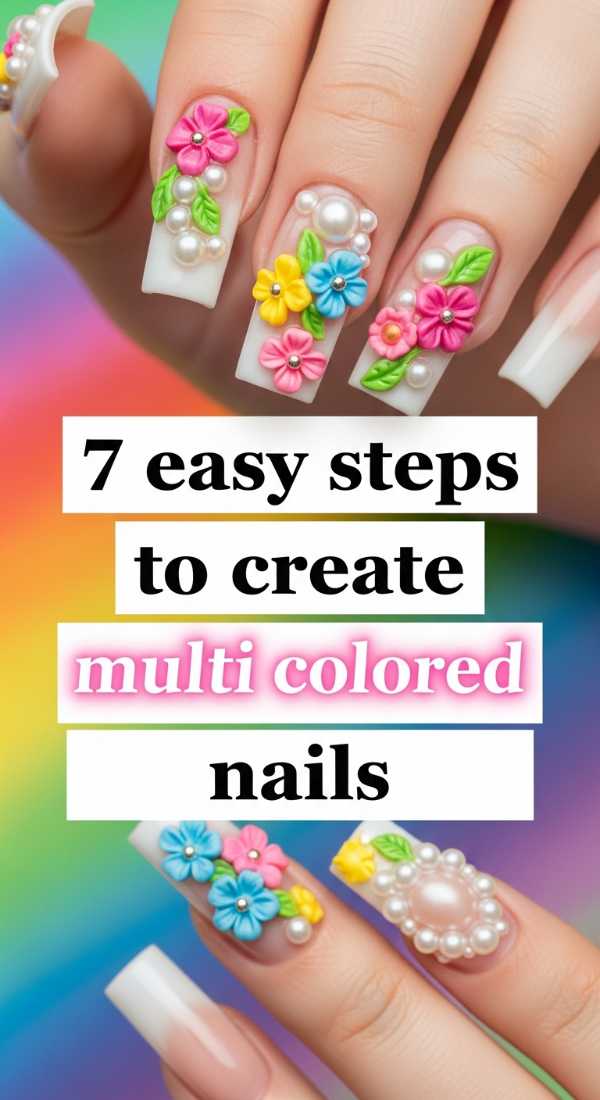
7 Easy Steps to Create Multi-Colored Nails
Why to love this recipe:
This approach is like a soft hug for your creativity. It allows you to play with the entire rainbow without feeling overwhelmed by rules. It’s the perfect foundation for any junk nail masterpiece, giving you a base that’s as lively as a summer garden in full bloom.
Essential Ingredients:
- A set of 5-10 pastel or neon gel polishes
- Fine liner brush
- Mixing palette
- Lint-free wipes
How to Prepare:
- Select a different base color for every single finger to establish the ‘junk’ vibe.
- Apply two thin coats of your primary color to each nail.
- Use a liner brush to add a secondary ‘blob’ of a contrasting color on the tip.
- Softly swirl the edges where the colors meet for a dreamy gradient.
- Cure under your UV lamp for 60 seconds.
- Add tiny dots of a third color using a dotting tool.
- Finish with a clear base layer to level the surface.
Budget Range
- Beetles Gel Polish Rainbow Summer Collection ($15.99)
- Modelones Gel Liner Set ($12.99)
- SunUV LED Nail Lamp ($24.00)
Apply Colorful Junk Nails in 5 Simple Moves

Why to love this recipe:
Applying junk nails is all about finding the rhythm in the clutter. This method ensures your heavy charms stay put while you go about your day spreading love and light. It’s about building a sturdy home for your most precious nail ‘junk’.
Essential Ingredients:
- Thick charm glue or builder gel
- Tweezers or a wax pen
- Assorted colorful charms (gummy bears, hearts, stars)
- Flash cure handheld lamp
How to Prepare:
- Dot a generous bead of builder gel exactly where you want your heaviest charm.
- Gently press the charm into the gel using your wax pen.
- Flash cure for 10 seconds to lock the charm in place before it slides.
- Fill the gaps around the charm base with more gel to prevent hair-snagging.
- Do a full 60-second cure once all charms are positioned.
Budget Range
- Makartt Rhinestone Glue Gel ($9.99)
- Wax Picker Tool for Rhinestones ($5.99)
- Saviland Handheld UV Light ($8.50)
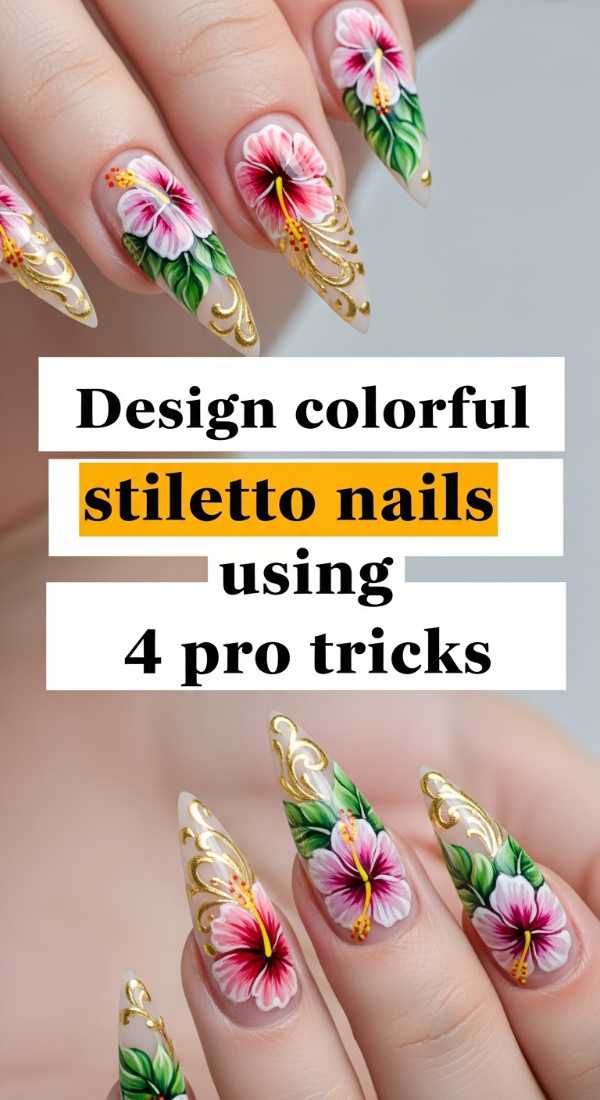
Design Colorful Stiletto Nails Using 4 Pro Tricks
Why to love this recipe:
Stiletto nails are the ultimate ‘it-girl’ shape—fierce yet elegant. When we combine that sharp silhouette with the junk nail trend, it creates a high-fashion contrast that I just adore. These tricks help you maintain balance on such a dramatic canvas.
Essential Ingredients:
- Stiletto-shaped nail tips
- Professional nail file (100/180 grit)
- Structure gel
- Precision top coat
How to Prepare:
- Keep the bulk of your ‘junk’ (charms) near the cuticle and middle of the nail to avoid making the tip too heavy.
- File the sidewalls strictly parallel to ensure the stiletto point is perfectly centered.
- Use structure gel to build a slight apex, giving the long nail the strength it needs.
- Taper your 3D elements toward the tip to maintain that iconic sharp look.
Budget Range
- Aproca Extra Long Stiletto Tips ($11.00)
- Mia Secret Structure Gel ($14.50)
- Zebra Sanding Files ($6.00)
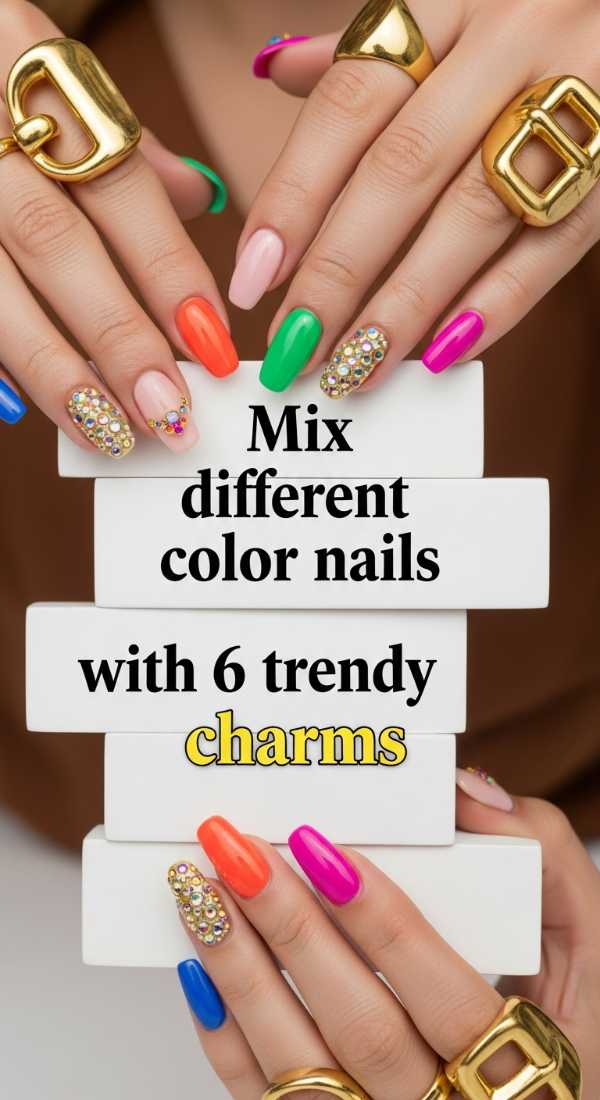
Mix Different Color Nails with 6 Trendy Charms
Why to love this recipe:
Mixing charms is like picking out jewelry for your soul. It’s an expressive way to show off your personality, from your favorite sweets to celestial symbols. This mix brings a sense of wonder to your manicure that people won’t be able to stop staring at.
Essential Ingredients:
- Kawaii resin charms
- Metal nail chains
- Holographic butterflies
- Tiny pearls
- Y2K star charms
- Miniature fruit slices
How to Prepare:
- Start with a base of Y2K star charms on your thumb and ring finger.
- Add a gummy bear resin charm as your centerpiece on the middle finger.
- Drape a small metal chain across the pinky for an edgy touch.
- Scatter tiny pearls around the butterflies on the index finger.
- Layer miniature fruit slices over a glitter base for extra depth.
- Check the ‘height’ of your charms to ensure they flow together visually.
Budget Range
- EBANKU 300pcs Mixed Nail Charms ($10.99)
- Golden Metal Nail Chains ($7.99)
- Holographic Butterfly Glitters ($6.50)
Master Two Color Nails in 3 Minutes Flat
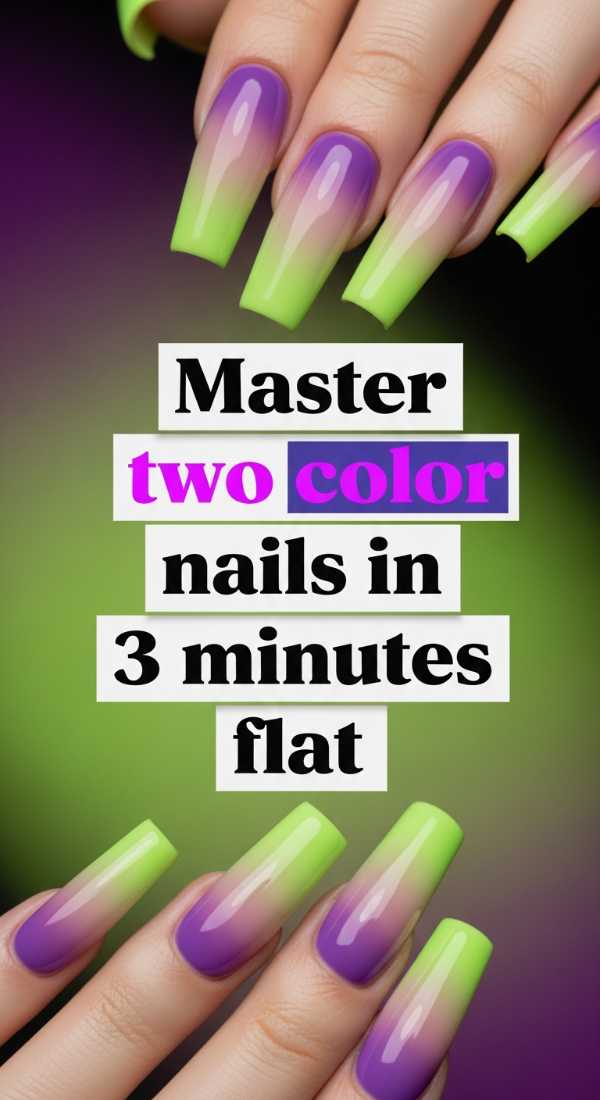
Why to love this recipe:
Sometimes, loves, we are in a rush to get to our next adventure, and that’s okay! This technique gives you that high-impact, two-tone look without the hours of effort. It’s simple, sweet, and oh-so-effective for a quick refresh.
Essential Ingredients:
- Two highly pigmented contrasting polishes
- Sponge wedge
- Liquid latex (optional)
How to Prepare:
- Paint one half of the nail vertically with your first color.
- Paint the other half with the second color immediately while wet.
- Take a sponge and lightly tap the center line to create a seamless, instant ombre.
Budget Range
- Essie Expressie Quick-Dry Polish ($10.00 each)
- Beauty Blender Sponges ($5.00 for pack)
- Pueen Liquid Latex ($9.00)
Prep Colourful Acrylic Nails with 8 Expert Tips
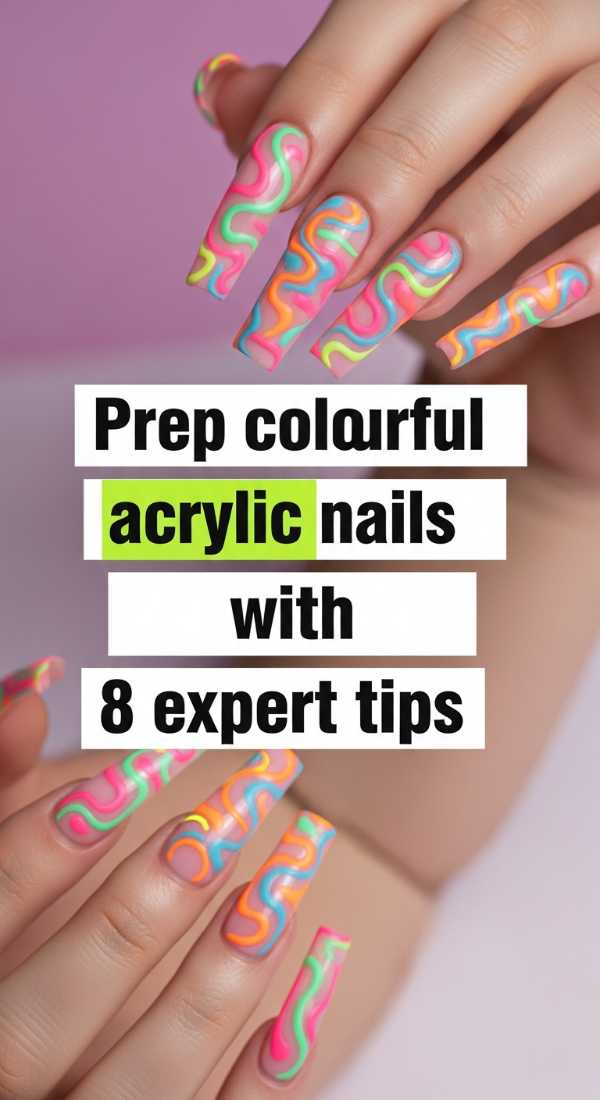
Why to love this recipe:
The secret to a long-lasting relationship with your nails is all in the prep, my darlings. Think of this as the self-care portion of your mani. When the foundation is healthy and ready, the colors will shine so much brighter.
Essential Ingredients:
- Cuticle pusher
- Dehydrator
- Acid-free primer
- Buffing block
How to Prepare:
- Gently push back cuticles to reveal the full nail plate.
- Remove the shine with a light buffing block (180 grit).
- Cleanse thoroughly with alcohol to remove any oils.
- Apply a dehydrator to ensure a bone-dry surface.
- Apply two layers of acid-free primer for maximum ‘junk’ grip.
- Choose the right acrylic powder color to complement your charms.
- Keep your acrylic bead ‘medium-wet’ for better self-leveling.
- Always leave a tiny gap at the cuticle to prevent lifting.
Budget Range
- Modelones Nail Prep Dehydrator and Primer ($13.99)
- Young Nails Core Acrylic Powder ($22.00)
- Glass Dappen Dish ($4.00)
Style Colorful Nail Inspo in 5 Creative Ways
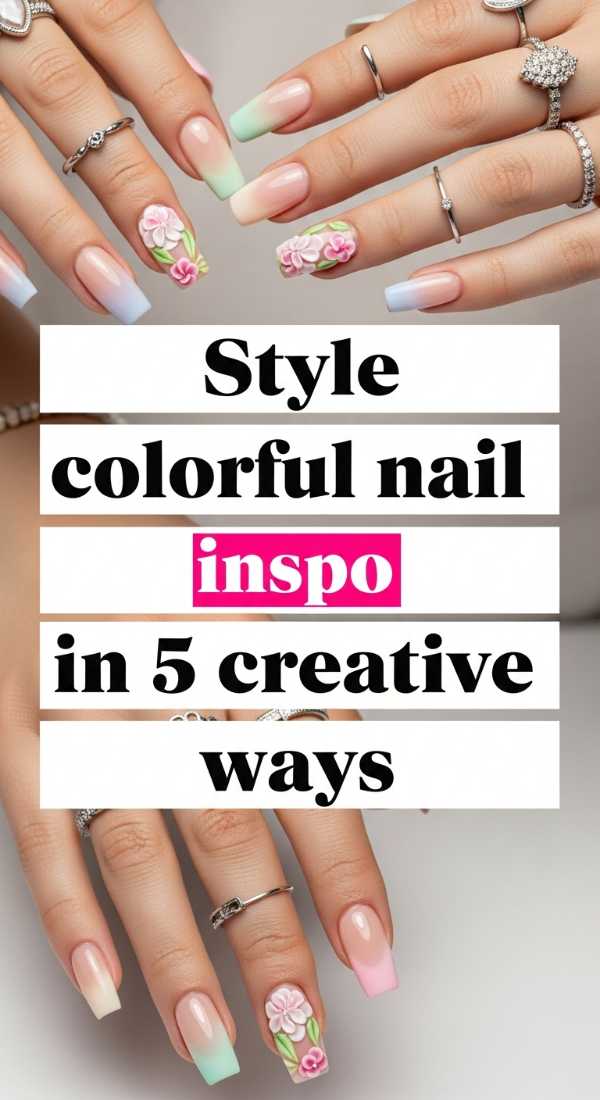
Why to love this recipe:
Inspiration is everywhere, from the sunset to your favorite vintage sweater. These styling tips help you translate your ‘vibes’ into a cohesive nail look that feels like a warm embrace of your personal style.
Essential Ingredients:
- Mood board images
- Color wheel
- Matte and Glossy top coats
How to Prepare:
- Pick a ’90s kid’ theme using primary colors and toy-like charms.
- Go ‘Dark Coquette’ by mixing black lace patterns with pink 3D hearts.
- Try an ‘Ocean Dreams’ style with blue gradients and pearl junk.
- Create a ‘Fruit Salad’ look using neon greens and 3D fimo slices.
- Experiment with ‘Texture Play’ by mixing matte bases with high-gloss 3D elements.
Budget Range
- Pinterest App (Free for Inspo)
- Kupa Glossy Top Coat ($15.00)
- Matte Finish Gel Polish ($8.00)
Add 3D Flowers to Multicolor Nails in 4 Steps
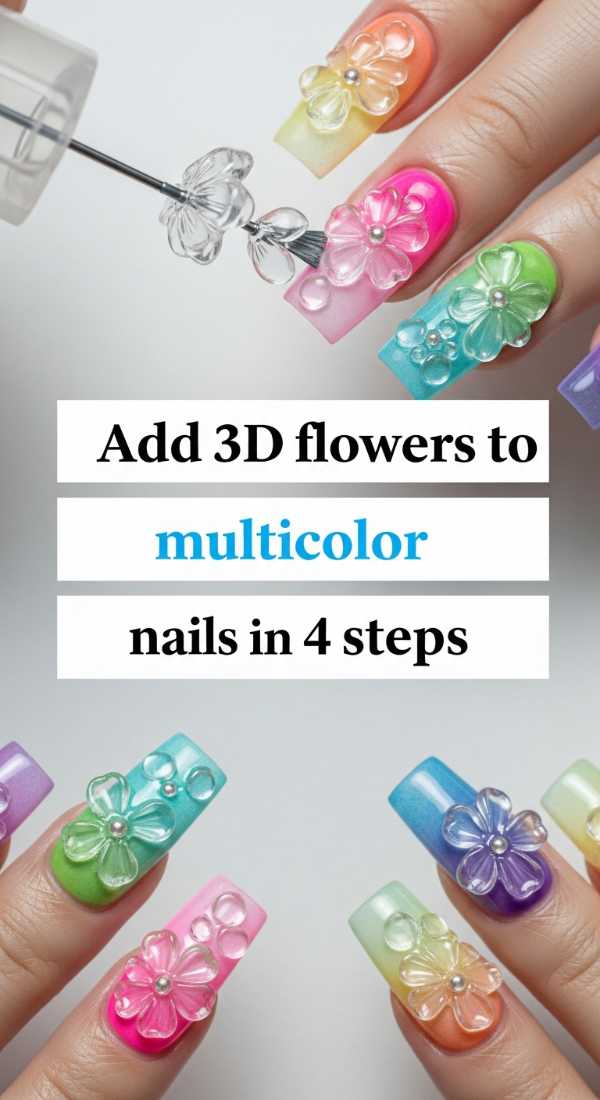
Why to love this recipe:
There is nothing more romantic than a garden on your fingertips. Adding 3D flowers gives your multicolor nails a feminine, whimsical touch that feels so soft and ethereal. It’s like carrying a bouquet with you wherever you go.
Essential Ingredients:
- 3D Acrylic Flower molds or pre-made resin flowers
- Small bead of clear acrylic
- Dotting tool
How to Prepare:
- Place a small bead of clear acrylic or thick gel on the nail.
- Press your 3D flower into the bead while it’s still tacky.
- Use a dotting tool to add a tiny gold bead or crystal to the center of the flower.
- Cure or let dry completely before adding any surrounding charms.
Budget Range
- 3D Acrylic Flower Nail Art Charms ($8.99)
- Swarovski Tiny Crystals ($12.00)
- Saviland Acrylic Kit ($19.00)
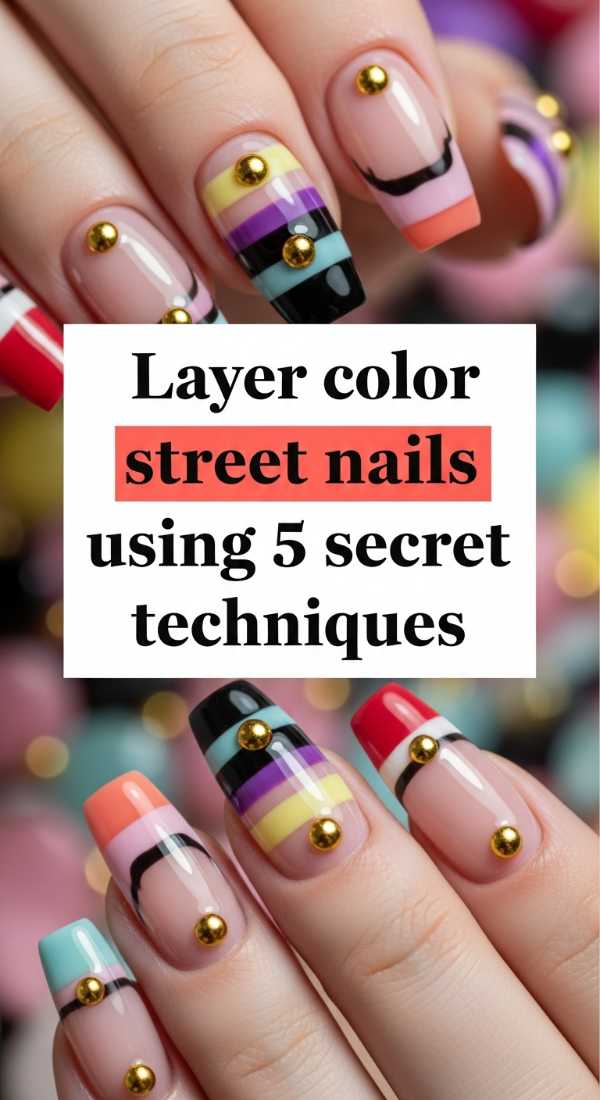
Layer Color Street Nails Using 5 Secret Techniques
Why to love this recipe:
For my loves who enjoy the convenience of nail strips, layering is the secret to making them look like a custom salon set. It adds a depth that a single strip just can’t achieve on its own. It’s like layering your favorite cozy blankets.
Essential Ingredients:
- Multiple sets of Color Street strips
- Small embroidery scissors
- Clear top coat strips
How to Prepare:
- Apply a solid base strip first.
- Cut a glitter strip into a ‘v’ shape or half-moon.
- Layer the cut glitter strip over the solid base.
- Use a strip with a pattern (like leopard or stars) as a final ‘peek-a-boo’ layer.
- Seal everything with a clear ‘doubling’ strip for a gel-like thickness.
Budget Range
- Color Street Strips ($11.00 – $14.00)
- Stainless Steel Detail Scissors ($7.00)
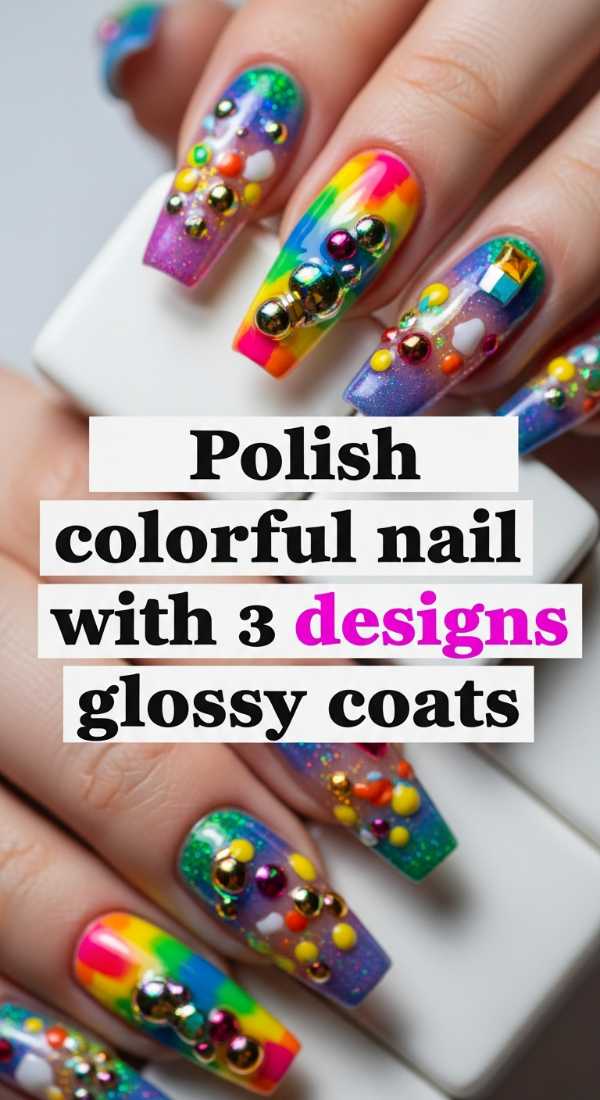
Polish Colorful Nail Designs with 3 Glossy Coats
Why to love this recipe:
The finish is what ties the whole story together. It’s the final kiss of shine that protects your hard work and makes those colors pop. A truly glossy finish makes your junk nails look professional and expensive.
Essential Ingredients:
- No-wipe tempered top coat
- UV/LED Lamp
- Nail oil
How to Prepare:
- Apply the first coat of top coat, making sure to tuck it around the base of all your 3D charms.
- Apply a second coat specifically to the ‘flat’ areas of the nail to level the surface.
- Finish with a third coat that caps the free edge perfectly to prevent chipping.
Budget Range
- Kodi Professional Tempered Top Coat ($14.00)
- Cuccio Revitalize Cuticle Oil ($9.00)
- MelodySusie 48W Nail Lamp ($45.00)
The Final Sparkle: Embracing Your Creative Soul
Oh, my darlings, I hope this guide has filled your heart with as much excitement as it has mine! Remember, the world of colorful junk nails isn’t about perfection; it’s about the joy of the process and the bravery of wearing your heart on your sleeves—or rather, your fingertips. Don’t be afraid to mix things that don’t ‘match,’ because if they make you smile, they are perfect. Go forth and create something wonderfully loud, beautifully 3D, and authentically YOU. I can’t wait to see your masterpieces!