
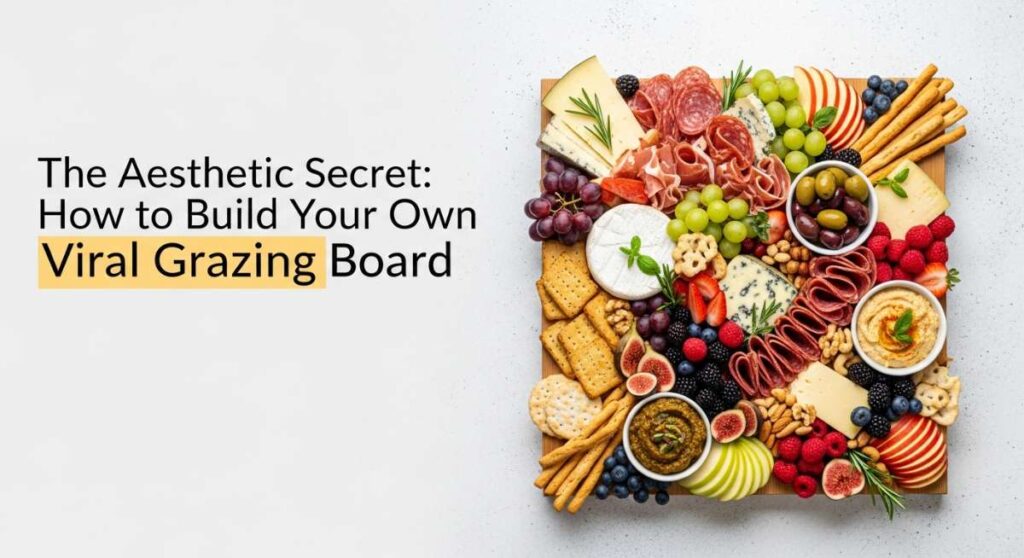
The Aesthetic Secret: How to Build Your Own Viral Grazing Board
There is something truly magical about the way a beautifully curated grazing board brings people together. It’s more than just food; it’s an invitation to slow down, share stories, and indulge in a sensory experience that feels both luxurious and effortlessly laid-back. Whether you’re hosting a golden-hour garden party or a cozy indoor gathering, the secret to that ‘viral’ aesthetic lies in the intentionality of each component—the pops of color, the varied textures, and the stories behind the ingredients.
In this guide, I’m pulling back the curtain on the recipes and techniques that turn a simple board into a masterpiece. From homemade floral jellies to the perfect sear on a piece of salmon, these elements are designed to be mixed and matched. We’re moving beyond just cheese and crackers; we’re building a lifestyle on a platter. Let’s dive into the components that will make your next gathering absolutely unforgettable.
How to make dandelion jelly
Why we love this
Dandelion jelly is like capturing pure, liquid sunshine in a mason jar. It has a surprisingly delicate, honey-like flavor with subtle floral undertones that pair exquisitely with sharp white cheddar or a creamy goat cheese. The process of foraging for the bright yellow blooms feels incredibly grounding and nostalgic, bringing a touch of the wild meadow right to your kitchen table. When you spread this golden nectar over a warm baguette, the aroma is faint and sweet, reminiscent of a spring afternoon spent in the grass.
Ingredients
- 2 cups dandelion petals (yellow parts only)
- 4 cups boiling water
- 1/4 cup lemon juice
- 1 package (1.75 oz) powdered pectin
- 4 cups granulated sugar
How to make it
- Begin by harvesting fresh dandelions from a clean, unsprayed area. Carefully pluck only the yellow petals, discarding all green sepals and stems to avoid a bitter taste. You need 2 cups of packed petals.
- Place the petals in a heat-proof jar and pour 4 cups of boiling water over them. Let this steep for at least 8 hours or overnight in the refrigerator to create a potent dandelion ‘tea.’
- Strain the liquid through a fine-mesh sieve or cheesecloth, squeezing out every drop of essence. Measure out exactly 3 3/4 cups of the tea into a large heavy-bottomed pot.
- Stir in the lemon juice and the powdered pectin. Bring the mixture to a full rolling boil over high heat, stirring constantly so it doesn’t scorch.
- Once boiling, add all the sugar at once. Return the mixture to a full rolling boil and let it boil hard for exactly one minute. This precise timing ensures the pectin sets correctly.
- Remove from heat and skim off any foam. Ladle into sterilized jars, leaving 1/4 inch headspace. Process in a water bath canner for 10 minutes to seal.
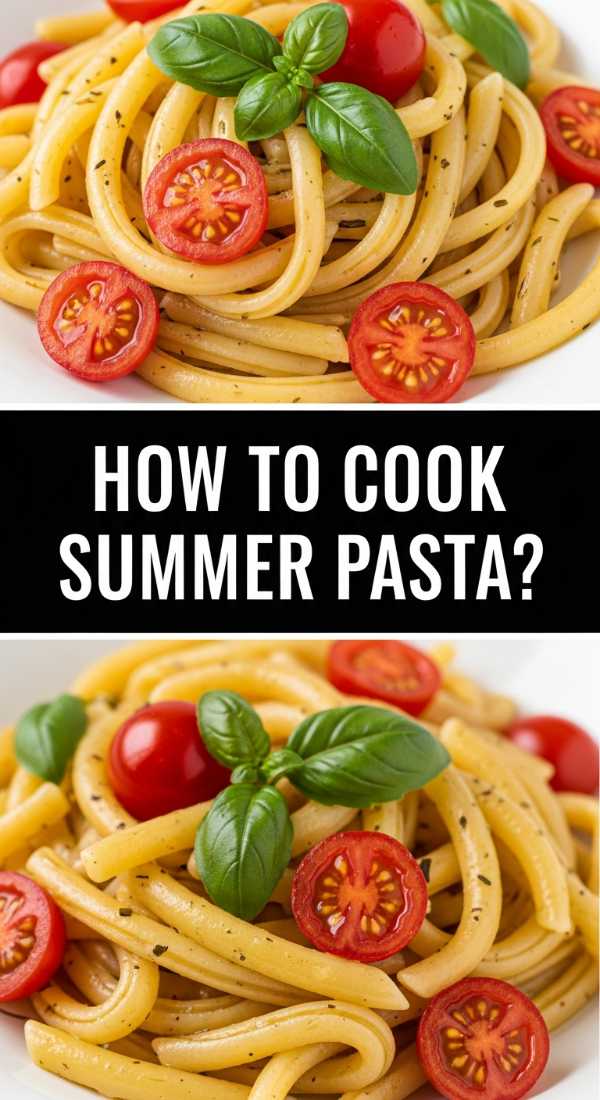
How to cook summer pasta
Why we love this
Summer pasta is the ultimate comfort food for a warm evening, balancing the richness of olive oil with the vibrant acidity of sun-ripened tomatoes. The scent of fresh basil being torn over warm noodles is enough to transport anyone to a seaside villa in Italy. Every bite offers a burst of sweetness from blistered cherry tomatoes and a silky mouthfeel from the starchy pasta water emulsifying with the garlic-infused oil. It’s light yet satisfying, making it a star addition to any grazing-style dinner.
Ingredients
- 1 lb spaghetti or linguine
- 1/2 cup extra virgin olive oil
- 6 cloves garlic, thinly sliced
- 2 pints cherry tomatoes
- 1/2 tsp red pepper flakes
- 1 cup fresh basil leaves
- Salt and black pepper to taste
- Freshly grated Parmesan
How to make it
- Bring a large pot of heavily salted water to a boil. Add the pasta and cook until it is about 2 minutes shy of al dente—it should still have a firm bite in the center.
- While the pasta cooks, heat the olive oil in a large skillet over medium-low heat. Add the sliced garlic and red pepper flakes, cooking slowly for 3-4 minutes until the garlic is golden and fragrant, but not brown.
- Increase the heat to medium-high and toss in the whole cherry tomatoes. Sauté them, shaking the pan occasionally, until they begin to burst and release their juices, forming a rustic sauce.
- Before draining the pasta, reserve 1.5 cups of the starchy pasta water. This is the secret to a glossy, restaurant-quality sauce.
- Add the undercooked pasta directly into the skillet with the tomatoes. Pour in 1/2 cup of the reserved water and toss vigorously with tongs.
- Continue cooking for 2-3 minutes, adding more water as needed, until the sauce coats the noodles perfectly. Remove from heat, fold in the basil and Parmesan, and serve immediately.
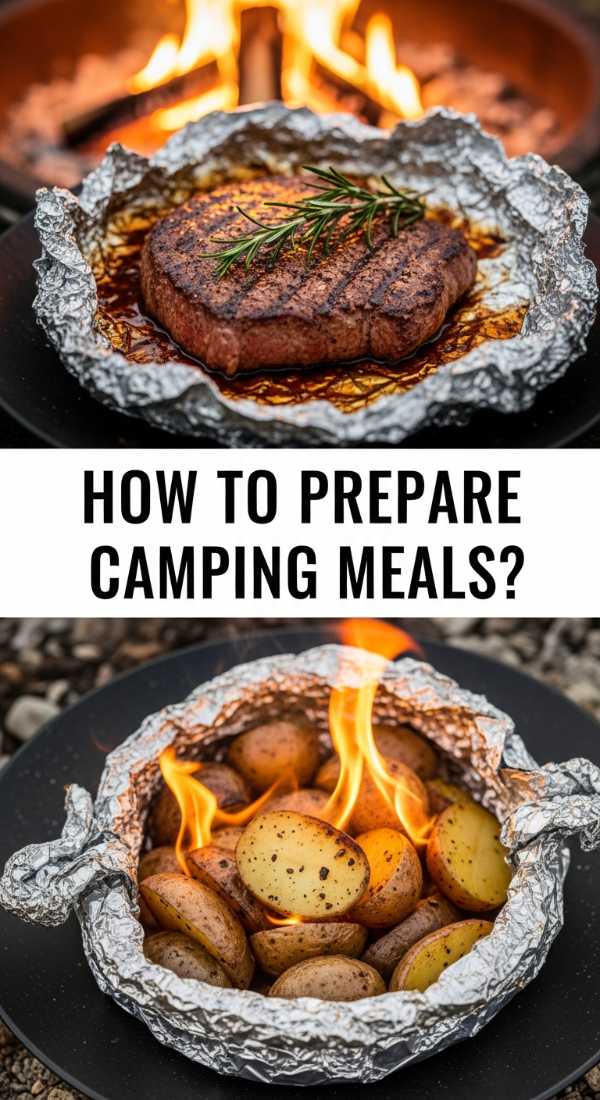
How to prep camping meals
Why we love this
There is a rugged, primal joy in prepping camping meals that are designed to be cooked over an open flame or a portable stove. The focus is on hearty, transportable flavors that taste even better when enjoyed under a canopy of stars. We love the smoky aroma of pre-marinated meats hitting the grill and the convenience of having everything chopped and ready to go, allowing more time for hiking and less time for cleaning. It turns a simple outdoor excursion into a gourmet adventure where every meal feels like a well-earned reward.
Ingredients
- 2 lbs protein (chicken thighs or steak tips)
- Assorted sturdy vegetables (bell peppers, zucchini, onions)
- Pre-mixed dry rub or marinade
- Heavy-duty aluminum foil
- Ziploc bags for organization
How to make it
- The key to successful camping meals is ‘prep at home, assembly at camp.’ Start by slicing your proteins and vegetables into uniform, bite-sized pieces for even cooking.
- Place the protein in a Ziploc bag with your marinade (oil, acid, and spices). Squeeze out the air to ensure the meat is fully submerged and will stay tender.
- For ‘foil pack’ meals, pre-cut large squares of heavy-duty foil. This prevents tearing when you are tossing them onto hot coals or a grill grate.
- Flash-freeze your prepped bags for 2 hours before packing them in the cooler. This helps them act as ice packs for other items and ensures they stay at a safe temperature longer.
- At the campsite, ensure your fire has burned down to a consistent bed of hot coals rather than leaping flames. High, direct flames will char the outside while leaving the inside raw.
- Place the foil packs or skewers on the grill. If using foil, rotate every 5-7 minutes. Use a meat thermometer to check for a safe internal temperature (165°F for chicken, 145°F for steak).
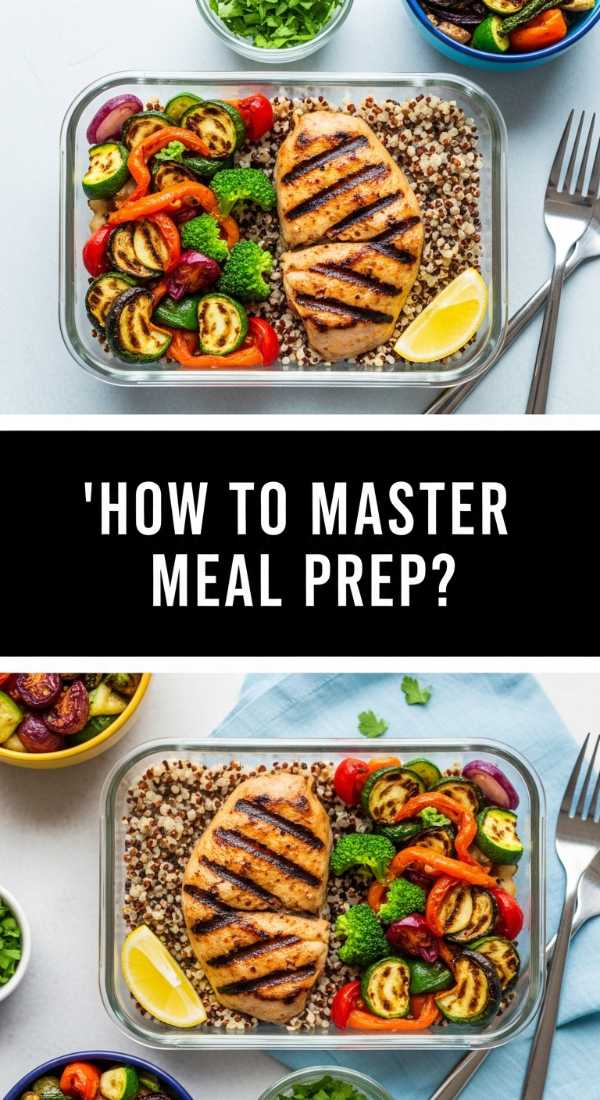
How to master meal prep
Why we love this
Mastering meal prep is the ultimate gift you give to your future self, providing a sense of calm and control during a busy work week. The sight of organized, colorful containers in the fridge is incredibly satisfying and encourages healthier eating habits without the stress of daily cooking. We love the variety it allows; by prepping base components rather than fully finished dishes, you can mix and match textures and flavors to keep your palate excited. It’s about creating a foundation of nutrition that feels like a luxury, not a chore.
Ingredients
- 2 cups dry grains (quinoa, brown rice, or farro)
- 4-5 lbs diverse vegetables (broccoli, sweet potatoes, carrots)
- 3-4 proteins (hard-boiled eggs, roasted chickpeas, shredded chicken)
- 2 signature dressings or sauces
How to make it
- Start by utilizing your oven and stovetop simultaneously. Preheat your oven to 400°F for roasting while you boil a large pot for your grains.
- Spread your chopped vegetables on large baking sheets. Do not overcrowd them; they need space for the hot air to circulate so they roast and caramelize rather than steam. Drizzle with oil and salt.
- Cook your grains using a 2:1 liquid-to-grain ratio. Use vegetable broth instead of water to infuse flavor from the start. Once cooked, fluff with a fork and let them cool completely before lidding.
- Prepare your ‘flavor boosters’—whisk together a lemon-tahini dressing and a spicy chimichurri. Keeping sauces separate prevents your prepped items from getting soggy.
- Batch-cook your proteins. If roasting chicken, use a meat thermometer to pull it at 160°F; the carry-over heat will bring it to the safe 165°F while keeping it juicy for reheating later.
- Portion everything into glass containers once they have reached room temperature. Cooling before sealing prevents condensation, which is the main culprit of ‘meal prep mushiness.’
How to toss summer salad
Why we love this
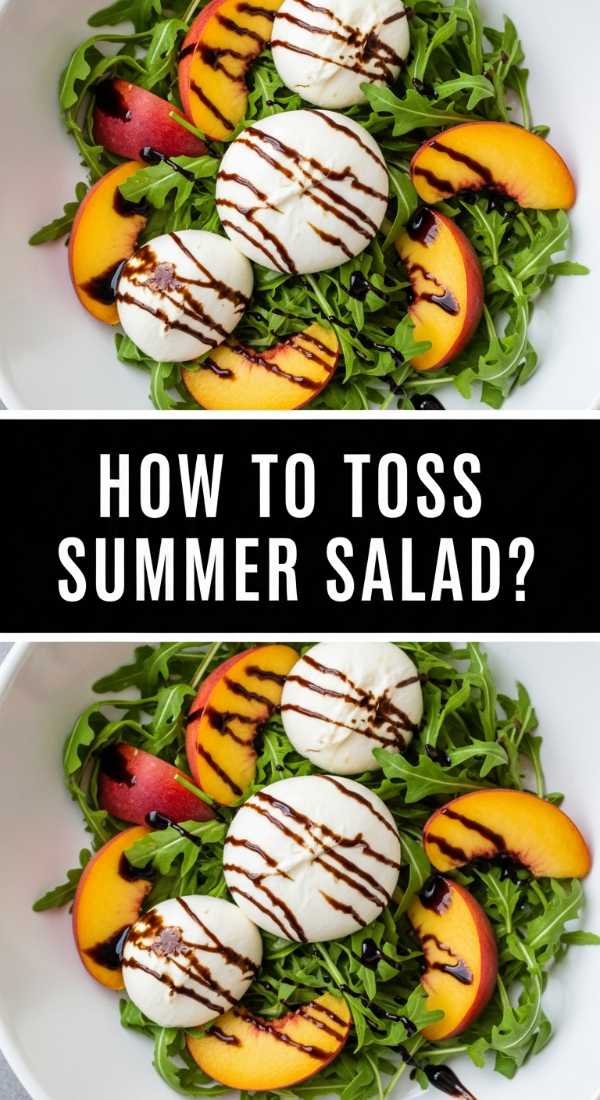
A perfectly tossed summer salad is a celebration of seasonal bounty, bringing together crisp greens, juicy fruits, and crunchy nuts in a harmonious blend. The key is in the layering—how the bitterness of arugula contrasts with the sweetness of a peach, all tied together by a bright, acidic vinaigrette. We love the way a well-dressed salad feels light on the tongue but complex in flavor, providing a refreshing palate cleanser that balances the heavier elements of a grazing board. It’s a bowl of vibrant energy that looks as beautiful as it tastes.
Ingredients
- 4 cups baby arugula or spinach
- 1 cup fresh berries or sliced stone fruit
- 1/2 cup crumbled feta or goat cheese
- 1/4 cup toasted nuts (walnuts or pistachios)
- Dressing: 3 parts oil, 1 part balsamic vinegar, 1 tsp honey
How to make it
- The secret to a non-soggy salad is starting with bone-dry greens. Use a salad spinner or pat them dry with paper towels to ensure the dressing actually clings to the leaves.
- Prepare your vinaigrette in a separate small jar. Shake it vigorously until it is fully emulsified—you’ll know it’s ready when the oil and vinegar no longer separate and it looks slightly creamy.
- Place your greens in an oversized bowl. You need extra space to toss effectively without bruising the delicate leaves.
- Drizzle the dressing around the sides of the bowl rather than directly on top. Use your hands or large salad tongs to lift and turn the greens until every leaf has a faint, glistening coating.
- Only after the greens are dressed should you add your heavy toppings like fruit, cheese, and nuts. This prevents the heavy items from sinking to the bottom or getting crushed during the tossing process.
- Finish with a final crack of fresh black pepper and a sprinkle of flaky sea salt just before serving to make the fruit flavors pop.
How to grill summer dinner
Why we love this
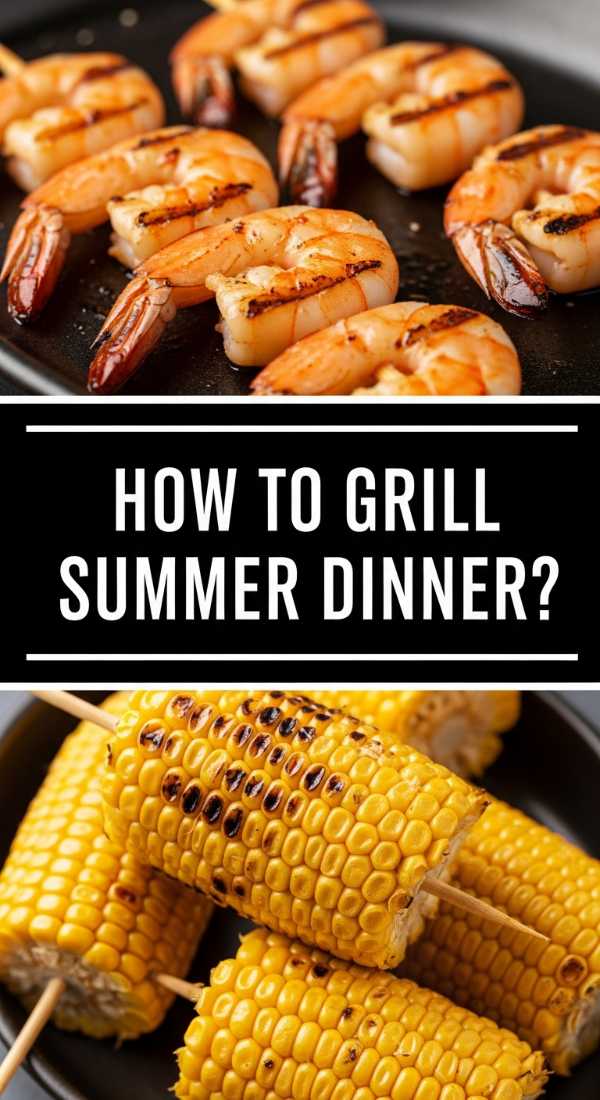
Grilling a summer dinner is an atmospheric experience that appeals to all the senses—the sizzle of the grate, the intoxicating aroma of woodsmoke, and the visual beauty of perfect char marks. It’s an outdoor ritual that turns cooking into a social event, allowing the chef to stay part of the conversation. We love the deep, caramelized flavors that only a high-heat flame can produce, turning simple vegetables and proteins into something extraordinary. It’s the quintessential taste of summer that feels both rustic and sophisticated.
Ingredients
- Selection of steaks, chops, or firm fish
- Corn on the cob, asparagus, or halved bell peppers
- Neutral oil with a high smoke point (avocado or grapeseed)
- Coarse sea salt and cracked pepper
- Fresh herbs for finishing
How to make it
- Clean your grill grates thoroughly while the grill is heating up. A clean surface is essential for preventing sticking and achieving those clean, professional-looking sear marks.
- Preheat your grill for at least 15 minutes. For a gas grill, set all burners to high; for charcoal, wait until the coals are covered in a light gray ash. You want a temperature of 400°F-500°F.
- Oil the food, not the grates. Lightly brush your protein and veggies with oil to create a barrier. Season generously with salt just before they hit the heat to avoid drawing out too much moisture.
- Place your items on the grill and leave them alone! To get a perfect sear, the food needs undisturbed contact with the grate. For meat, wait until it naturally releases from the grill before flipping.
- Use ‘two-zone’ cooking. Keep one side of the grill hot for searing and the other side on low heat. Move thicker cuts of meat to the cooler side to finish cooking through without burning the exterior.
- Let your meat rest on a warm plate for 5-10 minutes after grilling. This allows the juices to redistribute, ensuring every bite is tender and flavorful.
How to make healthy bowls
Why we love this
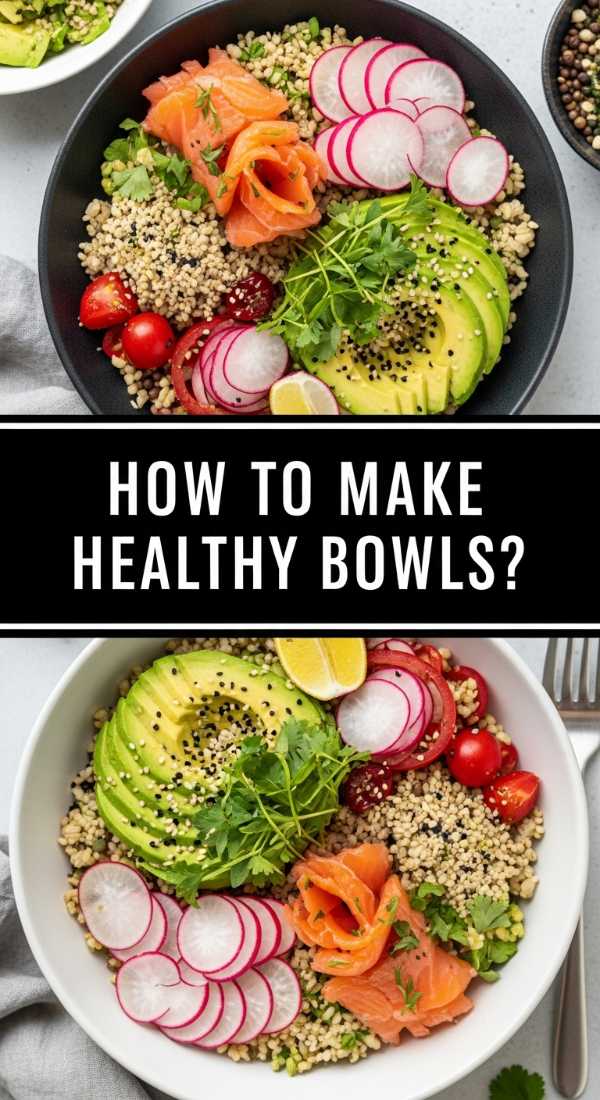
Healthy bowls are the ultimate expression of ‘eating the rainbow,’ offering a dense concentration of nutrients in a visually stunning package. There is something deeply satisfying about the architecture of a bowl—the base layer of grains, the mounds of colorful vegetables, and the final drizzle of a creamy sauce. We love how customizable they are, allowing everyone at the table to build a meal that fits their specific cravings. Every forkful is a new combination of textures, from crunchy seeds to tender roasted squash, making healthy eating feel like an indulgence.
Ingredients
- Base: 1 cup cooked quinoa or shredded kale
- Veggies: Roasted sweet potatoes, raw shredded carrots, cucumber slices
- Protein: Tempeh, chickpeas, or grilled chicken
- Healthy Fats: Sliced avocado or hemp hearts
- Sauce: Lemon-tahini or ginger-miso dressing
How to make it
- Think of your bowl in sections. Start by placing your base layer (grains or greens) at the bottom, creating a flat foundation for your toppings.
- Arrange your ‘substantial’ toppings—the roasted items or heavy proteins—around the perimeter of the bowl in distinct piles. This ‘deconstructed’ look is what makes viral bowls so photogenic.
- Fill the gaps with ‘fresh’ elements like raw sprouts, microgreens, or shaved radish to provide a textural contrast to the cooked components.
- Add a ‘creamy’ element in the center, such as a scoop of hummus or half a fanned-out avocado. This acts as the anchor for the dish.
- Drizzle your dressing in a zig-zag pattern across the entire bowl, rather than dumping it in one spot. This ensures every component gets a bit of flavor.
- Finish with a ‘crunch factor’—sprinkle toasted sesame seeds, crushed nuts, or sunflower seeds over the top for that final professional touch.
How to slice watermelon salad
Why we love this
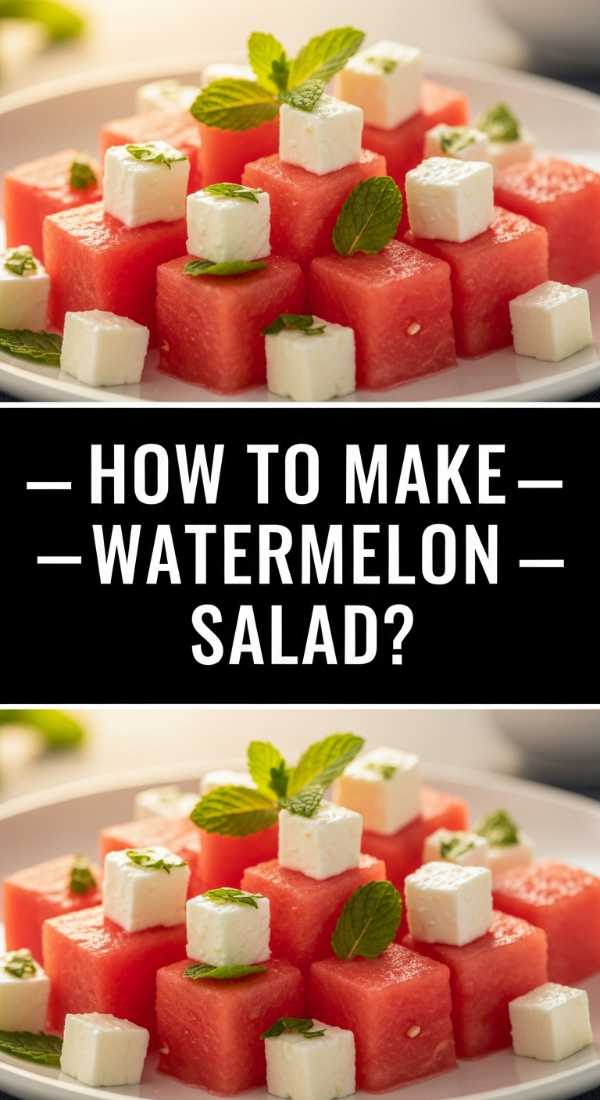
Watermelon salad is the quintessential refresher for a sweltering afternoon, offering a cooling contrast that is both sweet and salty. The crisp, watery crunch of the melon paired with the creamy, tangy punch of feta cheese is a culinary match made in heaven. We love how the addition of fresh mint provides a bright, herbaceous lift that makes the whole dish feel incredibly sophisticated despite its simplicity. It looks stunning on a grazing board, with its vibrant pink and green hues acting as a natural centerpiece that guests will flock to.
Ingredients
- 1 medium seedless watermelon (chilled)
- 1/2 cup crumbled high-quality feta
- 1/4 cup fresh mint leaves, chiffonade
- 2 tbsp extra virgin olive oil
- 1 tbsp lime juice
- Flaky sea salt
How to make it
- The key to a great watermelon salad is consistent sizing. Slice the top and bottom off the watermelon so it sits flat. Use a sharp knife to remove the rind in downward strokes, following the curve of the fruit.
- Cut the fruit into uniform 1-inch cubes. If you want a more rustic ‘viral’ look, you can use a melon baller to create different sized spheres for visual interest.
- In a small bowl, whisk together the olive oil and lime juice. Do not add the salt to the dressing, as it will cause the watermelon to release too much water too quickly.
- Place the watermelon in a wide, shallow serving dish rather than a deep bowl. This prevents the fruit at the bottom from getting crushed and keeps the presentation neat.
- Scatter the feta crumbles and mint leaves evenly over the top. The white and green against the pink melon creates a beautiful aesthetic contrast.
- Just seconds before serving, drizzle the dressing and sprinkle the flaky sea salt. The salt enhances the sweetness of the melon and the tang of the feta perfectly.
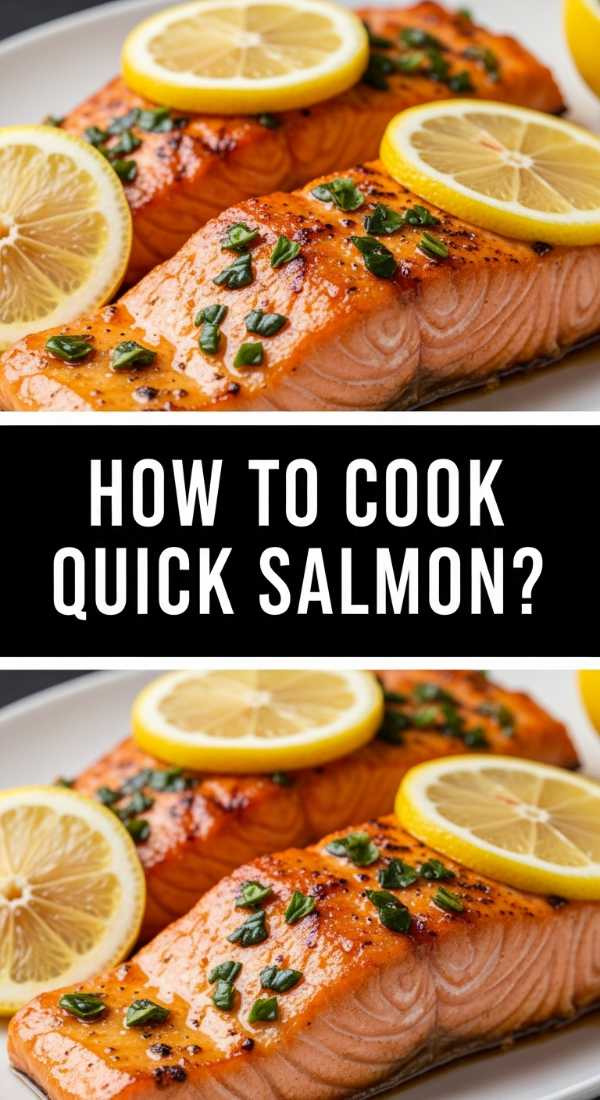
How to cook quick salmon
Why we love this
Quick salmon is a masterclass in elegant simplicity, providing a rich, buttery protein that cooks in less than ten minutes. When done correctly, the skin becomes incredibly crispy—almost like a savory cracker—while the interior remains tender, flaky, and moist. The aroma of searing fish paired with a squeeze of fresh lemon is absolutely mouthwatering and adds a high-end feel to any meal prep or grazing spread. It’s a reliable, nutritious, and impressive dish that feels like a treat every single time.
Ingredients
- 2 salmon fillets (6 oz each), skin-on
- 1 tbsp high-smoke-point oil
- Kosher salt and coarse black pepper
- 1 tbsp unsalted butter
- 1 lemon, halved
How to make it
- Remove the salmon from the fridge 15 minutes before cooking. Pat the skin completely dry with a paper towel; moisture is the enemy of a crispy sear.
- Season the skin side generously with salt. Heat a stainless steel or cast-iron skillet over medium-high heat until the oil is shimmering and just starting to wispy-smoke.
- Place the salmon fillets in the pan, skin-side down. Press down firmly with a spatula for the first 30 seconds to ensure the skin makes full contact with the pan and doesn’t curl.
- Lower the heat to medium and cook undisturbed for 5-6 minutes. You will see the color of the fish change from translucent to opaque starting from the bottom up.
- When the fish is cooked about 3/4 of the way through, flip it gently. Add the butter and a squeeze of lemon to the pan, basting the skin with the foaming butter for the final 60 seconds.
- Remove from the pan immediately. The internal temperature should be 125°F-130°F for a perfect medium-rare that will flake easily with a fork.
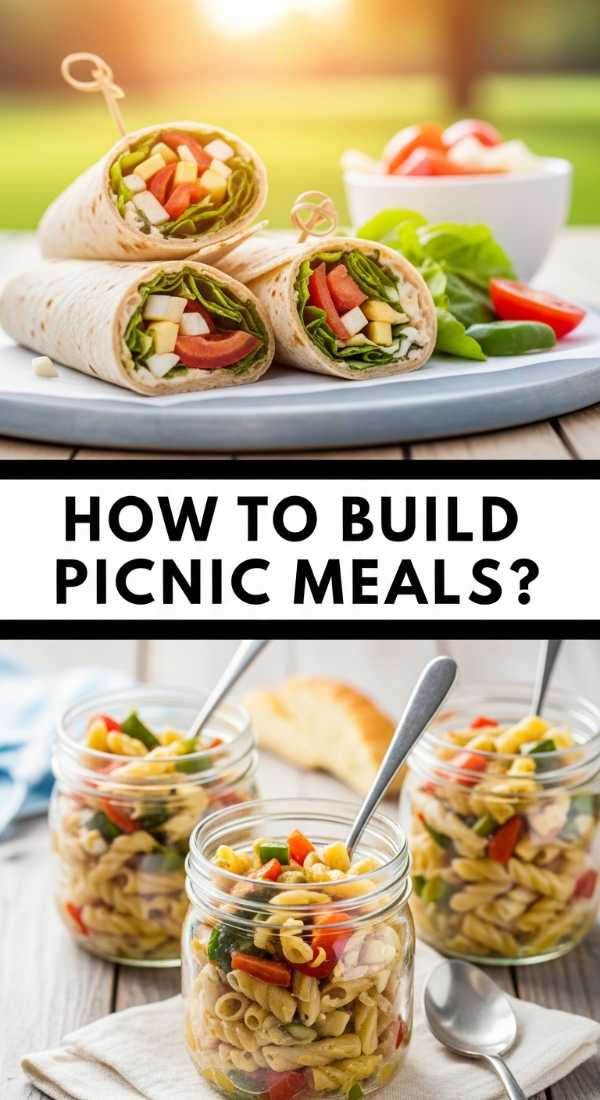
How to build picnic meals
[IMAGE_10]
Why we love this
Picnic meals are about the romance of the outdoors and the cleverness of portable design. There is a specific joy in unpacking a basket to reveal layers of vibrant, fresh food that has been thoughtfully assembled to withstand travel. We love the use of glass jars for layered salads and the way a simple baguette can be transformed into a gourmet sandwich when wrapped in parchment and twine. It turns a patch of grass into a dining room, making the act of eating feel adventurous, carefree, and deeply connected to nature.
Ingredients
- Sturdy baguette or ciabatta
- Cured meats and hard cheeses
- Jarred salads (heavier ingredients on the bottom)
- Handheld fruits (grapes, cherries)
- Refreshing infused water or iced tea
How to make it
- Focus on ‘structural integrity.’ When making sandwiches, spread a layer of butter or pesto on both sides of the bread to create a moisture barrier that prevents sogginess during transport.
- For salads, use the ‘mason jar method.’ Put the dressing at the very bottom, followed by hard veggies (carrots, chickpeas), then grains, and finally the greens at the very top. Shake just before eating.
- Wrap sandwiches tightly in parchment paper and tie with twine. This keeps the fillings compressed and makes them much easier to handle and eat without plates.
- Use frozen water bottles as your ‘ice packs.’ They will keep your food cold during the hike and provide chilled water to drink as they melt later in the day.
- Pack a ‘trash bag’ and extra napkins. Part of the viral picnic lifestyle is leaving no trace and keeping the aesthetic clean from start to finish.
- Choose ‘hand-friendly’ desserts like thick brownies or cookies that won’t melt or crumble easily in the heat, ensuring the meal ends on a high note.
Conclusion
Building a viral-worthy grazing board is truly about embracing the seasons and finding beauty in the details. Whether it’s the golden hue of your dandelion jelly or the perfect char on a summer steak, these recipes are more than just food—they are the building blocks of memories. By focusing on fresh ingredients and thoughtful presentation, you can create an experience that nourishes both the body and the soul. Now, go gather your favorite people, find a beautiful board, and start creating!