
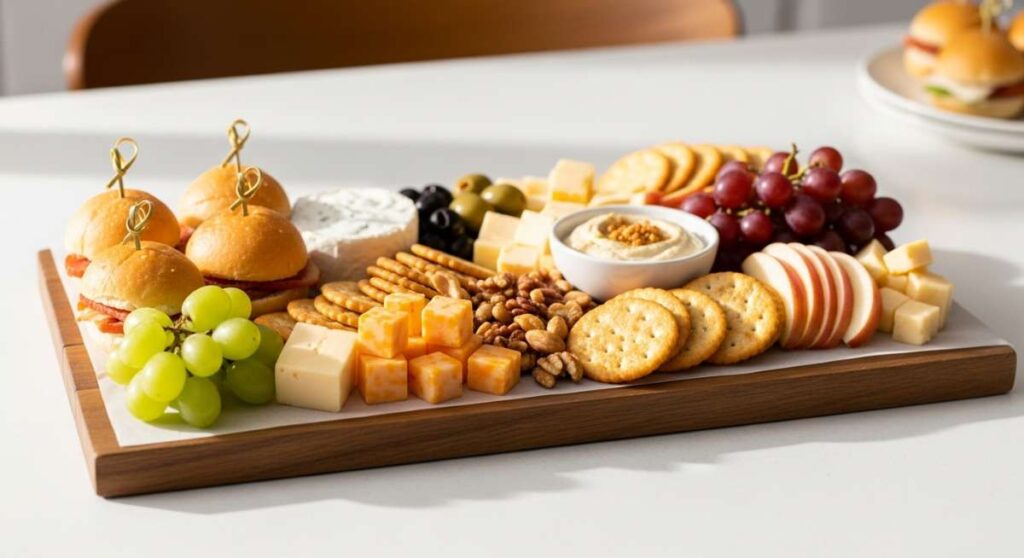
You know those evenings where the idea of a forty-minute recipe feels like running a marathon after a long work day? We’ve all been there, standing in front of the fridge, hoping a gourmet meal will magically assemble itself. That’s exactly how the ‘Lazy’ Food Board was born—a viral sensation that prioritizes aesthetic joy and incredible flavors without the kitchen burnout. It’s about grazing, sharing, and celebrating the simple components that make life taste better.
This isn’t just about throwing crackers on a plate; it’s an art form of assembly and minimal cooking that feels like a luxury resort snack. By combining seasonal preserves, quick proteins, and vibrant produce, you create a tapestry of textures that satisfy every craving. Whether you’re hosting a backyard hang or just treating yourself to a ‘girl dinner’ upgrade, these elements will transform your table into a social media-worthy masterpiece.
In this guide, I’m breaking down the ten essential components that make my boards go viral every time. From the floral sweetness of homemade jelly to the smoky char of summer salmon, these are the ‘lazy’ secrets to high-end living. Let’s dive into the components that will make your next food board the talk of the town.
How to Make Dandelion Jelly
Why we love this
There is something profoundly magical about capturing the essence of a spring meadow in a tiny glass jar. This dandelion jelly tastes like pure sunshine and honey, offering a delicate floral aroma that wafts through the kitchen the moment you pop the lid. The texture is smooth and translucent, shimmering with a soft golden hue that looks stunning when drizzled over a wedge of sharp brie or a warm, crusty baguette. It’s a conversation starter that brings a touch of wild, whimsical elegance to any ‘lazy’ board, proving that even backyard weeds can be transformed into a gourmet delicacy.
Ingredients
- 2 cups dandelion petals (yellow parts only)
- 4 cups boiling water
- 1/4 cup lemon juice
- 1 box powdered pectin
- 4 cups granulated sugar
How to make it
- Harvest your dandelions from a clean, pesticide-free area and carefully pluck the yellow petals away from the green base; the green parts are bitter, so take your time to ensure only the sunny yellow fluff remains.
- Place the petals in a heat-proof bowl and pour four cups of boiling water over them, then cover and let them steep overnight in the refrigerator to create a potent, aromatic tea.
- The following day, strain the liquid through a fine-mesh sieve or cheesecloth, pressing firmly on the petals to extract every drop of floral essence until you have exactly 3 3/4 cups of dandelion tea.
- Pour the tea into a large heavy-bottomed pot, stir in the lemon juice and the powdered pectin, and bring the mixture to a full rolling boil over high heat, stirring constantly to prevent scorching.
- Add the sugar all at once, stirring vigorously until fully dissolved, and return the mixture to a hard boil for exactly one minute before removing from heat and skimming off any foam.
- Ladle the hot jelly into sterilized jars, leaving a quarter-inch of headspace, and process in a boiling water bath for 10 minutes to ensure a long-lasting, shelf-stable seal.
How to Cook Quick Chicken
Why we love this
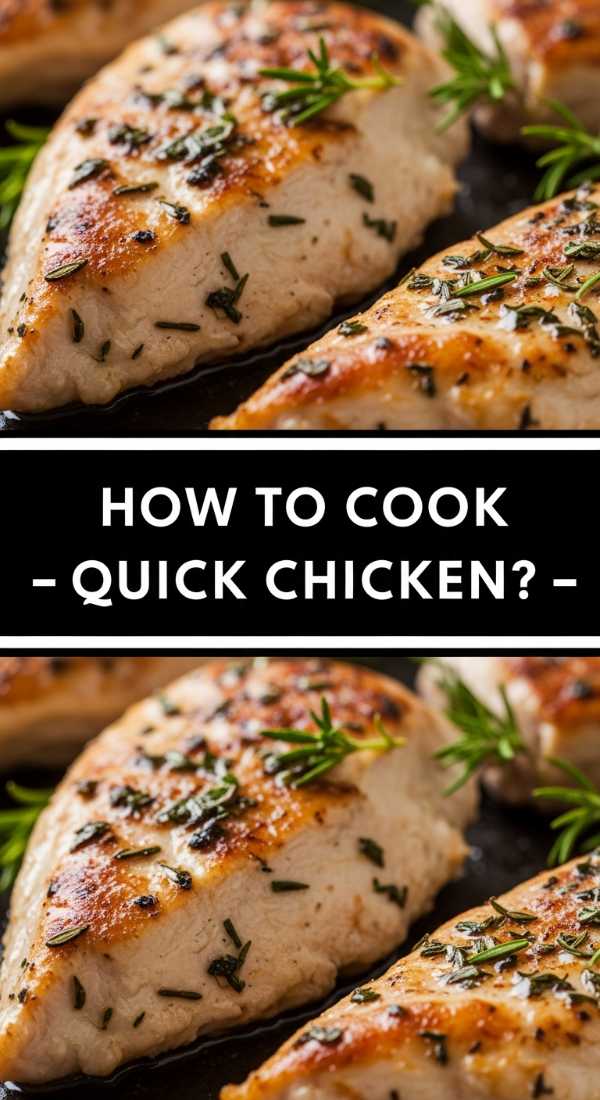
When you need a protein that anchors a board without requiring hours of marinating, this quick-sear chicken is the ultimate golden child. The aroma of browning butter and fresh rosemary creates a savory cloud that immediately signals a hearty meal is served. Each bite offers a satisfyingly crisp exterior that gives way to a succulent, tender interior that practically melts in your mouth. Its versatility is its greatest strength, sitting comfortably next to fruits, cheeses, and nuts while providing that essential savory punch that turns a snack board into a complete, protein-rich dinner.
Ingredients
- 2 large chicken breasts, thinly sliced
- 2 tablespoons olive oil
- 1 tablespoon salted butter
- 3 cloves garlic, smashed
- Fresh rosemary and thyme
- Salt and cracked black pepper
How to make it
- Start by patting your chicken slices completely dry with paper towels; moisture is the enemy of a good sear, and this step ensures you get that beautiful golden-brown crust.
- Season both sides generously with salt and pepper, and heat the olive oil in a large cast-iron skillet over medium-high heat until the oil begins to shimmer but not smoke.
- Lay the chicken pieces in the pan, ensuring they don’t overlap, and let them sear undisturbed for 3-4 minutes until the edges turn opaque and the bottom is deeply browned.
- Flip the chicken over, immediately add the butter, smashed garlic, and fresh herbs to the center of the pan, allowing the butter to foam and infuse with the aromatics.
- Tilt the pan slightly and use a spoon to continuously baste the chicken with the hot herb butter for the final 2 minutes of cooking, which keeps the meat incredibly juicy.
- Remove the chicken from the pan once the internal temperature reaches 165°F and let it rest for at least 5 minutes before slicing to allow the juices to redistribute through the fibers.
How to Prep Camping Meals
Why we love this
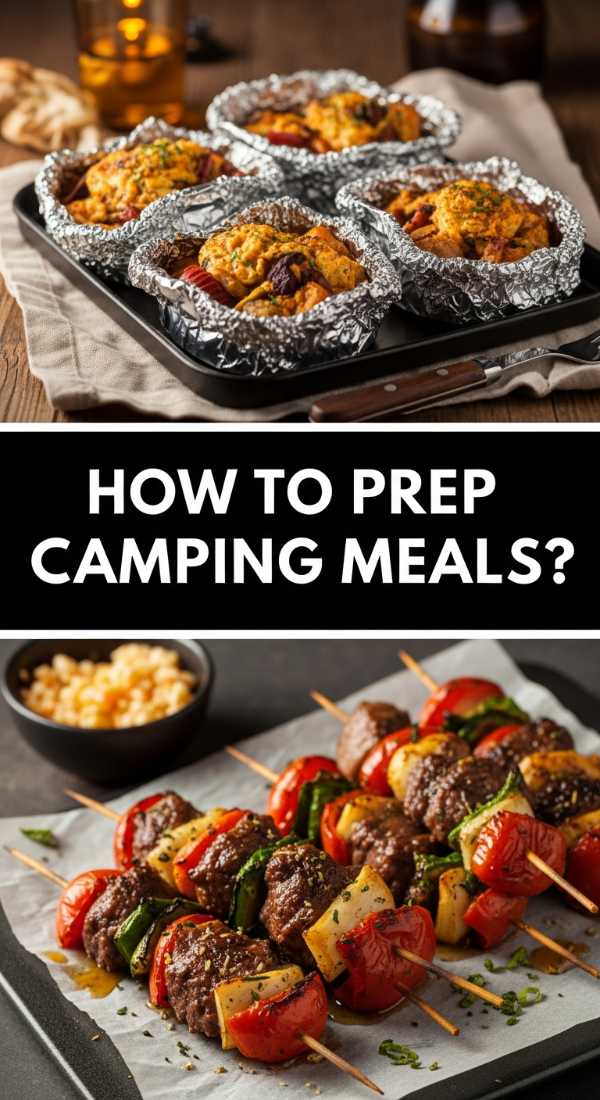
There is a rugged, soul-warming joy in meals designed for the great outdoors that translates perfectly to a relaxed food board at home. These prep-ahead components carry the faint memory of woodsmoke and crisp mountain air, focusing on hearty textures and robust flavors that can withstand the elements. We love the effortless transition from cooler to fire, where the ingredients meld together into a steaming, flavorful heap that encourages everyone to dig in with their hands. It’s the ultimate expression of the ‘lazy’ philosophy—do the work early so you can soak in the atmosphere later.
Ingredients
- Pre-marinated steak tips or firm tofu
- Bell peppers and red onions, sliced
- Baby potatoes, parboiled
- Heavy-duty aluminum foil
- Signature spice rub (paprika, garlic powder, onion powder)
- Olive oil drizzle
How to make it
- Begin your prep at home by slicing your vegetables into uniform bite-sized pieces to ensure they cook evenly when exposed to the uneven heat of a campfire or grill.
- Parboil your baby potatoes for about 5-7 minutes in salted water until they are just tender; this ensures they finish cooking at the same time as the quicker-cooking peppers and meat.
- Toss all your ingredients together in a large mixing bowl with a generous glug of olive oil and your spice rub, coating every surface to prevent sticking and maximize flavor.
- Tear off large squares of heavy-duty aluminum foil and portion the mixture into the center of each, then fold the edges tightly to create a leak-proof packet that traps steam.
- When ready to cook, place the packets directly onto hot coals or a medium-high grill grate, cooking for 10-12 minutes and flipping once halfway through the process.
- Carefully vent the packets to let the initial steam escape before serving directly from the foil, which keeps the food hot and makes cleanup virtually non-existent.
How to Make Pasta Salad
Why we love this
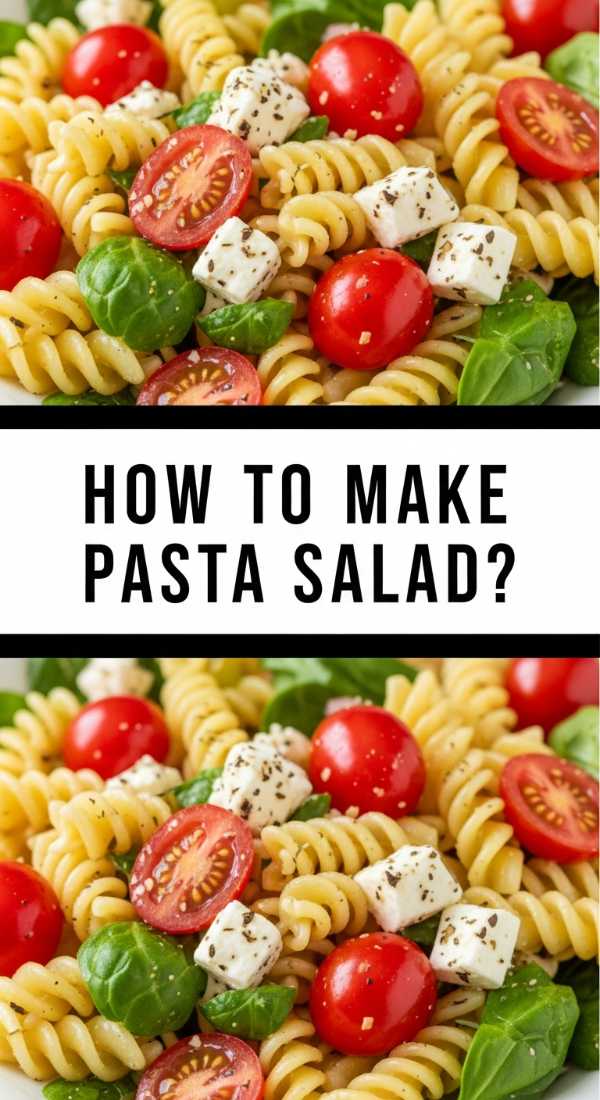
A great pasta salad is the vibrant, zesty heart of a lazy food board, providing a cool and refreshing contrast to grilled meats and salty cheeses. The way the bright acidity of the vinaigrette clings to the ridges of the pasta creates a burst of flavor in every forkful, while the crunch of fresh vegetables adds a rhythmic texture. It’s a dish that actually tastes better as it sits, allowing the pasta to absorb the herb-infused oils and lemon juice. Visually, the pops of green herbs, red tomatoes, and white feta make the entire board look like a lush, edible garden.
Ingredients
- 1 lb Rotini or Fusilli pasta
- 1/2 cup Greek vinaigrette
- 1 cup cherry tomatoes, halved
- 1/2 cup English cucumber, diced
- 1/4 cup red onion, finely minced
- 1/2 cup crumbled feta cheese
- Fresh parsley and oregano
How to make it
- Cook your pasta in a large pot of aggressively salted water until it is just ‘al dente’; you want it to have a slight bite because it will soften further once it begins to soak up the dressing.
- Immediately drain the pasta and rinse it under cold running water to stop the cooking process and wash away excess starch, which prevents the salad from becoming gummy.
- While the pasta drains, whisk together your vinaigrette with extra fresh herbs to punch up the brightness, ensuring the emulsion is thick and well-combined.
- In a large bowl, combine the cooled pasta with your chopped cucumbers, tomatoes, and onions, then pour the dressing over the top while the pasta is still slightly damp to help it adhere.
- Gently fold in the feta cheese and fresh herbs, being careful not to over-mix so the cheese stays in distinct, creamy chunks rather than dissolving into the sauce.
- Let the salad chill in the refrigerator for at least thirty minutes before serving on your board, giving it a final toss just before presentation to redistribute the dressing.
How to Master Meal Prep
Why we love this
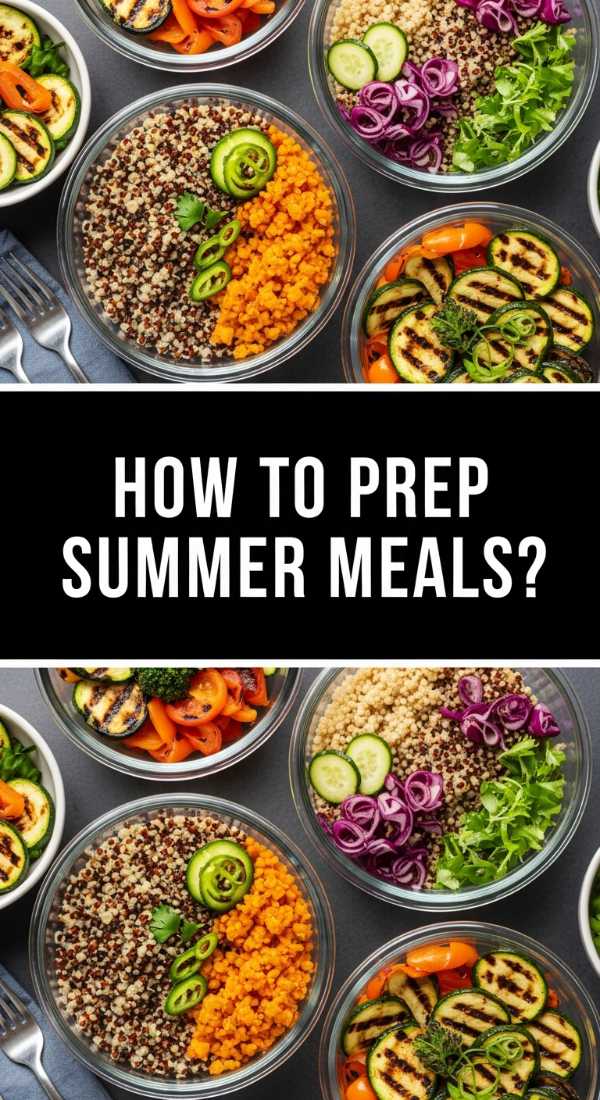
Mastering meal prep is the secret language of the organized foodie, turning the chaos of a busy week into a serene gallery of prepped ingredients ready for assembly. There is a deep sensory satisfaction in seeing rows of glass containers filled with vibrant colors and varied textures, from fluffy grains to roasted root vegetables. It removes the ‘decision fatigue’ of mealtime, allowing you to build a stunning food board in minutes rather than hours. It feels like a gift to your future self—a promise of delicious, stress-free nourishment that looks as good as it tastes.
Ingredients
- Bulk grains (Quinoa or Farro)
- Roasted seasonal vegetables (Carrots, Brussels sprouts)
- Hard-boiled eggs
- Wash and prepped leafy greens
- Homemade lemon-tahini dressing
- Portioned nuts and seeds
How to make it
- Dedicate a two-hour block on a Sunday to ‘batch cooking’ your core components, starting with the grains which can simmer quietly on the back of the stove while you chop.
- Roast your hardier vegetables on large sheet pans at 400°F with plenty of olive oil and salt until the edges are charred and caramelized, providing a deep umami flavor for your boards.
- Boil a dozen eggs for exactly 6.5 minutes for a jammy yolk or 9 minutes for a firm set, then immediately shock them in an ice bath to make peeling effortless and prevent gray rings.
- Wash and thoroughly dry your greens using a salad spinner, then store them in a container lined with a damp paper towel to maintain that crisp, garden-fresh snap all week.
- Whisk together a large jar of a multi-purpose dressing, focusing on a balance of fat, acid, and salt so it can work across salads, grains, and proteins.
- Organize everything in clear, airtight glass containers at eye-level in your fridge, making it easy to grab and arrange a viral-worthy board at a moment’s notice.
How to Make Fresh Salads
Why we love this
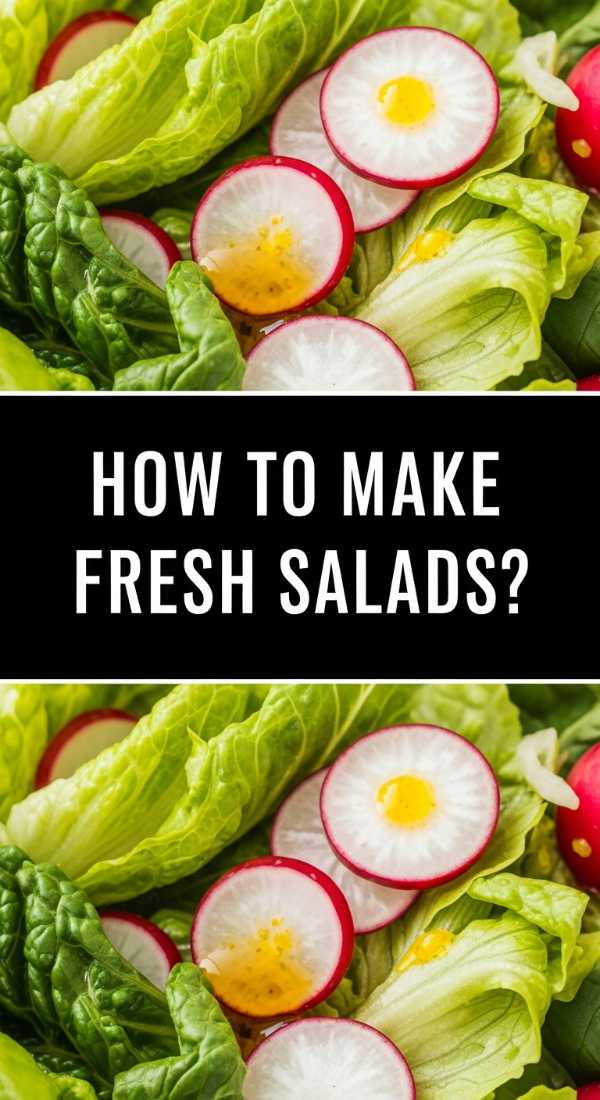
Fresh salads are the breath of fresh air every heavy food board needs, offering a crisp, hydrating crunch that cleanses the palate between richer bites. We love the interplay of bitter greens with sweet fruits and toasted nuts, creating a complex flavor profile that feels sophisticated yet effortless. The aroma of bruised mint or freshly cracked pepper adds an earthy depth that makes the salad feel alive. It’s the ultimate texture-builder, providing that essential loft and volume that makes a food board look bountiful and professionally styled.
Ingredients
- 4 cups mixed baby greens or massaged kale
- 1 honeycrisp apple, thinly sliced
- 1/2 cup toasted pecans
- 1/4 cup dried cranberries
- Shaved parmesan cheese
- Balsamic glaze
How to make it
- If using kale, remove the tough ribs and chop the leaves finely, then massage them with a teaspoon of olive oil and a pinch of salt for 2 minutes until they turn dark green and tender.
- Slice your apples just before serving and toss them in a splash of lemon juice to prevent browning, ensuring they stay bright and crisp on the board.
- Toast your pecans in a dry skillet over medium heat for 3-5 minutes until they become fragrant and slightly darker; this releases the oils and dramatically improves the flavor.
- Layer the greens in a wide, shallow bowl rather than a deep one to showcase the ingredients, then scatter the apples, nuts, and cranberries across the top.
- Use a vegetable peeler to create long, elegant ribbons of parmesan cheese, which add a salty, buttery richness to the top of the salad.
- Wait until the very last second to drizzle with balsamic glaze to prevent the greens from wilting, ensuring every leaf remains vibrant and upright.
How to Grill Summer Salmon
Why we love this
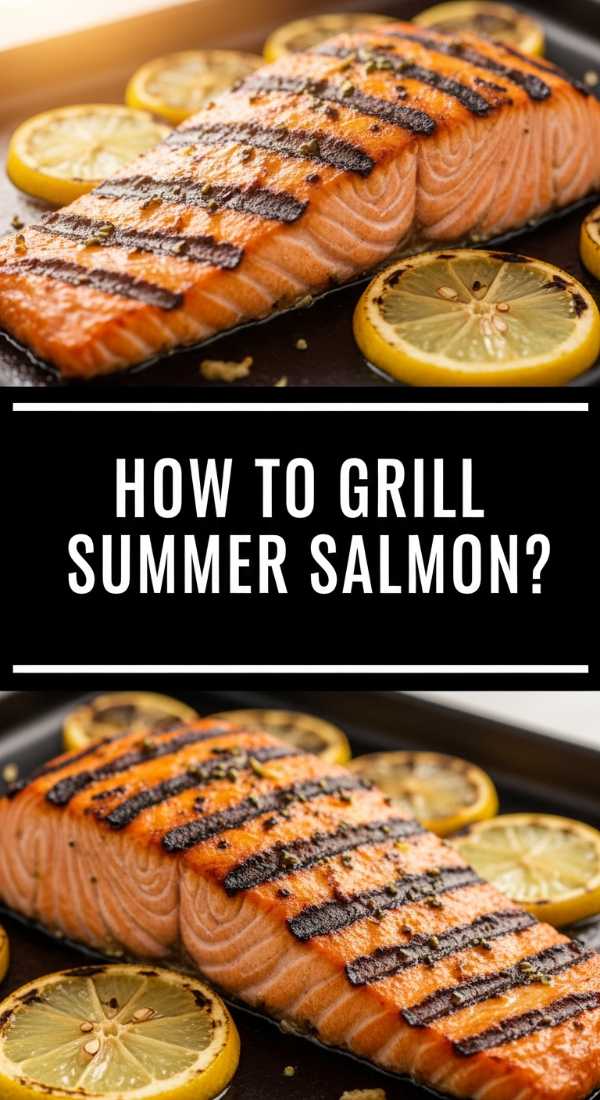
Summer salmon brings a touch of coastal luxury to your board, with its striking coral color and the irresistible aroma of smoky wood-fire. The texture is a masterclass in contrasts: a thin, crackling-crisp skin that shatters under the fork, revealing layers of buttery, flake-apart meat inside. Topped with a wedge of charred lemon, it offers a zesty, bright finish that cuts through the richness of the fish. It’s the kind of centerpiece that makes a ‘lazy’ board feel like a celebratory feast, evoking memories of sunset dinners by the water.
Ingredients
- 2 large salmon fillets (skin-on)
- 1 tablespoon avocado oil
- 1 organic lemon, sliced into rounds
- Fresh dill sprigs
- Coarse sea salt and cracked pepper
How to make it
- Preheat your grill to medium-high heat (about 400°F) and ensure the grates are meticulously cleaned and oiled to prevent the delicate fish from sticking.
- Brush the salmon fillets with avocado oil, which has a higher smoke point than olive oil, and season generously with coarse sea salt to help create a crust.
- Place the salmon skin-side down on the hot grate and leave it undisturbed for at least 5-6 minutes; the skin will naturally release from the grill once it is sufficiently crisped.
- Carefully flip the fillets using a wide, thin fish spatula and place a lemon round on top of each piece to infuse the meat with citrus steam as it finishes.
- Grill for an additional 2-4 minutes, looking for the flesh to turn opaque and flake easily when pressed with a finger, or until the internal temperature hits 130°F for medium.
- Remove from the heat and garnish with a mountain of fresh dill, allowing the residual heat to wilt the herbs slightly and release their essential oils.
How to Make Watermelon Salad
Why we love this
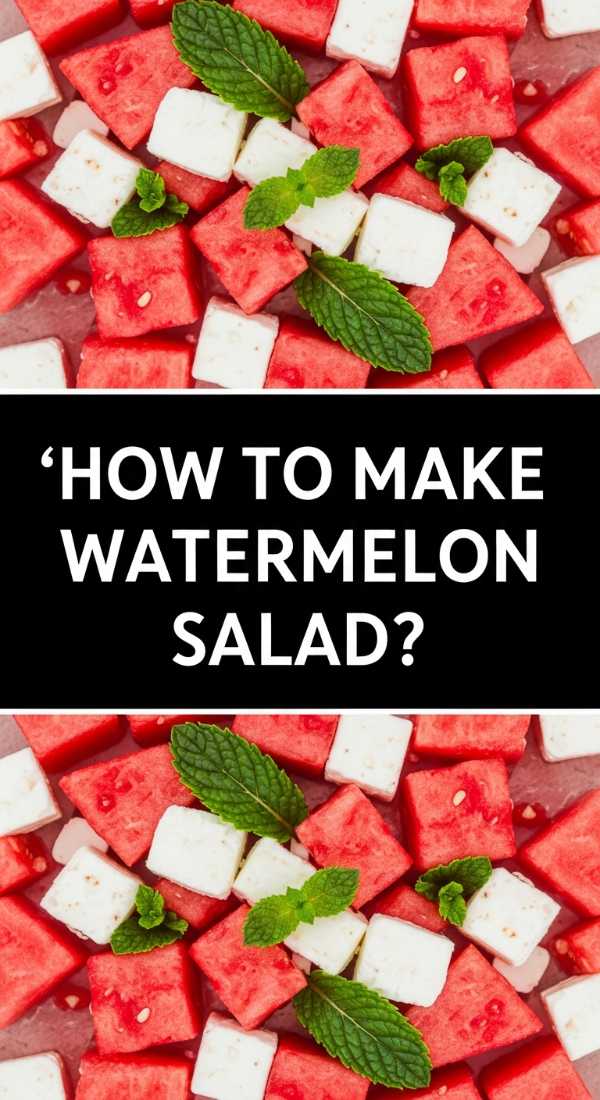
This salad is the definition of summer in a bowl—cold, dripping with juice, and perfectly balanced between sweet and salty. The vibrant pink of the watermelon against the stark white of the feta and the emerald green of the mint creates a visual pop that is undeniably viral. Each bite is a refreshing explosion of hydration, followed by the creamy tang of cheese and the cooling finish of fresh herbs. It’s light, breezy, and provides the perfect ‘cool’ counterpoint to the saltier, heavier items on a grazing board.
Ingredients
- 4 cups seedless watermelon, cubed
- 1/2 cup feta cheese, cubed or crumbled
- 1/2 red onion, very thinly sliced
- Handful of fresh mint leaves, torn
- 1 lime, juiced
- Flaky sea salt
How to make it
- Chill your watermelon in the refrigerator for at least 4 hours before slicing; the colder the fruit, the better the contrast with the other ingredients.
- Cut the watermelon into uniform 1-inch cubes, discarding any excess juice from the bottom of the cutting board to keep the salad from becoming soggy.
- Soak your thinly sliced red onions in a small bowl of ice water for 10 minutes to remove their harsh ‘bite,’ leaving them crisp and mild.
- Combine the watermelon, drained onions, and torn mint in a large chilled bowl, tossing very gently with your hands to avoid crushing the fruit.
- Drizzle the fresh lime juice over the top and add the feta cheese, giving it one final, very light toss so the white cheese doesn’t turn pink from the juice.
- Finish with a generous pinch of flaky sea salt right before serving, which draws out the natural sweetness of the melon and heightens the flavor of the mint.
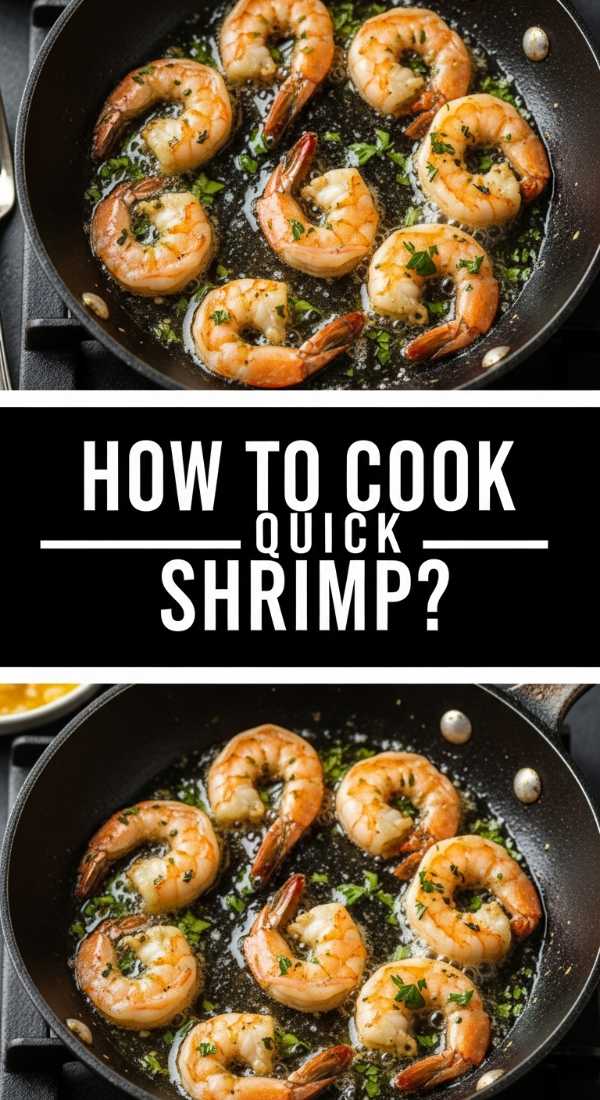
How to Cook Quick Shrimp

Why we love this
Shrimp is the ultimate ‘fast food’ for the gourmet soul, cooking in mere minutes while offering a sophisticated, snappy texture. The aroma of garlic and paprika sizzling in butter is enough to draw anyone to the table from the other side of the house. These little pink curls of joy are perfect for grazing; they’re easy to pick up with a toothpick and provide a savory, succulent pop of flavor that feels indulgent without being heavy. They bring an upscale, tapas-style energy to your food board that guests absolutely adore.
Ingredients
- 1 lb large shrimp, peeled and deveined
- 2 tablespoons butter
- 1 teaspoon smoked paprika
- 3 cloves garlic, minced
- Fresh parsley, chopped
- Lemon wedges for serving
How to make it
- Ensure your shrimp are completely thawed and patted dry; if they are wet, they will steam instead of searing, and you’ll miss out on that beautiful golden color.
- Toss the shrimp in a small bowl with the smoked paprika and a pinch of salt until they are evenly coated in the red spice.
- Heat the butter in a large skillet over high heat until it stops foaming and just begins to brown, then add the minced garlic and cook for 30 seconds until fragrant.
- Add the shrimp to the pan in a single layer; do not overcrowd the pan, as this drops the temperature and prevents the ‘snap’ texture from forming.
- Cook for 90 seconds on the first side until the edges turn pink, then flip and cook for only 1 minute more until the shrimp form a ‘C’ shape—avoid an ‘O’ shape, which means they are overcooked.
- Transfer immediately to a serving dish, garnish with fresh parsley, and squeeze a lemon wedge over the top to brighten the rich garlic-butter sauce.
How to Make Berry Bowls
[IMAGE_10]
Why we love this
No food board is complete without a sweet finish, and these berry bowls are like little jewels scattered across your table. We love the mix of velvety raspberries, bursting blueberries, and tart blackberries, all brought together with a glossy drizzle of honey. The sensory experience is one of pure, unadulterated freshness—the smell of sun-ripened fruit and the varying textures of seeds and soft skins. It’s a healthy, beautiful way to round out the meal, providing a natural sweetness that satisfies the dessert craving while keeping the ‘lazy’ and light vibe intact.
Ingredients
- Mixed berries (Strawberries, Blueberries, Raspberries)
- 1 teaspoon honey or agave
- Fresh mint sprigs
- Optional: A dollop of Greek yogurt or a sprinkle of granola
- Lemon zest
How to make it
- Wash your berries gently in a bowl of cold water with a splash of vinegar to remove any residue, then lay them out on a clean kitchen towel to dry completely.
- If using strawberries, hull them and slice them into halves or quarters to expose their beautiful interior and make them easier to eat.
- In a small bowl, whisk together a teaspoon of honey with a tiny bit of warm water or lemon juice to create a thin glaze that will coat the berries without making them sticky.
- Place the berries in small, mismatched ceramic bowls to add visual interest and height to your food board, mixing the varieties for a rainbow effect.
- Drizzle the honey glaze over the berries and toss extremely gently with a silicone spatula to prevent bruising the delicate raspberries.
- Top with a fine grating of lemon zest and a sprig of mint for a professional finish that makes these simple bowls look like they came from a high-end bistro.
Conclusion
Building a viral ‘lazy’ food board is about more than just the food; it’s about reclaiming your time and finding beauty in the assembly. By focusing on these high-impact, low-effort components, you can create a dining experience that feels intentional, luxurious, and deeply satisfying. Remember, there are no rules—mix the sweet with the savory, the cooked with the raw, and always leave room for an extra drizzle of honey or a sprinkle of sea salt. Now, go forth and graze!