

The Aesthetic Food Board Taking Over Your Feed
There is something undeniably magical about a slow Sunday morning where the sunlight hits your kitchen counter just right, illuminating a spread of vibrant, liquid jewels. We’ve all seen them—those breathtaking juice boards that look like a kaleidoscope of nature’s finest colors, artfully arranged to invite both health and happiness. It’s more than just hydration; it’s a lifestyle statement that celebrates the ritual of nourishing our bodies with the purest ingredients available.
Creating a viral-worthy food board isn’t just about the taste; it’s about the sensory experience of colors, textures, and the intentionality behind every glass. Whether you’re hosting a brunch with your besties or simply looking to romanticize your daily routine, these DIY juice recipes are the secret to that glowy, high-vibe energy we all crave. Let’s dive into the ultimate guide to crafting the aesthetic juice board of your dreams.
How to make watermelon juice?
Why we love this
Watermelon juice is the ultimate essence of summer captured in a glass, offering a cooling sensation that washes over you like a gentle ocean breeze. Its vibrant magenta hue provides an instant pop of color to any board, while the naturally high water content makes it incredibly hydrating and refreshing. When you take that first sip, the delicate sweetness of the fruit dances with a hint of tart lime, creating a crisp finish that lingers beautifully on the palate. It is light, airy, and feels like a celebration of sunshine in every single drop.
Ingredients
- 4 cups fresh watermelon cubes (seedless preferred)
- 1 tablespoon fresh lime juice
- A handful of fresh mint leaves for garnish
- Ice cubes (optional)
How to make it
- Begin by selecting a heavy, ripe watermelon with a yellow ground spot, which indicates it’s full of natural sugars. Slice the melon into manageable cubes, removing the rind entirely.
- Place the watermelon cubes into a high-speed blender. Avoid adding water, as the fruit is already over 90% water and you want to maintain that concentrated, rich flavor profile.
- Add the fresh lime juice to the blender. The acidity of the lime acts as a flavor enhancer, cutting through the sugar of the watermelon to create a more complex and balanced profile.
- Pulse on low for 30 seconds, then increase to high for another 30 seconds until the mixture is completely liquefied and frothy.
- For a truly aesthetic, clear juice, pour the mixture through a fine-mesh sieve into a glass pitcher to remove any remaining pulp or fibers.
- Chill in the refrigerator for at least 30 minutes before serving. Pour into tall glasses over ice and garnish with a sprig of mint for that perfect Pinterest-ready look.
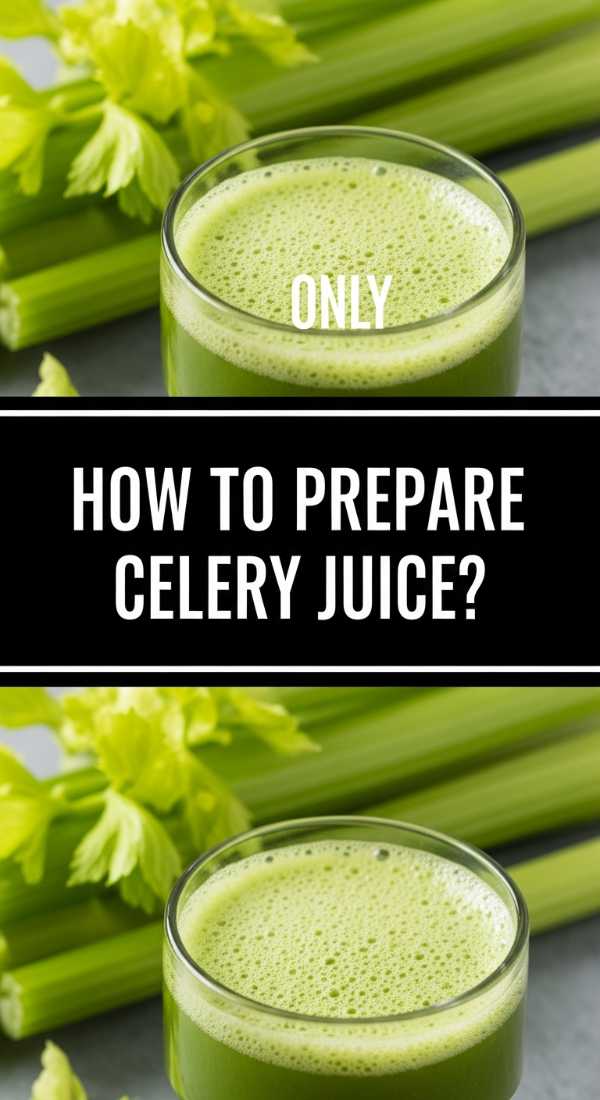
How to prepare celery juice?
Why we love this
There is a profound sense of clarity that comes with a fresh glass of celery juice, often touted as the ultimate morning ritual for a total body reset. The scent is incredibly clean and earthy, reminding you of a dew-covered garden at dawn, while the texture is surprisingly smooth and light. It carries a subtle saltiness that is naturally occurring, providing a unique savory note that feels deeply nourishing and revitalizing. Drinking this vibrant green elixir feels like giving your system a much-needed breath of fresh air and a boost of pure, plant-powered energy.
Ingredients
- 1 large bunch of organic celery
- A splash of lemon juice (optional, to cut the bitterness)
- Filtered water (only if using a blender)
How to make it
- Start by thoroughly washing each individual celery stalk under cold running water. It is crucial to remove all dirt and debris from the base of the stalks to ensure a clean, grit-free juice.
- If using a juicer, feed the stalks through one by one. The slow extraction process will yield the most nutrients and a bright, vivid green color.
- If using a blender, chop the celery into 1-inch pieces. Add 1/4 cup of filtered water to help the blades catch the stalks, and blend until you achieve a thick, green smoothie-like consistency.
- For the blender method, you must strain the mixture through a nut milk bag or cheesecloth. Squeeze firmly to extract every bit of liquid, leaving only the dry pulp behind.
- Stir in a squeeze of fresh lemon if you prefer a brighter, more acidic finish. This also helps prevent the juice from oxidizing too quickly.
- Serve immediately on an empty stomach for the best results. The juice should be consumed within 15 minutes of preparation to ensure maximum enzyme activity.
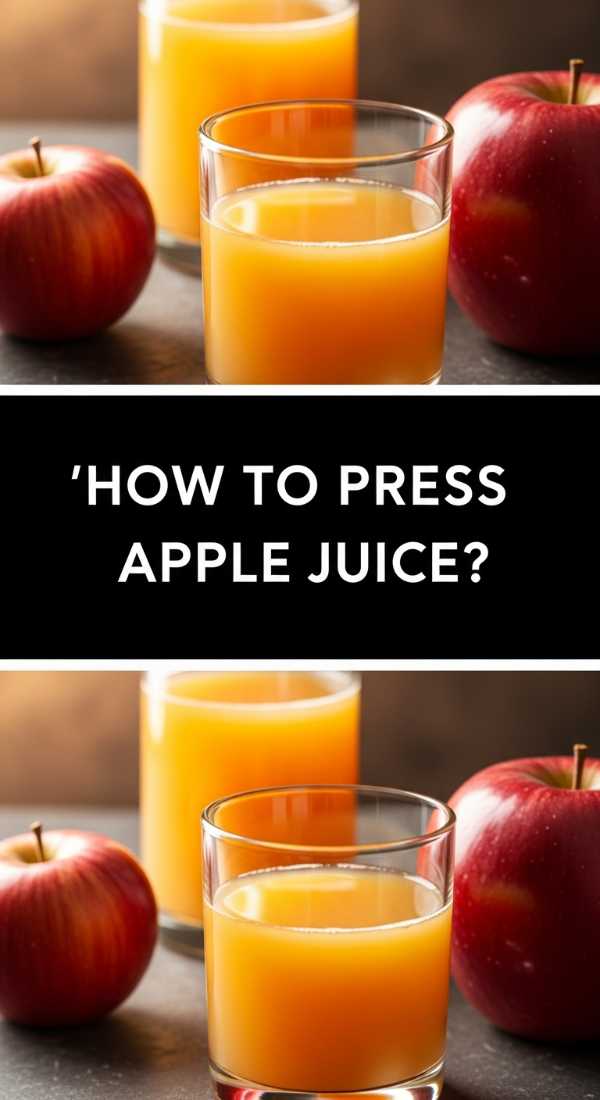
How to press apple juice?
Why we love this
Nothing compares to the nostalgic, honeyed aroma of freshly pressed apple juice, a far cry from the store-bought varieties we grew up with. This juice carries a rich, golden opacity that looks stunning in vintage glassware, evoking feelings of cozy autumn afternoons and orchard strolls. It has a velvety mouthfeel and a sweetness that is perfectly tempered by the natural tannins found in the fruit’s skin. Each sip is a complex layering of floral notes and crisp tartness, making it a sophisticated addition to any aesthetic beverage spread.
Ingredients
- 6-8 firm apples (a mix of Honeycrisp and Granny Smith works best)
- 1/2 teaspoon ground cinnamon (optional)
- Fresh lemon slices to prevent browning
How to make it
- Wash the apples thoroughly and remove the stems. You can leave the skins on as they contain most of the fruit’s antioxidants and contribute to the deep golden color of the juice.
- Core the apples and slice them into wedges that fit your juicer’s feeding tube. If you are using a cold-press juicer, keep the pieces slightly larger to allow the machine to work its magic slowly.
- Process the apple wedges through the juicer. You will notice a thick layer of foam forming on top; this is completely natural and contains many of the juice’s aromatic compounds.
- If you prefer a clear juice, let it sit for a few minutes and then skim the foam off with a spoon, or pour the juice through a fine-mesh strainer lined with cheesecloth.
- Stir in a tiny pinch of cinnamon if you want an extra layer of warmth, and immediately add a slice of lemon to the pitcher to maintain the bright color.
- Serve chilled. For a viral presentation, serve in a glass carafe with a few thin slices of apple floating on top to showcase the fresh ingredients.
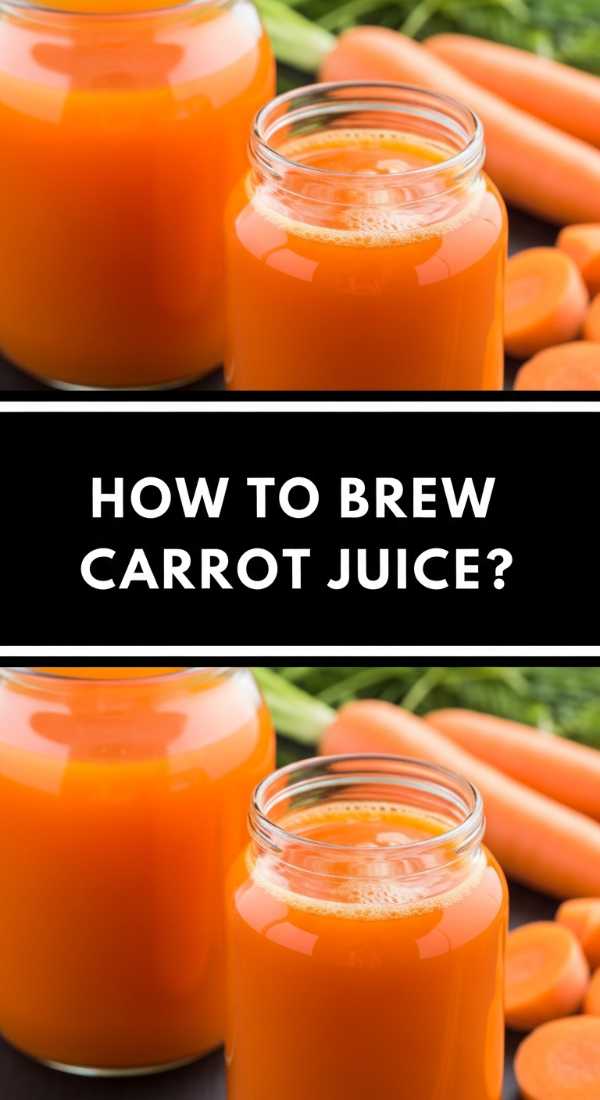
How to brew carrot juice?

Why we love this
Carrot juice is like liquid sunshine, boasting a brilliant orange hue that is almost neon in its intensity, making it a showstopper on any food board. It has a surprising creaminess and a deep, earthy sweetness that feels grounding and restorative all at once. The aroma is mildly sweet and grassy, reminiscent of a thriving vegetable garden in the height of spring. It’s a juice that feels substantial and satisfying, providing a natural glow that starts from within and radiates through your skin.
Ingredients
- 1 pound of fresh, organic carrots
- 1-inch knob of fresh ginger, peeled
- 1/2 a lemon, peeled
- A dash of turmeric (optional)
How to make it
- Scrub the carrots vigorously with a vegetable brush under cold water. There is no need to peel them if they are organic, as the skin adds depth to the flavor and color.
- Trim the ends of the carrots and cut them into 3-inch sections. If the carrots are particularly thick, slice them lengthwise to avoid jamming your juicer.
- Feed the carrots through the juicer, alternating with the ginger and the lemon. The ginger adds a spicy kick that balances the carrot’s natural sugars, while the lemon preserves the vivid color.
- Watch for the consistency; the juice should be thick but smooth. If it feels too dense, you can run a small amount of filtered water through the juicer at the end to flush out any remaining liquid.
- Stir in a pinch of turmeric for extra anti-inflammatory benefits and a deeper golden-orange shade.
- Pour into small glass bottles for a chic, grab-and-go look on your board. This juice is best served very cold to highlight its natural sweetness.
How to squeeze orange juice?
Why we love this
There is a timeless, classic joy in the act of squeezing fresh oranges, a tactile experience that fills the kitchen with a bright, zesty fragrance that instantly boosts your mood. The juice is a perfect balance of tangy and sweet, with a frothy, aerated texture that feels incredibly refreshing on the tongue. Its iconic bright orange color is the ultimate focal point for a breakfast board, symbolizing energy and vitality. It’s the ultimate comfort drink, bringing a sense of nostalgia and artisanal quality to your morning routine.
Ingredients
- 6-8 large Navel or Valencia oranges
- A sprig of rosemary for an aromatic garnish
How to make it
- Before cutting, roll the oranges firmly against the countertop with the palm of your hand. This helps break down the internal membranes and ensures you get every last drop of juice.
- Slice each orange in half horizontally. If you see any seeds on the surface, pluck them out with a fork to keep them out of your juice.
- Using a manual citrus press or an electric juicer, squeeze each half firmly. For a manual press, use a twisting motion to ensure all the juice sacs are ruptured.
- Decide on your pulp level. For the most aesthetic “clean” look, strain the juice through a sieve. If you love a rustic, artisanal feel, leave the pulp in for added texture and fiber.
- Pour the fresh juice into a glass pitcher. If you find the oranges are too tart, you can stir in a teaspoon of agave nectar, though peak-season oranges rarely need it.
- Serve in chilled glasses. To elevate the presentation, add a small sprig of rosemary to each glass; the herbal scent complements the citrus beautifully.
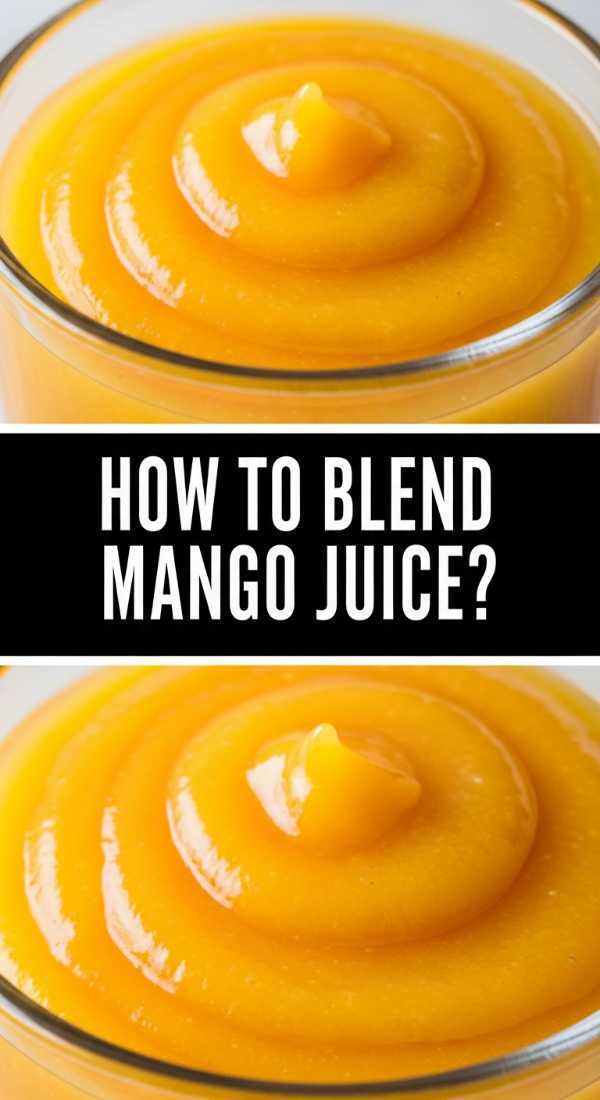
How to blend mango juice?

Why we love this
Mango juice is a tropical dream, offering a thick, velvet-like consistency that feels more like a decadent treat than a simple beverage. Its deep yellow-orange color is incredibly rich and saturated, adding a luxurious feel to your aesthetic spread. The flavor is an explosion of tropical sweetness, with hints of peach and honey that linger on the palate long after the first sip. It feels like an escape to a sun-drenched island, providing a lush, creamy texture that makes it stand out from the thinner, water-based juices.
Ingredients
- 2 ripe, juicy mangoes (Alphonso or Honey mangoes are best)
- 1/2 cup cold coconut water
- A squeeze of lime juice
How to make it
- Select mangoes that are slightly soft to the touch and fragrant at the stem. Peel the skin away and slice the flesh away from the large inner pit.
- Place the mango chunks into a blender. Because mangoes are dense and fibrous, you will need a liquid base to achieve a drinkable consistency.
- Add the cold coconut water. This adds a subtle nutty undertone and helps thin the juice while maintaining a silky, premium texture.
- Add the lime juice to brighten the flavor. Blend on high speed for at least 60 seconds to ensure the mango is completely pulverized into a smooth puree.
- Check the thickness. If it’s too much like a smoothie, add a splash more coconut water and pulse again. For a truly professional finish, pass the blend through a fine strainer to remove any remaining fibers.
- Pour into wide-mouthed jars or coupe glasses. Garnish with a small slice of fresh mango on the rim to emphasize the tropical vibes.
How to extract pineapple juice?

Why we love this
Freshly extracted pineapple juice is a revelation, characterized by its zingy, electric flavor and the beautiful, frothy white foam that naturally gathers at the top. It has a pale golden color that looks ethereal in the light, especially when served in crystal glassware. The taste is a sharp, acidic brightness followed by a deep, tropical sweetness that tingles on the tongue. It’s incredibly vibrant and refreshing, making it the perfect palate cleanser or a bold, stand-alone feature on a juice-centric food board.
Ingredients
- 1 whole ripe pineapple
- Fresh mint for muddling (optional)
How to make it
- Remove the top and bottom of the pineapple, then stand it upright and carefully shave off the prickly skin. Be sure to remove the “eyes” of the pineapple for the cleanest juice.
- Quarter the pineapple and remove the tough inner core. While the core is edible, it can make the juice more fibrous and less sweet.
- Cut the remaining flesh into long strips or chunks that will fit easily into your juicer.
- Feed the pieces through the juicer. You will notice a significant amount of foam; this is due to the enzyme bromelain, which is highly beneficial for digestion.
- If you want a clear juice, let it settle for five minutes and then pour the liquid through a coffee filter or a very fine sieve to catch the solids.
- Serve chilled in glasses with salted rims for a fun, sophisticated twist that balances the pineapple’s high acidity and sweetness.
How to craft cranberry juice?
Why we love this
Crafting your own cranberry juice results in a stunning, ruby-red elixir that is far more sophisticated and complex than anything found in a carton. It possesses a bold, sharp tartness that is incredibly bracing and clean, making it a wonderful adult-friendly addition to a food board. The deep red color is visually arresting, providing a moody, elegant contrast to lighter citrus juices. It feels like a boutique drink, offering a sophisticated edge that is both healthful and aesthetically pleasing with its jewel-toned brilliance.
Ingredients
- 2 cups fresh or frozen cranberries
- 3 cups filtered water
- 1/4 cup honey or maple syrup (adjust to taste)
- Orange zest
How to make it
- Combine the cranberries and water in a medium saucepan. Bring the mixture to a rolling boil over medium-high heat.
- Once boiling, reduce the heat to low and let it simmer. You will hear the cranberries “pop” as they break down; this usually takes about 10 to 15 minutes.
- As they simmer, add the orange zest to infuse the liquid with a subtle citrus aroma that complements the tart berries.
- Once the berries are soft and the water has turned a deep red, remove the pan from the heat. Stir in your sweetener of choice while the liquid is still hot so it dissolves completely.
- Strain the mixture through a fine-mesh sieve into a glass pitcher, pressing on the solids with a spoon to extract all the flavorful juices.
- Allow the juice to cool to room temperature, then refrigerate until cold. Serve in small glasses with a single cranberry frozen inside an ice cube for a viral-worthy detail.
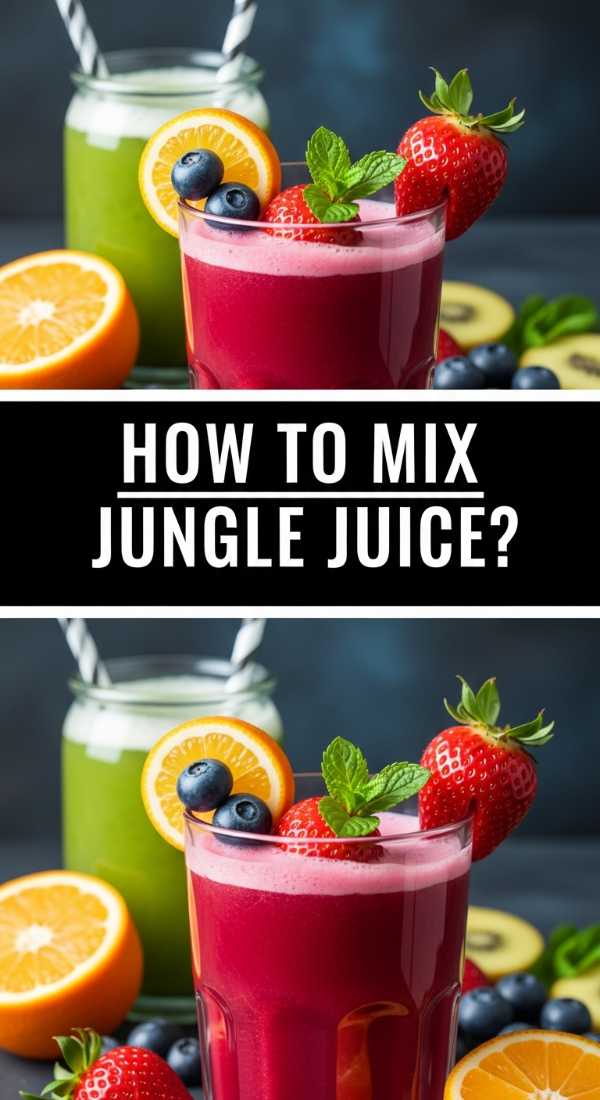
How to mix jungle juice?

Why we love this
Jungle juice, in this lifestyle context, is a beautiful, fruit-heavy punch that serves as the ultimate crowd-pleaser, bringing people together around a communal bowl of goodness. It is a kaleidoscope of floating fruit slices—citrus, berries, and melon—making it the most visually dynamic element of any board. The flavor is a harmonious blend of various juices, creating a multi-layered fruit punch that is surprisingly light and bubbly. It’s festive, fun, and turns any gathering into a special occasion, celebrating the abundance of nature in one communal vessel.
Ingredients
- 1 cup orange juice
- 1 cup pineapple juice
- 1 cup cranberry juice
- 2 cups sparkling water or ginger ale
- Sliced strawberries, oranges, and lime for floating
How to make it
- In a large, aesthetic glass punch bowl or a wide pitcher, combine the orange, pineapple, and cranberry juices. Stir gently with a long-handled spoon to integrate the flavors without losing the clarity of the colors.
- Chill the juice base for at least an hour. This allows the flavors to meld together into a single, cohesive “jungle” profile.
- Just before serving, pour in the sparkling water or ginger ale. Pour it slowly down the side of the bowl to preserve the carbonation and create a slight fizz.
- Add a generous amount of sliced fruit. Ensure the slices are thin so they float gracefully on the surface, creating a beautiful mosaic of colors.
- Taste and adjust. If it’s too sweet, add more sparkling water; if it’s too tart, a splash of simple syrup can bring it back into balance.
- Serve in individual glasses with a ladle, ensuring each guest gets a bit of the floating fruit for the full sensory experience.
How to start juice cleanse?
[IMAGE_10]
Why we love this
Embarking on a juice cleanse is like hitting a gentle reset button for your body and mind, offering a period of intentional nourishment and clarity. It’s about more than just the liquid; it’s the mindfulness of choosing what goes into your system and the ritual of preparation. The range of colors—from deep leafy greens to bright earthy reds—represents the full spectrum of nutrients you are inviting in. It feels light, empowering, and deeply restorative, providing a sense of physical renewal that leaves you feeling vibrant and focused.
Ingredients
- A variety of prepared juices (Green, Root, Citrus)
- Plenty of filtered water
- Herbal teas (caffeine-free)
How to make it
- Preparation is key. Two days before starting, begin to taper off caffeine, processed sugars, and heavy dairy to prevent “cleansing shocks” to the system.
- Map out your schedule. A standard one-day cleanse usually involves six 16-ounce juices, spaced roughly two to three hours apart throughout the day.
- Start your morning with a warm glass of lemon water to wake up your digestive system before having your first green juice.
- Vary your intake. Alternate between a dense green juice (kale/celery) and a sweeter root juice (carrot/beet) to keep your energy levels stable and your palate interested.
- Stay hydrated between juices by drinking at least 8 ounces of filtered water. This helps flush toxins and keeps you feeling full.
- Listen to your body. If you feel lightheaded, it’s okay to have a few slices of cucumber or a small piece of fruit. The goal is nourishment, not deprivation.
Conclusion: Your Board, Your Vibe
Building an aesthetic juice board is an act of self-care that turns a simple snack into a stunning centerpiece. By focusing on fresh, high-quality ingredients and mindful preparation, you create more than just a meal—you create a moment. So, grab your favorite glassware, find the best light in your kitchen, and start juicing. Your body (and your feed) will thank you!