
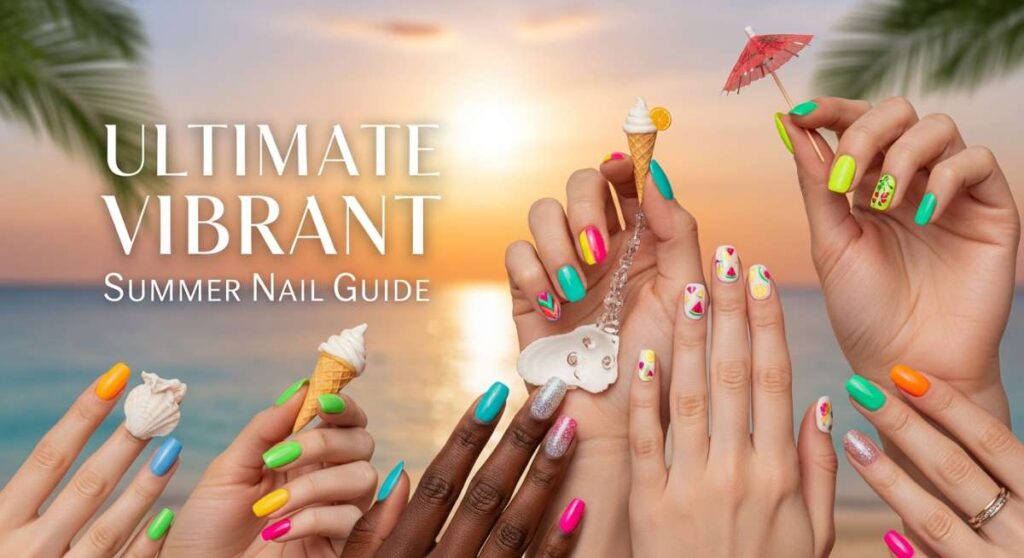
Summer State of Mind: The Ultimate Guide to Vibrant Nail Trends
Hello, my loves! Can you feel it? There is something so magical about this time of year—that soft, sun-drenched breeze that smells like jasmine and possibilities. When the days stretch out like a long, warm hug, I find myself wanting to carry that golden hour energy with me wherever I go. For me, that always starts with a little bit of self-love right at my fingertips. Our hands do so much for us, holding morning lattes and waving to friends; they deserve to be dressed in the colors of joy.
This summer, I’ve been dreaming of vibrant palettes and textures that make my heart skip a beat. Whether you’re lounging poolside with a book or dancing under the stars, your nails are the ultimate accessory to your summer soul. I’ve put together this little guide of my favorite trends to help you find your own summer rhythm. Let’s dive into this cloud-soft world of color together, shall we?
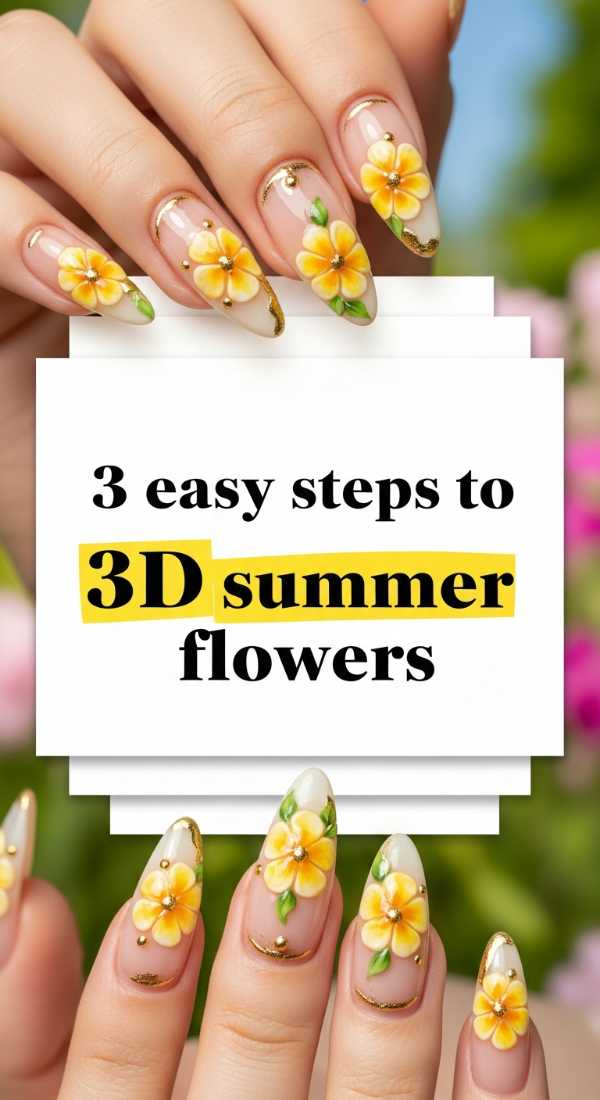
3 Easy Steps to 3D Summer Flowers
Why to love these Nails:
There is something so whimsically romantic about 3D florals. It’s like carrying a tiny, secret garden on your hands. These nails bring a tactile, artistic touch to your look that feels high-end yet incredibly playful—perfect for those slow Sunday brunches where you want a bit of extra magic.
Essential Items:
- Thick building gel or 3D nail art paste
- Fine-tipped liner brush
- Tiny faux pearls or rhinestones
- LED/UV lamp
How to Prepare:
- Apply your base color and cure. Using your liner brush, scoop a small bead of 3D gel and place it where you want a petal.
- Gently pull the gel inward to create a teardrop shape for each petal, repeating until you have a full bloom.
- Place a tiny pearl in the center for a finished look, then cure under the lamp for 60 seconds.
Budget Range
- Beetles 4-in-1 Nail Glue Gel – $7.99
- Saviland 3D Carving Gel Kit – $15.99
- Amazon Nail Art Rhinestones – $5.49
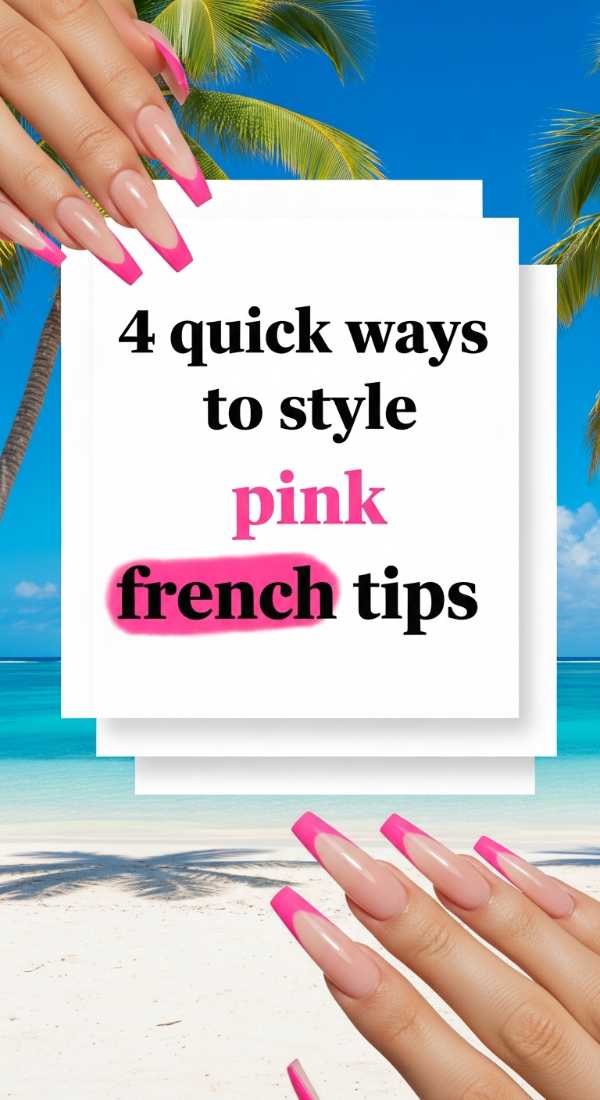
4 Quick Ways to Style Pink French Tips
Why to love these Nails:
Pink French tips are the ultimate ‘soft girl’ aesthetic. They take a timeless classic and infuse it with a sugary, feminine energy that works for every occasion. It’s a subtle way to embrace color without losing that clean, sophisticated vibe we all adore.
Essential Items:
- Sheer nude base polish
- Hot pink or pastel pink polish
- French tip guide stickers or a thin brush
- Glossy top coat
How to Prepare:
- The Micro-Tip: Paint an ultra-thin line at the very edge for a minimalist feel.
- The Deep V: Create two diagonal lines meeting in the center for a modern, architectural look.
- The Gradient Tip: Sponge the pink onto the tip for a soft, blurred transition.
- The Double French: Draw two thin parallel pink lines at the tip for a trendy y2k twist.
Budget Range
- Essie ‘Slippers’ (Sheer Pink) – $9.00
- OPI ‘Pink Flamenco’ – $11.49
- Orly French Manicure Guides – $4.99
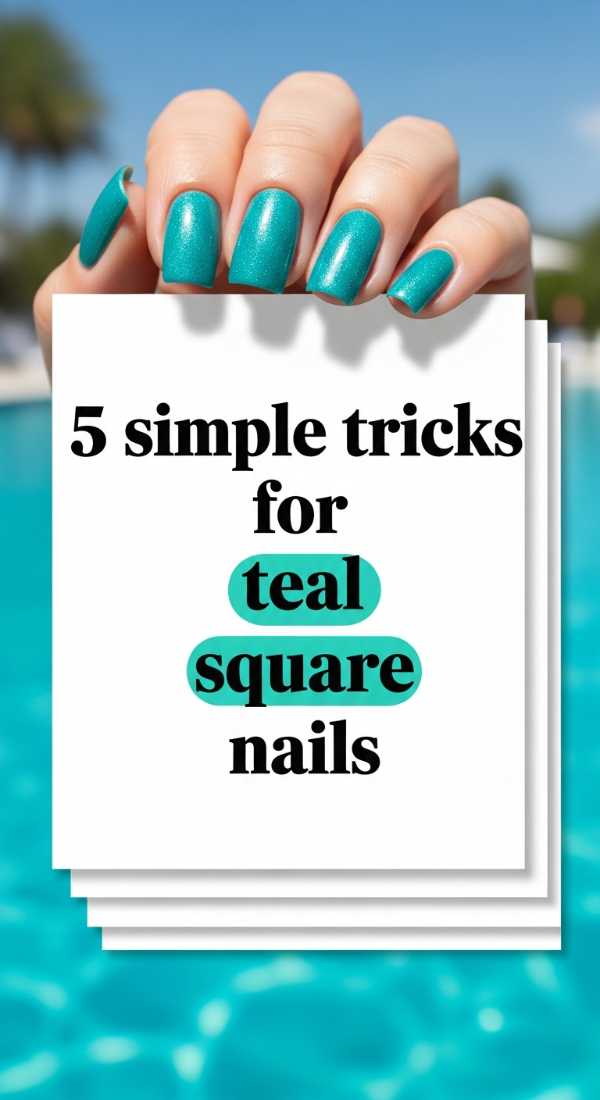
5 Simple Tricks for Teal Square Nails
Why to love these Nails:
Teal is the color of the deep ocean and clear summer skies. When paired with a crisp square shape, it feels bold, structured, and incredibly refreshing. It’s the perfect choice for anyone looking to make a statement that feels cool and calm.
Essential Items:
- Teal cream polish
- Square nail file (180 grit)
- Matte top coat
- Cuticle oil
How to Prepare:
- File your nails in one direction to achieve a perfectly straight edge and sharp corners.
- Apply a ridge-filling base coat to ensure the teal color looks smooth and glass-like.
- Try a ‘Matte-on-Gloss’ look by painting the base matte and the tips glossy.
- Use a cleanup brush dipped in acetone to ensure the square edges are crisp and clean.
- Finish with a heavy dose of cuticle oil to make the bold color pop against hydrated skin.
Budget Range
- Sally Hansen Insta-Dri in ‘The Teal Thing’ – $5.80
- Holo Taco Matte Top Coat – $11.00
- Flowery Blue Files – $2.50
6 Steps to Get Y2K Summer Vibes
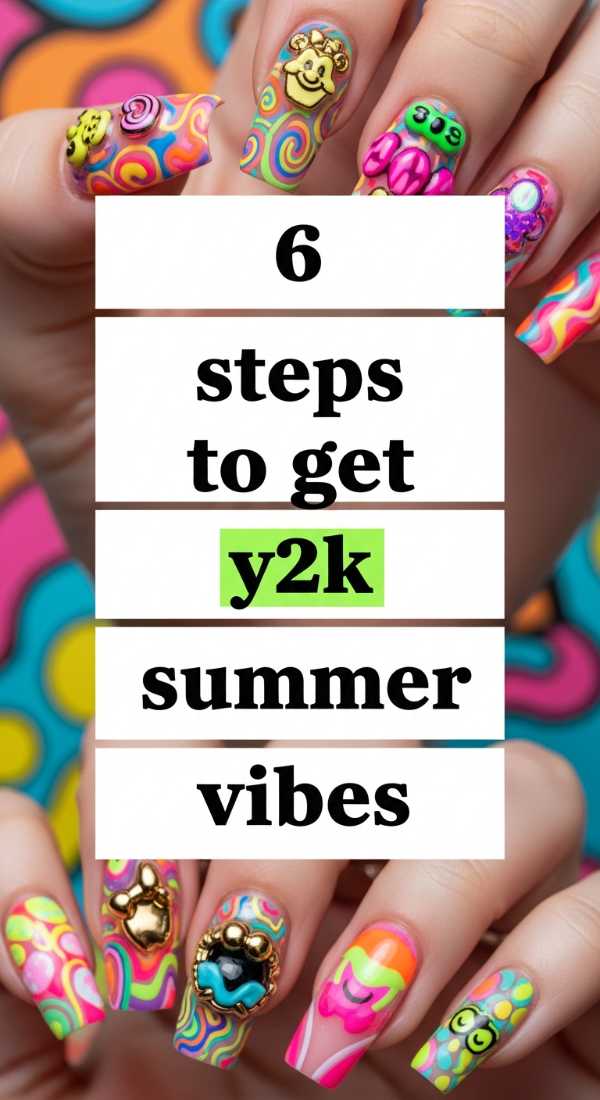
Why to love these Nails:
Y2K nails are a celebration of nostalgia, maximalism, and pure fun. Think butterflies, bright swirls, and all the charms! This trend is for my loves who aren’t afraid to let their inner child play and want their nails to be a conversation starter.
Essential Items:
- Neon polish set
- Nail art stickers (butterflies/stars)
- Dotting tool
- Clear chunky glitter
How to Prepare:
- Paint each nail a different vibrant neon shade as your base.
- Use a dotting tool to create ‘daisy’ patterns on your ring finger.
- Apply butterfly stickers randomly for that iconic early-2000s aesthetic.
- Add swirl lines using a contrasting neon color and a thin brush.
- Apply a layer of chunky glitter over the thumb for extra sparkle.
- Seal everything with a high-shine top coat to mimic a gel finish.
Budget Range
- Modelones Neon Gel Set – $12.99
- Y2K Aesthetic Nail Decals – $6.00
- Dotting Tool Set – $4.50
3 Ways to Master White Almond Nails
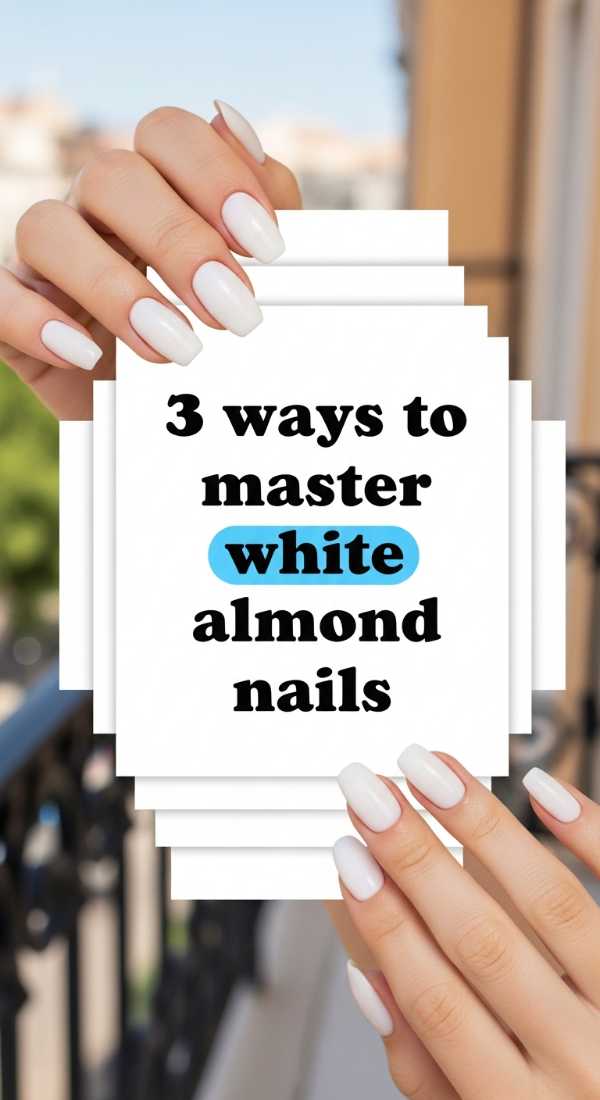
Why to love these Nails:
White almond nails are the epitome of ‘Clean Girl’ summer. They look incredibly chic against a tan and make your fingers look long and elegant. It’s a crisp, refreshing look that feels like a fresh linen shirt on a hot day.
Essential Items:
- Opaque white polish
- Pearl chrome powder (optional)
- Almond-shaped nail tips or a file
How to Prepare:
- The Milky White: Mix your white polish with a bit of clear top coat for a soft, translucent finish.
- The Glazed Donut: Apply one coat of white, then rub on pearl chrome powder for a shimmering glow.
- The Stark Pop: Apply three thin layers of high-pigment white for a bold, graphic look.
Budget Range
- OPI ‘Funny Bunny’ – $11.49
- Born Pretty Pearl Powder – $8.99
- Kiara Sky Almond Tips – $14.99
4 Vibrant Methods for Orange Coffin Nails
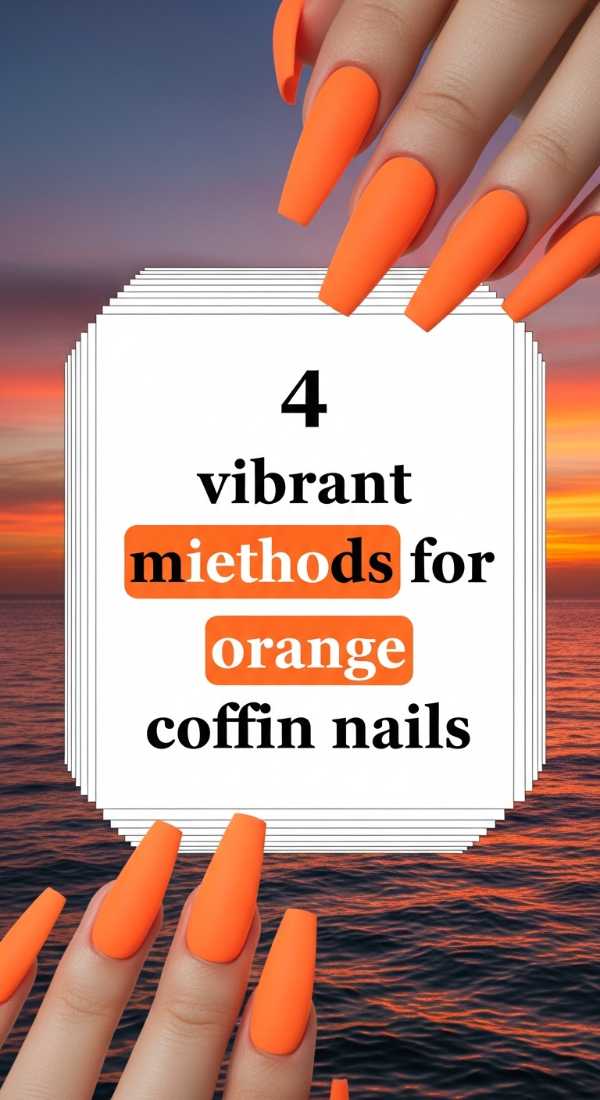
Why to love these Nails:
Orange is the color of the setting sun and juicy citrus fruits. The coffin shape adds a bit of edge and drama to this energetic hue. It’s a fiery, confident look that screams summer adventure.
Essential Items:
- Bright orange polish (creme or neon)
- Makeup sponge (for gradients)
- Gold foil flakes
How to Prepare:
- Sunset Ombre: Sponge a mix of orange and yellow onto the tips for a gradient effect.
- Gold Leaf Accent: Apply orange polish and press gold foil into the tacky layer for a luxury vibe.
- Negative Space: Use tape to leave a triangle of natural nail showing at the base.
- Velvet Matte: Use a matte top coat to give the orange a sophisticated, suede-like texture.
Budget Range
- Zoya ‘Micky’ Orange – $12.00
- Gold Leaf Flakes – $5.50
- Wet n Wild Matte Top Coat – $3.49
5 Easy Tips for Basic Blue Nails
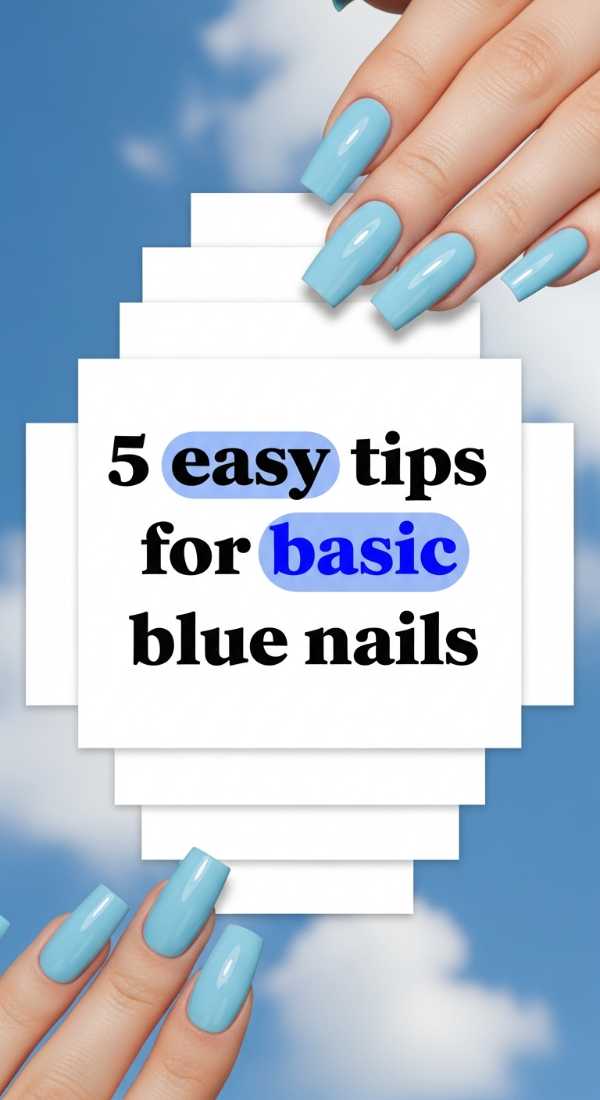
Why to love these Nails:
Sometimes, simplicity is the ultimate soul-soother. A classic, solid blue nail feels like a dip in a cool pool. It’s effortless, reliable, and universally flattering, whether you choose a soft cornflower or a deep cobalt.
Essential Items:
- Your favorite blue polish
- Long-wear base coat
- Fast-drying top coat
How to Prepare:
- Always use a base coat to prevent blue pigments from staining your natural nails.
- Apply thin, even layers rather than one thick one to avoid bubbling.
- Cap the free edge (paint the very tip of the nail) to prevent chipping during beach days.
- Wait 2 minutes between coats for the most professional finish.
- Use a fan or cool air to set the polish if you’re in a hurry for your summer plans.
Budget Range
- Essie ‘Bikini So Teeny’ – $9.00
- Revlon ColorStay Base Coat – $6.50
- Seche Vite Fast Dry Top Coat – $9.95
3 Ways to Apply Bright Summer Acrylics
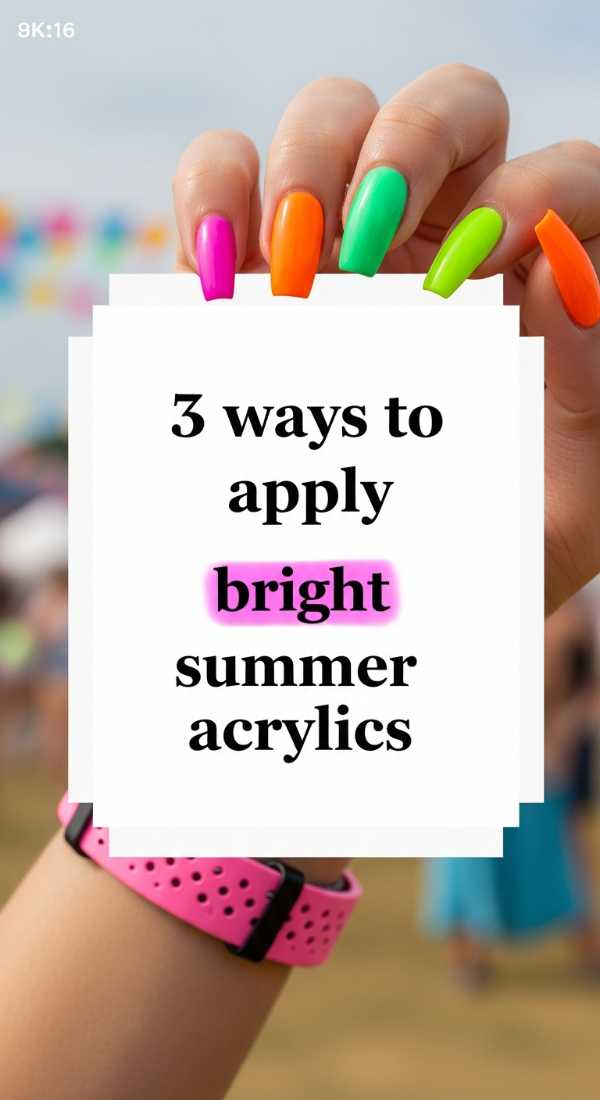
Why to love these Nails:
If you want length and durability that lasts through every vacation activity, acrylics are your best friend. They provide a sturdy canvas for the brightest neons and the most intricate art, ensuring your mani stays flawless for weeks.
Essential Items:
- Acrylic powder and liquid monomer
- Nail forms or tips
- Electric file (optional)
How to Prepare:
- The Colored Acrylic Method: Use pre-mixed neon acrylic powder for a color that won’t chip off.
- The Encapsulated Glitter: Place bright summer glitters between layers of clear acrylic for a 3D depth effect.
- The Tip Extension: Apply clear tips and paint over them with high-vibrancy gel polish for easy color changes.
Budget Range
- Mia Secret Acrylic System – $18.50
- Neon Acrylic Powder Set – $14.00
- Pana Professional Nail Brush – $12.00
4 Steps to Create Colorful Stiletto Nails
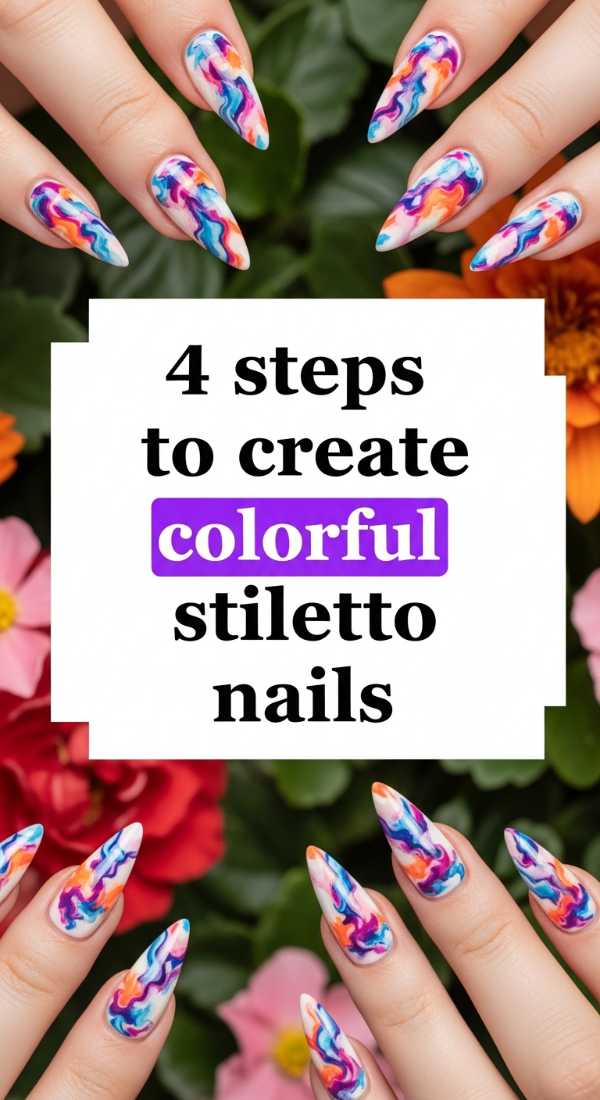
Why to love these Nails:
Stiletto nails are for the bold hearts. They are fierce, pointy, and undeniably cool. Adding a splash of multi-colored patterns to this shape creates a high-fashion look that feels like wearable art.
Essential Items:
- Stiletto nail tips
- Acrylic or builder gel
- Various bright polish colors
How to Prepare:
- Shape your extensions into a sharp point, ensuring the sides are symmetrical.
- Divide the nail into ‘zones’ using a thin brush and different bright colors.
- Add black ‘leopard’ spots or abstract lines to separate the colors for a pop-art feel.
- Reinforce the tip with an extra layer of top coat, as stiletto points are prone to wear.
Budget Range
- Full Cover Stiletto Tips – $6.99
- Liner Brush Set – $5.99
- Color Club Brights Set – $15.00
5 Simple Steps for Yellow Summer Nails
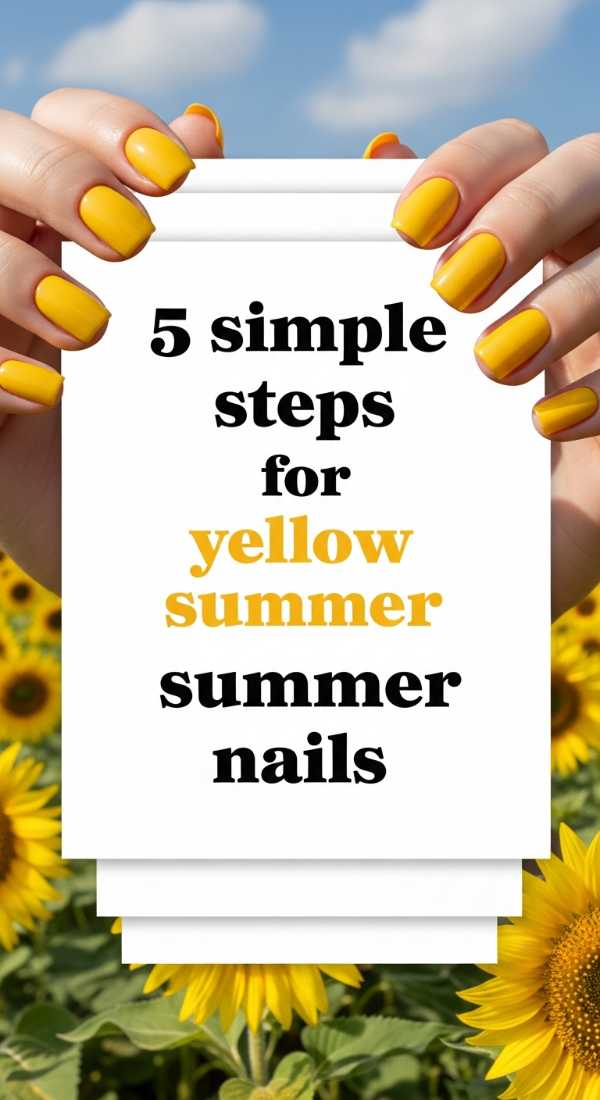
Why to love these Nails:
Yellow is instant happiness. It’s like wearing sunshine on your fingers! It’s bright, optimistic, and surprisingly versatile. It pairs beautifully with summer whites and denim, making every outfit feel a little bit brighter.
Essential Items:
- Bright lemon or pastel yellow polish
- White base polish (to make the yellow pop)
- Glossy top coat
How to Prepare:
- Start with a coat of white polish; yellow can be sheer, and this makes the color look vibrant.
- Apply two coats of yellow, making sure to let the first coat dry completely.
- Add a tiny white daisy on the thumb for a sweet, simple accent.
- Keep your cuticles hydrated with oil so the bright yellow doesn’t highlight dry skin.
- Finish with a UV-protectant top coat to prevent the sun from fading the yellow.
Budget Range
- Sinful Colors ‘Yellow Spotted’ – $2.99
- Essie ‘Check Your Baggage’ – $9.00
- Cuccio Cuticle Revitalizer – $7.00
Stay Radiant, My Loves
I hope this guide brings a little extra sparkle to your summer days. Remember, there are no rules when it comes to expressing yourself. Whether you choose a simple blue or a wild Y2K masterpiece, the most important thing is that it makes you feel like the most radiant version of yourself. Take that time for yourself, put on your favorite playlist, and let your creativity flow. You deserve to feel beautiful, from your soul right down to your fingertips. Happy painting, darlings!