
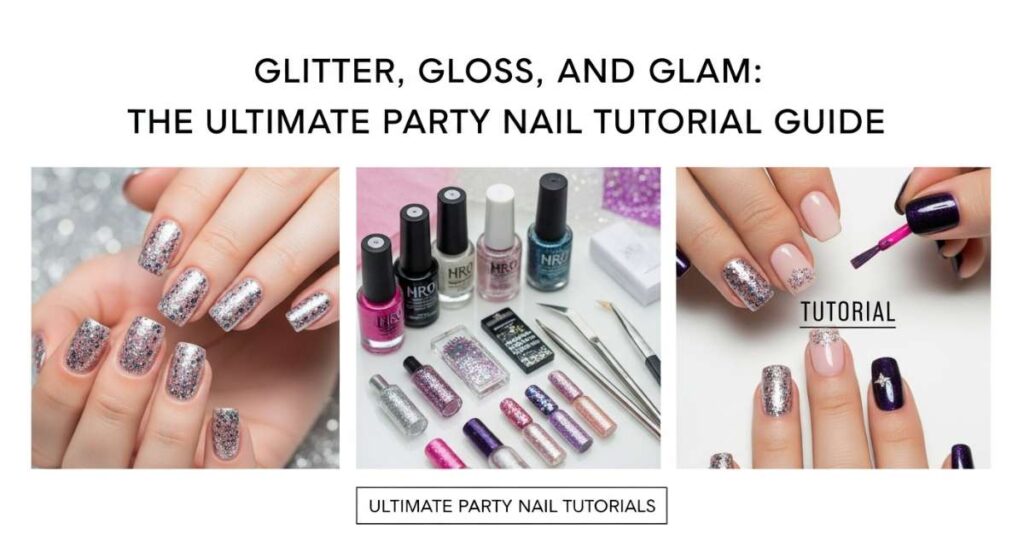
Glitter, Gloss, and Glam: The Ultimate Party Nail Tutorial Guide
Hello, my lovely souls! There is something so incredibly magical about that quiet moment we take for ourselves, isn’t there? Sitting down with a favorite candle flickering nearby, picking out a shade that speaks to your heart, and transforming your hands into a canvas of self-expression. It’s like a soft hug for your spirit, a way to tell the world—and yourself—that you deserve to sparkle.
I’ve always believed that our nails are the finishing touch to our energy. Whether you’re heading to a boisterous celebration or a delicate afternoon gathering, your manicure is that little secret sparkle that follows you everywhere. Today, I’m so excited to walk hand-in-hand with you through these tutorials, designed to make you feel like the radiant masterpiece you truly are.
So, grab your favorite tea (or perhaps a glass of bubbly!), settle into your fluffiest chair, and let’s dive into the world of glitter, gloss, and absolute glam together. You’re already beautiful, my loves—let’s just add a little extra shine to those fingertips!
5 Easy Steps for Bachelorette Party Nails
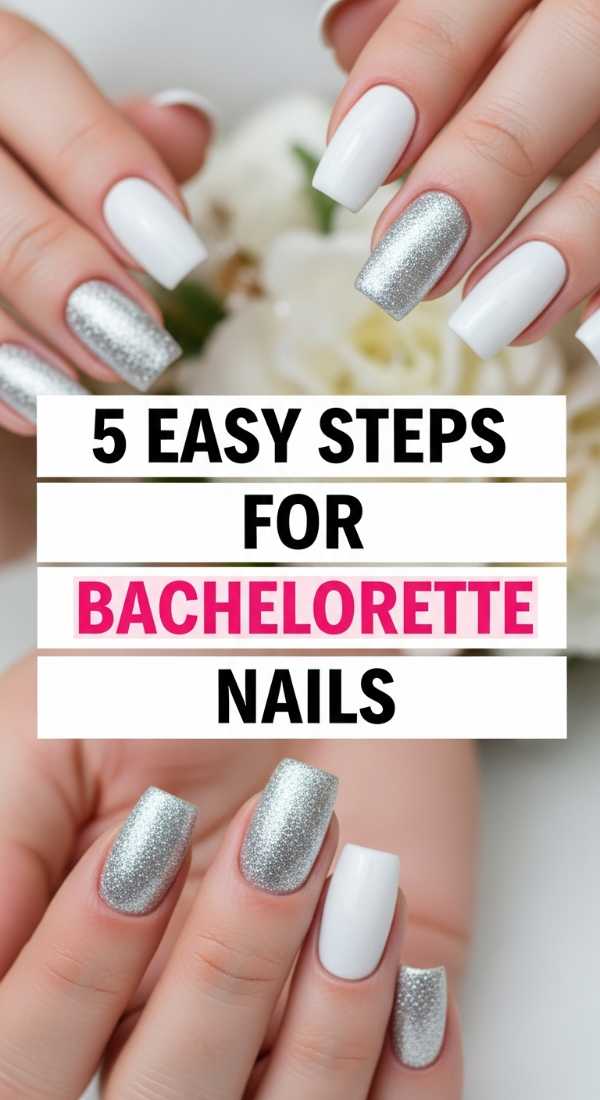
Why to love these Nails:
These nails are the ultimate celebration of friendship and joy! They capture that ‘bride tribe’ energy with a mix of playful pinks and sophisticated shimmer, making every toast feel just a little more special.
Essential Items:
- Soft blush pink polish
- Rose gold loose glitter
- Clear top coat
- Nail dotting tool
- Gentle cuticle oil
How to Prepare:
- Cleanse nails with a gentle remover to ensure a smooth canvas.
- Apply two thin coats of your soft blush pink base.
- While the second coat is tacky, dip the ring finger into rose gold glitter.
- Use the dotting tool to place tiny ‘confetti’ dots of glitter on the other nails.
- Seal everything with a high-shine top coat for a salon-finish glow.
Budget Range
- Essie Ballet Slippers ($10)
- Holo Taco Rose Gold Flake ($13)
- Sally Hansen Insta-Dri Top Coat ($6)
4 Simple Ways to Style Tea Party Nails
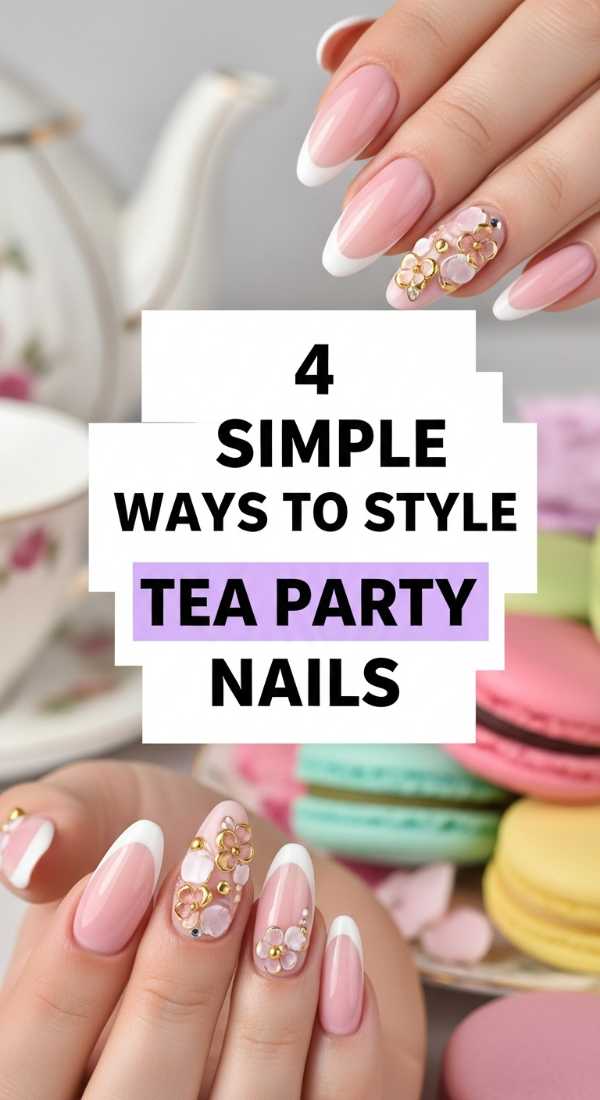
Why to love these Nails:
Tea party nails are like a whisper of elegance. They are dainty, feminine, and perfect for holding a delicate porcelain cup while catching the afternoon sun. They evoke feelings of lace and spring blossoms.
Essential Items:
- Sheer ‘milk’ white polish
- Dried pressed nail flowers
- Tweezers
- Matte top coat
How to Prepare:
- Apply a sheer layer of milky white for a ‘cloud-like’ appearance.
- Carefully place a tiny dried flower near the cuticle using tweezers.
- Add a second layer of sheer polish to ‘encapsulate’ the flower for a vintage look.
- Finish with a matte top coat to give that soft, porcelain texture.
Budget Range
- Zoya ‘Lucy’ ($12)
- Amazon Nail Art Dried Flowers ($8)
- OPI Matte Top Coat ($11)
3 Quick Tricks for Midnight Party Nails
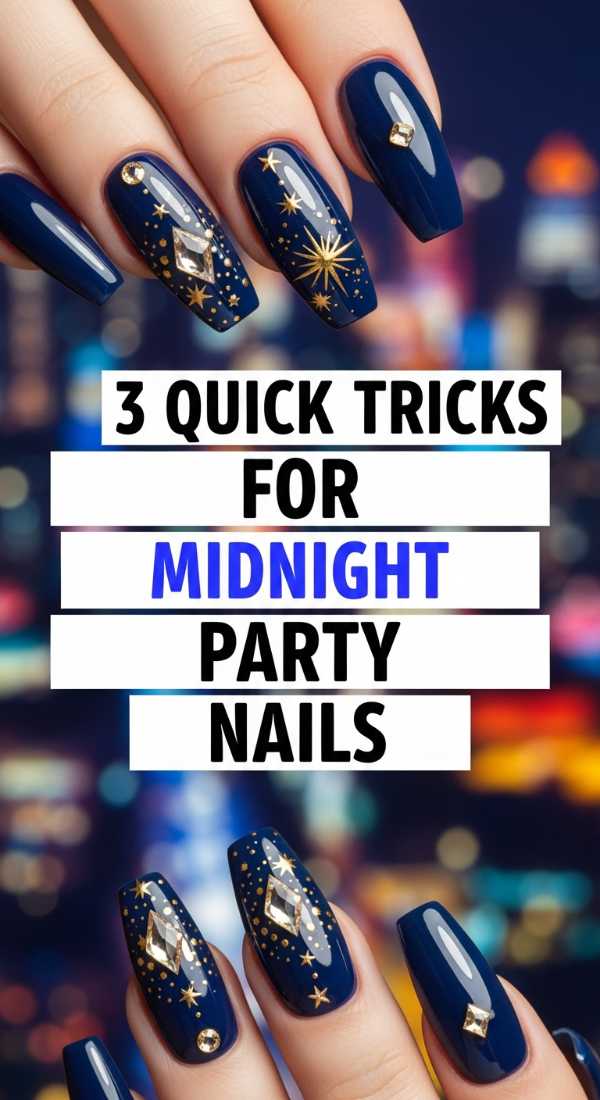
Why to love these Nails:
Midnight party nails are for the dreamers and the night owls. They are moody, deep, and carry the mystery of a star-studded sky. They make a bold statement without needing hours of work.
Essential Items:
- Deep navy or obsidian polish
- Silver holographic top coat
- Sponge wedge
How to Prepare:
- Paint nails with two coats of deep navy for a rich, dark base.
- Dab a silver holographic polish onto a sponge and tap it lightly onto the tips for a ‘galaxy gradient’ effect.
- Finish with a glossy top coat to make the ‘stars’ pop.
Budget Range
- Revlon ‘Midnight’ ($6)
- ILNP ‘Mega’ Holographic ($10)
- Seche Vite Dry Fast Top Coat ($9)
6 Easy Steps to Velvet Party Nails
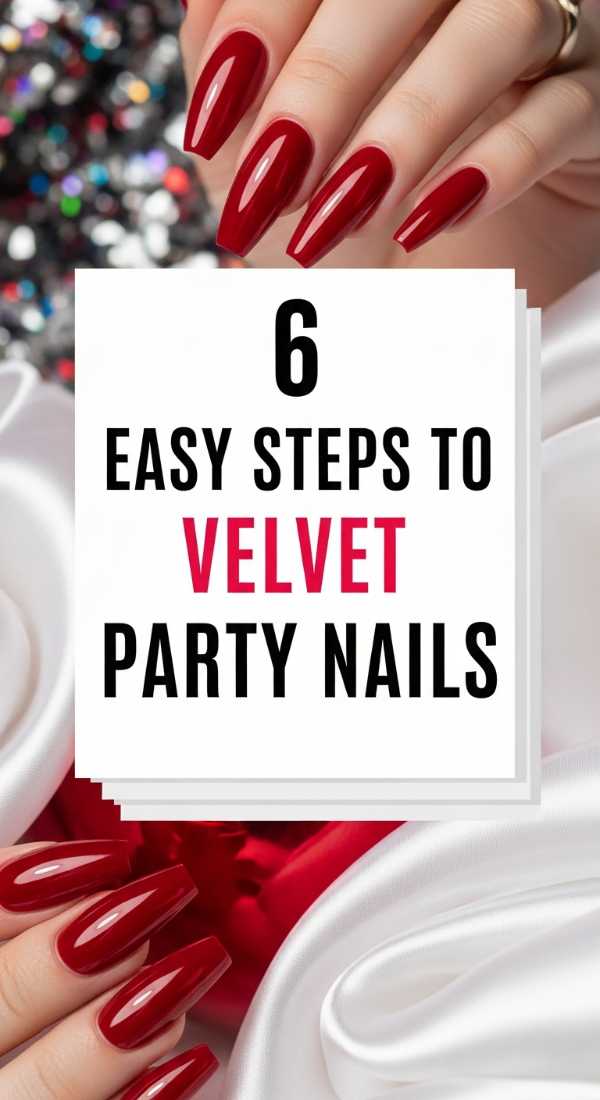
Why to love these Nails:
Velvet nails are pure luxury at your fingertips. They have a 3D depth that plays with the light, feeling like a warm, plush embrace for your hands. It’s the ultimate ‘cool girl’ party look.
Essential Items:
- Magnetic ‘Cat Eye’ polish
- Small handheld magnet
- Base coat
- UV/LED lamp (if using gel)
How to Prepare:
- Apply a dark base coat to make the magnetic pigment stand out.
- Apply one thick layer of magnetic polish to one nail at a time.
- Immediately hold the magnet close to the side of the nail for 10 seconds.
- Move the magnet to the opposite side to ‘pull’ the shimmer into a velvet finish.
- Cure or let dry completely.
- Apply top coat and hold the magnet over it one last time to keep the design sharp.
Budget Range
- Born Pretty Magnetic Gel Set ($15)
- UV LED Nail Lamp ($20)
- Beetles No Wipe Top Coat ($8)
5 Secrets to Flawless Tea Party Nails
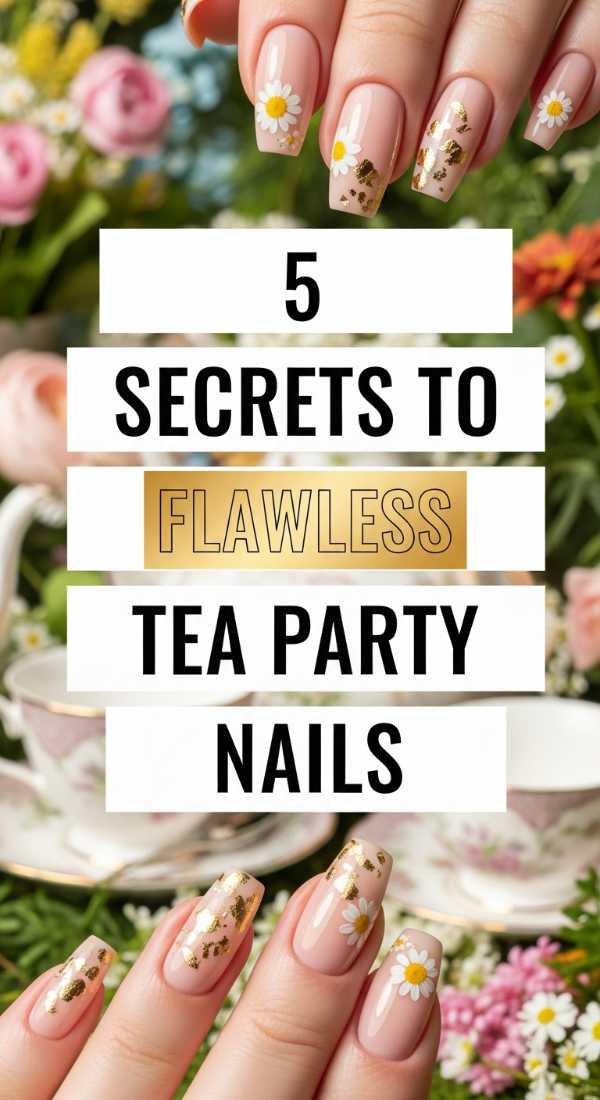
Why to love these Nails:
These are for the true romantics. The secret to this look is the subtle ‘hidden’ shimmer that only appears when you move your hands, much like a polite secret shared over tea.
Essential Items:
- Pale lavender polish
- Iridescent pearl powder
- Makeup sponge
- Buffer block
How to Prepare:
- Buff the nail surface gently for a perfectly smooth application.
- Apply two coats of pale lavender.
- Once nearly dry, use the makeup sponge to buff a tiny amount of pearl powder over the surface.
- Gently brush away excess powder with a soft brush.
- Seal with a long-wear top coat for that iridescent glow.
Budget Range
- Orly ‘Daydreamer’ ($12)
- Pearlescent Chrome Powder ($7)
- Real Techniques Sponge ($6)
4 Ways to Master Bachelorette Party Nails
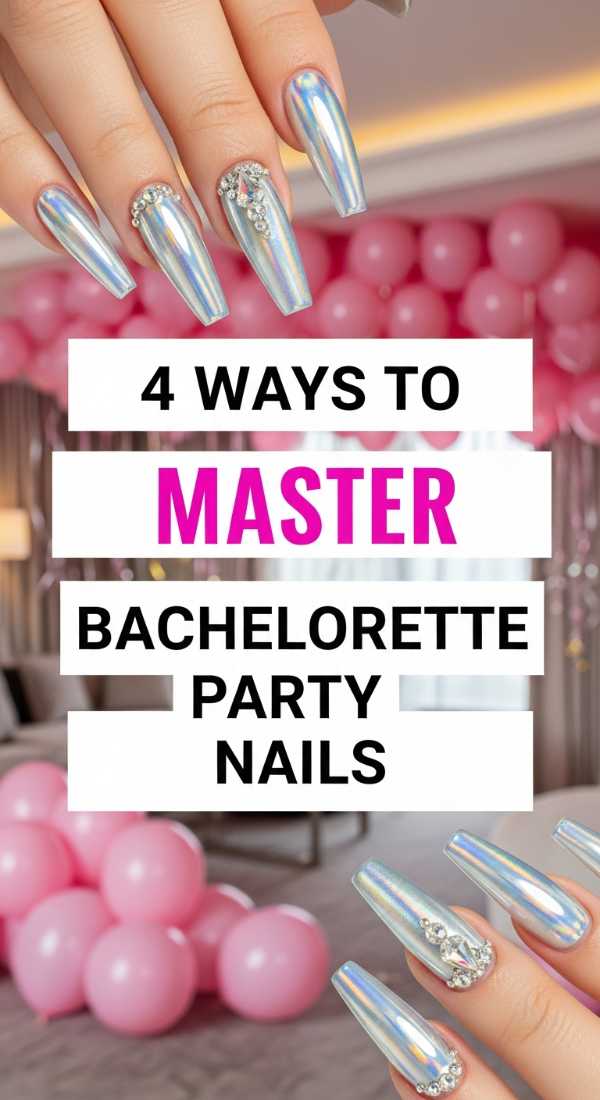
Why to love these Nails:
This tutorial focuses on durability and high-impact shine. When you’re dancing the night away with your besties, you need a look that stays flawless from the first cocktail to the late-night snack.
Essential Items:
- Hot pink cream polish
- Gold foil flakes
- Clear nail glue
- Wooden orange stick
How to Prepare:
- Paint nails with a vibrant hot pink.
- Apply tiny dots of nail glue in a random pattern.
- Use the orange stick to press gold foil flakes onto the glue dots.
- Apply two layers of top coat to ensure the foil doesn’t snag.
Budget Range
- OPI ‘Strawberry Margarita’ ($11)
- Nail Art Gold Leaf ($5)
- Makartt Nail Glue ($7)
7 Simple Steps for Glitter Party Nails
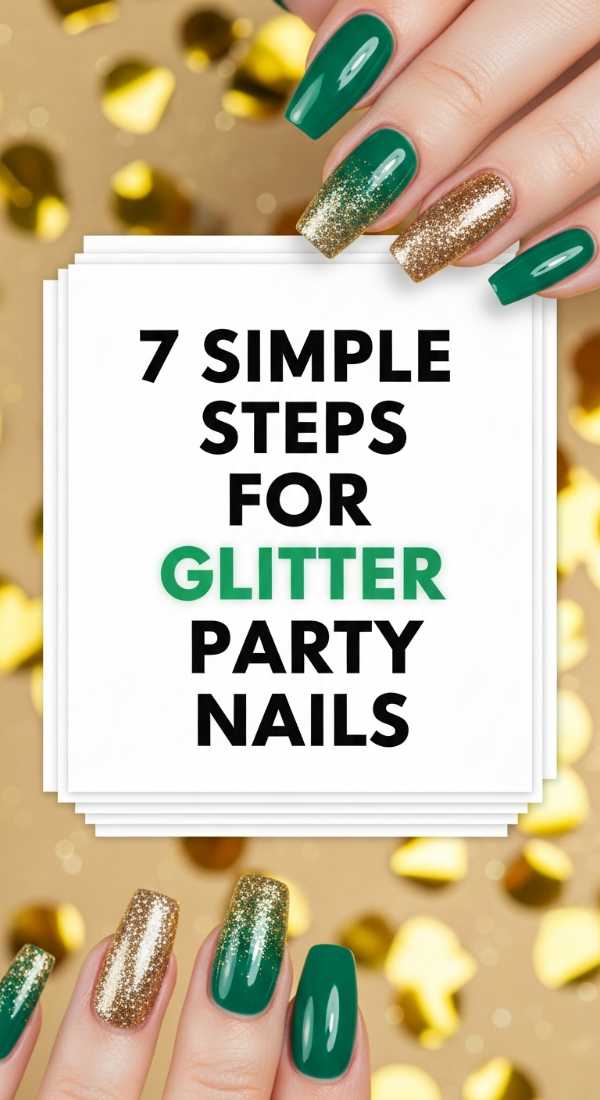
Why to love these Nails:
There is no such thing as too much glitter! This look is pure dopamine dressing. It’s loud, happy, and reflects every light in the room, making you the center of the celebration.
Essential Items:
- Multi-colored chunky glitter polish
- Peel-off base coat (for easy removal later!)
- Liquid latex (for skin protection)
- Sponge
How to Prepare:
- Apply a peel-off base coat to save your future self from scrubbing.
- Paint liquid latex around your cuticles to keep things tidy.
- Paint the glitter polish directly onto a makeup sponge.
- Dab the sponge onto the nail—the sponge absorbs the excess clear polish, leaving only dense glitter.
- Repeat until the nail is fully covered.
- Peel off the latex barrier.
- Apply a thick ‘plumping’ top coat to smooth the texture.
Budget Range
- Unt Ready for Takeoff Base Coat ($15)
- Cuppa Color Chunky Glitter ($9)
- Liquid Latex Barrier ($8)
3 Easy Tips for Chic Tea Party Nails
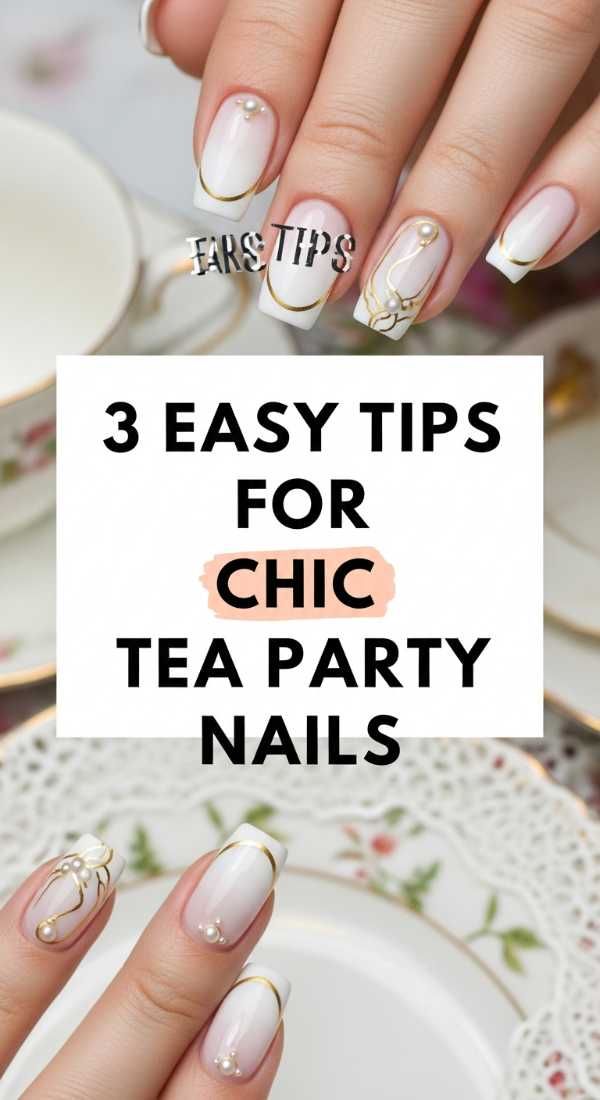
Why to love these Nails:
Minimalism meets sophistication. These are for the chicest tea parties—think ‘French Girl’ vibes with a tiny bit of whimsical flair that looks effortlessly polished.
Essential Items:
- Nude beige polish
- Fine-line nail brush
- White acrylic paint or polish
How to Prepare:
- Apply two coats of a ‘your nails but better’ nude beige.
- Using the fine-line brush, paint a tiny white bow or a single dot at the base of each nail.
- Allow to dry completely before sealing with a high-gloss top coat.
Budget Range
- Essie ‘Sand Tropez’ ($10)
- Fine Liner Nail Art Brush Set ($6)
- Apple Barrel White Acrylic ($2)
5 Methods for Bold Bachelorette Party Nails
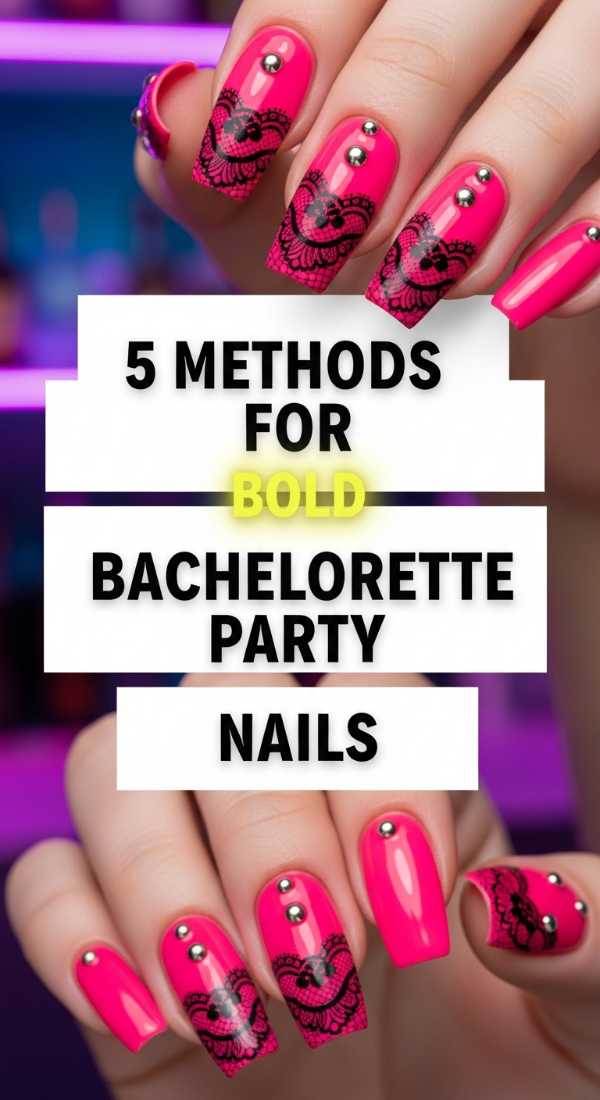
Why to love these Nails:
These are for the bride or guest who wants to make a statement. Bold colors and sharp lines represent the excitement of a new chapter and the strength of sisterhood.
Essential Items:
- Electric blue or neon coral polish
- Nail striping tape
- Tweezer set
- High-shine finish
How to Prepare:
- Apply your bold base color and let it dry 100%.
- Place striping tape in geometric V-shapes across the nail.
- Paint a secondary metallic color over the tape.
- Immediately remove the tape with tweezers to reveal crisp lines.
- Seal with top coat to protect the edges.
Budget Range
- China Glaze ‘Flip Flop Fantasy’ ($8)
- Nail Striping Tape Multi-pack ($5)
- Morgan Taylor Top Coat ($10)
4 Steps to Create Metallic Party Nails
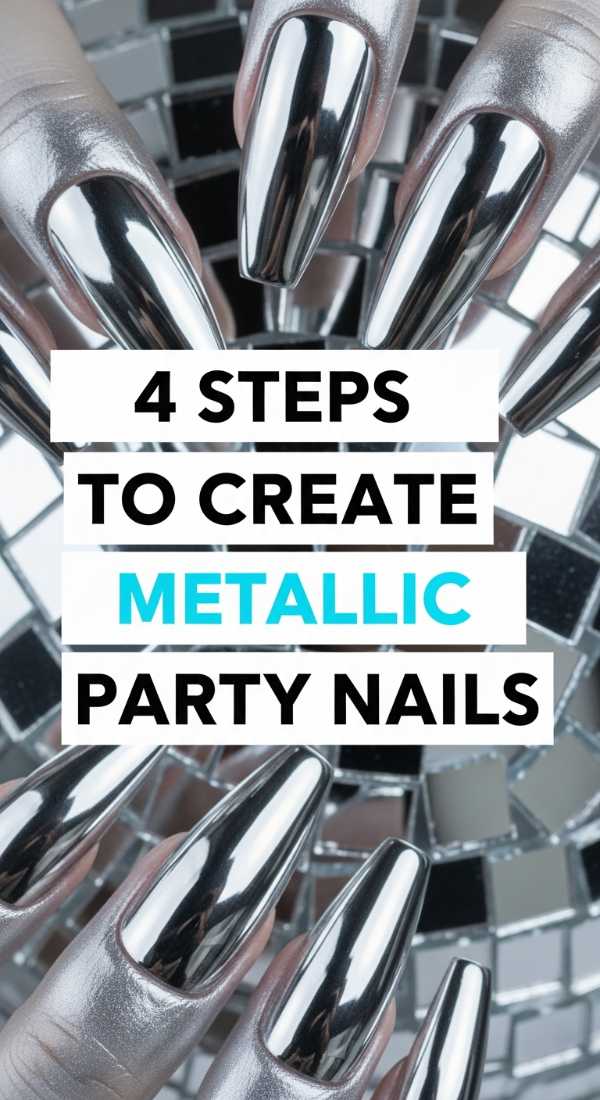
Why to love these Nails:
Metallic nails are like jewelry for your hands. They are sleek, modern, and have a ‘liquid metal’ effect that looks incredible in photos and under party lights.
Essential Items:
- Silver or gold chrome polish
- Smooth buffer
- Ridge-filling base coat
How to Prepare:
- Use the ridge-filling base coat to create a perfectly flat surface (metallics show every bump!).
- Apply the metallic polish in long, steady strokes to minimize brush marks.
- Add a second coat once the first is completely dry.
- Finish with a water-based top coat if using chrome to keep the mirror finish bright.
Budget Range
- Sally Hansen ‘Game of Chromes’ ($7)
- Butter London Ridge Filler ($18)
- Maniology Smudge-Free Top Coat ($8)
Celebrate Your Sparkle, My Loves
I hope these tutorials bring a little bit of extra light into your next event. Remember, my darlings, that beauty isn’t about being perfect—it’s about the joy you feel while you’re creating. Whether your nails are covered in chunky glitter or a simple nude polish, the most beautiful thing you can wear is your own confidence and a kind heart. Go out there, hold your head high, and let those beautiful hands shine as bright as your soul!