

Have you ever noticed how the best memories always seem to happen around a messy table? Whether it’s the sound of laughter echoing over a spread of appetizers or the quiet comfort of a late-night snack with your favorite people, there is something deeply magical about sharing food. Lately, I’ve found myself moving away from stiff, formal dinners and leaning into the beauty of the ‘food board’—those colorful, abundant, and delightfully casual platters that invite everyone to dig in and stay a while.
The internet is currently obsessed with these simple food boards, and honestly, I get it! They take the pressure off the host and turn every meal into an interactive experience. It’s not about perfection; it’s about that perfect bite of creamy dip on a salty chip, the crunch of a fresh wrap, or the sweetness of a seasonal fruit salad. These recipes are designed to be served together, creating a tapestry of flavors that look as good as they taste.
Today, I’m sharing my absolute favorite viral-inspired recipes that deserve a spot on your next gathering board. From savory grilled favorites to the sweetest summer desserts, these dishes are the secret to effortless entertaining. So, grab your biggest wooden board, pour yourself a glass of something cold, and let’s dive into the flavors that are taking over social media!
How to make the creamiest rotel dip

Why we love this
There is nothing quite like the nostalgic, velvety embrace of a perfectly melted Rotel dip. As you dip a sturdy corn chip into the bowl, the gooey cheese clings to the ridges, speckled with the smoky heat of green chilies and the savory richness of browned sausage. The aroma is warm and inviting, instantly making your kitchen feel like the heart of a party. It’s that ultimate comfort food that balances a slight spicy kick with a rich, buttery finish that keeps everyone coming back for ‘just one more bite’ until the bowl is scraped clean.
Ingredients
- 1 lb ground breakfast sausage (mild or hot)
- 1 block (32 oz) Velveeta cheese, cubed
- 2 cans (10 oz each) Rotel Diced Tomatoes and Green Chilies
- 1/2 cup whole milk or heavy cream
- 1/2 tsp garlic powder
- Fresh cilantro for garnish
How to make it
- Begin by browning your ground sausage in a large skillet over medium-high heat. Use a wooden spoon to break the meat into small, uniform crumbles. Cook until no pink remains and the edges are slightly crispy and caramelized, which adds a deep savory flavor. Drain the excess grease thoroughly.
- Lower the heat to medium-low and add the cubed Velveeta cheese. It is crucial to cube the cheese rather than putting the whole block in, as this ensures even melting without scorching the bottom.
- Pour in both cans of Rotel. Do not drain the liquid from the cans; that flavorful juice is what thins the cheese to the perfect dipping consistency.
- Stir in the milk or heavy cream. This is the ‘secret’ to keeping the dip silky smooth even as it cools down on the board.
- Continue to stir frequently with a heat-resistant spatula, scraping the bottom of the pan to prevent sticking. Once the cheese is 90% melted, add the garlic powder and stir until completely smooth and glossy.
- Transfer to a warm serving bowl or a small slow cooker set to ‘warm’ to maintain that perfect molten texture throughout your event.
How to make chicken caesar wraps

Why we love this
A Chicken Caesar Wrap is the undisputed queen of the fresh, handheld lunch. Imagine biting through a soft, flour tortilla into the cool, crisp crunch of romaine lettuce drenched in a tangy, peppery dressing. The warmth of grilled chicken provides a satisfying contrast to the chilled greens, while the salty punch of parmesan cheese lingers on the palate. It’s a clean, bright, and incredibly satisfying dish that feels fancy enough for a brunch board but simple enough for a Tuesday afternoon in the sun.
Ingredients
- 2 cups cooked chicken breast, sliced or cubed
- 1 large head of Romaine lettuce, chopped
- 1/2 cup Caesar dressing (high-quality or homemade)
- 1/4 cup shredded Parmesan cheese
- 1/2 cup garlic butter croutons, lightly crushed
- Large flour tortillas
- Fresh cracked black pepper
How to make it
- Start by preparing your greens. Wash the romaine in ice-cold water and use a salad spinner to get it completely dry. Any lingering moisture will make the wrap soggy, and we want maximum crunch.
- In a large mixing bowl, toss the chopped romaine with half of the Caesar dressing and the shredded parmesan. Adding the dressing to the lettuce first ensures every leaf is coated, providing flavor in every bite.
- Lay your flour tortilla flat on a clean surface. If the tortilla feels stiff, microwave it for 10 seconds between damp paper towels to make it pliable and prevent tearing.
- Spread a thin layer of the remaining Caesar dressing across the center of the tortilla. Layer the dressed lettuce, then top with a generous portion of chicken and the crushed croutons. The crushed croutons add a hidden ‘crunch factor’ that elevates the texture significantly.
- Fold the sides of the tortilla inward about two inches, then roll from the bottom up, tucking the filling tightly as you go.
- For a professional touch, sear the finished wrap seam-side down in a dry skillet over medium heat for 30 seconds. This ‘glues’ the wrap shut and adds a lovely toasted aroma.
How to make fresh summer salad
Why we love this
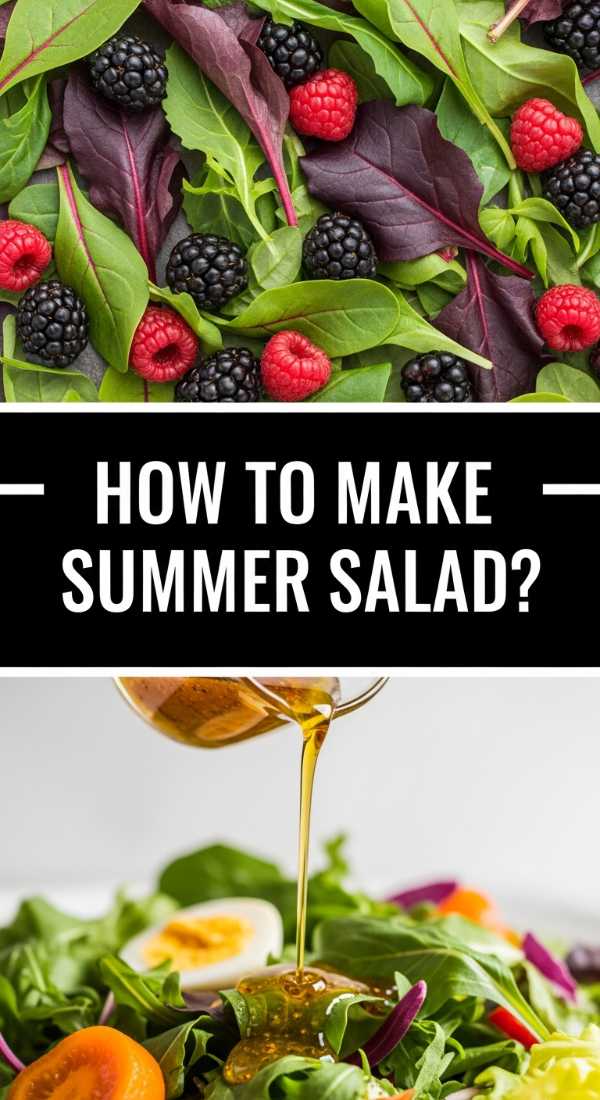
This salad is like a garden party in a bowl, bursting with the vibrant colors of peak-season produce. The combination of sweet, juicy berries against the sharp, earthy tang of goat cheese creates a flavor profile that is both sophisticated and incredibly refreshing. Every forkful offers a new texture, from the snap of fresh cucumber to the buttery soft crunch of toasted pecans. It smells of fresh basil and citrus, a scent that immediately transports you to a sun-drenched patio on a July afternoon.
Ingredients
- 4 cups baby spinach or mixed spring greens
- 1 cup fresh strawberries, sliced
- 1/2 cup fresh blueberries
- 1/4 cup goat cheese crumbles
- 1/4 cup candied pecans
- 1/2 English cucumber, sliced thin
- Balsamic glaze and extra virgin olive oil
How to make it
- Place your greens in a large, shallow wooden bowl. Shallow bowls are better for ‘food board’ style salads because they show off all the beautiful toppings rather than letting them sink to the bottom.
- Scatter the cucumber slices evenly. Pro tip: use an English cucumber (the long, skinny ones in plastic wrap) because the skin is thinner and the seeds are smaller, providing a much better texture for salads.
- Layer the strawberries and blueberries across the top. Choose berries that are deeply colored and fragrant for the best natural sweetness.
- Sprinkle the goat cheese and pecans over the fruit. The goat cheese should be very cold when you crumble it so it stays in distinct, creamy nuggets rather than smearing.
- Wait to dress the salad until the absolute last second before serving. Drizzle with a high-quality extra virgin olive oil first to coat the leaves, then follow with a decorative zig-zag of thick balsamic glaze. This prevents the greens from wilting prematurely under the acidity of the vinegar.
How to make strawberry pie

Why we love this
There is an old-fashioned charm to a strawberry pie that feels like a warm hug from grandma. The filling is a glossy, ruby-red masterpiece of sun-ripened berries held together by a sweet, translucent glaze that shimmers under the light. As you slice into the buttery, flaky crust, the aroma of sweet sugar and fresh fruit fills the air. It’s a dessert that celebrates the strawberry in its purest form—unbaked, fresh, and bursting with natural juice, making it the perfect centerpiece for a summer dessert board.
Ingredients
- 1 pre-baked 9-inch pie crust (chilled)
- 6 cups fresh strawberries, hulled
- 1 cup granulated sugar
- 3 tbsp cornstarch
- 1 cup water
- 1 small box (3 oz) strawberry gelatin powder
- Whipped cream for serving
How to make it
- Select about 3-4 cups of your prettiest, most uniform strawberries and arrange them point-side up in your pre-baked and cooled pie crust. This creates a stunning visual when the pie is sliced.
- In a medium saucepan, crush the remaining strawberries (about 2 cups) using a potato masher or fork. Mix in the sugar, water, and cornstarch.
- Place the saucepan over medium heat and bring the mixture to a boil, stirring constantly. You will see the mixture transform from cloudy to a clear, thick, and bubbling glaze. Let it boil for exactly one minute to fully activate the cornstarch.
- Remove from heat and stir in the dry strawberry gelatin powder until completely dissolved. The gelatin adds stability and a vibrant boost of color and flavor.
- Allow the glaze to cool for about 10-15 minutes so it is no longer piping hot but still pourable. Pour the glaze evenly over the fresh strawberries in the crust, ensuring it seeps into all the crevices.
- Refrigerate the pie for at least 4 hours, or until the glaze is completely set and firm. Serve with a massive dollop of cold whipped cream to balance the sweetness.
How to cook on blackstone
Why we love this
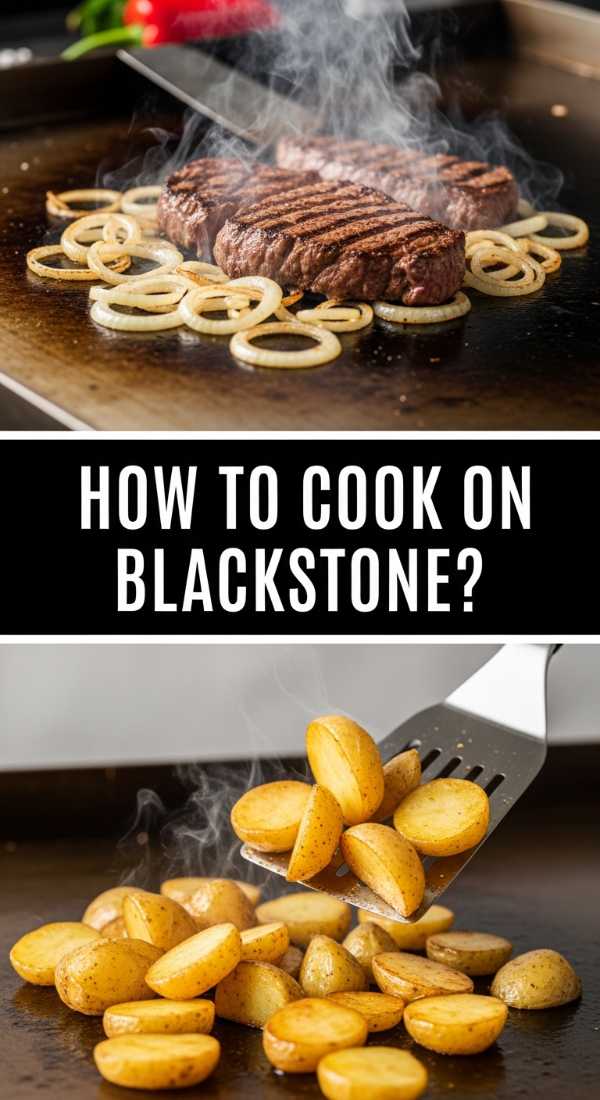
Cooking on a Blackstone griddle isn’t just about making food; it’s about the theater of outdoor cooking. The vast, flat surface allows for a symphony of sizzles as onions caramelize in one corner while smash burgers sear in another. There is a rugged, smoky aroma that infuses everything cooked on the steel, creating a crust and ‘Maillard reaction’ that a standard stove just can’t replicate. It’s the ultimate way to feed a crowd while enjoying the fresh air, turning a simple meal into an event.
Ingredients
- High-smoke point oil (Avocado or Grapeseed oil)
- Your choice of proteins (steak, shrimp, or burgers)
- Mixed bell peppers and onions, sliced
- Butter and garlic
- Coarse sea salt and cracked pepper
How to make it
- Preparation is key: Clean your griddle surface of any debris and preheat it on medium-high for at least 10-15 minutes. You want the steel to be radiating heat evenly across the entire surface.
- Apply a thin layer of high-smoke point oil. Avoid butter at this stage as it will burn too quickly. Use a griddle spatula to spread the oil across the cooking zone.
- Place your proteins on the hottest part of the griddle. For steak or burgers, do not move them for at least 2-3 minutes. This allows a deep, dark crust to form which locks in the juices.
- On a separate, slightly cooler zone of the griddle, toss your vegetables. Season them immediately with salt and pepper. Use the large flat spatulas to toss them frequently, allowing them to pick up the flavors of the meat juices migrating across the steel.
- In the final minute of cooking, move everything together and add a knob of butter and minced garlic to the pile. The butter will foam and brown, glazing the food in a rich, nutty finish.
- Use your bench scraper to clean the griddle while it’s still hot, then apply a very thin layer of oil to protect the seasoning before you head inside to eat.
How to make hummingbird nectar
Why we love this
While not a ‘food board’ item for humans, making your own hummingbird nectar is the ultimate lifestyle flex for a peaceful backyard vibe. There is a quiet joy in watching these tiny, iridescent creatures dart toward your feeders, knowing you’ve provided them with a clean, healthy energy source. Homemade nectar is pure and clear, free from the artificial dyes and preservatives found in store-bought versions. It’s a simple act of nature stewardship that brings vibrant life and movement to your outdoor dining space.
Ingredients
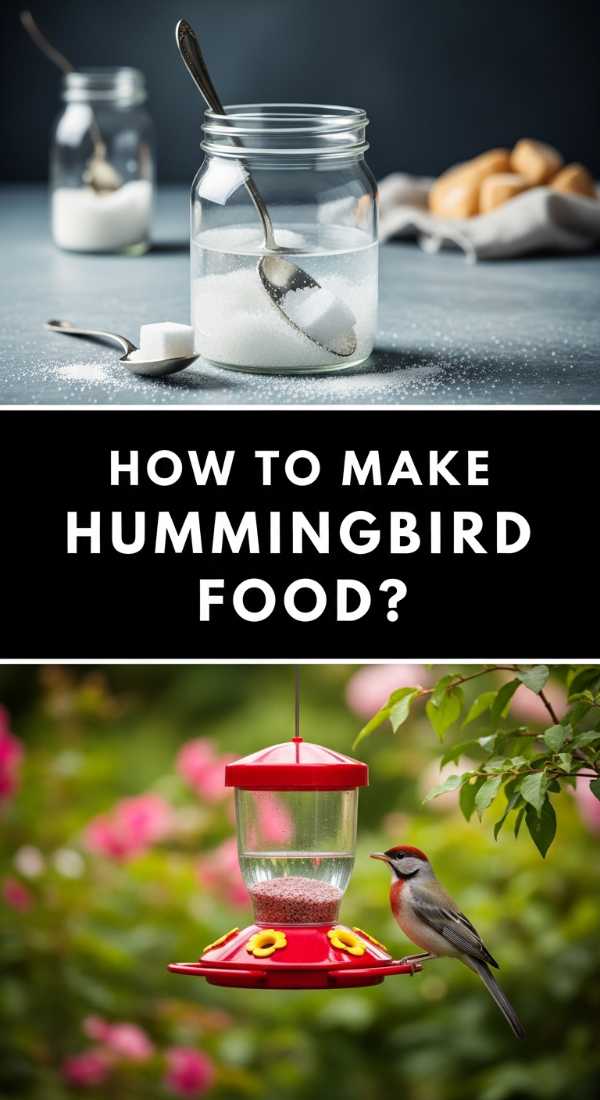
- 1 cup white granulated sugar
- 4 cups filtered water
How to make it
- In a small pot, combine the sugar and water. It is vital to use plain white granulated sugar only. Never use honey, brown sugar, or artificial sweeteners, as these can be fatal to hummingbirds.
- Heat the mixture over medium heat, stirring occasionally until the sugar is completely dissolved. You do not need to bring it to a full boil, but a light simmer for 1-2 minutes can help remove impurities from the water.
- Remove the pot from the heat and allow the nectar to cool completely to room temperature. Never put hot nectar into a feeder, as it can warp the plastic and harm the birds.
- Fill your clean hummingbird feeders. Do not add red food coloring! The red parts of the feeder are enough to attract the birds, and the dye is unnecessary and potentially harmful to their tiny systems.
- Store any extra nectar in a clean glass jar in the refrigerator for up to two weeks.
- Clean and refill your feeders every 2-3 days (more often in extreme heat) to prevent fermentation and mold growth.
How to make cucumber salad

Why we love this
This cucumber salad is the definition of ‘crunch.’ It is an explosion of cool, refreshing flavors that act as the perfect palate cleanser for heavier grilled meats. The sharp, acidic tang of vinegar is balanced by a hint of sugar and the aromatic punch of fresh dill. It smells like a crisp morning in a vegetable garden. Every bite is light and hydrating, making it an essential addition to any summer spread where you want something that feels healthy but tastes incredibly vibrant.
Ingredients
- 2 large cucumbers (English or Persian preferred)
- 1/2 small red onion, thinly sliced
- 1/2 cup white wine vinegar or apple cider vinegar
- 1/4 cup water
- 2 tbsp granulated sugar
- 1 tsp salt
- 2 tbsp fresh dill, chopped
How to make it
- Slice the cucumbers into very thin rounds. For the best texture, use a mandoline slicer set to 1/8 inch. If using standard cucumbers, you may want to partially peel them in stripes to leave some decorative green skin.
- Place the sliced cucumbers and red onions in a large glass bowl. Using glass is important because the vinegar can react with certain metals, affecting the flavor.
- In a small jar or measuring cup, whisk together the vinegar, water, sugar, and salt until the sugar is fully dissolved. This creates a quick-pickling brine.
- Pour the brine over the cucumbers and onions. Toss well to ensure every slice is submerged or coated.
- Stir in the fresh dill. Fresh herbs are non-negotiable here; dried dill simply won’t provide that bright, grassy finish that makes this salad famous.
- Cover and refrigerate for at least 1 hour before serving. This ‘marinating’ time allows the cucumbers to soften slightly while absorbing all the tangy flavors of the brine.
How to marinate grilled chicken
Why we love this
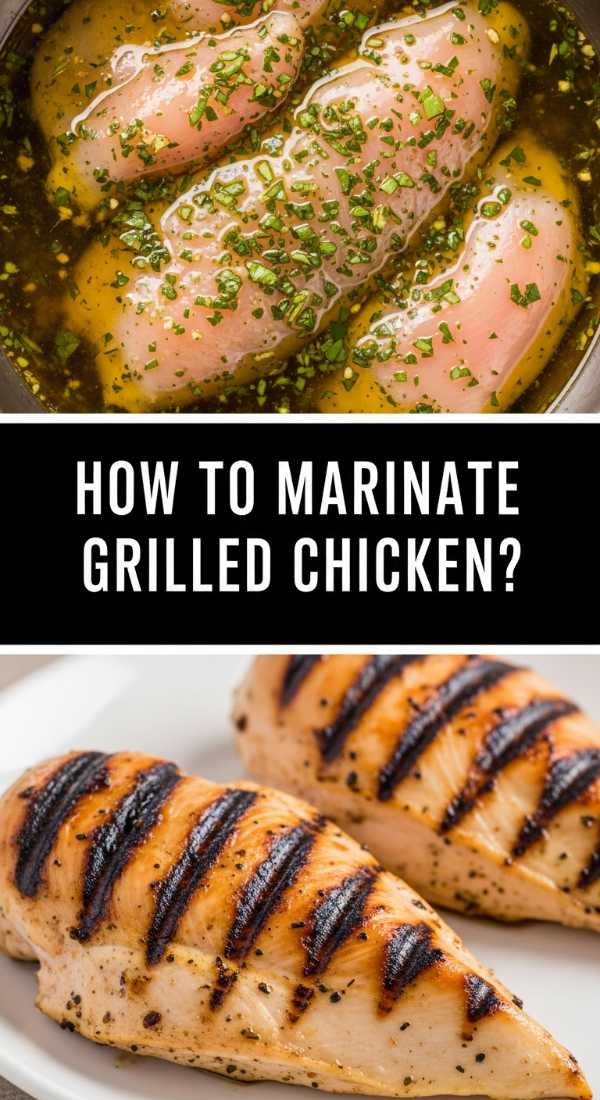
Perfectly marinated grilled chicken is the backbone of a great food board. The marinade doesn’t just sit on the surface; it penetrates the meat, ensuring every bite is succulent and infused with garlic, herbs, and citrus. When it hits the grill, the sugars in the marinade caramelize into beautiful char marks that smell like a high-end steakhouse. It’s the kind of chicken that is so flavorful it doesn’t even need a dipping sauce, though it plays beautifully with everything from caesar dressing to fresh salsa.
Ingredients
- 2 lbs chicken thighs or breasts
- 1/4 cup olive oil
- 1/4 cup lemon juice (freshly squeezed)
- 3 cloves garlic, minced
- 1 tbsp dried oregano
- 1 tsp smoked paprika
- Salt and black pepper to taste
How to make it
- Place your chicken in a large gallon-sized zip-top bag. If using chicken breasts, use a meat mallet to pound them to a uniform thickness; this ensures even cooking on the grill so the thin ends don’t dry out.
- In a small bowl, whisk together the olive oil, lemon juice, garlic, and spices. The acid in the lemon juice tenderizes the proteins, while the oil carries the fat-soluble flavors of the herbs deep into the meat.
- Pour the marinade into the bag with the chicken. Squeeze out as much air as possible before sealing, which forces the liquid into contact with the entire surface of the meat.
- Massage the bag for a minute to ensure the garlic and herbs are evenly distributed.
- Refrigerate for at least 4 hours, but ideally 8-12 hours. Do not exceed 24 hours, as the acid in the lemon juice can eventually start to break down the texture of the chicken, making it mushy.
- Remove the chicken from the fridge 20 minutes before grilling to take the chill off. Grill over medium-high heat until the internal temperature reaches 165°F (74°C).
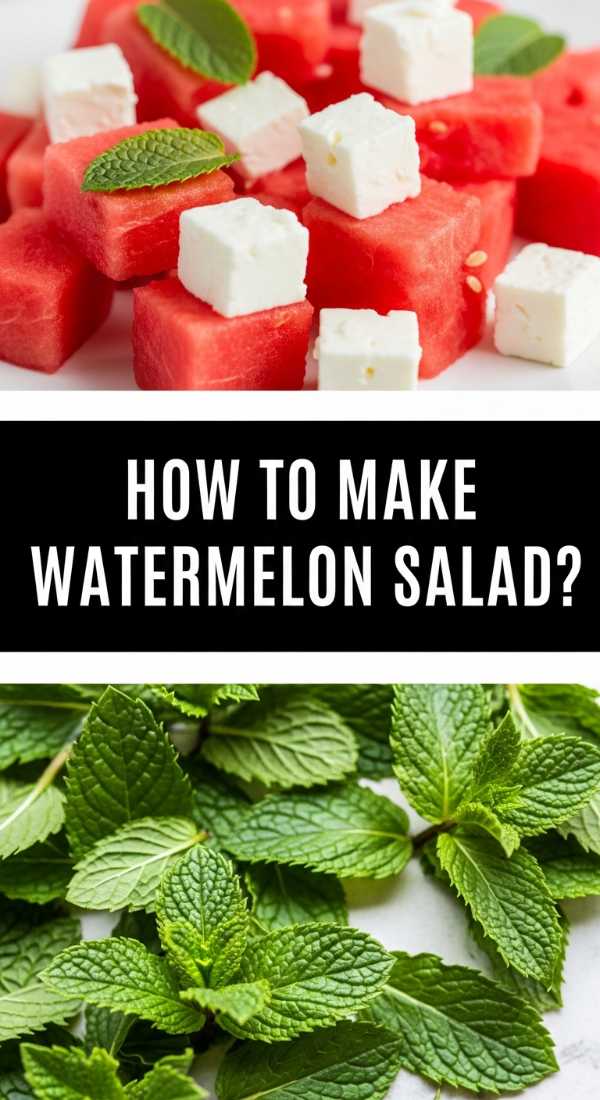
How to make watermelon salad
Why we love this
Watermelon salad is a masterclass in the ‘sweet and salty’ flavor profile. The icy, hydrating crunch of the watermelon is interrupted by the creamy, briny pop of feta cheese, creating a sensation that is surprisingly complex. When you add a leaf of fresh mint, it adds a cooling peppery note that ties the whole dish together. It is visually stunning on a board—the bright pink against the white cheese and green mint looks like a summer sunset. It’s light, sophisticated, and the ultimate crowd-pleaser.
Ingredients
- 6 cups seedless watermelon, cubed and chilled
- 1/2 cup feta cheese, crumbled (use a block for better quality)
- 1/4 cup fresh mint leaves, torn
- 1/2 red onion, sliced into paper-thin half moons
- 2 tbsp lime juice
- 1 tbsp extra virgin olive oil
- A pinch of flaky sea salt
How to make it
- Start with a very cold watermelon. The temperature is key to the refreshing nature of this salad. Cube the fruit into 1-inch pieces, removing any stray seeds.
- Place the watermelon in a wide, flat serving platter rather than a deep bowl. This prevents the weight of the fruit from crushing the bottom pieces and keeps the feta from getting lost.
- Soak your sliced red onions in a bowl of ice water for 10 minutes. This ‘shocks’ them, removing the harsh ‘bite’ and leaving them crisp and mild. Pat them dry before adding to the salad.
- Scatter the onions and torn mint leaves over the watermelon. Tearing the mint by hand rather than chopping it with a knife prevents the edges from bruising and turning black.
- Drizzle the lime juice and olive oil over the top. The oil adds a luxurious mouthfeel that balances the water-heavy fruit.
- Finish by crumbling the feta over the top and adding a tiny pinch of flaky sea salt. The salt actually makes the watermelon taste sweeter while highlighting the savoriness of the cheese.
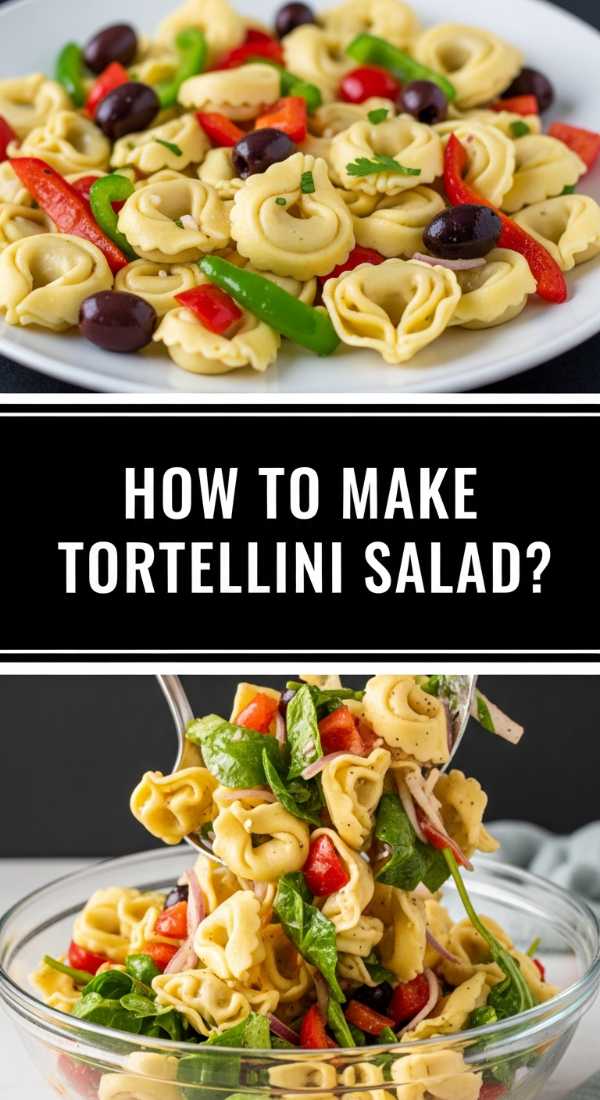
How to make tortellini salad
Why we love this
Tortellini salad is the heartier, more sophisticated cousin of the classic pasta salad. Instead of plain noodles, you have tender, cheese-filled pillows that soak up the herb-heavy Italian dressing. It’s a riot of colors and textures—salty salami, juicy tomatoes, and snappy peppers. The aroma of dried oregano and garlic oil is intoxicating. It’s a dish that actually gets better as it sits, making it the perfect ‘make-ahead’ element for a large food board that needs to stay fresh for hours.
Ingredients
- 20 oz refrigerated cheese tortellini
- 1 cup cherry tomatoes, halved
- 1/2 cup mini pepperoni or diced salami
- 1/2 cup pearls of fresh mozzarella
- 1/4 cup black olives, sliced
- 1/2 cup Italian vinaigrette (zesty style)
- 1/4 cup chopped fresh parsley
How to make it
- Boil a large pot of heavily salted water. Cook the refrigerated tortellini according to the package instructions, but aim for ‘al dente.’ Overcooked tortellini will fall apart when tossed with the other ingredients.
- Drain the pasta and immediately rinse it under cold running water. This stops the cooking process and removes the excess starch, preventing the pasta from sticking together in a clump.
- In a very large bowl, combine the cooled tortellini with the tomatoes, meat, mozzarella, and olives.
- Pour half of the Italian dressing over the mixture and toss gently. Using a rubber spatula instead of a spoon helps prevent tearing the delicate pasta shells.
- Cover and refrigerate for at least 2 hours. The pasta will ‘drink’ up the dressing during this time.
- Just before serving, pour the remaining half of the dressing over the salad and toss again. This ensures the salad looks glossy and tastes moist on the board. Garnish with plenty of fresh parsley for a pop of green.
The Art of the Simple Board
Creating these boards is less about being a chef and more about being an artist with your ingredients. By combining these recipes—some hot, some cold, some sweet, and some savory—you create a dining experience that feels abundant and thoughtful. Remember, the best part of a food board is the lack of rules! Swap ingredients, add your favorite crackers, and don’t be afraid to let things get a little messy. Happy hosting!