

We have all been there: the guest list is growing, the house is a mess, and the internal panic about what to serve is setting in. I used to spend hours hunched over complicated recipes, missing out on the laughter and the wine, only to emerge from the kitchen exhausted. But then, I discovered the magic of the food board—a simple, viral way to serve incredible flavors without the formal stress. It’s about creating a communal experience that feels luxurious yet remains perfectly laid-back.
Today, I’m sharing my secrets for the ultimate ‘Viral Simple Food Board’ lifestyle. From the sweet crunch of a summer pie to the savory char of grilled chicken, we are going to build a repertoire of dishes that look like a million bucks but allow you to actually enjoy your own party. Let’s reclaim the joy of hosting with these effortless, show-stopping staples that will have your guests reaching for their phones to snap a photo before they even take a bite.
How to make strawberry pie

Why we love this
There is nothing quite like the smell of a freshly baked strawberry pie wafting through the house on a warm afternoon. Imagine a flaky, buttery crust that shatters with every forkful, giving way to a glossy, ruby-red filling of sun-ripened berries. The aroma is a sweet mix of caramelized sugar and bright fruit, offering a texture that is both silky and substantial. It is the ultimate nostalgic comfort food, capturing the very essence of summer in a single, vibrant slice that feels like a hug for your taste buds.
Ingredients
- 2 pints fresh strawberries, hulled and halved
- 1 cup granulated sugar
- 3 tablespoons cornstarch
- 1/4 teaspoon salt
- 1 tablespoon lemon juice
- Double pie crust (homemade or store-bought)
- 1 egg (for egg wash)
How to make it
- Preheat your oven to 400°F (200°C). Roll out your bottom pie crust and fit it into a 9-inch pie plate, trimming the edges to leave a 1-inch overhang.
- In a large mixing bowl, gently toss the halved strawberries with sugar, cornstarch, salt, and lemon juice. Ensure the cornstarch is evenly distributed to prevent a runny filling; this acts as your thickener.
- Pour the strawberry mixture into the prepared bottom crust. Roll out the second crust and place it over the top, or cut it into strips to create a beautiful lattice pattern for a more professional look.
- Crimp the edges of the crust together to seal in the juices. Brush the top of the pastry with a beaten egg wash and sprinkle a little extra sugar for a sparkling, golden finish.
- Bake for 45 to 50 minutes. Look for a deep golden-brown crust and filling that is bubbling slowly through the vents. Allow it to cool completely for at least 3 hours to let the filling set before slicing.
How to make rotel dip

Why we love this
Rotel dip is the undisputed king of the snack board, offering a molten, velvety texture that is impossible to resist. The heat from the diced green chilies hits you just right, balanced perfectly by the creamy, salty richness of the melted cheese and the hearty crumble of seasoned meat. It’s an aromatic powerhouse—smoky, cheesy, and savory all at once. Whether you’re dipping a salty tortilla chip or a crisp vegetable, that first warm, gooey bite is pure party perfection.
Ingredients
- 1 lb ground beef or sausage
- 1 block (32 oz) Velveeta cheese, cubed
- 2 cans (10 oz each) Ro-Tel diced tomatoes with green chilies
- 1/2 teaspoon garlic powder
- Fresh cilantro for garnish
How to make it
- Place a large skillet over medium-high heat. Add the ground beef or sausage and cook until fully browned, breaking it into small crumbles with a wooden spoon. Drain the excess fat thoroughly to ensure the dip isn’t greasy.
- In a slow cooker or a heavy-bottomed pot over low heat, add the cubed Velveeta cheese. Low heat is critical here; high heat can cause the cheese to separate or scorch on the bottom.
- Add the cans of Ro-Tel (do not drain them, as the juices provide essential flavor and moisture) and the browned meat to the cheese.
- Stir the mixture frequently as the cheese melts. Once the mixture is completely smooth and incorporated, stir in the garlic powder.
- Keep the dip on a ‘warm’ setting for serving. If the dip becomes too thick over time, stir in a splash of milk or heavy cream to restore that perfect, dippable consistency.
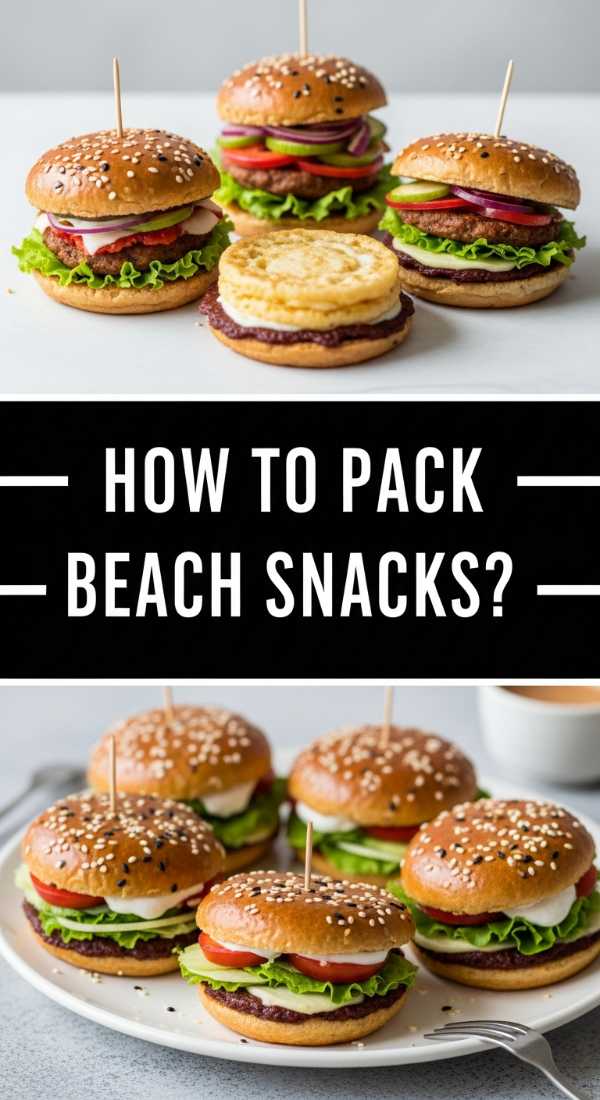
How to pack beach snacks
Why we love this
Packing the perfect beach snack board is an art form that transforms a simple day by the water into a luxury outing. There is something so satisfying about the contrast between the salty sea breeze and the refreshing, crisp snap of chilled grapes or cucumber slices. The textures should be varied—think crunchy nuts, chewy dried fruits, and firm cheeses that won’t melt instantly in the sun. It’s about light, hydrating bites that keep your energy up while you soak in the warmth of the sand.
Ingredients
- Hard cheeses (like aged cheddar or gouda)
- Pre-sliced cucumbers and bell peppers
- Grapes or frozen berries
- Pre-portioned nuts and crackers
- Individual hummus or dip cups
How to make it
- Start by selecting a high-quality insulated cooler bag. Use flat ice packs at the bottom to create a level, cold foundation for your food containers.
- Choose airtight, rigid containers to prevent your snacks from being crushed. Opt for a bento-style box to keep different textures separate—this prevents crackers from getting soggy from the moisture of the fruit.
- Pre-slice all your fruits and vegetables at home. To keep apples or pears from browning, give them a quick soak in salted water or lemon juice before packing.
- Layer your items strategically: put the heaviest, most moisture-resistant items at the bottom and the delicate crackers or chips at the very top.
- Pack snacks in individual portions to minimize the time the cooler stays open, preserving the internal temperature and keeping everything food-safe and refreshing.
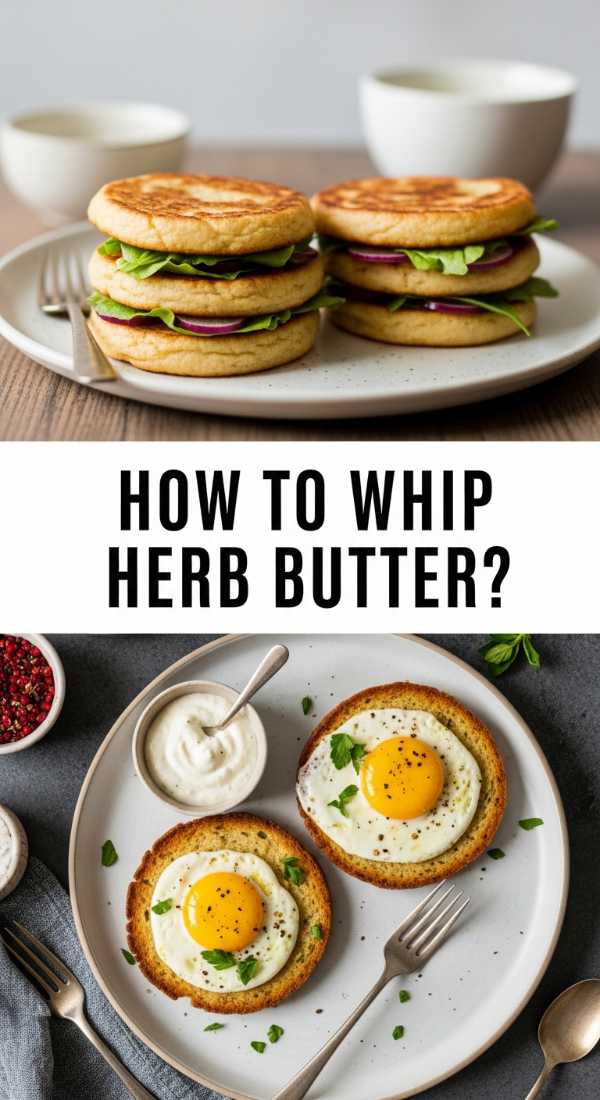
How to whip herb butter
Why we love this
Whipped herb butter is the secret weapon of every pro entertainer, adding a touch of gourmet elegance to even the simplest piece of bread. When you whip butter, it becomes light, airy, and cloud-like, melting the moment it touches a warm roll. The aroma is intoxicating—a blend of earthy rosemary, bright parsley, and pungent garlic that fills the room. It feels incredibly decadent on the tongue, offering a silky smooth mouthfeel infused with the garden-fresh flavors of summer herbs.
Ingredients
- 1 cup (2 sticks) unsalted butter, softened to room temperature
- 2 tablespoons fresh herbs (parsley, chives, rosemary, or thyme), finely minced
- 1 clove garlic, grated into a paste
- 1/2 teaspoon flaky sea salt
- 1/4 teaspoon black pepper
How to make it
- Begin with butter that is truly at room temperature. It should be soft enough that a finger leaves an indentation easily but not so warm that it is oily or melting.
- Place the butter in a medium mixing bowl. Using a hand mixer or a stand mixer fitted with the whisk attachment, beat the butter on medium-high speed for about 3 to 5 minutes.
- Watch for the visual cue: the butter will transition from a yellow hue to a pale, almost white color and will significantly increase in volume as air is incorporated.
- Reduce the mixer speed to low and fold in your finely minced herbs, garlic paste, salt, and pepper. Mixing on low ensures you don’t beat the air out of your fluffy creation.
- Transfer the whipped butter to a small serving ramekin. For the best presentation, use a spatula to create decorative swirls on top and garnish with a few extra herb sprigs before serving.
How to prep camping meals

Why we love this
Camping meals bring a rugged, smoky charm to the food board concept, turning outdoor dining into a true sensory event. There is an incredible primal joy in hearing the sizzle of food over an open flame and smelling the woodsmoke mingle with savory seasonings. Foil packs are our favorite because they lock in all the moisture, steaming the ingredients in their own juices until the vegetables are tender and the proteins are succulent. It’s simple, rustic, and deeply satisfying food that tastes better because it’s eaten under the stars.
Ingredients
- Protein of choice (chicken breast, shrimp, or sausage slices)
- Sturdy vegetables (potatoes, carrots, corn on the cob, zucchini)
- Olive oil or butter
- Heavy-duty aluminum foil
- Seasoning blend (cajun, lemon pepper, or garlic herb)
How to make it
- Cut your proteins and vegetables into uniform, bite-sized pieces. Uniformity is key here; it ensures that the potatoes are fully cooked at the exact same moment the chicken is finished.
- Tear off a large square of heavy-duty aluminum foil. Place your ingredients in the center, drizzle generously with olive oil or add a pat of butter, and season heavily.
- Fold the foil over the food and crimp the edges tightly to create a sealed pouch. This seal is vital to trap the steam that cooks the food and prevents juices from leaking into the fire.
- Place the packs on a grill grate over a steady campfire or directly on a bed of glowing hot coals (avoid the direct high flames, which will scorch the bottom).
- Cook for 20-30 minutes, flipping halfway through using tongs. To check for doneness, carefully open one pack—the potatoes should be fork-tender and the meat should reach a safe internal temperature.
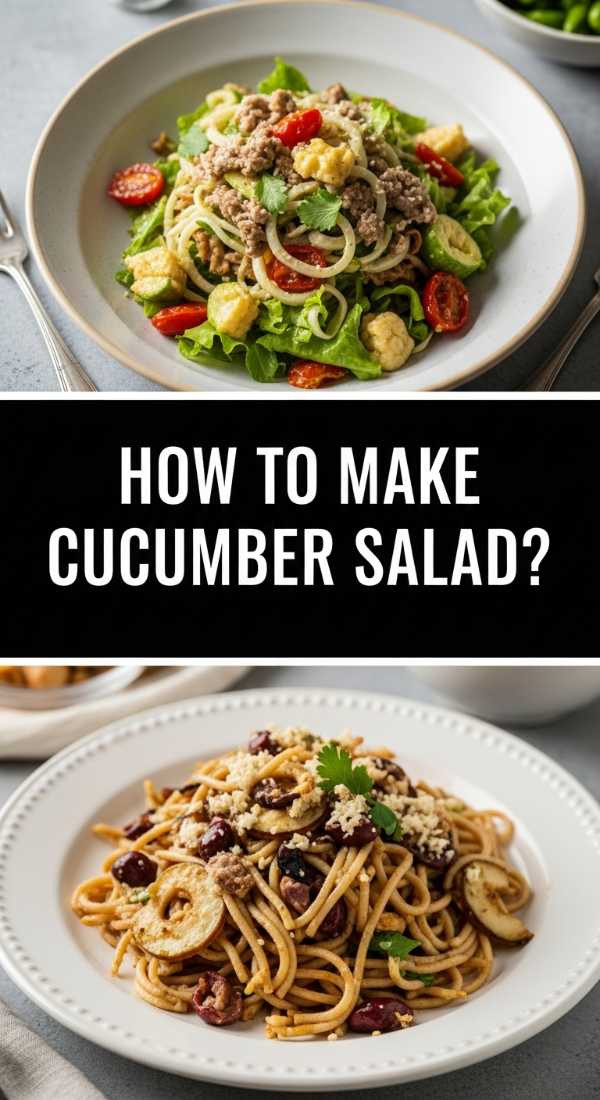
How to make cucumber salad
Why we love this
This cucumber salad is the ultimate palate cleanser—a crisp, refreshing explosion of tang and crunch that cuts through any heavy grilled meat. The visual appeal of translucent, paper-thin green slices swimming in a bright dressing is undeniably beautiful. You get that initial sharp hit of vinegar followed by the cooling wateriness of the cucumber and the bite of red onion. It smells like a garden after a rainstorm—fresh, herbaceous, and incredibly clean, making it a mandatory addition to any summer spread.
Ingredients
- 2 large English cucumbers, thinly sliced
- 1/2 red onion, thinly shaved
- 1/2 cup rice vinegar or apple cider vinegar
- 2 tablespoons sugar
- 1 teaspoon salt
- Fresh dill or toasted sesame seeds
How to make it
- Use a mandoline slicer to get the cucumbers and onions as thin as possible. Paper-thin slices allow the marinade to penetrate more deeply and provide a more delicate texture.
- Place the sliced cucumbers in a colander and sprinkle with a teaspoon of salt. Let them sit for 15 minutes to draw out excess moisture; this step is crucial to prevent your salad from becoming watery.
- While the cucumbers drain, whisk together the vinegar and sugar in a small bowl until the sugar is completely dissolved. This creates your pickling base.
- Pat the cucumbers dry with a paper towel and place them in a large bowl with the red onions. Pour the vinegar mixture over the top and toss to coat thoroughly.
- Cover and refrigerate for at least 30 minutes before serving. This resting time allows the flavors to meld. Garnish with fresh dill or sesame seeds right before placing on your food board.
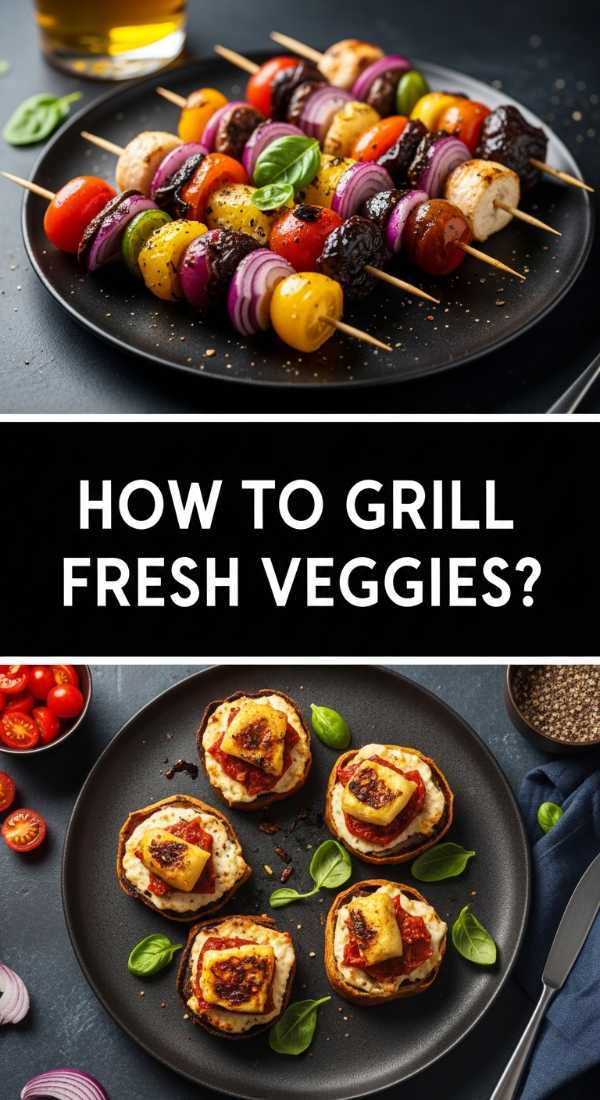
How to grill fresh veggies
Why we love this
Grilled vegetables are a masterclass in transformation, turning humble produce into caramelized, smoky jewels of flavor. The high heat of the grill coaxes out the natural sugars in peppers, asparagus, and zucchini, resulting in those beautiful, charred grill marks that add a bitter-sweet complexity. The texture remains slightly firm but tender, offering a satisfying bite that feels much more substantial than raw or boiled greens. The aroma of singed herbs and roasting vegetables is the quintessential scent of a backyard cookout.
Ingredients
- Assorted vegetables (bell peppers, asparagus, zucchini, red onion)
- 3 tablespoons olive oil
- 2 tablespoons balsamic vinegar
- Salt, pepper, and dried oregano
How to make it
- Preheat your grill to medium-high heat (about 400°F). While it heats, clean your grates thoroughly to ensure the vegetables don’t stick and to get clean char lines.
- Slice your vegetables into large, flat pieces. Larger surfaces areas are easier to flip and are less likely to fall through the grates into the fire.
- In a large bowl, whisk the olive oil, balsamic vinegar, and seasonings. Toss the vegetables in the mixture until they are lightly and evenly coated.
- Place the vegetables on the grill. Start with the denser items like onions and peppers, followed by quicker-cooking items like asparagus and zucchini.
- Grill for 3 to 5 minutes per side. You are looking for distinct char marks and a slight softening of the texture. Use tongs to flip them carefully and remove them the moment they become tender-crisp.
How to cook summer meals

Why we love this
Summer meals are all about ease and vibrancy, prioritizing fresh ingredients that require minimal time over a hot stove. Think of a colorful pasta salad or a cold grain bowl that looks like a rainbow on your plate. These dishes are meant to be light on the stomach but heavy on the flavor, featuring juicy tomatoes, creamy mozzarella, and zesty dressings. The joy lies in the versatility—you can prep these ahead of time, allowing you to spend your sunny hours by the pool rather than in the kitchen.
Ingredients
- 1 lb short pasta (fusilli or penne)
- Cherry tomatoes, halved
- Fresh mozzarella pearls
- Fresh basil leaves
- Vinaigrette (olive oil, lemon juice, honey, dijon mustard)
How to make it
- Bring a large pot of heavily salted water to a rolling boil. Cook the pasta according to the package instructions until it is “al dente.” This is critical for summer salads, as the pasta needs to hold its shape.
- Immediately drain the pasta and rinse it under cold running water. This “shocks” the pasta, stopping the cooking process and washing away excess starch so it doesn’t stick together.
- In a small jar, shake together your vinaigrette ingredients until they are emulsified (thickened and combined). Using a jar ensures the oil and acid don’t separate immediately.
- In a large bowl, combine the chilled pasta, tomatoes, mozzarella, and torn basil leaves. Pour the dressing over the top while the pasta is still slightly damp to help the flavors absorb.
- Toss everything together and let it sit for at least 20 minutes in the fridge. This allows the pasta to soak up the zesty dressing, making every bite a concentrated burst of summer flavor.
How to make spicy salsa

Why we love this
There is a world of difference between jarred salsa and a bowl of fresh, homemade spicy salsa. The aroma alone—a sharp mix of lime, cilantro, and roasted peppers—is enough to wake up your senses. It’s a texture game: the chunky tomatoes, the fine dice of the onions, and the smooth heat of the jalapeños working in harmony. Every chipful delivers a bright, acidic punch followed by a slow, warming heat that lingers just long enough to make you crave the next bite.
Ingredients
- 6 Roma tomatoes, diced
- 1 small white onion, finely minced
- 2 jalapeños (remove seeds for less heat), minced
- 1/2 cup fresh cilantro, chopped
- Juice of 2 limes
- Salt and cumin to taste
How to make it
- For a deeper flavor profile, you can char the tomatoes and jalapeños under a broiler for 5 minutes until the skins are blackened and blistered. If you prefer a fresh “pico” style, skip this and keep them raw.
- Finely dice your onions and jalapeños. To ensure the heat is evenly distributed, make sure these pieces are much smaller than your tomato chunks.
- Combine all the chopped vegetables in a large glass bowl. Using glass or ceramic is better than metal, as the acid in the tomatoes and lime can sometimes react with metallic surfaces.
- Add the lime juice, salt, and a pinch of cumin. Stir vigorously to incorporate the flavors and to help the tomatoes release some of their natural juices.
- Taste and adjust. If it’s too acidic, add a tiny pinch of sugar. If it’s too mild, add another minced jalapeño. Let the salsa sit for 30 minutes to allow the salt to draw out the flavors before serving.
How to grill juicy chicken

Why we love this
Perfectly grilled chicken is the holy grail of summer entertaining. We love it for that golden-brown, slightly crispy exterior that yields to an incredibly moist and tender interior. The scent of seasoned poultry meeting the hot iron grates is a signal that the party has truly started. It’s a versatile protein that carries the smoky essence of the grill while soaking up any marinade you throw at it, making it the perfect anchor for a Mediterranean or BBQ-themed food board.
Ingredients
- 4 boneless, skinless chicken breasts or thighs
- 1/4 cup olive oil
- 3 cloves garlic, smashed
- 1 tablespoon smoked paprika
- Salt and cracked black pepper
How to make it
- Pound the chicken breasts to an even thickness (about 3/4 inch) using a meat mallet. This ensures the entire piece cooks at the same rate, preventing the thin ends from drying out while the center is still raw.
- Marinate the chicken in the olive oil, garlic, and spices for at least 30 minutes, or up to 4 hours in the refrigerator. This infuses flavor and helps the exterior sear beautifully.
- Preheat your grill to medium-high. Clean and oil the grates. Place the chicken on the grill and leave it undisturbed for 5-6 minutes; this develops the crust that allows it to release naturally from the grate.
- Flip the chicken and cook for another 5-7 minutes. Use an instant-read meat thermometer to check for an internal temperature of 165°F (74°C). Pulling it at exactly this temp is the secret to juiciness.
- Transfer the chicken to a plate and tent it loosely with foil. Let it rest for at least 5 to 10 minutes before slicing. Resting allows the juices to redistribute through the meat instead of running out onto the board.
The Secret to Stress-Free Entertaining
At the end of the day, the goal of any gathering is connection. These food boards and simple recipes aren’t just about the food—they are about removing the barriers that keep us from spending time with the people we love. By mastering a few high-impact, low-effort dishes, you can host with a glass of wine in your hand and a smile on your face. So, grab a board, pick a few of these favorites, and start creating those viral moments in your own home!
Frequently Asked Questions
How do I keep my food board looking fresh for hours? Always place smaller bowls of dips and wet items first, then build around them. Keep your board out of direct sunlight and use ice packs hidden under napkins or decorative trays for items like cheese or shrimp. Also, keep extra garnishes like fresh herbs on hand to refresh the look halfway through the party!