
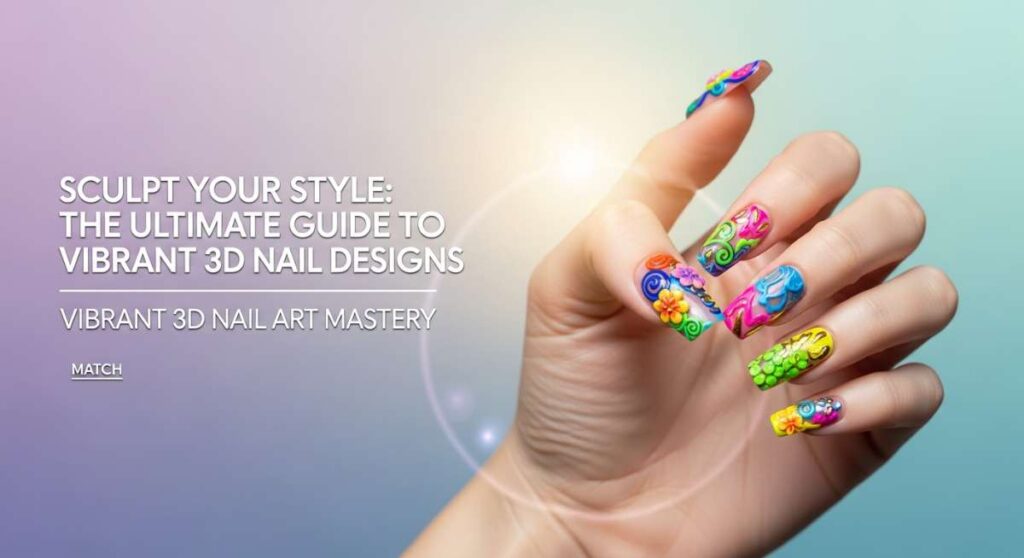
Sculpt Your Style: The Ultimate Guide to Vibrant 3D Nail Designs
Hello, my loves! Welcome back to our cozy little corner of the internet. Today, I want you to take a deep breath and imagine your hands as a canvas for your most vibrant, joyful dreams. There is something so healing about the rhythm of a brush and the sparkle of a fresh manicure, isn’t there? It’s like a soft, cloud-like embrace for your soul, reminding you that you deserve to shine.
We’re diving deep into the magical world of 3D nail art—the kind that pops, dances in the light, and makes you smile every time you reach for your morning latte. Whether you’re a seasoned pro or just starting your creative journey, I’m here to hold your hand and guide you through these colorful transformations. Let’s create some magic together!
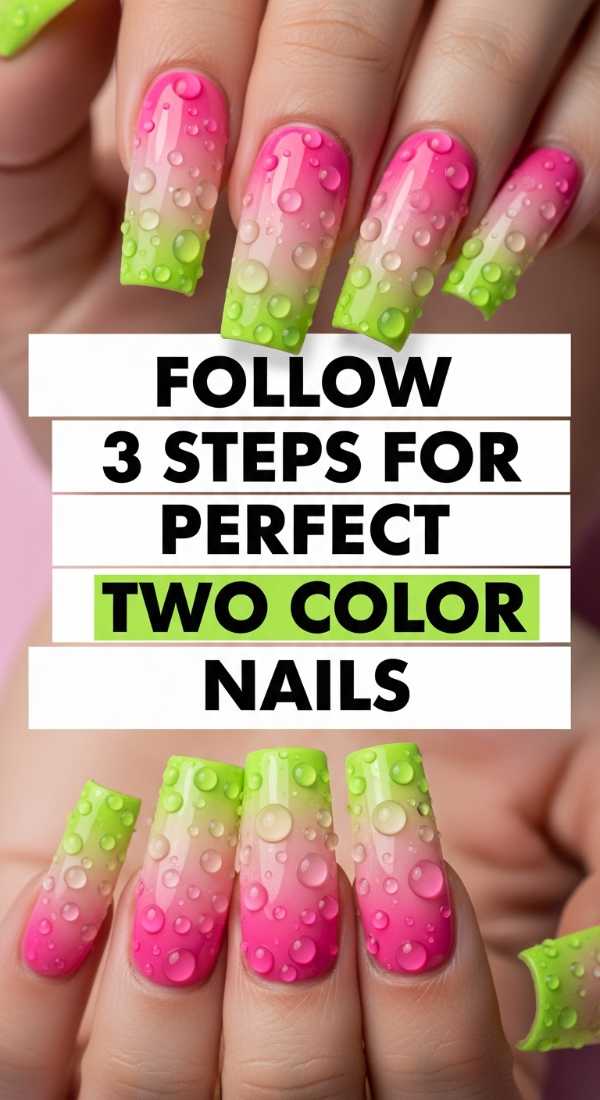
Follow 3 steps for perfect two color nails
Why to love this recipe:
This is the ultimate ‘quiet luxury’ approach to vibrant color. It’s simple, clean, and gives your hands a balanced, artistic look without being overwhelming. It’s like a soft conversation between two beautiful hues.
Essential Ingredients:
- Soft Peach Gel Polish
- Deep Terracotta Gel Polish
- Precision Detail Brush
- High-shine Top Coat
How to Prepare:
- Apply your base color to the thumb, index, and middle fingers.
- Apply the contrasting hue to your ring and pinky fingers.
- Use a detail brush to add a tiny dot of the opposite color at the base of each nail for a connected look.
Budget Range
- Essie Gel Couture ($13)
- OPI Infinite Shine ($14)
- Zoya Professional Lacquer ($12)
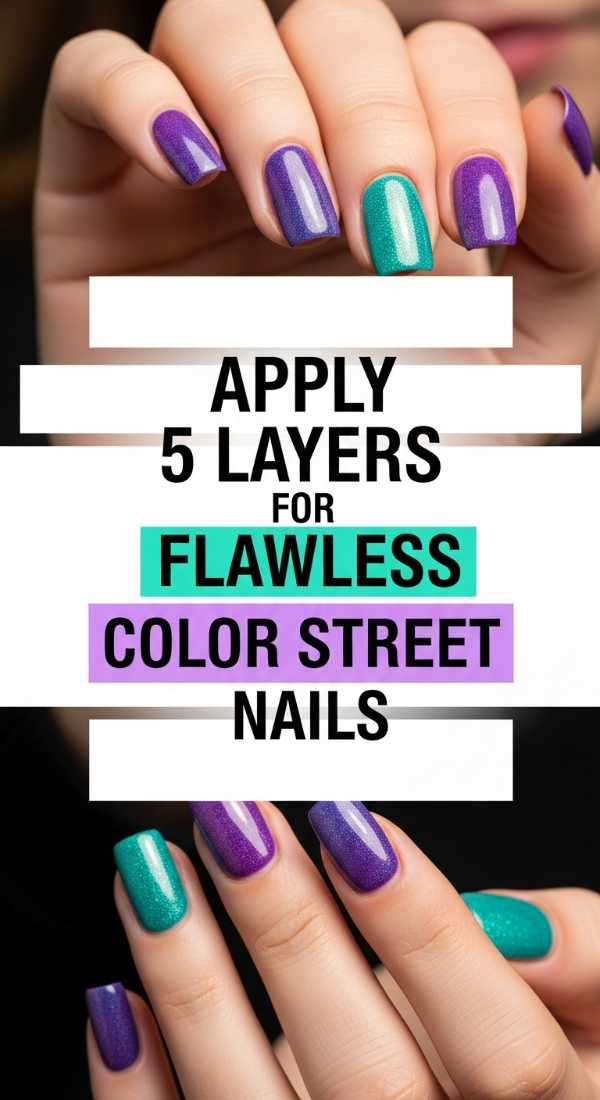
Apply 5 layers for flawless color street nails
Why to love this recipe:
Sometimes we need beauty that keeps up with our busy lives! This layered approach ensures your dry-polish strips look deep, dimensional, and stay chip-free through all those warm hugs and hard work.
Essential Ingredients:
- Nail Prep Pads
- Color Street Solids
- Color Street Glitter Overlays
- Clear Protective Top Strip
- Glass Nail File
How to Prepare:
- Start with a clean, prepped nail surface using an alcohol pad.
- Apply a solid base strip for rich pigmentation.
- Layer a glitter overlay strip for that 3D depth.
- Smooth out any air bubbles with a rubber cuticle pusher.
- Finish with a clear top strip to seal the edges perfectly.
Budget Range
- Color Street Mainline Sets ($11-$14)
- Glass File by Revlon ($6)
- Burt’s Bees Cuticle Cream ($7)
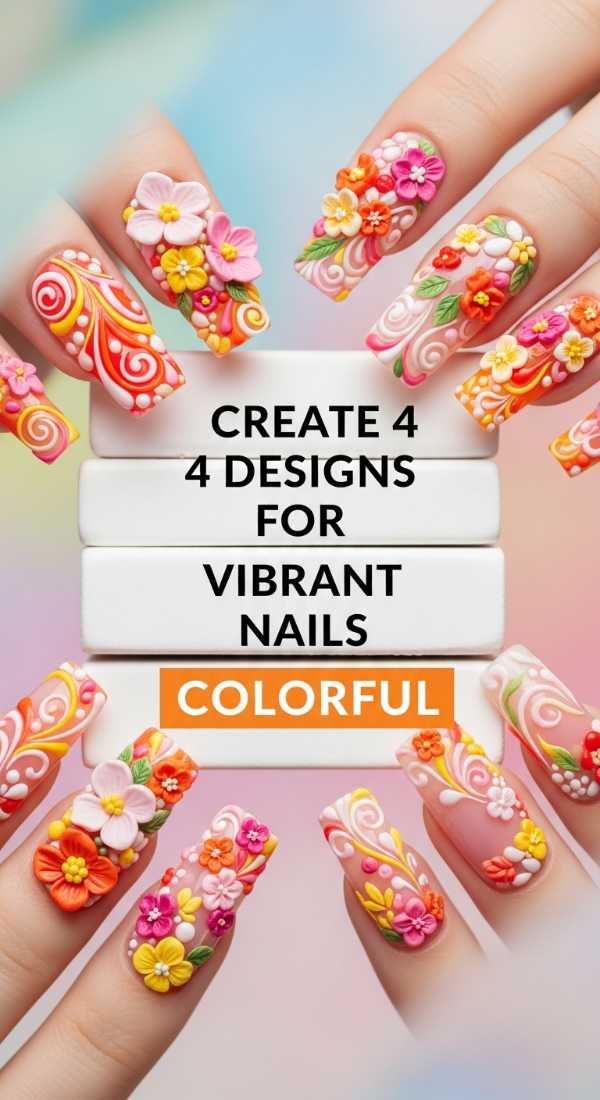
Create 4 designs for vibrant nails colorful
Why to love this recipe:
This is all about expressing the multi-faceted queen that you are! By mixing four distinct patterns, you create a story on your fingertips that feels curated and high-fashion.
Essential Ingredients:
- Neon Pink Polish
- Electric Blue Polish
- Striper Brush
- Dotting Tool
- Matte Top Coat
How to Prepare:
- Paint two nails with a bold checkerboard pattern using your two brightest colors.
- On the third nail, create delicate 3D swirls using a thick builder gel.
- On the fourth, use a dotting tool to create a ‘confetti’ effect.
- Leave the thumb as a solid, high-impact neon statement.
Budget Range
- Modelones Liner Gel Set ($15)
- Beetles Neon Gel Polish Kit ($20)
- Saviland 5-in-1 Builder Gel ($12)
Mix 6 shades for stunning multicolor nails

Why to love this recipe:
Why choose one color when you can have the whole rainbow? This approach is a celebration of diversity and joy, perfect for when you need a little pick-me-up during your week.
Essential Ingredients:
- Primary Color Gel Set (Red, Blue, Yellow)
- White and Black Mixers
- Mixing Palette
- Fine Liners
How to Prepare:
- Mix your primary colors on a palette to create six unique, custom shades.
- Apply one unique shade to each finger on one hand.
- On the sixth (the thumb of your other hand), create a marble effect using all six.
- Cure each layer thoroughly to keep colors crisp.
Budget Range
- Makartt Palette & Spatula ($8)
- AIMEILI Gel Polish Starter Kit ($25)
- Rosalind Mini Gel Colors ($2/each)
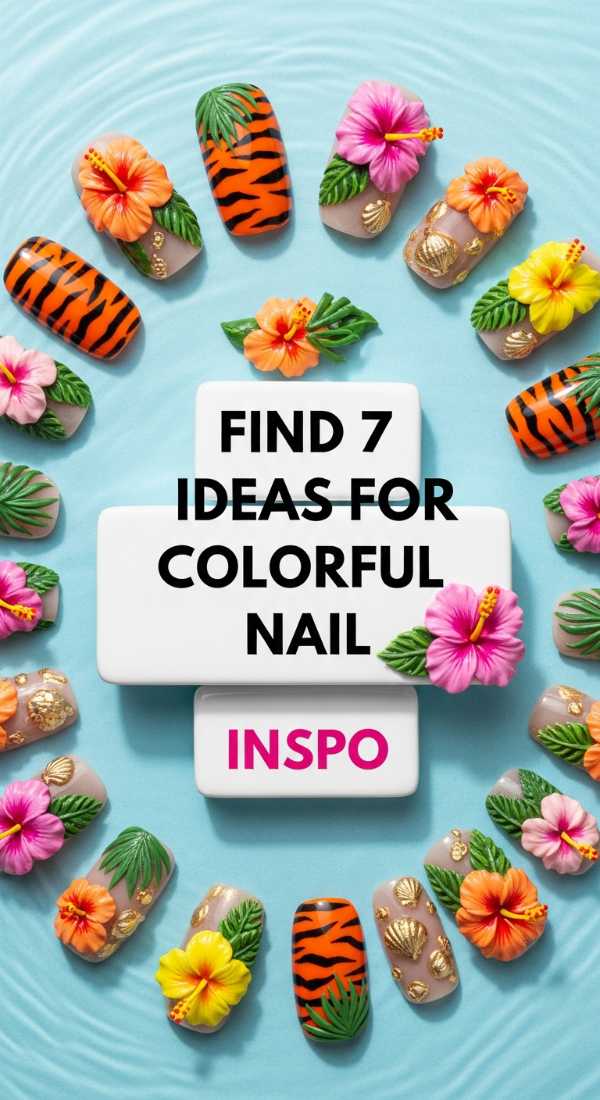
Find 7 ideas for colorful nail inspo
Why to love this recipe:
Inspiration is the fuel for our creativity, my loves. Having a library of ideas ready helps you move past ‘artist’s block’ and into a state of flow and joy.
Essential Ingredients:
- Pinterest Board Access
- Nail Art Stickers
- Gold Foil Flakes
- Dried Pressed Flowers
How to Prepare:
- Look for 7 themes: Botanical, Celestial, Geometric, Retro, Minimalist, Animal Print, and Impressionist.
- Sketch one element from each onto a practice tip.
- Combine your favorite three elements into your final 3D design.
Budget Range
- KADS Nail Art Stickers ($5)
- Born Pretty Gold Foil ($4)
- Tifara Beauty Practice Tips ($9)
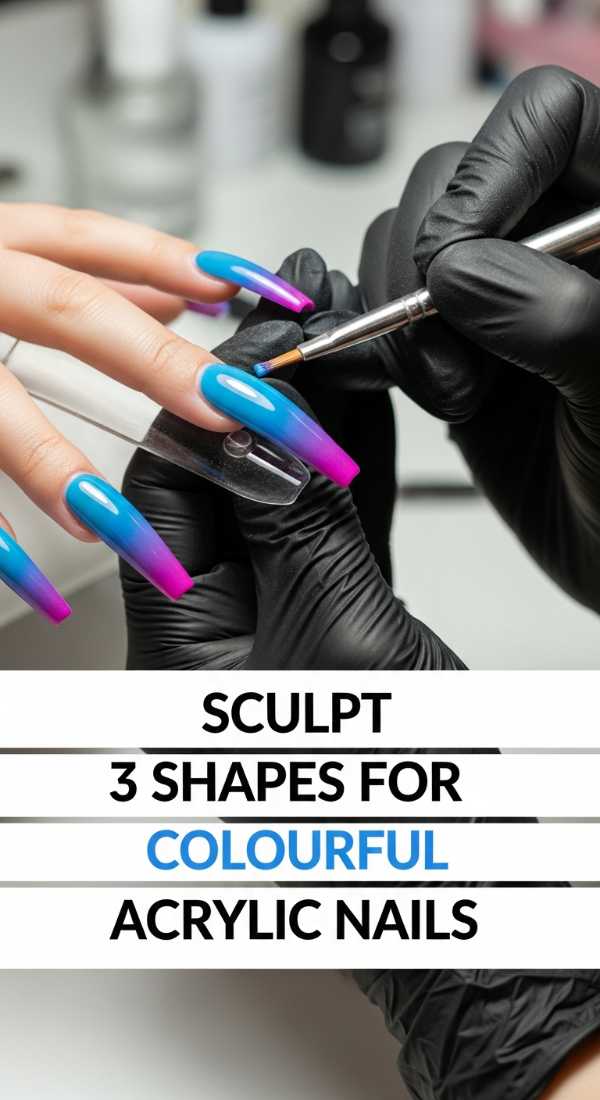
Sculpt 3 shapes for colourful acrylic nails
Why to love this recipe:
The architecture of the nail is just as important as the color! Sculpting different shapes allows you to play with how light hits your vibrant 3D elements.
Essential Ingredients:
- Acrylic Powder (Clear and Tinted)
- Monomer
- Acrylic Brush (Size 8 or 10)
- Nail Forms
How to Prepare:
- Sculpt a classic Coffin shape for a modern, sleek canvas.
- Try an Almond shape on the middle fingers for softness.
- Create a Square edge on the pinky for a bold structural contrast.
Budget Range
- Mia Secret Acrylic System ($22)
- Young Nails Speed Clear ($18)
- Pana Professional Acrylic Brush ($15)
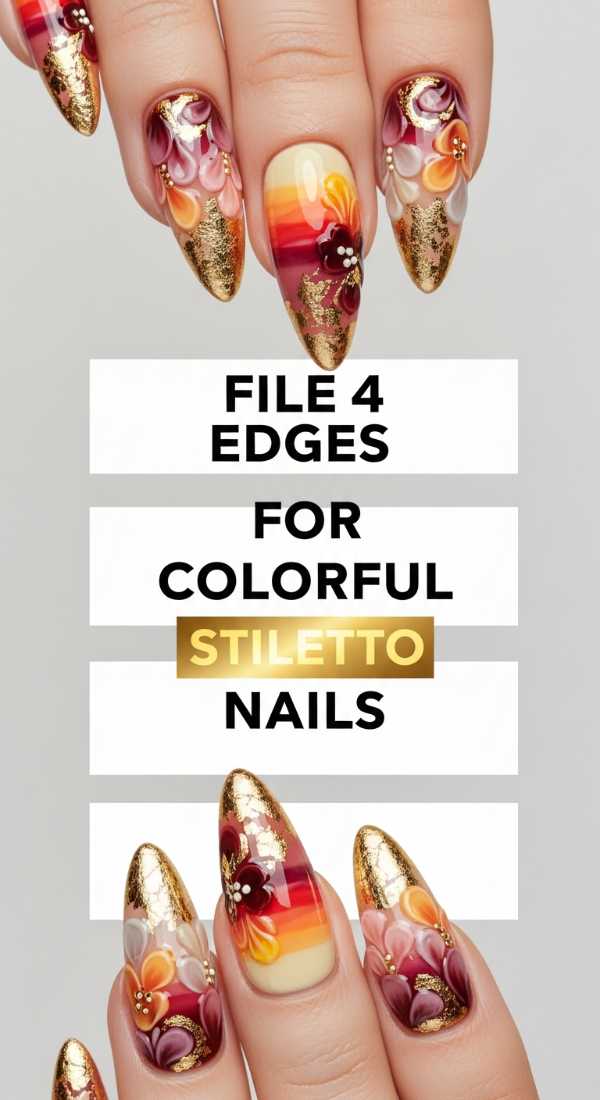
File 4 edges for colorful stiletto nails
Why to love this recipe:
Stiletto nails are fierce and fabulous! Getting the edges just right provides the perfect ‘point’ for your 3D charms and vibrant gradients to converge.
Essential Ingredients:
- 100/180 Grit File
- Buffing Block
- Cuticle Oil
- Vibrant Violet Polish
How to Prepare:
- Find the center point of your nail tip.
- File the left edge at a 45-degree angle toward the center.
- File the right edge to mirror the left perfectly.
- Soften the very tip just slightly to prevent snapping while keeping the sharp aesthetic.
Budget Range
- Flowery Blue Files ($5 for 10)
- Cuccio Revitalize Oil ($10)
- Sally Hansen Insta-Dri ($6)
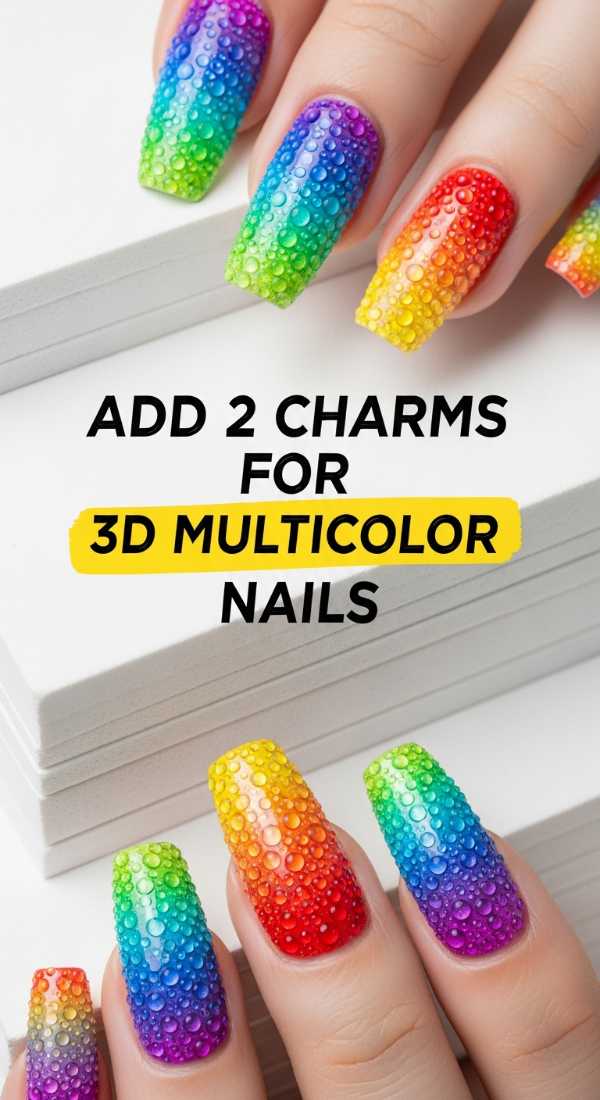
Add 2 charms for 3D multicolor nails
Why to love this recipe:
Charms are like jewelry for your nails! Adding just two carefully placed pieces elevates a simple colorful manicure into a 3D masterpiece that catches everyone’s eye.
Essential Ingredients:
- Resin Butterfly Charms
- Swarovski Crystals
- Nail Charm Glue (UV Cure)
- Wax Picker Tool
How to Prepare:
- Apply a small bead of UV glue to the center of the ring finger.
- Place a large butterfly charm and cure.
- On the thumb, place a single crystal at the cuticle for a subtle sparkle.
Budget Range
- Makartt Rhinestone Glue ($9)
- EBANKU Nail Art Charms ($8)
- Dual-ended Wax Pen ($6)
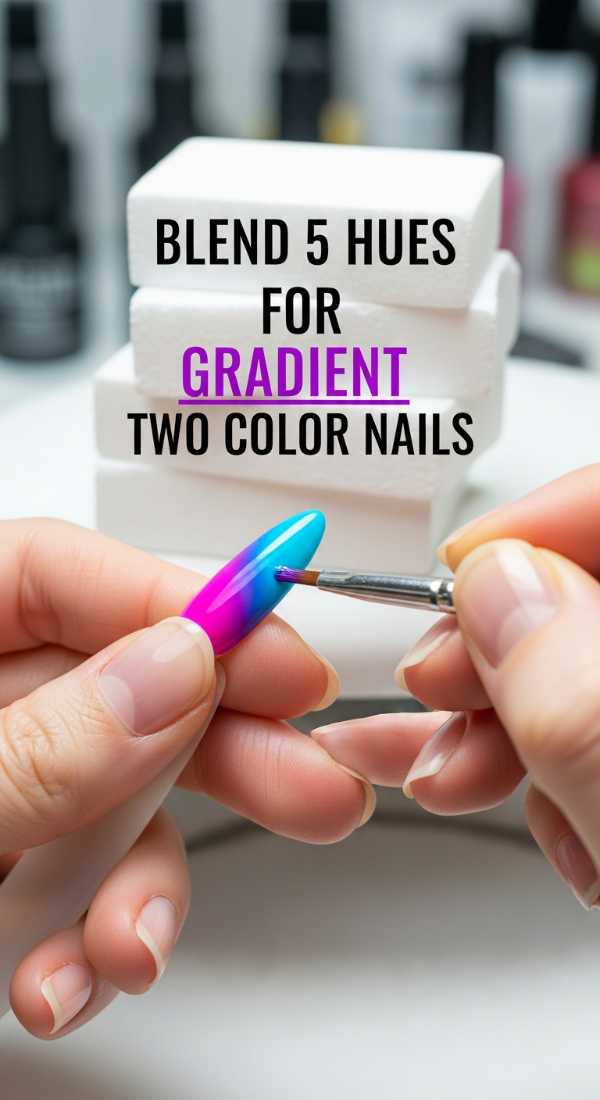
Blend 5 hues for gradient two color nails
Why to love this recipe:
This is where the magic happens. Blending five transition hues between two main colors creates a sunset effect on your nails that is simply breathtakingly soft.
Essential Ingredients:
- Ombre Sponges
- Liquid Latex (Skin Barrier)
- Sunset Orange Polish
- Deep Purple Polish
How to Prepare:
- Apply liquid latex around your cuticles.
- Paint the five transition shades onto a makeup sponge in horizontal lines.
- Dab the sponge onto the nail repeatedly until the blend is seamless.
- Peel the latex and seal with a glossy top coat.
Budget Range
- Pueen Latex Tape ($9)
- Winstonia Berry Wine Sponges ($7)
- Holo Taco Linear Holo ($14)
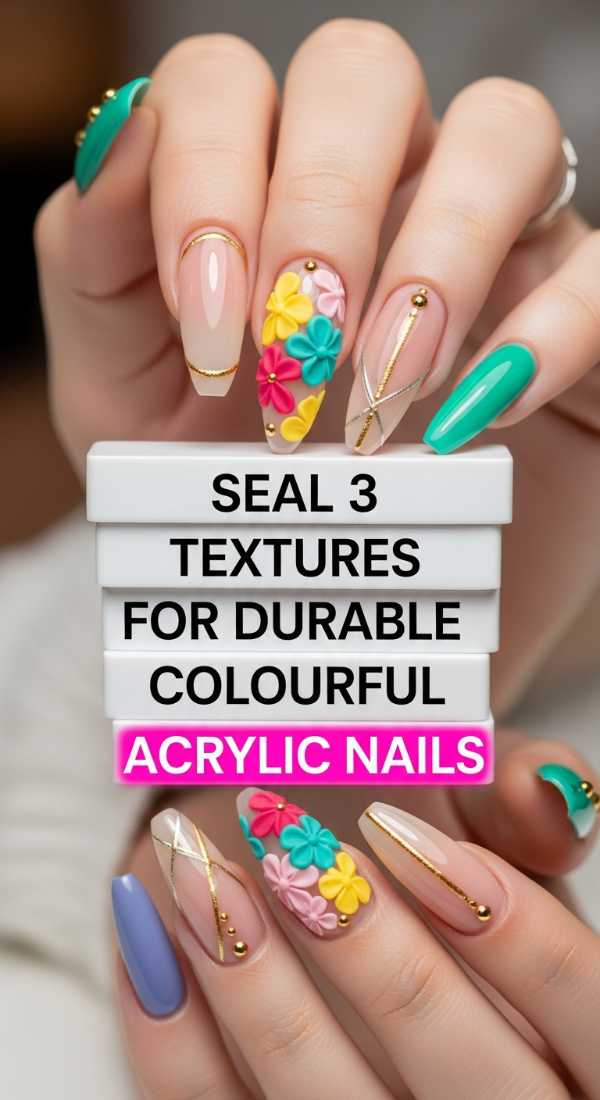
Seal 3 textures for durable colourful acrylic nails
Why to love this recipe:
Texture is the secret ingredient of 3D art. Mixing matte, gloss, and sugar effects makes your colorful nails feel like a tactile piece of art you can’t stop touching.
Essential Ingredients:
- Matte Top Coat
- High-gloss Top Coat
- Fine Clear Glitter (Sugar powder)
- UV Lamp
How to Prepare:
- Paint the base in a vibrant teal and cure.
- Apply matte top coat to the left half of the nail.
- Apply gloss to the right half.
- While the gloss is wet, sprinkle the sugar powder over the center line for a 3D textured stripe.
Budget Range
- Gelish Matte Top It Off ($15)
- Kupa Ultra Gloss ($20)
- Artistic Nail Design Sugar Powder ($12)
A Final Note of Sparkle
My loves, I hope this guide leaves you feeling inspired and ready to paint your world with a little more color. Remember, there are no mistakes in art—only ‘happy accidents’ and new opportunities to add more glitter! Your hands do so much for you; let them be a source of joy and a reflection of the beautiful light you carry inside. Go forth and sculpt your style with confidence and a warm heart.