
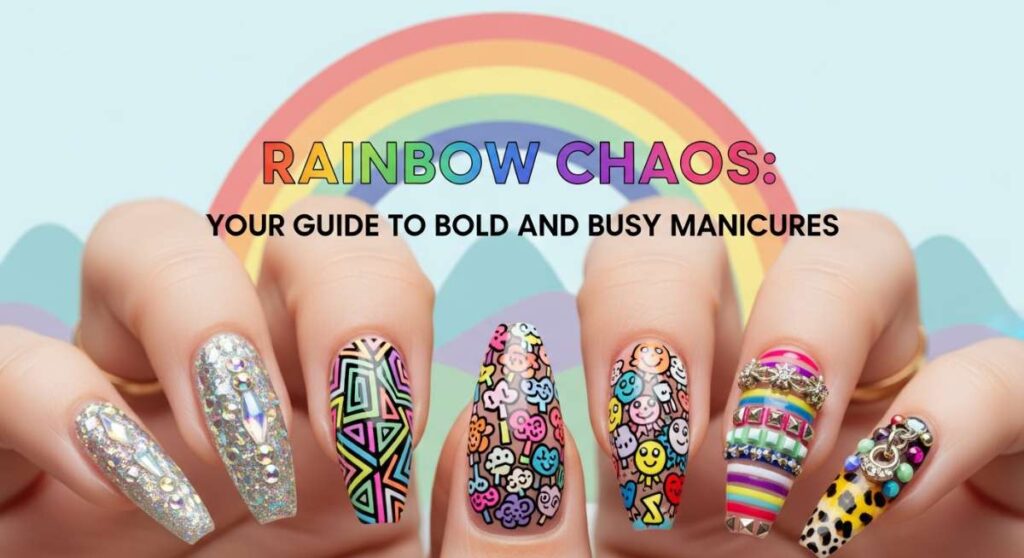
Rainbow Chaos: Your Guide to Bold and Busy Manicures
Hello my beautiful loves! Have you ever looked down at your hands and felt like they were missing a little bit of the magic that lives inside your soul? I know I have. There’s a certain kind of soft, radiant joy that comes from seeing a splash of color every time you type an email or reach for your morning matcha. It’s like a tiny party that only you were invited to, and trust me, you deserve to be the guest of honor.
Today, we’re diving headfirst into the world of maximalist nail art. We’re moving past the ‘clean girl’ aesthetic and embracing what I like to call ‘Rainbow Chaos.’ It’s about more than just paint; it’s about self-expression, playfulness, and giving yourself permission to be a little bit ‘too much’ in the best way possible. Grab a cozy blanket, a warm cup of tea, and let’s explore how to turn your fingertips into your favorite accessory.
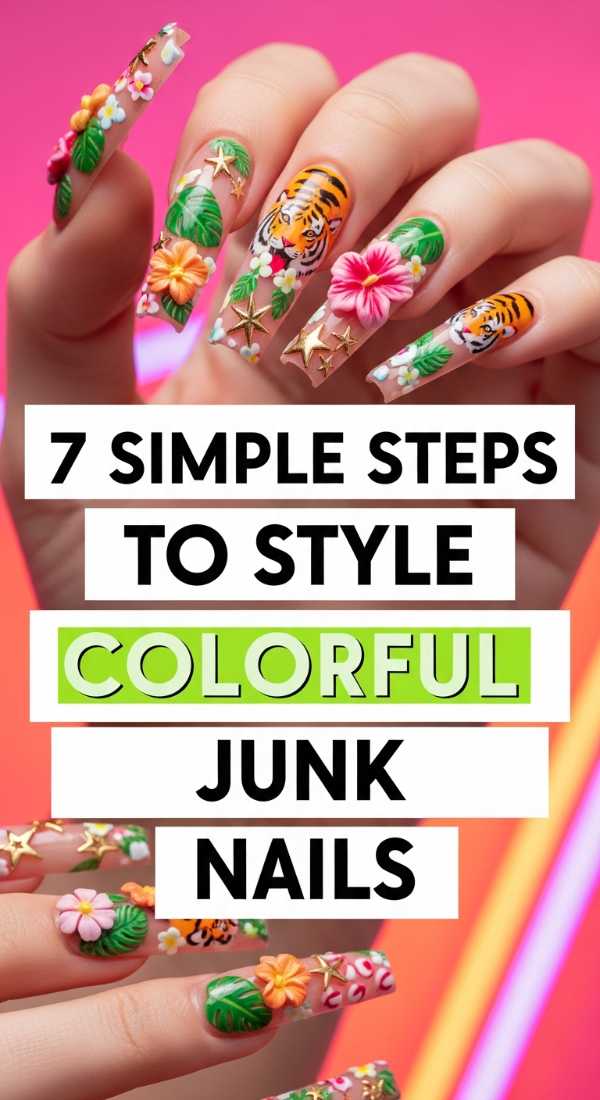
7 simple steps to style colorful junk nails [ID:0]
Why to love this recipe:
Oh, my loves, there is something so incredibly freeing about ‘junk nails.’ It’s about taking every little charm, every tiny spark of joy, and letting it live right on your fingertips. It’s messy, it’s busy, and it’s a beautiful reflection of a life well-lived and loved.
Essential Ingredients:
- Clear builder gel or nail glue
- Assorted 3D charms (bears, hearts, bows)
- Tiny rhinestones and pearls
- A mix of neon nail polishes
- Fine-tipped tweezers
How to Prepare:
- Apply a vibrant base color to each nail and let it dry completely.
- Apply a thick dollop of builder gel or strong nail glue to the center of the nail.
- Place your largest ‘junk’ piece (like a resin bear) into the gel.
- Use tweezers to nestle smaller pearls and gems around the main charm.
- Flash cure or hold in place until set.
- Fill in any tiny gaps with silver or gold micro-beads.
- Seal the edges with a thick top coat, avoiding the top of the charms to keep their texture.
Budget Range
- Makartt Nail Rhinestone Glue ($8)
- Bulk Resin Nail Charms from Amazon ($12)
- Beetles Gel Polish Pastel Set ($15)
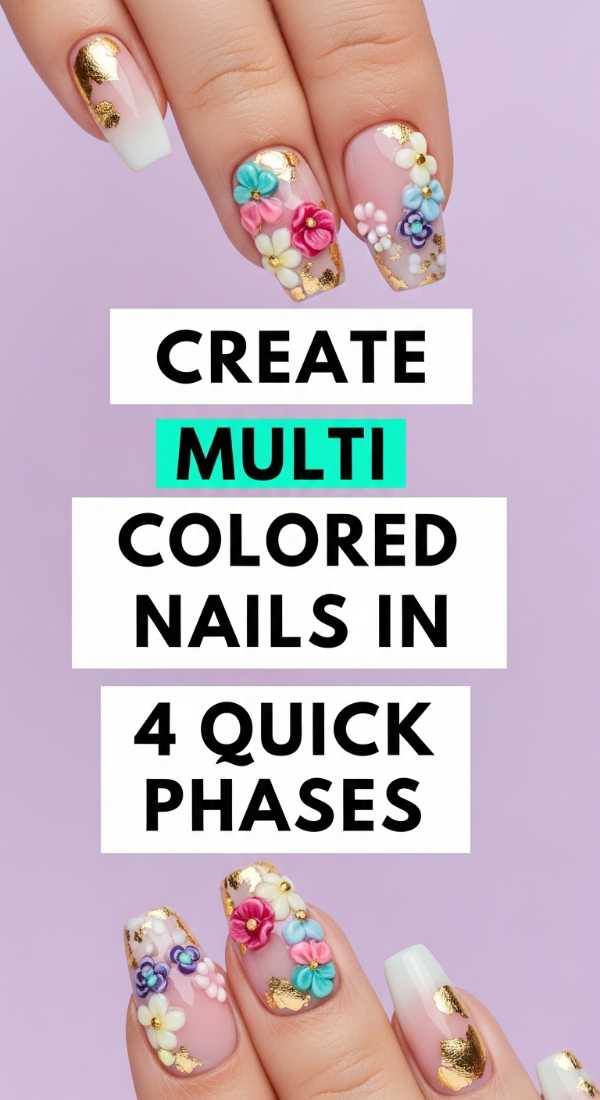
Create multi colored nails in 4 quick phases [ID:1]
Why to love this recipe:
Sometimes we just can’t choose one color, and you know what? We shouldn’t have to! This technique is like a soft hug for your indecisiveness, turning a ‘this or that’ choice into a ‘this and that’ masterpiece.
Essential Ingredients:
- 5-10 different polish shades
- Nail surface cleanser
- Quick-dry top coat
How to Prepare:
- Phase 1: Prep the canvas by buffing and cleansing each nail for maximum stick.
- Phase 2: The Selection—choose a spectrum of colors (like a sunset or a meadow).
- Phase 3: The Application—paint each finger a different shade, moving from thumb to pinky.
- Phase 4: The Seal—apply a high-shine top coat to unify the different colors under one glossy finish.
Budget Range
- Sinful Colors Nail Polish ($2 each)
- Seche Vite Dry Fast Top Coat ($9)
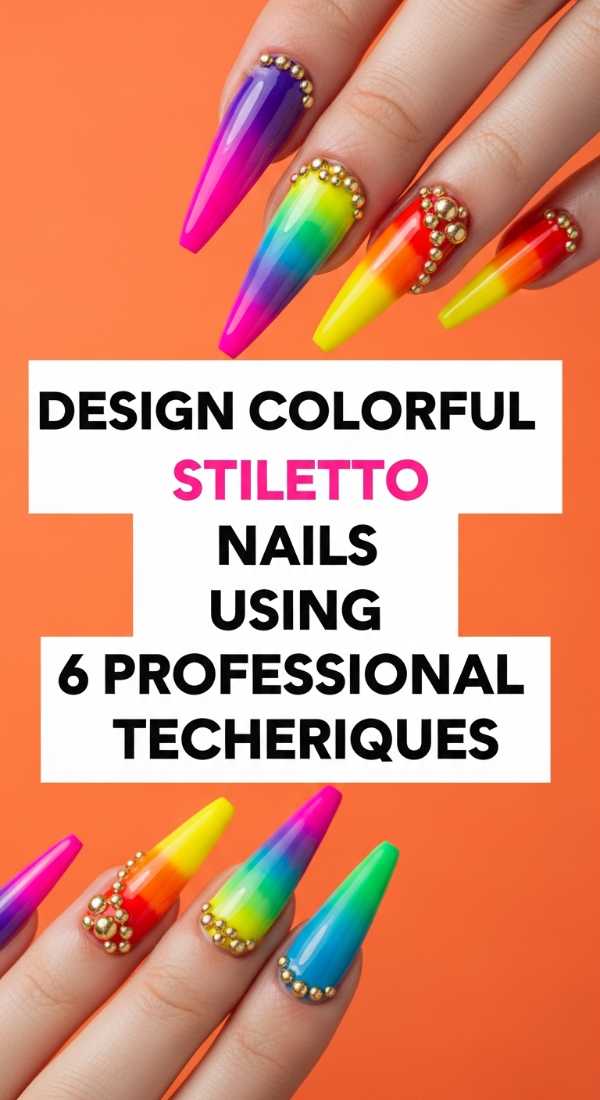
Design colorful stiletto nails using 6 professional techniques [ID:2]
Why to love this recipe:
Stiletto nails are for my loves who aren’t afraid to take up space. They are sharp, sophisticated, and when paired with bold colors, they become a true statement of power and grace.
Essential Ingredients:
- Stiletto nail tips or forms
- Acrylic powder (vibrant shades)
- Monomer
- Professional nail file (100/180 grit)
- Buffer block
How to Prepare:
- Technique 1: Tip Placement—ensure the stiletto tip is perfectly centered.
- Technique 2: The Apex—build a strong center point with acrylic to prevent breakage.
- Technique 3: Tapering—file the sidewalls inward to sharpen the point.
- Technique 4: Color Blocking—use different acrylic beads to create sharp color divisions.
- Technique 5: Refinement—buff the surface until it’s smooth as glass.
- Technique 6: The Shine—apply a non-wipe gel top coat for that salon-quality glow.
Budget Range
- Mia Secret Acrylic Powder Multi-pack ($20)
- Professional Nail File Set ($5)
- Modelones Gel Top Coat ($7)
Master two color nails with 3 easy blending tricks [ID:3]
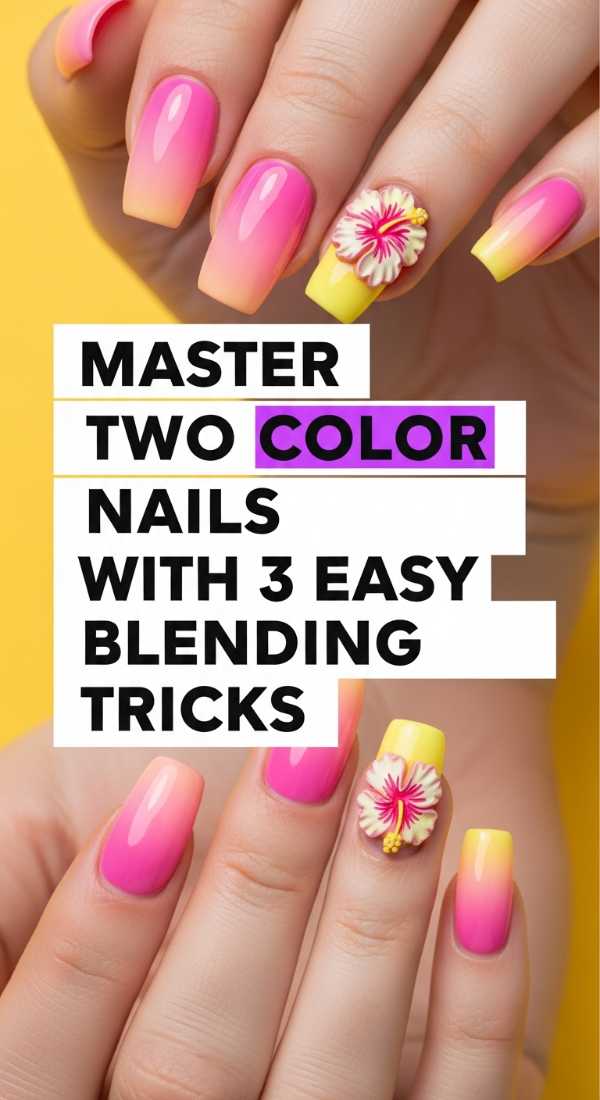
Why to love this recipe:
There is a quiet harmony in seeing two colors melt into one. It’s like watching the sky change at dusk—gentle, evocative, and so very soothing to look at throughout your day.
Essential Ingredients:
- Two coordinating polish colors
- Makeup sponges
- Liquid latex or masking tape
How to Prepare:
- Trick 1: The Sponge Gradient—apply both colors to a sponge and dab repeatedly for a soft ombre.
- Trick 2: The Dry Brush—lightly drag a nearly dry brush of the second color over the first for a textured blend.
- Trick 3: The Wet-on-Wet—swirl two drops of wet polish together on the nail using a toothpick for a marble effect.
Budget Range
- Wedge Makeup Sponges ($3)
- Sally Hansen Hard as Nails Polish ($4)
Apply colourful acrylic nails in 5 salon-quality steps [ID:4]
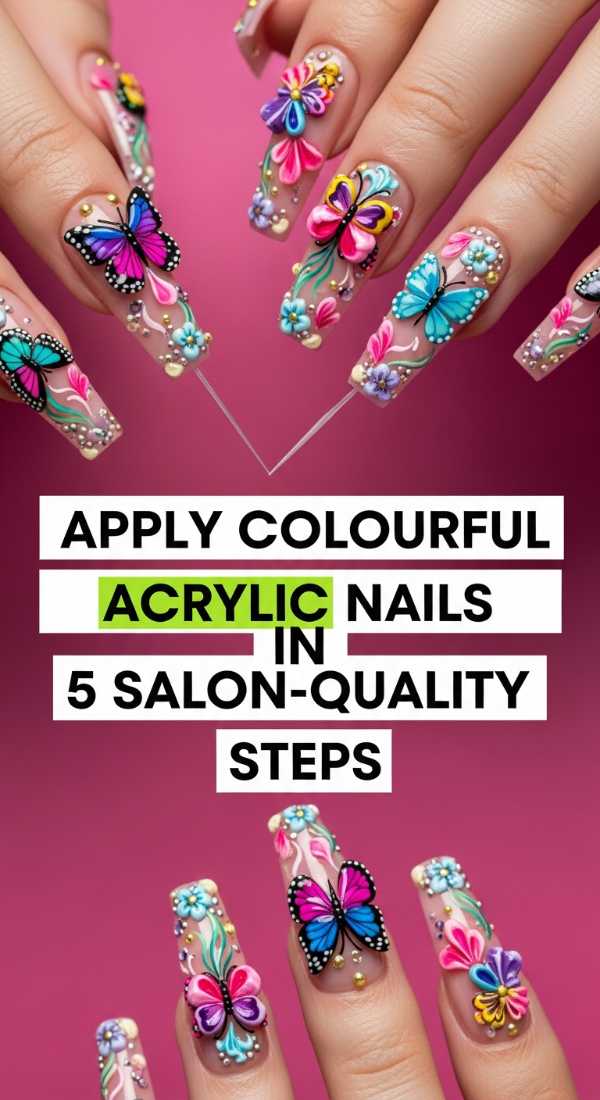
Why to love this recipe:
Acrylics are the foundation of many maximalist dreams. This recipe gives you the strength to go long and the canvas to go bright, all while feeling like you’ve just stepped out of a luxury spa.
Essential Ingredients:
- Colored acrylic powder set
- Acrylic brush (Size 8 or 10)
- Dehydrator and Primer
How to Prepare:
- Prep the natural nail by removing the shine and applying dehydrator/primer.
- Dip your brush into monomer, then into the colored powder to create a ‘bead.’
- Place the bead at the free edge and work it toward the cuticle.
- Sculpt the sides to ensure a slim, elegant silhouette.
- Once hardened, file the shape and finish with a nourishing cuticle oil.
Budget Range
- Morovan Acrylic Nail Kit ($30)
- Cuccio Revitalize Cuticle Oil ($7)
Mix different color nails using 8 creative palettes [ID:5]
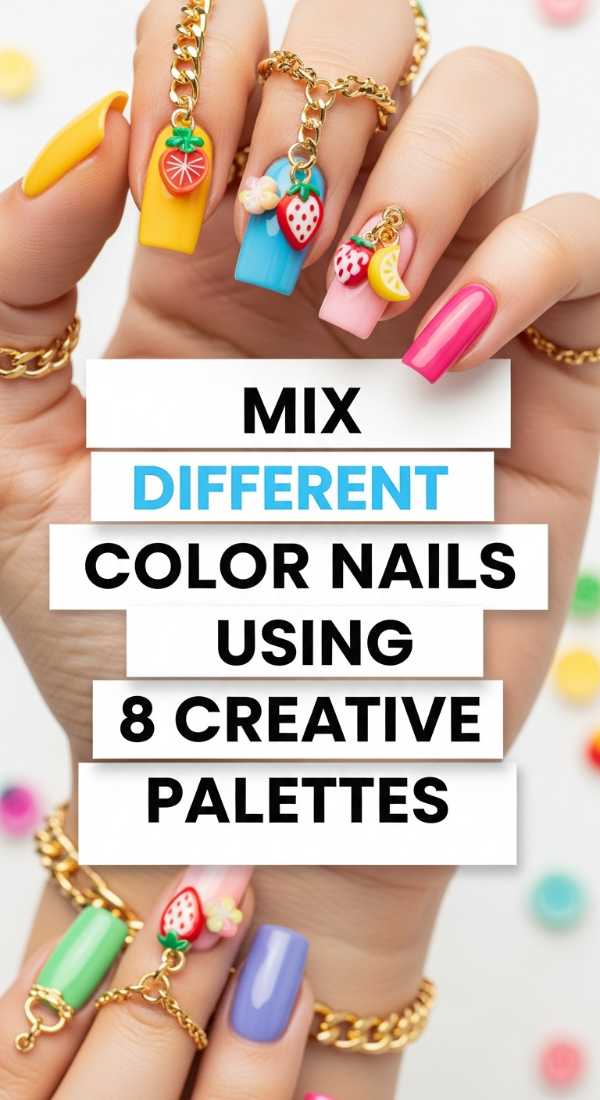
Why to love this recipe:
Color theory can feel intimidating, but I promise it’s just a playground for your imagination. These palettes are designed to evoke specific moods, like a soft whisper or a joyful shout.
Essential Ingredients:
- Wide range of cream polishes
- Color wheel (optional)
How to Prepare:
- Try ‘The Electric Meadow’: Neon green, hot pink, and buttercup yellow.
- Try ‘The Moody Mermaid’: Teal, deep purple, and seafoam green.
- Try ‘The Retro Sunset’: Burnt orange, mustard, and dusty rose.
- Try ‘The Candy Shop’: Mint, lilac, and bubblegum pink.
- Try ‘The High Contrast’: Royal blue and bright tangerine.
- Try ‘The Primary Party’: Red, blue, and yellow.
- Try ‘The Earthy Rainbow’: Terracotta, sage, and ochre.
- Try ‘The Galactic Dream’: Deep navy with holographic silver.
Budget Range
- Holo Taco Rainbow Bundle ($70 – Investment)
- L.A. Colors Color Craze ($1.50 each)
Recreate viral colorful nail designs in 10 minutes [ID:6]

Why to love this recipe:
We see those stunning designs on our feeds and think, ‘I could never.’ But my loves, you absolutely can! This is all about the ‘cheat codes’ to high-fashion nails without the hours of sitting.
Essential Ingredients:
- Nail dotting tool or bobby pin
- Fine liner brush
- Vibrant gel or regular polish
How to Prepare:
- The Viral Swirl: Use a liner brush to drag ‘S’ shapes across a naked nail.
- The Polka Dot Pop: Use a dotting tool to create clusters of bright dots.
- The Aura Nail: Dab a tiny bit of pigment or eyeshadow into the center of a tacky base.
- The Mismatched French: Paint just the tips in a different neon for each finger.
- Seal with a fast-drying top coat and you’re ready for the ‘gram!
Budget Range
- Nail Art Brushes from Shein/Temu ($2)
- Old Eyeshadow Palette (Free!)
Layer multicolor nails perfectly with 4 base secrets [ID:7]
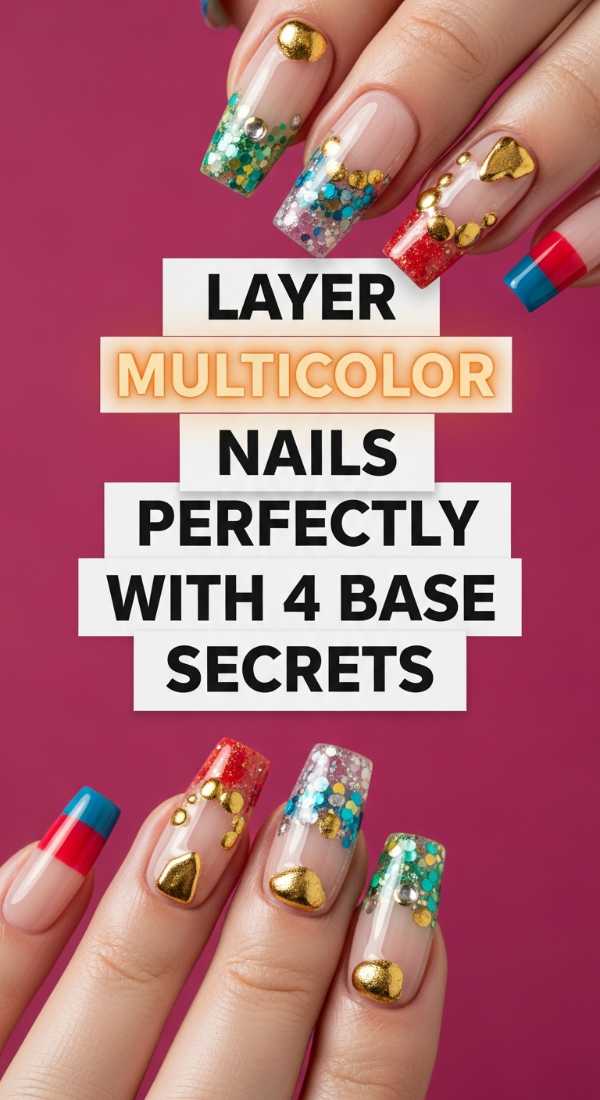
Why to love this recipe:
The secret to a professional look isn’t just the color—it’s the foundation. Layering correctly ensures your colors ‘pop’ and your hard work stays put through all your adventures.
Essential Ingredients:
- White opaque polish
- High-quality base coat
- Matte and Glossy top coats
How to Prepare:
- Secret 1: The White Undercoat—Always apply a thin layer of white polish under neons to make them glow.
- Secret 2: Thin is In—Layering multiple thin coats prevents peeling and bubbling.
- Secret 3: The Sticky Base—Use a ‘bonder’ base coat to help multiple layers adhere.
- Secret 4: Inter-layer Curing—If using gel, ensure every layer is fully cured before adding the next color.
Budget Range
- Orly Bonder Base Coat ($12)
- OPI Alpine Snow ($11)
Get the color street nails look in 5 DIY steps [ID:8]
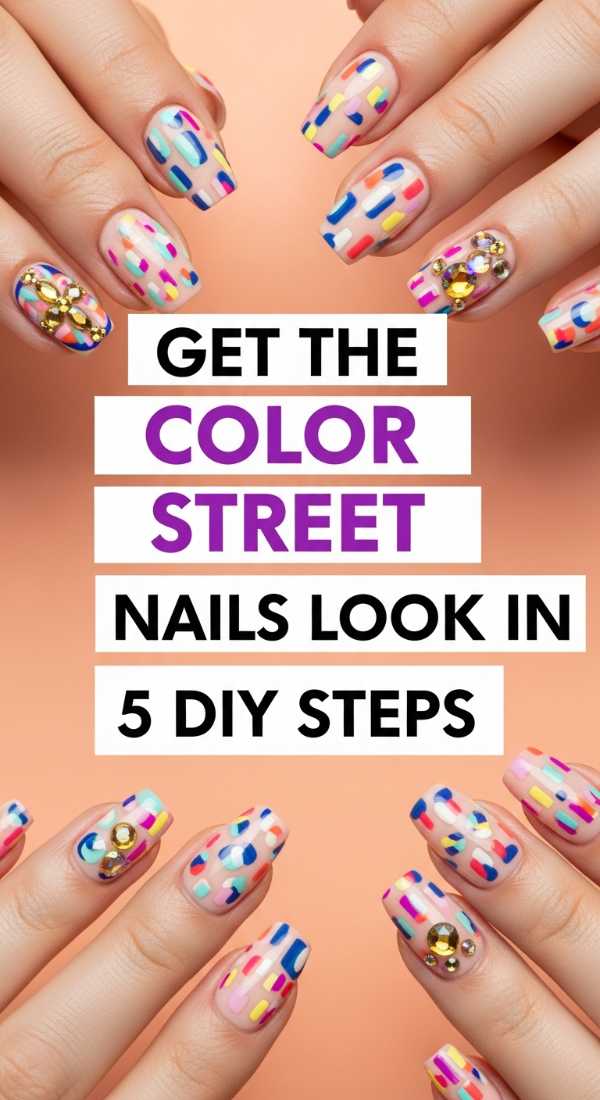
Why to love this recipe:
We love the look of nail strips but sometimes we want the pride of saying ‘I did this myself.’ This DIY method mimics that perfect, pre-printed look using your own favorite bottles.
Essential Ingredients:
- Silicone mat or plastic sandwich bag
- Your favorite polishes
- Small scissors
How to Prepare:
- Paint rectangles of polish directly onto a silicone mat or plastic bag.
- Let them dry until they are firm but still slightly flexible (about 2-3 hours).
- Carefully peel the ‘polish skin’ off the mat.
- Cut the skin into the shape of your fingernail using scissors.
- Press the skin onto a slightly tacky base coat on your nail and file off the excess.
Budget Range
- Silicone Baking Mat ($5)
- Small Craft Scissors ($3)
Build your colorful nail inspo kit with 6 must-haves [ID:9]
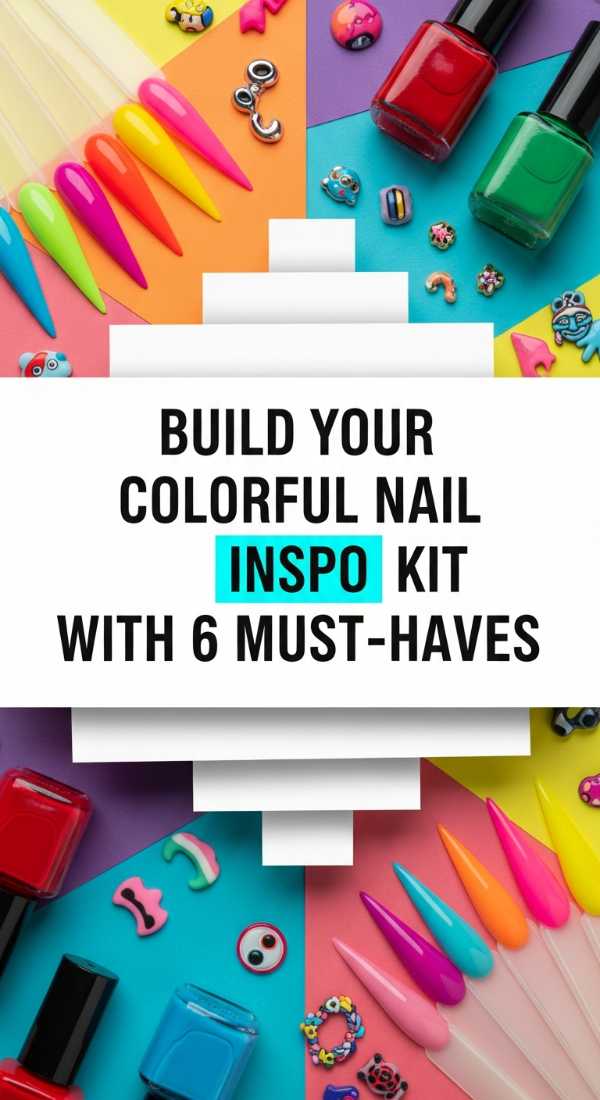
Why to love this recipe:
Every artist needs a kit that makes them feel inspired. Having these six essentials at the ready is like having a creative hug waiting for you whenever you need a boost.
Essential Ingredients:
- A dedicated storage box
- Reference photos
- Quality tools
How to Prepare:
- Must-Have 1: A versatile palette of primary colors for mixing.
- Must-Have 2: A set of varied-length detail brushes.
- Must-Have 3: A high-power LED lamp (if using gels).
- Must-Have 4: A clear stamper for easy pattern transfers.
- Must-Have 5: Chrome powders for that extra ‘wow’ factor.
- Must-Have 6: A notebook to sketch your chaotic rainbow ideas!
Budget Range
- SUNUV LED Nail Lamp ($25)
- Clear Jelly Stamper ($6)
- BORN PRETTY Chrome Powder ($9)
Go Forth and Sparkle
My sweet loves, I hope you feel inspired to let your hands tell a story as vibrant and beautiful as you are. Remember, there are no mistakes in ‘Rainbow Chaos’—only happy accidents and new opportunities for more glitter. Whether you try a full set of junk nails or just a simple two-color blend, do it with love and a smile. Your nails are your tiny canvases; don’t be afraid to paint outside the lines. I can’t wait to see what you create!