

Pots of Style: Creative Container Gardening for the Modern Home
There is a profound, quiet magic that happens when you bring a bit of the wild into your personal living space. I remember the first time I successfully kept a rosemary bush alive on my tiny apartment terrace; suddenly, the concrete walls felt less like a cage and more like a sanctuary. It’s about more than just aesthetics; it’s about that first deep breath you take in the morning when the scent of damp soil and fresh leaves hits you before the rest of the world wakes up.
Modern container gardening has transformed the way we think about outdoor living, proving that you don’t need an acre of land to cultivate a masterpiece. Whether you’re working with a sleek high-rise balcony or a cozy back patio, these portable ecosystems allow us to curate our own private Eden. Today, we’re diving deep into the art of the pot, exploring how to turn simple vessels into vibrant expressions of style and soul that thrive all year long.
Let’s roll up our sleeves and get our hands a little dirty—I promise the results will be nothing short of life-changing for your home’s vibe.
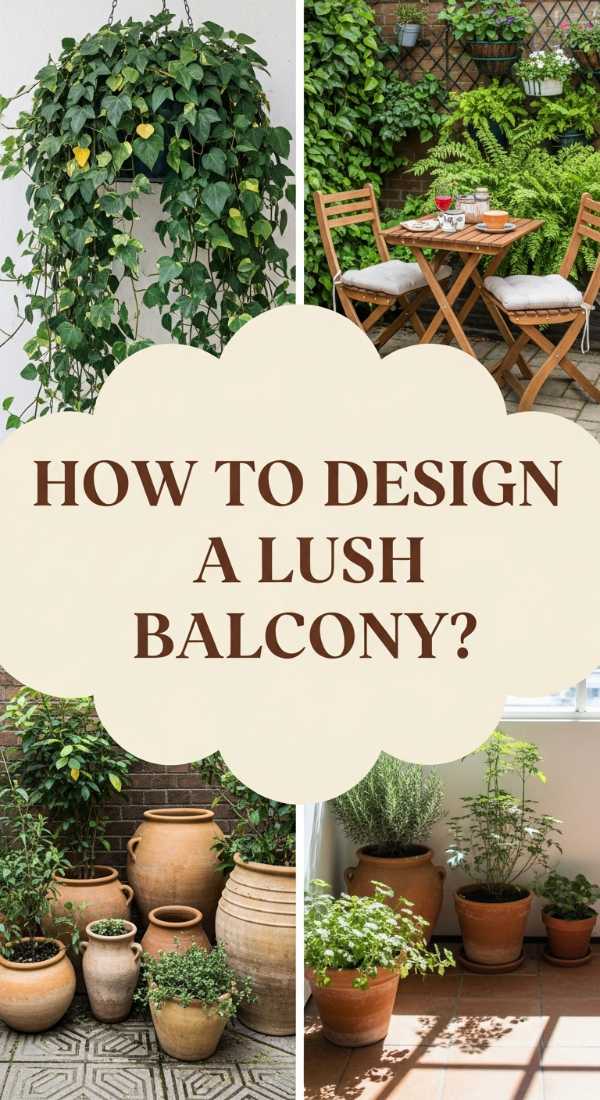
How to Design a Lush Balcony for Your Morning Coffee
Why we love this
There is nothing quite like the sensory symphony of a lush balcony garden as you sip your first cup of coffee. The way the early morning light filters through translucent emerald leaves, combined with the soft rustle of trailing vines in the breeze, creates a meditative cocoon that shields you from the urban hustle. You’ll find yourself lingering longer, wrapped in the cool fragrance of damp moss and the sight of delicate tendrils reaching toward the sun, making every morning feel like a luxurious getaway in your own private forest.
Essential Elements:
- Deep, lightweight resin or fiberglass planters to prevent floor-load issues.
- Evergreen structural plants (like Boxwood or Dwarf Conifers) for year-round privacy.
- Trailing ‘spiller’ plants like Ivy or Creeping Jenny to soften the edges.
- Comfortable weather-resistant bistro seating.
- A small side table for your coffee and books.
How to make it
- Clean your balcony surface thoroughly and check for drainage pathing to ensure water won’t pool near the building’s edge.
- Select containers with a consistent color palette—think matte charcoal or warm terracotta—to create a unified look in a small space.
- Fill the bottom third of large pots with lightweight filler (like recycled plastic bottles) to save on soil weight and improve drainage.
- Add a high-quality, moisture-retentive potting mix, leaving 2 inches of space from the rim to prevent overflow during watering.
- Position your ‘thriller’ (the tallest plant) in the back or center, surround it with ‘fillers’ (mounding plants), and finish with ‘spillers’ near the edge.
- Install a drip irrigation system or keep a decorative watering can nearby to maintain consistent hydration, especially in windy high-rise conditions.
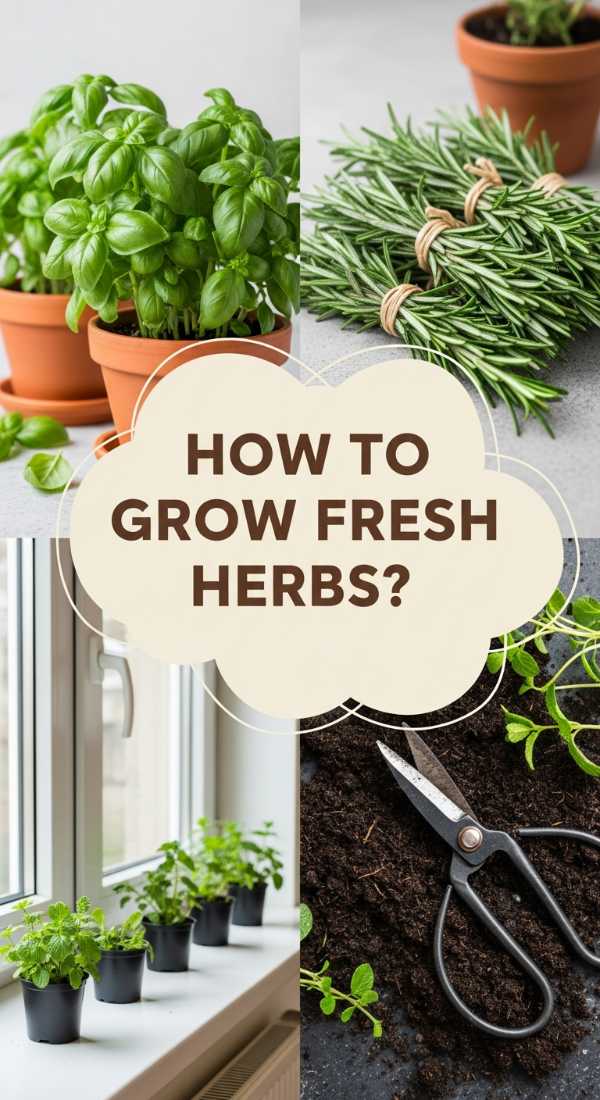
How to Grow Fresh Herbs for Gourmet Home Cooking
Why we love this
The culinary shift that occurs when you swap dried spices for live, sun-warmed herbs is nothing short of a revelation. Imagine the sharp, peppery aroma of bruised basil leaves or the earthy, resinous scent of rosemary filling your kitchen as you harvest them seconds before they hit the pan. These containers don’t just provide flavor; they offer a visual feast of varied textures, from the feathery lace of dill to the velvety softness of sage, turning your windowsill or patio into a functional work of art that tastes even better than it looks.
Essential Elements:
- Terracotta pots for breathability (ideal for Mediterranean herbs).
- Organic, nutrient-rich potting soil specifically formulated for edibles.
- Culinary herb starts: Basil, Thyme, Rosemary, Mint, and Chives.
- Pruning shears for clean harvesting.
- Sunny location (at least 6 hours of direct light).
How to make it
- Select pots with large drainage holes; herbs like Rosemary and Thyme hate ‘wet feet’ and require excellent aeration.
- Place a piece of mesh or a coffee filter over the drainage hole to keep the soil in while letting water out.
- Fill pots with organic soil, mixing in a handful of worm castings for a natural, slow-release nutrient boost.
- When planting, gently tease the roots of your herb starts to encourage them to spread into the new soil.
- Group herbs with similar water needs together: put Thyme, Oregano, and Rosemary in one sunny spot, and keep Mint in its own pot (it’s an aggressive grower!).
- Harvest frequently by cutting just above a leaf node; this ‘pinching’ technique encourages the plant to grow bushier rather than leggy.
How to Style Colorful Flower Containers for Instant Curb Appeal

Why we love this
A perfectly styled flower container is like jewelry for your home’s exterior, providing a high-impact pop of color that welcomes you every time you pull into the driveway. We love the way the vibrant hues of petunias or geraniums contrast against a crisp front door, creating a visual invitation that feels both polished and personal. The scent of sweet alyssum drifting toward the sidewalk and the sight of bees dancing between blooms adds a layer of life and movement that makes any house feel like a cherished home.
Essential Elements:
- Large, statement-making ceramic urns or sleek modern troughs.
- A balanced mix of heights: tall Grasses, mounding Petunias, and trailing Lobelia.
- Slow-release flower fertilizer for continuous blooming.
- A color theme (e.g., monochromatic whites or vibrant tropical oranges).
- Mulch or decorative pebbles to finish the surface.
How to make it
- Choose containers that are proportional to your entryway; when in doubt, go larger, as small pots can look cluttered from the street.
- Use the ‘Thriller, Filler, Spiller’ design method: place a tall architectural plant like Canna Lily in the center.
- Pack your ‘fillers’ (like Calibrachoa or Marigolds) tightly around the center plant for an instant, lush ‘full’ look.
- Add ‘spillers’ like Sweet Potato Vine or Bacopa around the perimeter to cascade over the sides.
- Water deeply until water runs out of the bottom, then apply a water-soluble bloom-boosting fertilizer every two weeks.
- Deadhead (remove spent blooms) daily to signal the plant to produce more flowers rather than seeds.
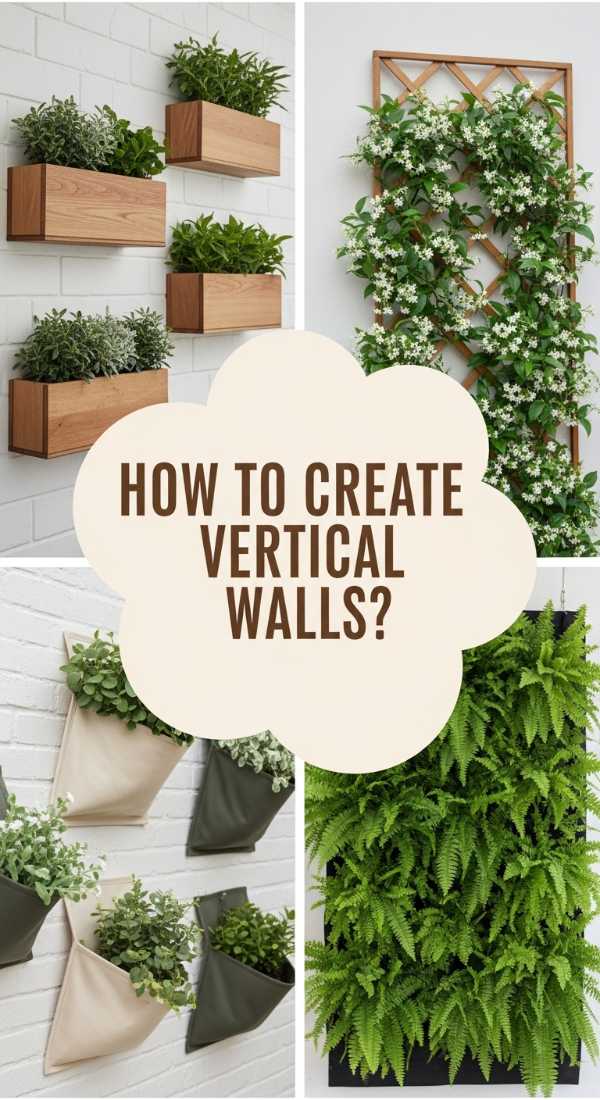
How to Create Vertical Green Walls for Maximum Small Space Impact
Why we love this
Vertical gardening is the ultimate solution for the space-challenged dreamer, turning a cold, flat wall into a living, breathing tapestry of green. There is something incredibly satisfying about seeing foliage climb and drape in a way that defies gravity, creating a lush backdrop that maximizes every square inch of your environment. It transforms a simple fence or brick wall into an immersive experience where the air feels cleaner and the echoes of the city are softened by the dense, rustling layers of leaves.
Essential Elements:
- Wall-mounted pocket planters or a modular trellis system.
- Lightweight potting medium to reduce stress on the wall structure.
- Drought-tolerant plants or a built-in irrigation line.
- Ferns, Pothos, or creeping vines like Creeping Fig.
- Sturdy mounting hardware (anchors and screws).
How to make it
- Identify a wall that can support the weight of wet soil and plants; use a stud finder if mounting on a wooden frame.
- Install your vertical system, ensuring it is level and has a waterproof barrier behind it to protect your home’s siding or interior wall.
- Pre-soak your plants while they are still in their nursery pots to ensure the root balls are fully hydrated before transplanting.
- Fill the pockets or wall containers with a mix of potting soil and perlite for maximum drainage and lightness.
- Plant from the bottom up, placing the most moisture-loving plants at the bottom where water naturally collects.
- Check the moisture levels daily, as vertical gardens dry out faster than traditional pots due to increased air exposure.
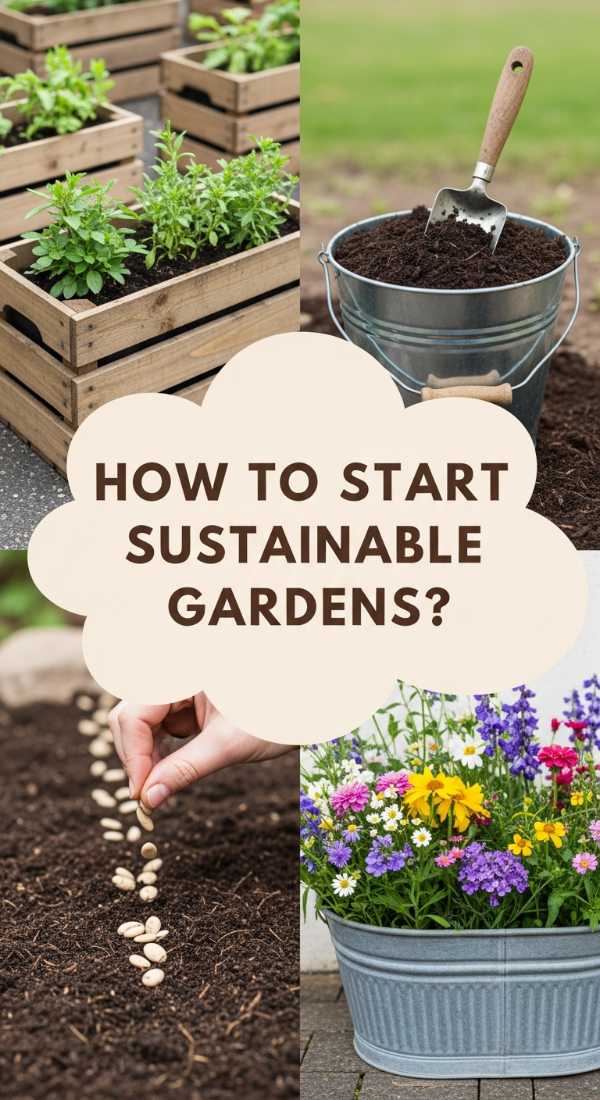
How to Start Sustainable Pot Gardens for an Eco Friendly Lifestyle
Why we love this
Sustainable gardening is about closing the loop and feeling a deep connection to the Earth’s natural cycles right on your patio. We love the rustic, soulful aesthetic of repurposed vessels—like old galvanized buckets or wooden crates—paired with the knowledge that you are reducing waste and supporting local pollinators. The sight of a bumblebee hovering over a native wildflower grown in organic soil is incredibly rewarding, offering a sense of purpose that goes far beyond simple decoration; it’s a small-scale rebellion against the disposable culture.
Essential Elements:
- Upcycled containers (ensure they have drainage holes drilled).
- Peat-free organic potting soil.
- Native plant species to support local bees and butterflies.
- A small countertop compost bin for kitchen scraps.
- Rain barrel for collecting water.
How to make it
- Scour thrift stores or your own garage for unique containers, ensuring they are food-safe if you plan to grow edibles.
- Drill multiple 1/2-inch drainage holes in the bottom of your repurposed vessels to prevent root rot.
- Avoid peat-based soils; instead, look for mixes containing coconut coir or composted wood fibers to protect peatland ecosystems.
- Choose native perennials that are naturally adapted to your local climate, requiring less water and no chemical pesticides.
- Top-dress your pots with a layer of homemade compost every spring to replenish nutrients naturally.
- Set up a simple rainwater collection system to use for watering, which is better for the plants and the planet.
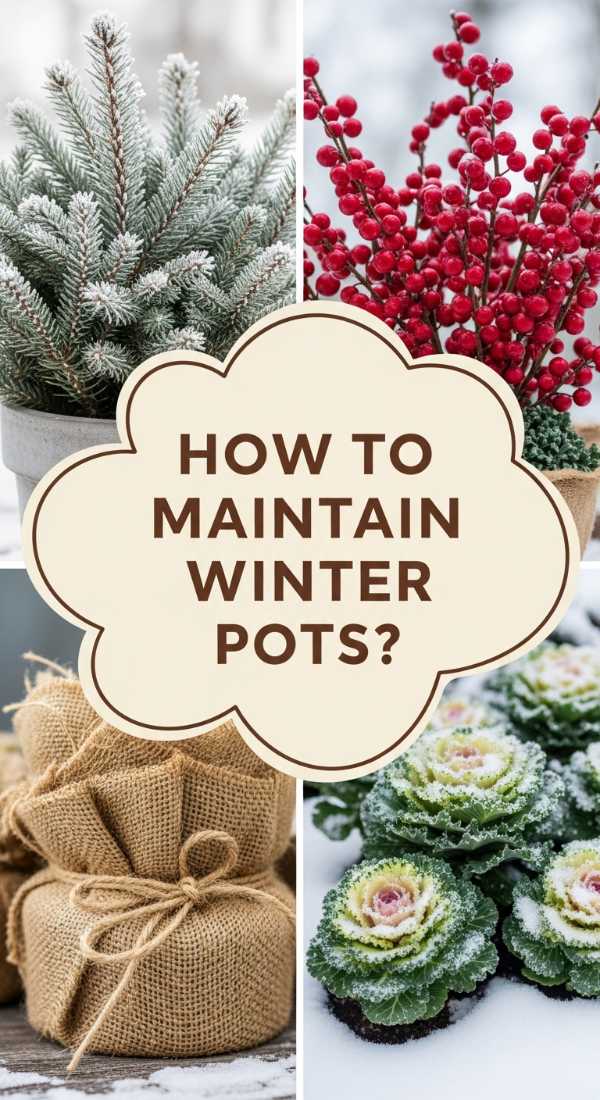
How to Maintain Healthy Winter Containers for Year Round Greenery
Why we love this
When the rest of the world turns gray and dormant, a vibrant winter container stands as a defiant spark of life against the frost. We adore the textural contrast of waxy broadleaf evergreens against the delicate, crystalline structure of fallen snow, and the way red berries pop against a backdrop of silvery eucalyptus. These hardy arrangements provide a much-needed sense of continuity and hope, reminding us that nature is merely resting, and that beauty can thrive even in the harshest, coldest conditions.
Essential Elements:
- Frost-proof containers (thick ceramic, stone, or heavy-duty plastic).
- Evergreen shrubs like Winterberry, Holly, or Juniper.
- Ornamental Kale or Cabbage for cold-hardy color.
- Dried elements like birch branches or lotus pods for height.
- Burlap or frost blankets for extreme temperature dips.
How to make it
- Ensure your pots are raised off the ground with ‘pot feet’ to prevent them from freezing to the patio and cracking.
- Use ‘pot liners’ inside expensive ceramic pots; the liner can expand and contract without breaking the outer decorative pot.
- Select plants that are ‘hardy’ to two zones colder than your actual location to account for the lack of ground insulation.
- Pack plants tightly; since they won’t grow much in winter, you want them to look full and established from day one.
- Water only when the soil is dry and the temperature is above freezing; plants still lose moisture through their leaves in winter winds.
- Add a thick layer of mulch or decorative pinecones to the surface to insulate the roots from the freeze-thaw cycle.
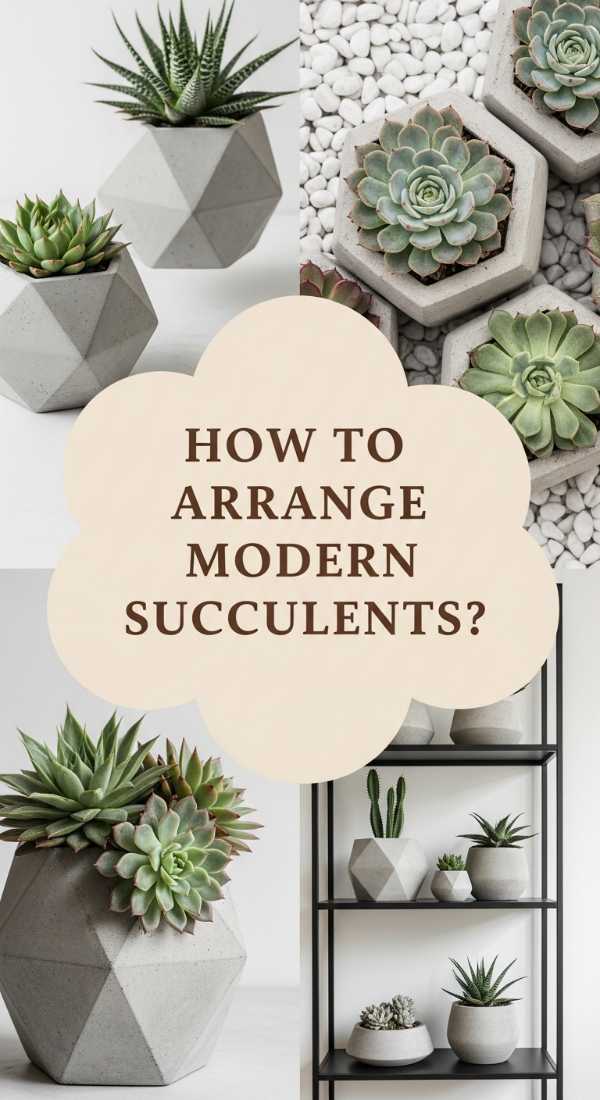
How to Arrange Modern Succulent Pots for Low Maintenance Beauty
Why we love this
Succulent arrangements are the ‘living sculptures’ of the gardening world, offering a clean, modern aesthetic that feels both sophisticated and incredibly relaxed. We love the architectural geometry of an Echeveria’s rosette and the whimsical ‘string of pearls’ cascading over a minimalist stone pot. Their muted teals, dusty roses, and chalky blues create a calming palette that fits perfectly in a contemporary home, and the fact that they thrive on neglect makes them the perfect companion for the busy, stylish individual.
Essential Elements:
- Shallow, wide-mouthed bowls or geometric concrete planters.
- Specialized cactus and succulent gritty soil mix.
- A variety of succulents: Haworthia (height), Sedum (filler), and Senecio (trailing).
- Decorative top-dressing like white pebbles or black lava rock.
- Bright, indirect sunlight.
How to make it
- Choose a container with a drainage hole—this is non-negotiable for succulents, as they will rot in standing water.
- Fill the container with a gritty mix; if you only have standard soil, mix it 50/50 with perlite or coarse sand.
- Remove the succulents from their nursery pots and gently shake off the old, peat-heavy soil from their roots.
- Arrange the plants closely together, varying the heights and textures for a professional, ‘florist-styled’ look.
- Use a small brush to clean any stray soil off the fleshy leaves to keep them looking pristine and prevent rot.
- Wait one full week after planting before watering to allow any damaged roots to callus over and heal.
How to Plan a Moonlit Garden for Dreamy Evening Relaxation

Why we love this
A moonlit garden is designed for the hours when the world slows down and the magic begins. We are obsessed with the way white flowers and silvery foliage seem to glow with an ethereal luminescence under the moon, catching every stray beam of light. The evening is when ‘night-bloomers’ release their intoxicating fragrances—think sweet Jasmine or Nicotiana—creating a heavy, romantic atmosphere that transforms your patio into a dreamscape perfect for stargazing and soulful conversations.
Essential Elements:
- White flowering plants (Moonflowers, White Alyssum, Hydrangeas).
- Silver foliage (Dusty Miller, Artemisia, or Lamb’s Ear).
- Evening-fragrant blooms like Night-scented Stock.
- Subtle, warm-toned outdoor string lights or lanterns.
- A comfortable lounger with soft outdoor blankets.
How to make it
- Identify the areas of your patio that catch the most moonlight and place your primary containers there.
- Select plants with light-colored or variegated leaves; white and silver reflect the moonlight, while dark greens disappear in the dark.
- Incorporate plants that open their blooms at dusk, such as Moonflowers, which provide a dramatic unfolding ‘show’ every evening.
- Focus on scent by placing fragrant containers near your seating area where the evening breeze can carry the aroma toward you.
- Avoid bright, ‘daylight’ LED bulbs; use soft, amber-colored lighting to preserve the ‘glow’ of the plants.
- Add a small water feature; the sound of trickling water enhances the tranquil, nighttime sensory experience.
How to Cultivate Tropical Container Oasis for an Exotic Staycation

Why we love this
There is a bold, unapologetic drama to tropical container gardening that instantly transports you to a sun-drenched island. We love the oversized, glossy leaves of a Monstera or the vibrant, bird-like blooms of a Strelitzia that make you feel small in the best way possible. The lush, humid atmosphere created by grouping these giants together turns a standard backyard into an exotic retreat, where the vibrant colors and architectural shapes provide a visual escape from the everyday grind.
Essential Elements:
- Large-scale pots in bold colors or natural textures like woven seagrass.
- Big-leaf plants: Hibiscus, Palms, Elephant Ears (Alocasia), and Canna Lilies.
- High-nitrogen fertilizer for rapid green growth.
- A mister or small fountain to increase local humidity.
- Bright, filtered sunlight (mimicking a jungle canopy).
How to make it
- Start with a ‘heavy hitter’ like a Majestic Palm or a large Bird of Paradise to provide the height and canopy feel.
- Group multiple pots of varying sizes together to create a ‘micro-climate’ that traps humidity, which tropicals crave.
- Use a well-draining but moisture-retentive potting soil—mix in some orchid bark or composted manure for extra richness.
- Feed your tropicals every two weeks during the summer with a liquid fertilizer to support their fast, lush growth.
- Mist the leaves early in the morning during heatwaves to prevent the tips from browning and to wash off dust.
- Be prepared to bring these ‘divas’ indoors once the night temperatures drop below 50°F (10°C).
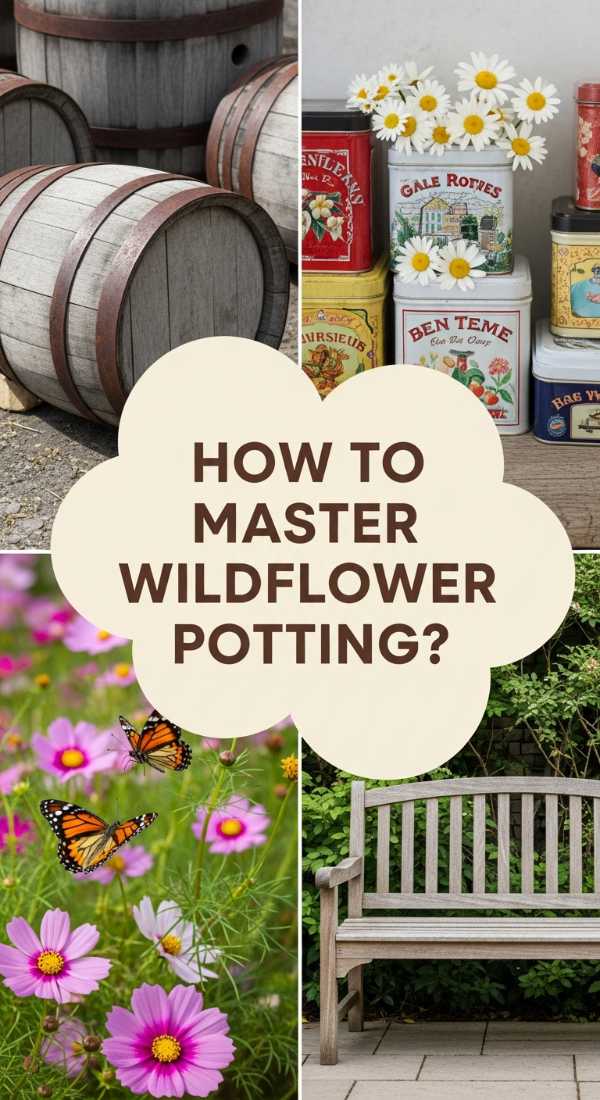
How to Master Wildflower Potting for a Whimsical Cottage Aesthetic
Why we love this
Wildflower potting is the art of controlled chaos, capturing the untamed beauty of a meadow within the confines of a container. We love the whimsical, airy feel of Cosmos and Poppies dancing on thin stems, and the way they attract a fluttering parade of butterflies and goldfinches to your doorstep. It’s a style that celebrates imperfection and spontaneity, where the clashing colors and tangled textures feel like a breath of fresh air compared to the rigid lines of traditional landscaping.
Essential Elements:
- Vintage-style containers like wooden half-barrels or weathered stone.
- Wildflower seed mixes suited for your specific region.
- Light, sandy potting soil (wildflowers often prefer ‘lean’ soil).
- Fine-mist watering spray.
- Full sun (at least 6-8 hours).
How to make it
- Choose a wide, shallow container to give the seeds plenty of surface area to spread out and germinate.
- Fill the pot with a seed-starting mix or a lean potting soil; avoid overly fertilized soils which can lead to lots of leaves but few flowers.
- Scatter the seeds evenly over the surface, then lightly press them into the soil with your palm (don’t bury them too deep!).
- Keep the soil surface consistently moist using a fine mist until the seedlings are about 2 inches tall.
- Thin out the seedlings if they look too crowded to ensure each plant has enough air circulation to prevent mildew.
- Resist the urge to over-groom; the charm of a wildflower pot is in the slightly wild, overgrown look.
Conclusion: Your Garden, Your Rules
Container gardening is a journey, not a destination. It’s about the joy of watching a tiny seed sprout into a towering hibiscus or the peace found in deadheading petunias after a long day at the office. Your pots are an extension of your home’s soul—don’t be afraid to experiment, mix styles, or even lose a plant or two along the way. That’s how we learn. So, grab a shovel, find a pot that speaks to you, and start creating your own personal slice of paradise today.