
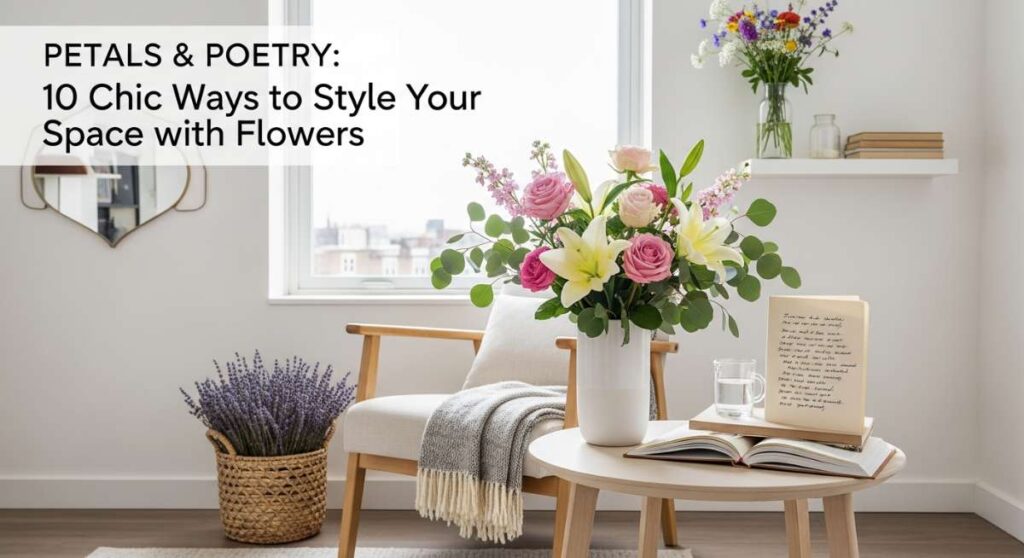
There is something deeply poetic about the way a fresh bouquet can transform a house into a home. It’s more than just a pop of color on a coffee table; it’s a living, breathing connection to the seasons, a tactile reminder to slow down and breathe in the beauty of the present moment. Whenever I bring a bundle of stems home from the market, I feel like I’m inviting a little bit of the wild world inside to dance with my curtains and soft linens.
Styling flowers is an art form that anyone can master with a bit of heart and a few clever tricks. Whether you are leaning into the moody romance of a dark floral arrangement or the crisp, clean lines of a single minimalist stem, the right floral touch speaks volumes about your personal aesthetic. Today, we are diving into ten chic ways to infuse your space with petals and poetry, turning every corner of your home into a dreamy sanctuary.
How to Style Fresh Blooms for a Radiant Living Room
Why we love this
The living room is the heartbeat of the home, and a lush floral arrangement acts as its radiant center. We love this because it immediately softens the sharp edges of furniture and fills the air with a delicate, welcoming perfume that changes from morning to night. Imagine the sun hitting a vase of heavy-headed peonies; the petals seem to glow from within, casting a soft light that makes the whole room feel lived-in and loved. It creates a focal point that invites guests to linger longer and find comfort in the organic textures.
Essential Elements:
- A wide-mouth ceramic vase or a classic glass vessel
- Focal flowers (Peonies, Hydrangeas, or Lilies)
- Filler greens (Eucalyptus or Ruscus)
- Secondary blooms (Ranunculus or Spray Roses)
- Floral shears and floral tape
How to make it
- Begin by cleaning your vessel thoroughly; any bacteria will shorten the life of your blooms. Fill it with lukewarm water and a packet of flower food, ensuring the temperature is comfortable to the touch to help the stems drink more efficiently.
- Create a ‘grid’ using clear floral tape across the mouth of the vase. This provides a structural skeleton that keeps stems from flopping to the sides, ensuring your arrangement stays upright and voluminous.
- Strip all leaves that would sit below the water line. This is crucial—submerged foliage rots, creating bacteria that will kill your flowers within 48 hours.
- Cut your main focal stems at a 45-degree angle. This increases the surface area for water intake. Place them into the grid first, staggering the heights to create a natural, rounded shape.
- Tuck in your filler greens and secondary blooms to hide the tape. Check for ‘visual doneness’ by stepping back; the arrangement should look balanced from every angle without any visible gaps or tape showing.
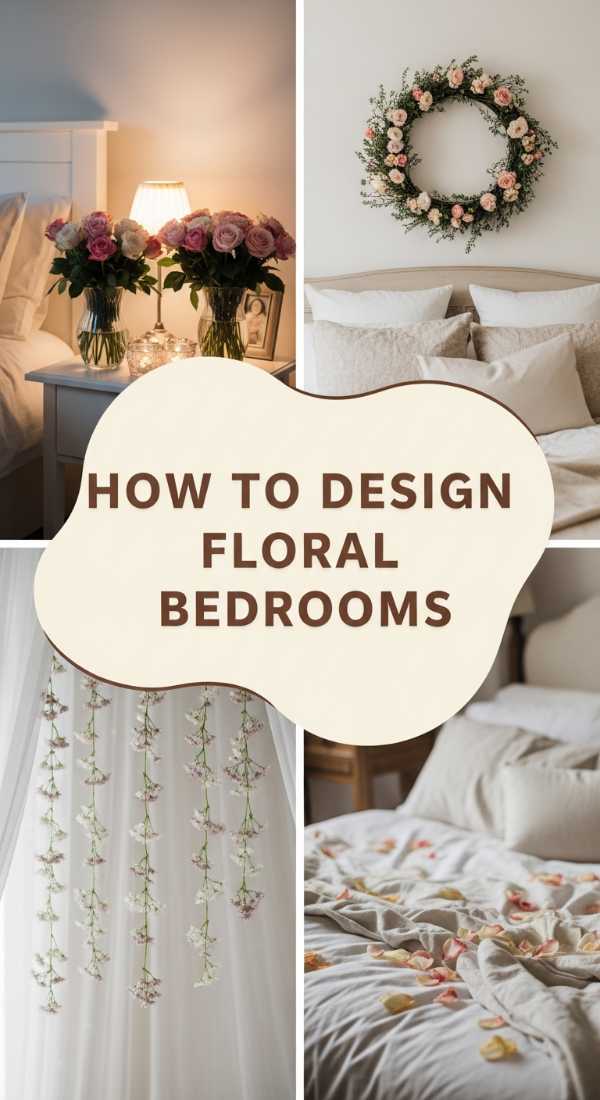
How to Design a Dreamy Sanctuary for Better Sleep
Why we love this
Your bedroom should be a sanctuary of calm, and the addition of specific, soothing blooms can actually help signal to your brain that it is time to unwind. We love the way lavender and chamomile look perched on a nightstand; their muted tones and gentle textures offer a visual lullaby before you even close your eyes. The subtle, earthy scent of fresh greenery mixed with floral notes works better than any artificial diffuser, grounding the space in a way that feels intentional and deeply restorative for the soul.
Essential Elements:
- Small, tinted glass bud vases
- Dried or fresh Lavender stems
- White Chamomile or Feverfew
- Eucalyptus sprigs
- Soft-lit bedside lamp
How to make it
- Select a small vase that won’t overcrowd your nightstand. Opt for a tinted glass—amber or smoky blue—to diffuse the light and add to the moody, calm atmosphere.
- Focus on ‘low-scent’ or ‘soothing-scent’ flowers. Avoid heavy lilies or jasmines that might be too overpowering for a small sleeping area.
- Cut the lavender and chamomile stems short so they sit just above the rim of the vase. This ‘tight’ styling feels more intimate and less chaotic than a tall spray.
- Place the arrangement away from direct heating vents or drafts. Visual cue: if the petals start to curl or turn brown at the edges, the air is too dry; mist them lightly with distilled water.
- Change the water every two days. For a ‘pro-tip’ on timing, do this right before bed to incorporate the soothing scent of fresh-cut stems into your nighttime wind-down routine.
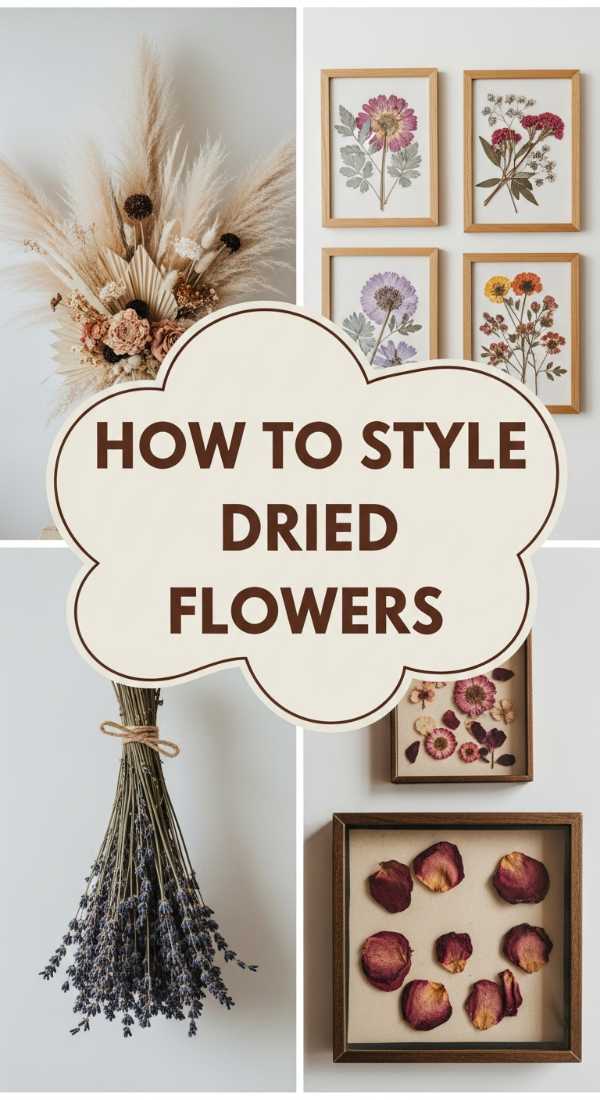
How to Preserve Natural Beauty for Lasting Memories

Why we love this
There is a profound, vintage charm in the art of drying flowers that captures a moment in time indefinitely. We love this because it turns a fleeting bouquet into a permanent piece of home decor that carries the weight of memory—perhaps from an anniversary or a special summer day. The textures become papery and ethereal, the colors deepen into sophisticated ochres and dusty roses, and the silent, still beauty of a dried arrangement adds a layer of soulful history to any bookshelf or mantelpiece.
Essential Elements:
- A bouquet nearing its peak bloom
- Twine or floral wire
- Hairspray (unscented)
- A dark, dry closet or attic space
- Silica gel (optional for color retention)
How to make it
- Identify the peak moment. You must start the drying process before the flowers begin to wilt or drop petals; once they start to decay, they won’t dry well. Look for petals that are fully open but still firm.
- Group the flowers into small bundles of 3-5 stems. Tie them tightly with twine. Avoid large bundles, as the lack of airflow in the center will lead to mold rather than drying.
- Hang the bundles upside down in a dark, dry place. Darkness is the secret ‘heat level’ here—UV light bleaches the color out of drying petals, so a dark closet is your best friend.
- Leave them for 2-3 weeks. A visual cue for doneness: the stems should snap cleanly when bent, and the petals should feel like delicate parchment paper.
- Give the finished product a light misting of unscented hairspray from 12 inches away. This acts as a sealant, preventing the petals from shattering and repelling dust over time.
How to Master Minimalist Decor for Modern Spaces
Why we love this
In a world of noise, there is something incredibly powerful about a single, perfect stem. Minimalist floral styling is about celebrating the architectural beauty and unique silhouette of a plant without the distraction of a massive bouquet. We love the way a lone Calla Lily or a sculptural Monstera leaf can command an entire room, drawing the eye to its elegant curves and vibrant green hues. it feels modern, sophisticated, and allows the ‘negative space’ in your home to breathe, creating a sense of peace and order.
Essential Elements:
- Architectural stems (Protea, Allium, or Calla Lilies)
- Tall, slender cylinder vase or a heavy stone vessel
- Decorative pebbles or sand (optional)
- Precision trimming shears
How to make it
- Choose one ‘hero’ stem with a strong, interesting shape. Look for stems with natural bends or unique textures that can stand alone as a piece of art.
- Measure the stem against your vase. The rule of thumb for minimalism is that the stem should be roughly 1.5 to 2 times the height of the vase to create a sense of balanced elevation.
- Clean the stem meticulously. Remove every single leaf and thorn from the bottom two-thirds of the stem to emphasize the clean, vertical line.
- If using a clear glass vase, add decorative pebbles to the bottom. This adds weight (stability) and a layer of texture that grounds the minimalist look.
- Monitor the water level daily. Since you only have one stem, its health is the entire focus; a visual cue of ‘doneness’ is a crystal-clear water line that looks like liquid glass.
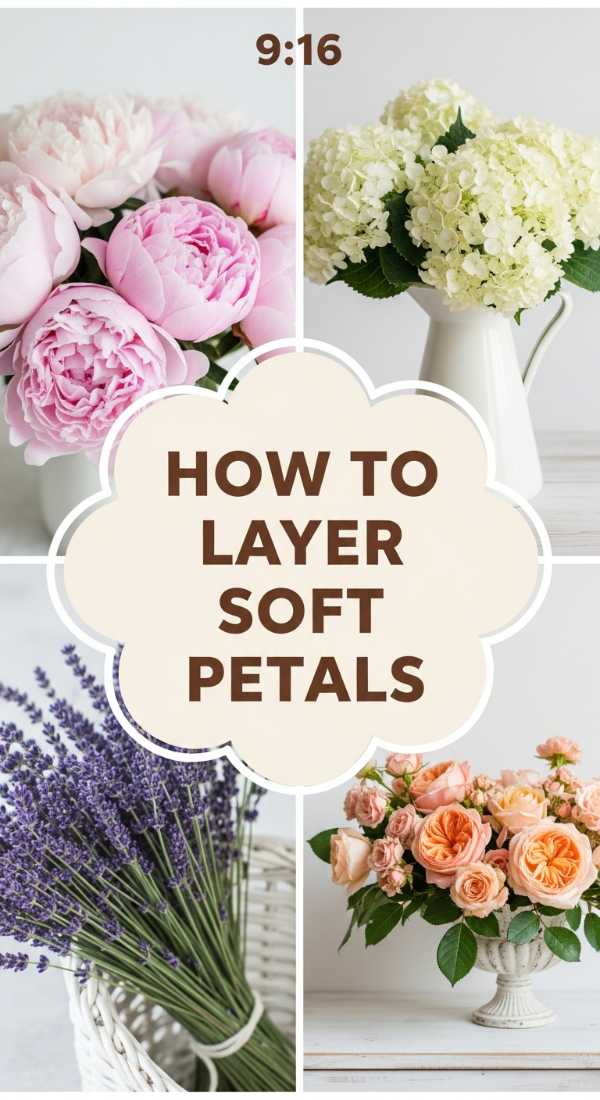
How to Achieve Soft Pastel Vibes for Instant Calm
Why we love this
Soft pastels are the visual equivalent of a deep, relaxing sigh. We love styling with blush pinks, buttery yellows, and pale lavenders because they diffuse the light in a room, making everything feel softer and more inviting. It’s a palette that evokes the freshness of spring year-round, bringing a sense of hope and lightness into the home. These colors play beautifully against neutral walls and wooden textures, creating a cottage-core dreaminess that makes even the most hectic Monday feel like a lazy Sunday afternoon.
Essential Elements:
- Pastel blooms (Sweet peas, Carnations, or Peach Roses)
- White or cream ceramic pitcher
- Lace or linen ribbon
- Fresh water with a splash of clear soda (for sugar/acid balance)
How to make it
- Select your palette. Stick to 3 colors maximum—for example, soft peach, buttercream, and pale sage green. This ensures the ‘vibe’ remains calm rather than chaotic.
- Use a ceramic pitcher instead of glass. The opaque texture of the ceramic complements the ‘creamy’ feel of pastel petals and hides the messy stems inside.
- Cut your stems at varying lengths to create a ‘mound’ shape. Start with the largest blooms in the center and tuck the smaller, more delicate sweet peas around the edges.
- Add a splash of lemon-lime soda to the water. The sugar provides energy for the blooms, while the acidity helps water travel up the stems, keeping those delicate pastels from drooping.
- Tie a linen ribbon around the handle of the pitcher. This adds a tactile, ‘lifestyle blogger’ finish that ties the whole aesthetic together.
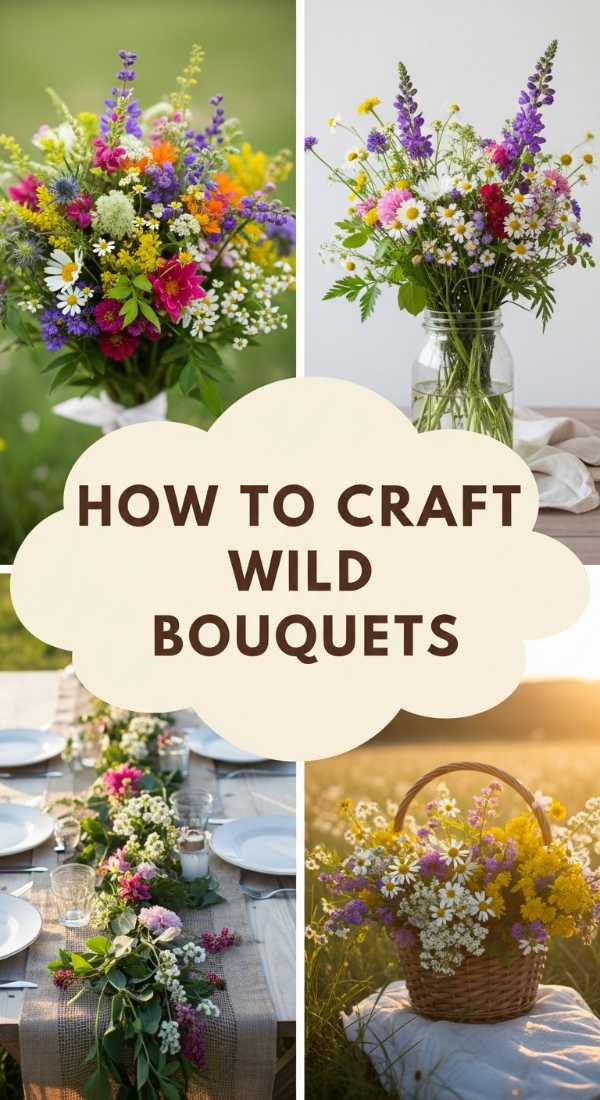
How to Arrange Wild Bouquets for Romantic Evenings
Why we love this
There is a raw, untamed energy to a ‘wild’ bouquet that feels inherently romantic and effortless. We love this style because it doesn’t try too hard; it looks as though you wandered through a meadow and gathered whatever caught your eye. With long, trailing vines and asymmetrical heights, wild arrangements bring a sense of movement and drama to the table. In the flicker of candlelight, the shadows cast by these sprawling stems create a moody, enchanted forest atmosphere that is perfect for intimate dinners.
Essential Elements:
- ‘Spilling’ elements (Jasmine vine or Ivy)
- Tall grasses or Queen Anne’s Lace
- Dark, moody focal flowers (Burgundy Dahlias or Anemones)
- An antique brass or dark stoneware bowl
- A kenzan (floral frog)
How to make it
- Place your floral frog (kenzan) at the bottom of a shallow bowl and secure it with a bit of waterproof floral putty. This allows for the dramatic, leaning angles that define a wild look.
- Start with your ‘spillers.’ Arrange vines so they drape over the edge of the bowl and touch the table surface, creating a sense of growth and movement.
- Add your ‘thrillers.’ These are your tall, wild elements like grasses. Place them off-center to create an asymmetrical, wind-swept silhouette.
- Tuck in your ‘fillers’—the dark, moody blooms—at the base of the grasses. Use varying depths so some flowers are tucked deep while others pop out toward the viewer.
- The visual cue for doneness here is ‘controlled chaos.’ If it looks too perfect, pull a few stems out further. It should feel like it has room to grow.
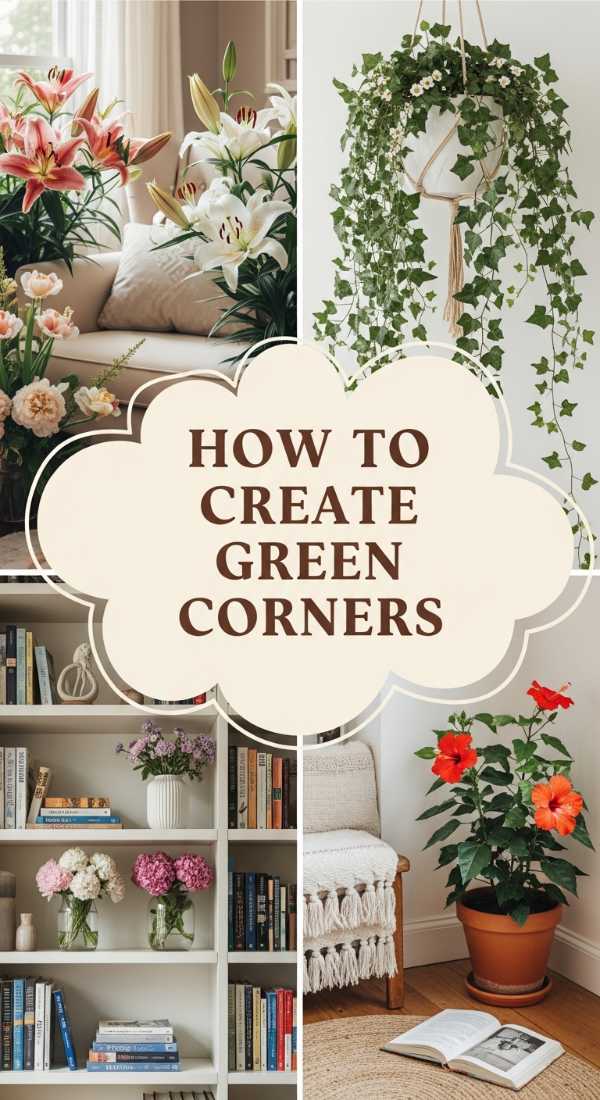
How to Build a Botanical Nook for Daily Peace
Why we love this
A botanical nook is a dedicated corner of your home designed for quiet reflection, reading, and reconnection. We love this because it creates a ‘micro-environment’ that feels distinct from the rest of the house. By layering different types of floral life—from dried wreaths on the wall to fresh bud vases on a floating shelf—you create a 360-degree sensory experience. It’s a place where the scent of eucalyptus and the sight of green leaves act as a natural stress-reducer, providing a daily dose of ‘forest bathing’ without leaving your armchair.
Essential Elements:
- Floating shelves or a dedicated side table
- A mix of heights (potted plants and cut flowers)
- Terrariums or glass cloches
- Comfortable seating and a soft throw
How to make it
- Identify a corner with consistent, indirect sunlight. This is the ‘heat level’ for your nook—too much sun will wilt cut flowers, while too little will make potted plants leggy.
- Layer your heights. Place a tall, structural plant (like a Fiddle Leaf Fig) on the floor and a medium-sized vase of seasonal blooms on the table.
- Incorporate glass cloches over single dried roses. This adds a ‘curated museum’ feel and protects the delicate dried petals from dust and humidity.
- Introduce a variety of textures. Combine the waxy leaves of a Pothos with the soft, ruffled petals of Ranunculus to create visual interest.
- Visual cue: The nook is complete when it feels like an ‘enclosure.’ You should feel surrounded by nature when you sit in your chair, with greenery at eye level and peripheral view.
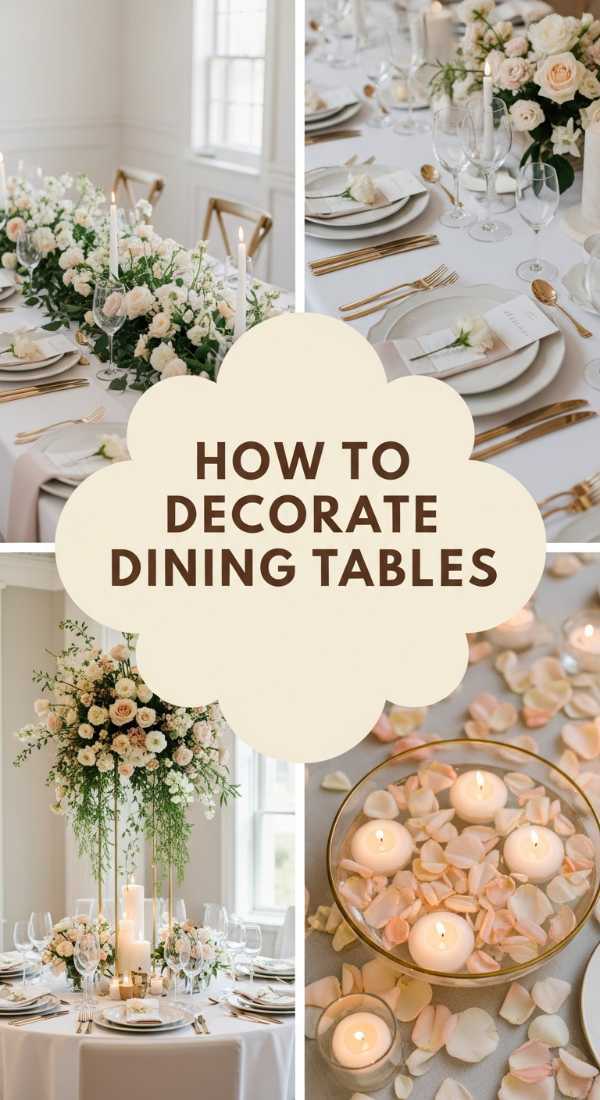
How to Set a Stunning Table for Unforgettable Dinners
Why we love this
Food is the body of a dinner party, but flowers are the soul. We love a well-styled table because it shows your guests that you’ve prepared the space specifically for them. A low, lush runner of flowers allows for easy conversation without guests having to peek through a forest of stems. The colors of the flowers can be chosen to complement the meal—think citrus-toned marigolds for a Mediterranean feast or deep reds for a cozy winter roast—making the entire evening feel like a cohesive, curated event.
Essential Elements:
- Low-profile containers (like cigar boxes or small bowls)
- Seasonal blooms that match your menu theme
- Unscented tea light candles
- Fabric table runner (linen or gauze)
How to make it
- Keep it low. The most important rule for table styling is that the arrangement should not exceed 6-8 inches in height. This ensures guests have a clear line of sight for conversation.
- Lay your fabric runner first, bunching it slightly to create ‘nests’ for your small flower containers.
- Cluster 3-5 small vessels down the center of the table. Using odd numbers is more pleasing to the eye and creates a natural flow.
- Use ‘low-fragrance’ flowers. You don’t want the scent of the flowers to compete with the aroma of the food. Tulips, Ranunculus, and Hydrangeas are excellent choices.
- Intersperse tea lights between the vases. The visual cue for doneness is the ‘glow factor’—when the candles are lit, the petals should catch the light and cast soft, dancing shadows on the plates.
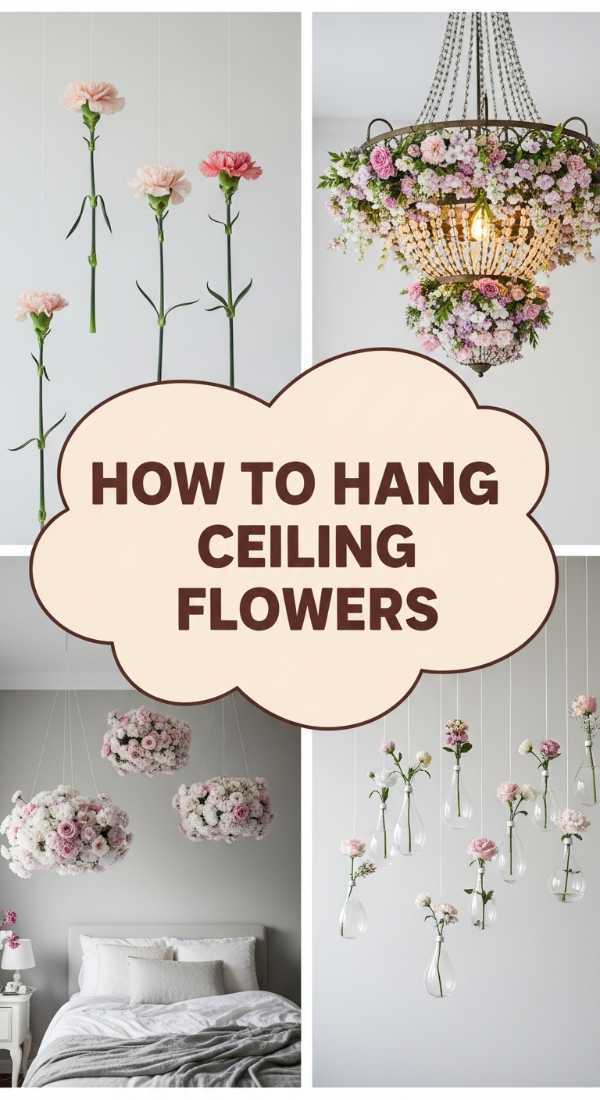
How to Install Floating Petals for Magical Moments
Why we love this
Floating petals are pure whimsy and magic. We love this technique because it feels high-end and spa-like, yet it is incredibly simple to execute. Whether it’s a bowl of floating gardenias in the entryway or rose petals in a bath, the sight of flowers suspended on water is instantly calming. The water reflects the colors of the petals, doubling their visual impact, and because the stems are submerged or the heads are directly on the water, they stay hydrated and vibrant for a surprisingly long time.
Essential Elements:
- A wide, shallow crystal or ceramic bowl
- Flat-headed flowers (Gardenias, Camelias, or open Roses)
- Distilled water
- Floating candles (optional)
How to make it
- Clean your bowl until it sparkles. Any dust will be magnified by the water. Fill it with room-temperature distilled water to avoid the cloudy appearance that tap water minerals can cause.
- Select flowers that are ‘flat-bottomed.’ Gardenias and fully bloomed roses work best because they have a natural buoyancy.
- Trim the stem completely off, right at the base of the calyx (the green part holding the petals). If you leave even a half-inch of stem, the flower will tip over and sink.
- Place the flowers gently onto the surface of the water, starting from the center and working your way out. Leave enough space for the water to be seen between the blooms.
- If using floating candles, place them last. Visual cue: The arrangement is ‘done’ when the petals drift slightly but don’t overlap, creating a serene, kaleidoscopic effect.
How to Bring Outdoor Magic for Indoor Vibrancy
[IMAGE_10]
Why we love this
Sometimes, the best decor isn’t a traditional flower at all, but a massive, leafy branch or a tall spray of wild berries. We love this ‘outdoor magic’ approach because it brings a sense of grand scale and architectural vibrancy into the home. It’s about celebrating the ruggedness of nature. A large floor vase filled with blossoming cherry branches or autumn maple leaves can change the entire energy of a room, making the ceiling feel higher and the space feel more connected to the changing seasons outside your window.
Essential Elements:
- Oversized floor vase (heavy enough to not tip)
- Long branches (Cherry blossom, Forsythia, or Magnolia)
- Hammer or heavy-duty pruners
- Clear rocks or heavy marbles for weight
How to make it
- Choose a heavy vessel. Tall branches act like sails and will tip a light vase. Fill the bottom third with heavy marbles or rocks to lower the center of gravity.
- ‘Condition’ the branches. Unlike soft flower stems, woody branches need a different technique. Use a hammer to gently smash the bottom two inches of the branch. This splits the wood and allows the branch to soak up water through the tough outer bark.
- Use the ‘two-third’ rule. For a dramatic look, the branches should be significantly taller than the vase, reaching up toward the ceiling.
- Strip any leaves or buds that would be underwater. This is even more important with branches, as woody rot happens quickly and smells strong.
- Visual cue for ‘doneness’: The arrangement should look like a small, stylized tree growing out of your floor. If it looks too thin, add more branches at the base to fill out the silhouette.
Conclusion
Styling your space with flowers is a journey of the senses, a way to weave the ephemeral beauty of nature into the fabric of your daily life. From the architectural boldness of a single stem to the wild, romantic sprawl of a meadow-inspired centerpiece, there is no right or wrong way to play with petals—only the way that makes your heart feel at home. I hope these ten chic ideas inspire you to pick up a pair of shears, find a beautiful vessel, and start writing your own floral poetry today. Remember, a home that blooms is a home that breathes.