
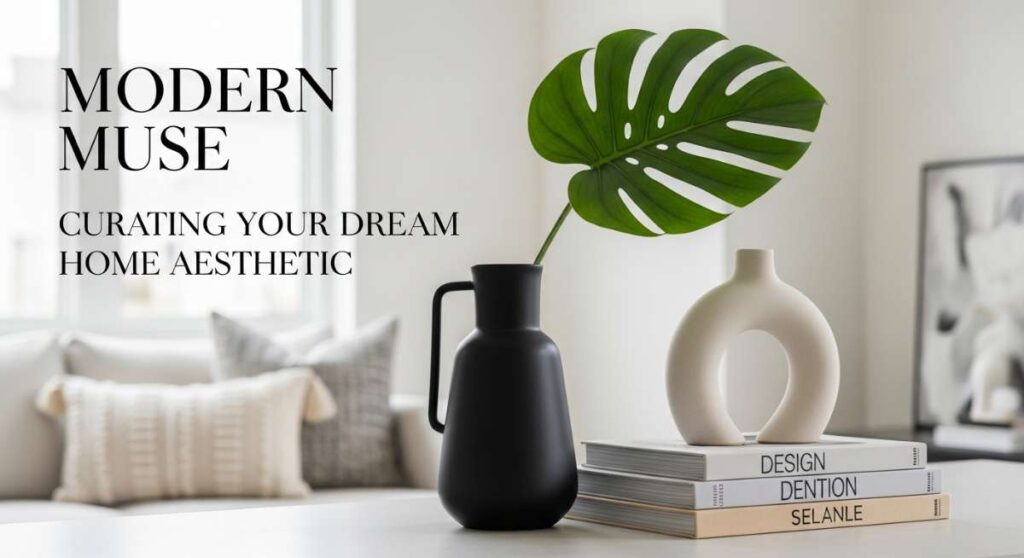
Modern Muse: Curating Your Dream Home Aesthetic
Have you ever walked through your front door and felt a sudden, heavy weight lift off your shoulders? That is the power of a curated home. For me, the journey of turning a house into a home wasn’t just about buying furniture; it was about capturing a feeling—the crisp scent of fresh eucalyptus, the soft glow of a perfectly placed lamp, and the quiet satisfaction of a workspace that actually inspires creativity. Your home is the physical manifestation of your inner world, and creating that ‘dream’ aesthetic is simpler than you might think.
In this guide, we are diving deep into the art of modern living. We’re moving beyond the clutter and focusing on intentionality. Whether it’s the way you style your morning coffee corner or how you organize your digital life, every small detail contributes to a larger symphony of style. Let’s explore how to transform every inch of your space—from the curb to your computer screen—into a sanctuary that feels uniquely you.
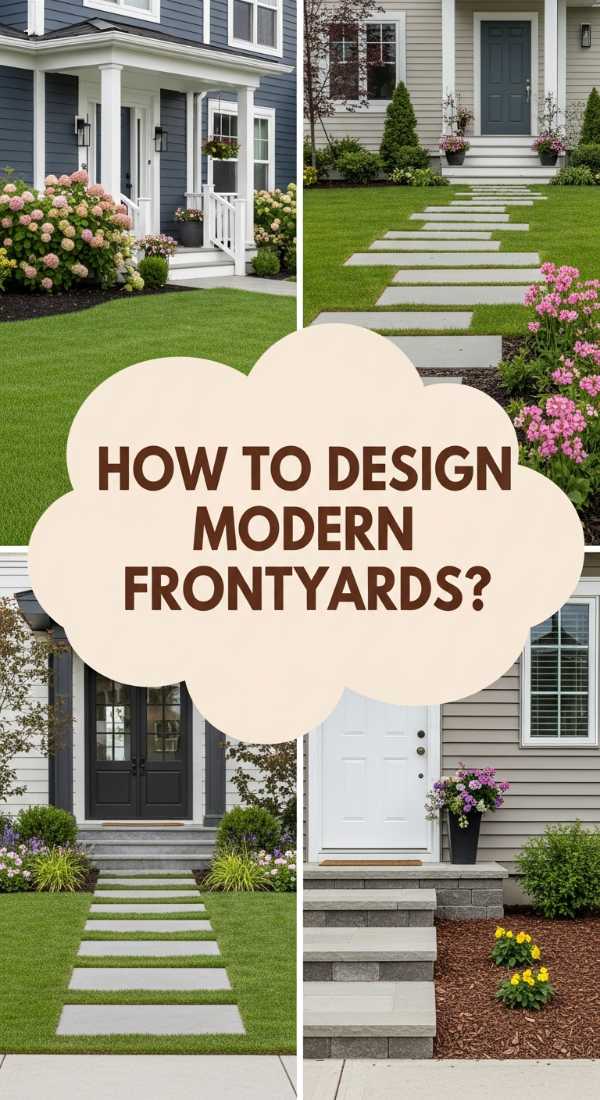
How to Create Simple Front Yard Landscaping for Instant Curb Appeal
Why we love this
There is nothing quite like the crisp, earthy aroma of fresh mulch and the sight of vibrant green foliage to greet you after a long day. This simple landscaping approach transforms a flat yard into a multi-dimensional masterpiece that feels expensive but remains incredibly welcoming. We love the way the structured lines of boxwoods contrast with the soft, swaying textures of ornamental grasses, creating a visual rhythm that draws the eye and makes every guest feel like they are entering a boutique retreat.
Essential Elements:
- Double-shredded hardwood mulch in dark brown or black
- Dwarf English Boxwoods for structure
- Perennial Lavender for scent and color
- Natural stone edging or steel landscape bordering
- Solar-powered warm-white pathway lights
How to make it
- Begin by defining your bed lines using a garden hose to map out organic, flowing curves; avoid harsh straight lines for a more modern, high-end look.
- Remove all existing grass and weeds within the marked area using a flat-head spade, ensuring you dig down at least 3 inches to clear out root systems.
- Amend the soil with organic compost to a depth of 6 inches, mixing thoroughly to ensure your new plants have the nutrients needed for rapid establishment.
- Place your ‘anchor’ plants—the boxwoods—roughly 2 feet apart to allow for growth, ensuring the root ball is level with the soil surface.
- Intersperse your lavender and grasses in the gaps, creating a ‘staggered’ pattern rather than a straight line to provide depth and texture.
- Apply a 3-inch layer of dark mulch across the entire bed, keeping it away from the base of the plant stems to prevent rot, and finish by installing your stone edging for a clean, professional boundary.
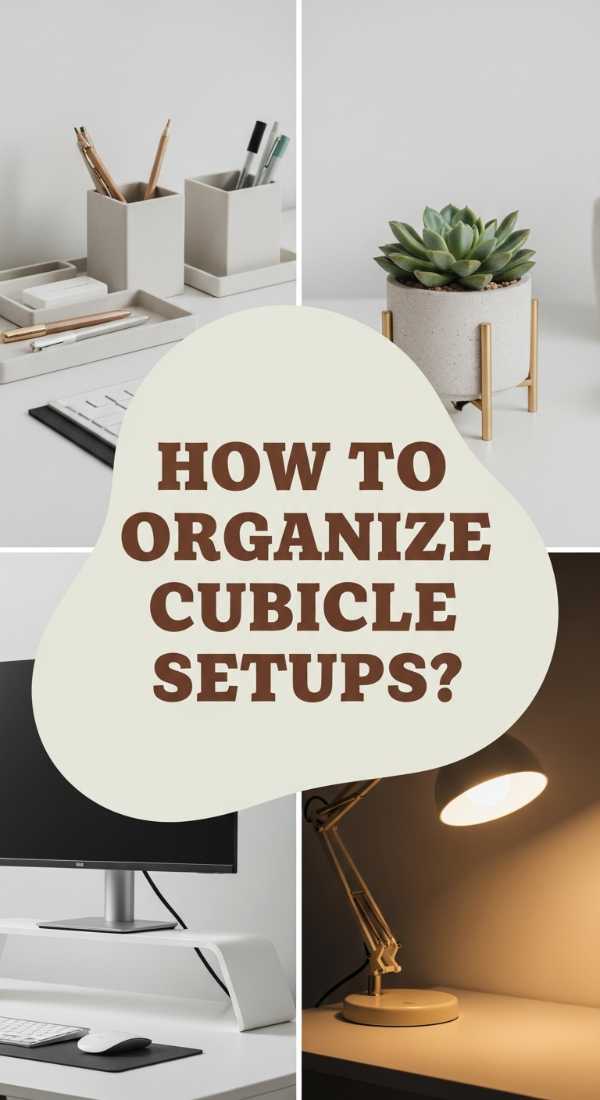
How to Style Your Small Work Cubicle for Maximum Daily Productivity
Why we love this
A cubicle doesn’t have to feel like a gray box; it can be a cozy cockpit of efficiency and style. By layering soft textures like a felt desk mat with the organic warmth of a small potted Pothos, you create a sensory environment that lowers cortisol and sparks focus. We love how the subtle scent of a nearby essential oil stone and the focused glow of a task lamp can turn a standard office desk into a private sanctuary where time seems to fly by in a state of pure flow.
Essential Elements:
- Large charcoal gray felt desk mat
- A ‘low-light’ indoor plant like a Snake Plant or Pothos
- Warm-toned LED clip-on desk lamp
- Noise-canceling headphones with a dedicated stand
- Minimalist acrylic or gold-toned organizer bins
How to make it
- Clear everything off your desk and wipe down all surfaces with a microfiber cloth to create a ‘blank slate’ that clears mental clutter.
- Place the felt desk mat in the center; this defines your primary work zone and provides a soft, warm texture for your forearms to rest on during long typing sessions.
- Position your monitor at eye level using a stand, and tuck your acrylic organizers underneath to maximize vertical space for pens and sticky notes.
- Add your plant to the corner of the cubicle furthest from your dominant hand to avoid accidental spills while adding a much-needed pop of living color.
- Install your warm-toned lamp to the side of the monitor, angling the light downward onto your documents to reduce eye strain from harsh overhead office fluorescents.
- Use cable clips to route all cords down the back of the desk legs, ensuring a sleek, ‘cord-free’ look that keeps your mind clear of visual distractions.
How to Select Bold JBL Speakers Wallpapers for a High Energy Phone Look

Why we love this
There is a specific, high-octane energy that comes from the marriage of tech and music, and bringing that to your phone screen is a total mood-booster. We love the way a high-contrast JBL-inspired wallpaper, with its signature bold orange and deep grilles, creates a tactile, industrial-chic vibe. It feels like you can almost hear the bass thumping and feel the vibration of the music through the screen, turning every notification into a moment of modern, energetic inspiration.
Essential Elements:
- High-resolution (4K) image files with macro-lens textures
- A palette of signature JBL Orange (#FF6600) and Matte Black
- Minimalist app icon pack in monochrome
- Custom widget for current music playback
How to make it
- Search for ‘Macro JBL Texture’ images that highlight the weave of the speaker fabric and the metallic sheen of the logo for a high-depth visual effect.
- Open your phone’s display settings and select the ‘Perspective Zoom’ or ‘Depth Effect’ option to make the speaker logo pop out from the background.
- Adjust the saturation of the wallpaper in your photo editor, bumping it up by 15% to ensure the orange tones are vivid and ‘glow’ against the black OLED screen.
- Organize your home screen by moving all icons to a second page, leaving the first page clear for a large ‘Now Playing’ widget that complements the musical theme.
- Set your lock screen to a darker version of the same image to create a seamless, professional transition when you unlock your device.
How to Build an Affordable Pool Deck for Summer Backyard Relaxation

Why we love this
Imagine the feel of sun-warmed wood beneath your bare feet and the rhythmic sound of splashing water as you lounge in your own backyard. This budget-friendly deck design brings that luxury resort feeling home without the five-figure price tag. We love the way the natural grain of pressure-treated pine, when stained a deep walnut, mimics the look of expensive hardwoods, providing a sturdy, stylish platform for sunbathing, reading, and sipping iced tea under the summer sun.
Essential Elements:
- Pressure-treated 2×4 and 2×6 lumber
- Deck screws with a ceramic coating to prevent rust
- Concrete deck blocks for a ‘floating’ foundation
- Walnut or Cedar semi-transparent exterior stain
- Outdoor string lights for evening ambiance
How to make it
- Measure the perimeter of your above-ground pool and mark a rectangular area for the deck, ensuring you leave a 1/2-inch gap between the deck and the pool wall for expansion.
- Place concrete deck blocks every 4 feet across the marked area; these act as your foundation and eliminate the need for digging deep post holes.
- Install your 2×6 rim joists into the slots of the deck blocks, using a 4-foot level to ensure the entire frame is perfectly flat to prevent water pooling.
- Lay your 2×4 decking boards across the frame, using 16-penny nails as spacers between each board to ensure even drainage and air circulation.
- Secure each board with two screws at every joist, countersinking them slightly so they sit just below the wood surface to prevent toe-snags.
- Sand the entire surface with 80-grit sandpaper to remove splinters, then apply two thin coats of stain with a long-handle roller for a uniform, rich finish.
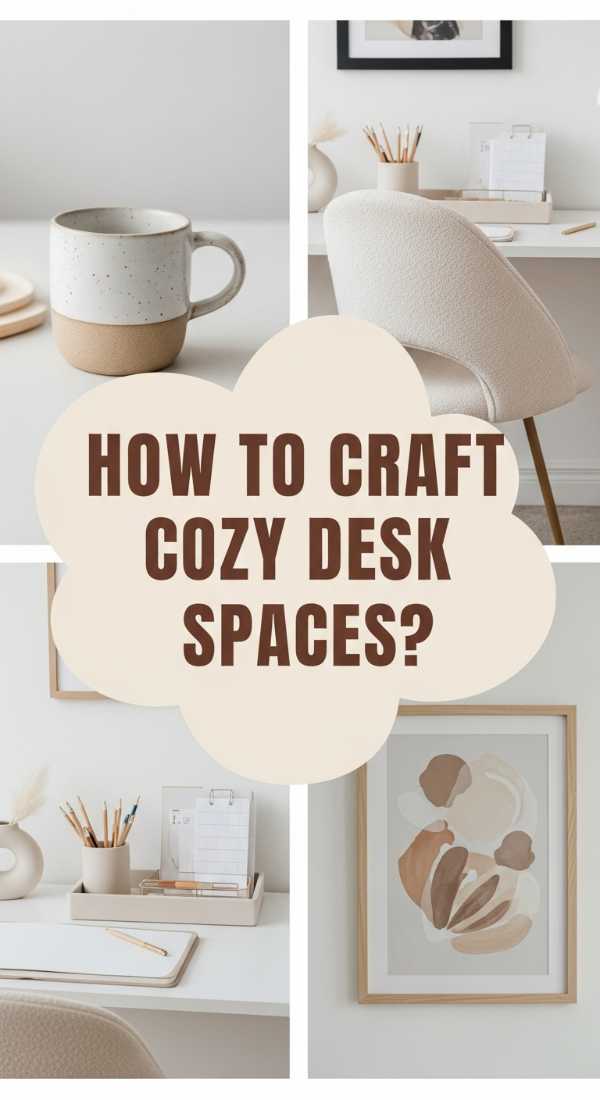
How to Personalize Your Office Desk Setup for a Cozy Work Vibe
Why we love this
Transforming your desk from a cold workstation into a cozy ‘nook’ is the ultimate self-care move for the modern professional. We love the juxtaposition of sleek technology with ‘hygge’ elements like a ceramic mug of steaming tea, a linen-bound journal, and a soft, knitted throw draped over the chair. It creates a multi-sensory environment where the click-clack of the keyboard feels less like work and more like a satisfying creative rhythm within a space that truly reflects your soul.
Essential Elements:
- Solid wood desk surface (oak or walnut)
- Ceramic candle in a ‘Santal’ or ‘Sea Salt’ scent
- Linen-wrapped cord organizers
- Adjustable monitor arm for ergonomic height
- Small framed personal polaroid or art print
How to make it
- Start by positioning your desk near a natural light source, such as a window, to keep your circadian rhythm in check and provide beautiful side-lighting for video calls.
- Swap out plastic accessories for natural materials; replace your mousepad with a leather one and use a wooden tray to corral your pens and paperclips.
- Incorporate a ‘sensory anchor’—a high-quality scented candle or a small essential oil diffuser—to associate a specific pleasant aroma with your peak focus hours.
- Cable management is key: use a mounting strip under the desk to hide power bricks and run all cables through a single sleeve for a ‘zero-clutter’ visual.
- Drape a textured throw blanket over the back of your ergonomic chair to soften the ‘office’ look and provide warmth during chilly mornings.
How to Design Low Maintenance Garden Beds for a Beautiful Home Exterior

Why we love this
There is a quiet elegance in a garden that thrives with minimal interference, allowing you to enjoy the beauty of nature without the weekend-long chore list. We love the use of ‘hardscaping’ elements like river rocks and slate paired with drought-resistant succulents and perennials. It creates a clean, architectural look that provides year-round interest—from the silvery blues of hostas to the rugged texture of volcanic rock—ensuring your home looks polished and intentional through every season.
Essential Elements:
- Professional-grade landscape fabric (weed barrier)
- Smooth river pebbles or crushed slate
- Drought-tolerant plants like Sedum, Hosta, or Coneflower
- Drip irrigation kit with an automatic timer
- Low-profile metal landscape edging
How to make it
- Excavate the bed area to a depth of 4 inches and grade the soil slightly away from the house foundation to ensure proper water runoff.
- Lay down a heavy-duty woven weed barrier, securing it with landscape staples every 12 inches to prevent any unwanted growth from pushing through your stones.
- Cut ‘X’ shapes into the fabric where you want your plants to live, then dig your holes and plant your perennials directly into the soil beneath the fabric.
- Install a simple drip irrigation line that snakes between the plants; this ensures water goes directly to the roots and reduces evaporation.
- Pour your river rocks or slate over the fabric to a depth of 2 inches, using a rake to level the surface and hide the irrigation lines.
- Apply a final rinse with a garden hose to wash the dust off the rocks, revealing their true colors and giving the bed an instant ‘just-installed’ shine.
How to Find Sleek Tech Backgrounds for the Ultimate Music Lover Aesthetic

Why we love this
For those who live and breathe music, your digital background should feel like a visual extension of your favorite playlist. We love the ‘dark-mode’ aesthetic where deep charcols meet neon ‘soundwave’ pulses, creating a look that is both futuristic and deeply personal. It’s like having a private neon-lit studio in the palm of your hand, where every swipe of the screen feels like a transition between tracks in a perfectly mixed set.
Essential Elements:
- Visualizer-style graphics with high contrast ratios
- A minimalist ‘Now Playing’ widget with transparency
- Dark-themed system icons (iOS or Android custom packs)
- A custom wallpaper with ‘grain’ or ‘noise’ texture for a lo-fi feel
How to make it
- Visit design platforms like Behance or Dribbble and search for ‘UI Music Concept’ to find high-end backgrounds that incorporate waveforms and record player aesthetics.
- Select a background with a dark, moody base color—this reduces blue light strain and makes your music app widgets stand out more clearly.
- Apply a subtle ‘blur’ effect to the home screen version of the wallpaper using a photo editor; this keeps the focus on your icons while maintaining the color palette.
- Use a widget app to create a custom ‘Vinyl’ player on your home screen that rotates when music is playing, matching the aesthetic of your background.
- Sync your phone’s ‘Accent Color’ in the settings menu to match the primary neon color in your wallpaper for a fully integrated, professional OS look.
How to Refurbish Your Outdoor Swim Space for a Budget Friendly Vacation Feel

Why we love this
You don’t need a five-star hotel to enjoy a poolside paradise; you just need a little sweat equity and a vision. We love the transformation of a tired, sun-bleached concrete pool deck into a Mediterranean escape using cool-toned masonry paint and oversized planters. The feeling of stepping out into a space that smells of sunblock and citronella, with the sparkling blue water reflecting off freshly painted white walls, is the ultimate way to reclaim your summer without leaving your zip code.
Essential Elements:
- Slip-resistant concrete deck paint in a light sand or ‘cool’ gray
- Large ceramic planters with tropical palms (like Majesty Palms)
- Striped Turkish cotton pool towels for a boutique look
- Waterproof outdoor rugs with geometric patterns
- Solar-powered floating pool lights
How to make it
- Pressure wash the entire concrete area around the pool to remove old paint flakes, algae, and dirt, allowing it to dry for at least 48 hours.
- Apply a concrete primer to any bare spots to ensure the new paint bonds properly and won’t peel under the harsh summer sun.
- Roll on two coats of slip-resistant masonry paint, working in small 4×4 foot sections to ensure even coverage and no visible roller marks.
- Arrange your oversized planters in groups of three of varying heights to create ‘mini-jungles’ that provide privacy and a tropical vibe.
- Lay down a large outdoor rug in a sitting area to define the space and provide a soft place for bare feet to land when getting out of the water.
- Finish by hanging string lights in a zig-zag pattern overhead, securing them to poles or the side of the house to create a warm, magical evening glow.
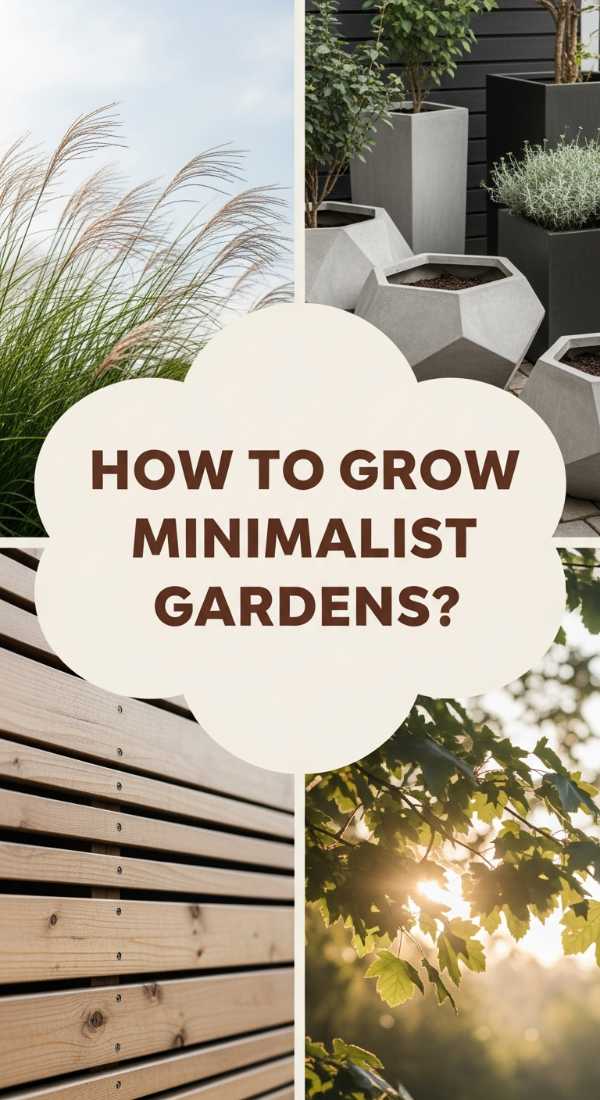
How to Arrange Modern Greenery for a Minimalist Yard Experience
Why we love this
Minimalism in the yard is about the ‘breath’ between the plants—the negative space that allows the eye to rest and appreciate the individual beauty of each leaf and branch. We love the architectural silhouette of a single, well-placed Japanese Maple against a white wall, or the zen-like calm of a row of identical ornamental grasses. It’s a sophisticated, ‘less is more’ approach that feels like a living art gallery, offering a sense of order and peace in an often chaotic world.
Essential Elements:
- Symmetrical plant pairings (matching pairs)
- Monochromatic color palette (mostly greens and whites)
- Clean-lined containers in matte black or concrete
- White marble chips or gray gravel for ground cover
- Spotlight lighting to highlight plant silhouettes at night
How to make it
- Identify three ‘focal points’ in your yard—usually the corners or the space directly adjacent to the entrance—and clear away all clutter.
- Choose ‘sculptural’ plants like Agave, Boxwood balls, or Pencil Hollies that maintain their shape naturally without frequent pruning.
- Install your plants in a perfectly straight line or a grid pattern, using a string line to ensure every container or trunk is exactly aligned.
- Replace messy mulch with white marble chips or dark lava rock to create a stark, high-contrast background that makes the green foliage ‘pop.’
- Install low-voltage uplights at the base of your focal plants, angling the beam upward to cast dramatic shadows against your home’s exterior walls.
- Keep the maintenance schedule strict but simple: a quick 10-minute trim once a month to maintain those sharp, minimalist lines.
How to Optimize Your Hardware Layout for an Improved Work Flow

Why we love this
There is a profound sense of satisfaction that comes from a workspace where everything is exactly where it should be—where your hand reaches for the mouse or the notepad and finds it instinctively. We love the ‘cockpit’ feel of a dual-monitor setup that is perfectly angled to match your peripheral vision. When your hardware layout is optimized, the friction between your thoughts and your output disappears, leaving you in a state of empowered productivity where your tools feel like an extension of your own body.
Essential Elements:
- Dual monitor arms with 360-degree rotation
- Mechanical keyboard with ‘tactile’ switches for sensory feedback
- Vertical mouse to reduce wrist strain
- Under-desk cable management tray
- Dedicated charging station for peripheral devices
How to make it
- Sit in your chair and extend your arms; your primary monitor should be exactly one arm’s length away, with the top of the screen at eye level.
- Place your keyboard and mouse so that your elbows are at a 90-degree angle, preventing shoulder tension and long-term fatigue.
- Mount your monitors on adjustable arms to clear up desk real estate, allowing you to slide your keyboard under the screens when you need to use the desk for writing.
- Route all cables through the monitor arms and into a ‘J-channel’ mounted to the back of the desk, ensuring no wires are hanging near your feet.
- Position your most-used hardware (like a stream deck or tablet) on your non-dominant side to encourage balanced movement and keep your primary side clear for mouse movement.
- Finish by setting up a dedicated ‘charging zone’ at the far edge of the desk for your phone and headphones, keeping them accessible but out of the primary work area.
The Final Touch: Living Your Aesthetic
Curating your dream home aesthetic isn’t a one-time project; it’s an ongoing practice of choosing what brings you peace and productivity. By focusing on these small but impactful changes—from the way your phone looks to the way your garden grows—you are building a life that feels as good as it looks. Remember, the ‘Modern Muse’ isn’t about perfection; it’s about intentionality. Start with one section, feel the difference it makes in your daily mood, and let that inspiration carry you through the rest of your home. Happy styling!