
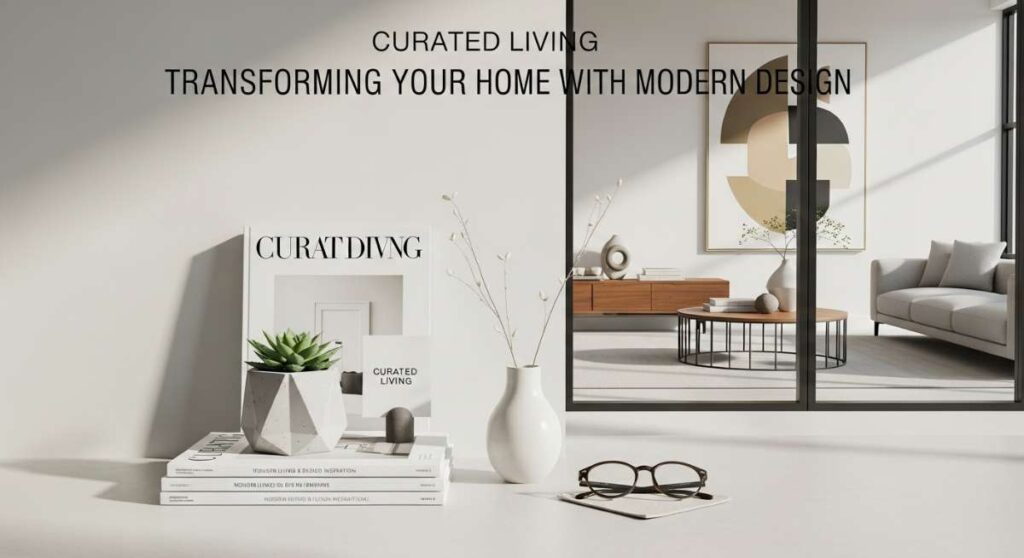
Curated Living: Transforming Your Home with Modern Design
There is a profound, quiet magic in walking through your front door and feeling an immediate sense of alignment. It is that soft exhale when you see the sunlight hitting a perfectly placed vase, or the way your favorite rug feels underfoot after a long day. Our homes are more than just four walls; they are the living, breathing canvases of our lives, reflecting our journeys, our peace, and our wildest dreams. When we curate our spaces with intention, we aren’t just decorating; we are crafting an environment that nurtures our souls and inspires our best selves.
I remember the first time I truly decided to ‘curate’ rather than just ‘fill’ a room. I realized that design isn’t about expensive price tags; it’s about the texture of a linen throw, the aroma of a cedarwood candle, and the way a well-placed plant can breathe life into a forgotten corner. It’s about creating moments of joy in the mundane. In this guide, I’m sharing my favorite ways to elevate every inch of your home, from the curb to the quietest corner of your office, so you can transform your everyday living into an art form.
How to Elevate Your Front Yard with Simple Landscaping for Instant Curb Appeal

Why we love this
There is something incredibly welcoming about a home that greets you before you even reach the door. We love this approach because it uses the raw, earthy scent of fresh mulch and the vibrant, velvety textures of perennial blooms to create a sensory greeting. The sight of clean, crisp edges against a lush green lawn provides an immediate sense of order and tranquility, making your home feel like a sanctuary from the very first glance. It’s about that ‘welcome home’ feeling that starts the moment your car pulls into the driveway.
Essential Elements:
- Hardwood dark mulch for contrast.
- Natural stone or metal edging.
- A mix of ‘thriller, filler, and spiller’ plants (e.g., Boxwoods, Hostas, and Creeping Jenny).
- Solar-powered warm LED path lights.
- A heavy-duty spade and gardening gloves.
How to make it
- Begin by defining your bed edges using a garden hose to create a soft, flowing curve; this visual guide ensures a professional, organic look. Use a sharp spade to cut a 3-inch deep trench along the line, removing the grass and creating a ‘V’ shape that prevents lawn encroachment.
- Aerate the soil within the bed by turning it over with a garden fork to a depth of 6 inches, breaking up heavy clumps until the texture is fine and crumbly. Mix in organic compost to enrich the soil, ensuring a nutrient-dense environment for your new plantings.
- Position your largest ‘thriller’ plants (like a Japanese Maple or tall Boxwood) in the back or center, ensuring they are planted at the same depth they were in their nursery pots. Tease the roots gently before placing them to encourage outward growth.
- Surround the focal points with ‘fillers’ (like Lavender or Hostas) and ‘spillers’ near the edges. Space them according to their mature width, not their current size, to avoid overcrowding.
- Apply a 2-to-3-inch layer of dark mulch over the entire bed, keeping it a few inches away from the base of plant stems to prevent rot. Finish by installing path lights at 4-foot intervals, angled slightly toward the walkway to create a soft, inviting glow.
How to Style a Chic Office Desk Setup for a Productive Work Cubicle

Why we love this
A curated desk is the ultimate productivity hack. We adore how a chic setup balances the sleek, cool touch of a marble organizer with the warm, golden glow of a task lamp. The faint aroma of a nearby essential oil diffuser—perhaps peppermint or eucalyptus—sharpens the mind while the visual harmony of a coordinated color palette reduces mental clutter. It transforms a standard cubicle into a personal headquarters where creativity feels effortless and every tool is exactly where it should be.
Essential Elements:
- A high-quality vegan leather desk mat.
- Ergonomic monitor riser in wood or acrylic.
- A low-maintenance desk plant (like a Snake Plant or Pothos).
- Minimalist cable management clips.
- A signature ceramic mug and a scented candle.
How to make it
- Start with a clean slate by removing everything from the desk and wiping the surface with a microfiber cloth to remove dust and static. Place your large desk mat dead-center; this defines your primary workspace and provides a soft, warm texture for your forearms.
- Position your monitor so the top third of the screen is at eye level, using a riser to prevent neck strain. Ensure the monitor is exactly an arm’s length away to reduce eye fatigue.
- Organize your tech by routing all cables through clips or a sleeve behind the desk. Hide power strips in a cable box to maintain a visual ‘quietness’ across the surface.
- Layer your accessories by placing the tallest items (like a lamp or plant) in the back corners. Group smaller items like pens and paperclips in a single tray to prevent ‘desk creep.’
- Incorporate a ‘sensory anchor’—a small candle or a tactile stone—on your non-dominant side. This provides a focal point for brief mental breaks during high-stress tasks.
How to Create a High Tech Vibe with JBL Speakers Wallpapers for the Ultimate Media Room
Why we love this
This is where sound meets sight in a spectacular display of modern engineering. We love the futuristic feel of integrating high-fidelity audio with digital aesthetics. Imagine the room bathed in a soft blue neon light, reflecting off the crisp lines of a JBL-themed wallpaper that echoes the powerful, bass-heavy vibrations of your sound system. The air feels charged with energy, and the visual symmetry of the speaker icons on a massive screen creates a professional, studio-grade atmosphere that makes every movie night feel like a world premiere.
Essential Elements:
- JBL Surround Sound System (Bar 9.1 or similar).
- High-resolution 4K or 8K digital wallpapers.
- Smart LED backlighting strips (RGBIC).
- Acoustic foam panels with geometric designs.
- Ultra-High-Speed HDMI 2.1 cables.
How to make it
- Calibrate your JBL speakers using the built-in ‘Room Calibration’ feature. This ensures the sound waves bounce off your specific wall textures and furniture to create a perfect ‘sweet spot’ in the center of the room.
- Select a high-resolution wallpaper that features iconic JBL orange accents or sleek metallic textures. Upload this to your media server or smart TV, ensuring the aspect ratio matches your screen perfectly to avoid pixelation.
- Install LED strips behind the screen and the speakers. Set the ‘Sync’ mode so the lights pulse in rhythm with the bass frequencies, creating a physical manifestation of the sound.
- Mount acoustic panels on the first reflection points—the spots on the side walls where the sound first hits. This sharpens the audio clarity, making dialogue crisp and music immersive.
- Fine-tune the equalizer (EQ) settings on your system. Boost the ‘Low’ frequencies slightly for that cinematic rumble, and keep ‘Mids’ clear to ensure the high-tech wallpapers and high-tech sound are in perfect harmony.
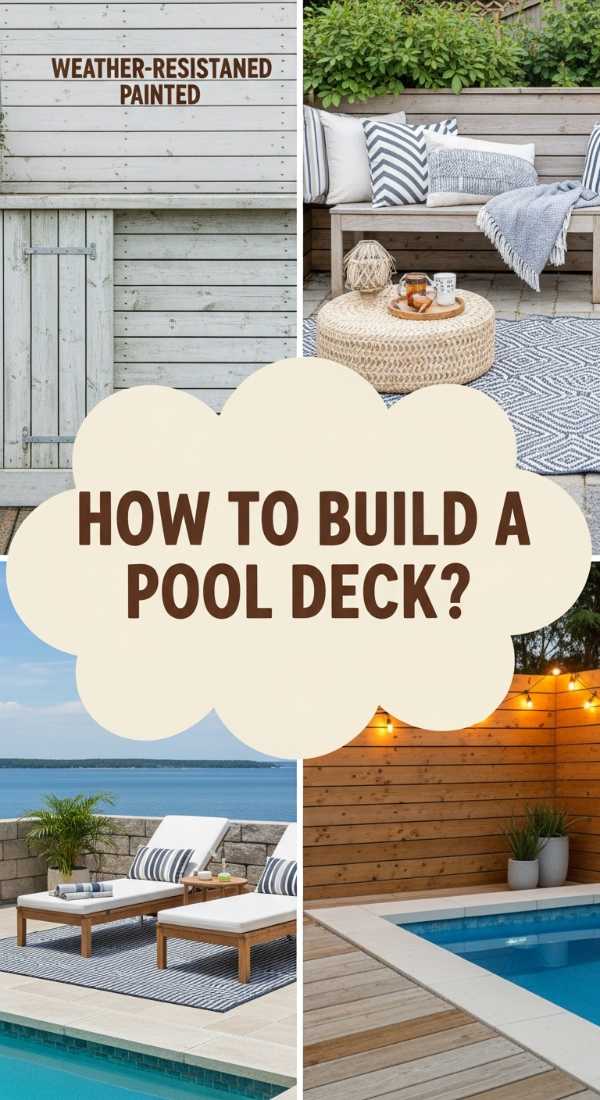
How to Build a Budget Friendly Oasis with Cheap Pool Deck Ideas for Summer Relaxation

Why we love this
Summer is a state of mind, and we love how a budget-friendly deck can feel like a five-star resort without the heavy price tag. There is a rustic charm in the feel of stained wood under bare feet and the sound of water gently lapping against the side of the pool. By using affordable materials like pressure-treated pine or composite tiles, you create a space that smells of cedar and sunblock—a place where time slows down and the only thing on the agenda is a cold lemonade and a good book.
Essential Elements:
- Interlocking deck tiles or pressure-treated wood planks.
- Exterior-grade wood stain or weather sealant.
- Outdoor rugs in natural jute or polypropylene.
- String ‘Edison’ lights for ambiance.
- Potted palms or oversized ferns.
How to make it
- Prepare the ground by leveling the area around the pool. If building on soil, lay down a weed barrier fabric and a thin layer of leveled gravel to provide a stable, draining base for your deck frame.
- Construct a simple box frame using 2×4 pressure-treated joists spaced 16 inches apart. Check for levelness constantly; a slight 1-degree slope away from the pool is ideal to prevent water from pooling.
- If using interlocking tiles, simply snap them together starting from the pool edge and working outward. If using planks, leave a 1/8-inch gap between boards (using a spacer) to allow for wood expansion and drainage.
- Apply a high-quality sealant using a long-handle roller. Work in the direction of the grain, ensuring the sealant ‘saturates’ the wood for maximum water resistance. Let it cure for a full 48 hours.
- Layer the space with an outdoor rug to define the ‘lounge zone’ and hang string lights in a zig-zag pattern overhead. Use zip ties to secure lights to posts, ensuring they are high enough to be out of the splash zone.
How to Add Instant Privacy with Vinyl Lattice Panels for a Secluded Backyard Retreat

Why we love this
Privacy is the ultimate luxury in a modern world. We love vinyl lattice because it offers a delicate, airy feel while providing a solid boundary from the outside world. The white or wood-grain finish provides a clean, architectural backdrop for climbing roses or ivy, creating a ‘living wall’ that smells of jasmine and fresh rain. It transforms a standard backyard into a secret garden, a secluded nook where you can enjoy your morning coffee in your pajamas without a care in the world.
Essential Elements:
- 4×8 Vinyl lattice panels (thick grade for durability).
- Pressure-treated 4×4 posts and 2×4 framing rails.
- Vinyl-coated screws (to prevent rust).
- Climbing plants like Clematis or Wisteria.
- Post-hole digger and quick-set concrete.
How to make it
- Mark your post locations every 4 or 8 feet. Dig holes 24 inches deep, ensuring the bottom is below the frost line. Set your 4×4 posts in the holes, fill with quick-set concrete, and use a level to ensure they are perfectly vertical as they dry.
- Construct a ‘picture frame’ between the posts using 2×4 rails at the top and bottom. This provides the structural support the vinyl needs to prevent sagging or warping in the summer heat.
- Pre-drill holes in the vinyl lattice panels. This is crucial: vinyl expands and contracts with the temperature, so the holes should be slightly larger than the screw to allow for movement without cracking.
- Secure the lattice to the frame using the vinyl-coated screws. Space the screws every 12 inches along the perimeter. Leave a small gap (1/4 inch) between the edge of the lattice and the post for expansion.
- Plant your climbers at the base of the lattice. Gently weave the first few tendrils into the diamonds of the lattice to ‘train’ the plant to grow upward, creating a lush, green privacy screen over the coming season.
How to Design Vibrant Summer Table Centerpieces for an Unforgettable Garden Party
Why we love this
A great centerpiece is the heartbeat of a dinner party. We love the explosion of color—hot pinks, sunny yellows, and deep greens—that mimic a wild summer meadow. The fragrance of fresh lilies and eucalyptus mingles with the smell of grilled peaches and herb-infused cocktails, creating a heady, celebratory atmosphere. It’s a visual feast that encourages guests to lean in, linger over their wine, and lose themselves in the magic of a warm summer evening under the stars.
Essential Elements:
- A low-profile wooden trough or ceramic vessel.
- Wet floral foam (Oasis).
- Seasonal blooms (Dahlias, Zinnias, and Sunflowers).
- Textural fillers (Eucalyptus, Queen Anne’s Lace).
- Floral shears and citrus slices for the water.
How to make it
- Soak your floral foam in water enriched with flower food until it is fully saturated (it will sink when ready). Fit the foam snugly into your vessel, trimming the edges so it sits an inch below the rim.
- Start with your ‘greenery base.’ Insert Eucalyptus or fern fronds at an angle around the edges of the foam to create a lush, wide shape. This hides the foam and provides the structural ‘skeleton’ for your flowers.
- Add your ‘focal flowers’ (the largest blooms). Cut the stems at a 45-degree angle to maximize water intake. Place them in a staggering pattern—some high, some low—to create depth and movement.
- Incorporate ‘secondary blooms’ in contrasting colors. If using pink Dahlias, add yellow Zinnias to create a vibrant, high-energy palette. Fill any remaining gaps with delicate ‘filler’ like Queen Anne’s Lace or baby’s breath.
- Finish by tucking in a few citrus slices or sprigs of mint for an extra pop of color and a fresh, summery aroma. Mist the entire arrangement with cool water to keep the petals turgid and vibrant throughout the party.
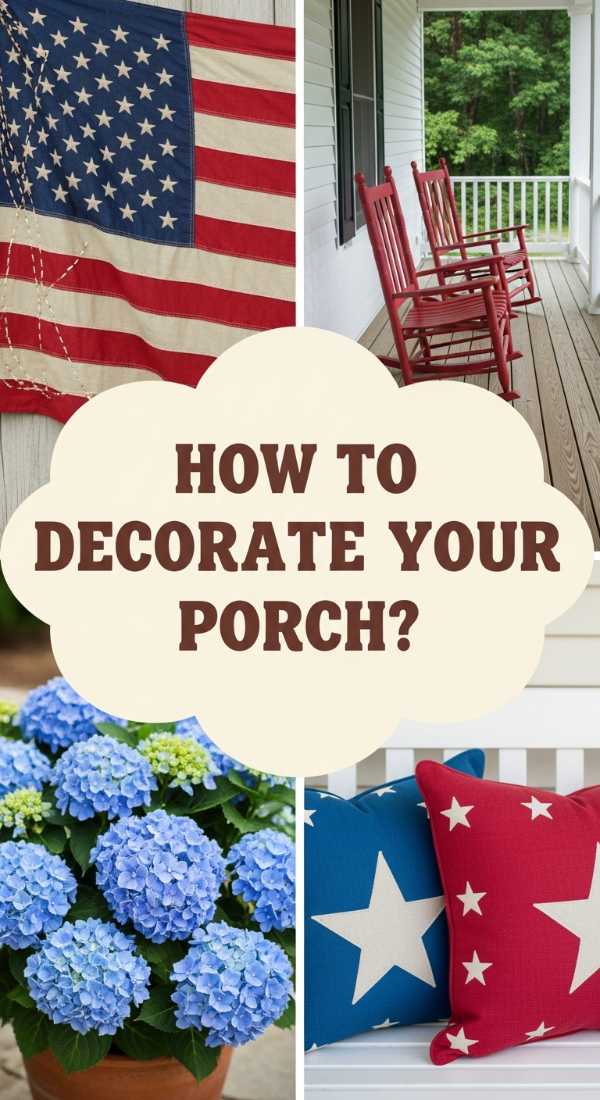
How to Decorate a Festive Patriotic Front Porch for a Classic American Welcome
Why we love this
There is a timeless, nostalgic comfort in red, white, and blue. We love how a patriotic porch feels like a celebration of community and heritage. The sight of a crisp cotton flag snapping in the breeze, paired with the rustic texture of wicker chairs and the soft scent of geraniums, evokes memories of parades and firework displays. It’s a classic look that feels both grand and humble, offering a warm, spirited welcome to everyone who passes by.
Essential Elements:
- A high-quality cotton American flag with a brass pole.
- Red and blue bunting for the railings.
- Classic white wicker or wooden rocking chairs.
- Potted red Geraniums and blue Lobelia.
- A seasonal ‘Welcome’ doormat.
How to make it
- Mount your flag bracket at a 45-degree angle on a sturdy porch pillar. Ensure the flag is high enough so it doesn’t touch the floor or any furniture, adhering to traditional flag etiquette.
- Drape pleated bunting across your porch railings. Start from the center and work your way out to ensure symmetry. Secure with hidden zip ties or outdoor-rated twine for a clean look.
- Arrange your seating in a ‘conversation circle.’ Add throw pillows in navy blue or red-and-white stripes to the chairs to add a soft, inviting texture to the hard wood or wicker.
- Place oversized terracotta pots on either side of the door. Plant the ‘thriller’ (red Geraniums) in the center and the ‘spiller’ (blue Lobelia) around the edges for a vibrant, patriotic floral display.
- Layer your doormats. Place a large, flat-weave navy rug underneath a smaller coir ‘Welcome’ mat. This adds visual weight and a ‘designer’ touch to your entryway.
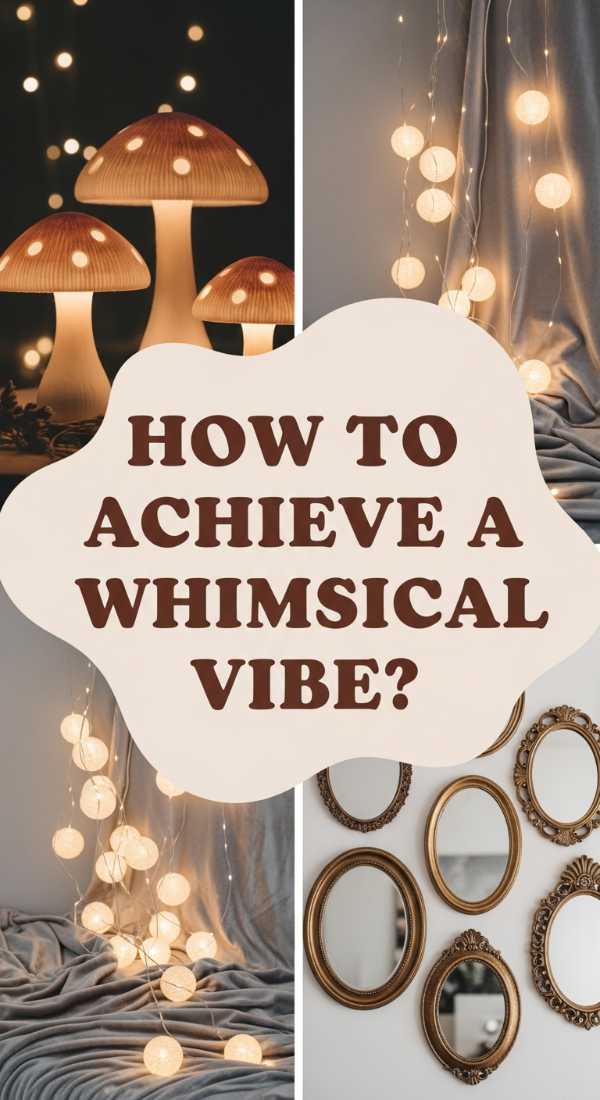
How to Achieve a Whimsical Apartment Aesthetic for a Dreamy Living Space

Why we love this
Whimsical design is about breaking the rules in the most charming way possible. We love the mix of soft, ethereal textures like faux fur and velvet combined with the twinkle of fairy lights that look like captured stars. The scent of lavender sachets and the sight of pastel-colored art pieces create a space that feels like a page from a storybook. It’s a dreamy, low-stress environment where your imagination can run wild and the ‘grown-up’ world feels a million miles away.
Essential Elements:
- Warm-toned LED fairy lights or ‘curtain’ lights.
- A mix of pastel-colored throw pillows (mint, blush, lilac).
- Floating shelves for displaying vintage curiosities.
- Sheer, iridescent window curtains.
- Peel-and-stick floral or celestial wallpaper.
How to make it
- Install sheer, light-filtering curtains high and wide over your windows. This softens the incoming light, creating a hazy, romantic glow throughout the day.
- Apply a ‘feature wall’ of peel-and-stick wallpaper behind your sofa. Choose a pattern with soft, organic shapes like clouds or watercolor florals to set the tone for the room.
- Drape fairy lights along the ceiling line or behind the sheer curtains. Use clear command hooks to keep the wires invisible, creating the illusion of floating lights.
- Layer your textures. Mix a chunky knit blanket with a smooth velvet pillow and a faux-sheepskin rug. This variety creates a tactile ‘landscape’ that feels cozy and curated.
- Curate your shelves with ‘oddities’—a brass magnifying glass, a dried flower under a glass cloche, or a stack of vintage books with the spines turned inward for a neutral, mysterious look.
How to Master a Serene Aquarium Setup for a Calming Home Atmosphere

Why we love this
An aquarium is a living piece of art. We love the rhythmic, bubbling sound of the filter and the slow, hypnotic movement of fish gliding through emerald-green plants. The soft blue light of the tank provides a perfect night-light, and the faint, clean smell of conditioned water and live moss creates a grounding, earthy atmosphere. It’s a focal point that lowers the heart rate and brings a literal piece of nature’s tranquility right into your living room.
Essential Elements:
- A rimless glass aquarium (10-20 gallons is a great start).
- Aquascaping substrate (active soil for plants).
- Live aquatic plants (Anubias, Java Fern, Moss balls).
- A silent, high-efficiency sponge or canister filter.
- Seiryu stone or driftwood for structural design.
How to make it
- Layer your substrate with a ‘slope’—higher in the back and lower in the front. This creates a sense of depth, making the tank look much larger than it actually is.
- Arrange your ‘hardscape’ (stones and driftwood) using the ‘Rule of Thirds.’ Place your main focal point slightly off-center to create a more natural, pleasing composition.
- Plant your live greenery using long tweezers. Place tall plants like Amazon Swords in the back and low-growing mosses or ‘carpeting’ plants in the foreground. Ensure roots are tucked firmly into the soil.
- Fill the tank slowly by pouring water over a small plate or saucer placed on the substrate. This prevents the water flow from uprooting your plants or disturbing the soil.
- Cycle the tank for at least 2 weeks before adding fish. Monitor the ammonia and nitrate levels daily using a test kit; when the ‘visual cue’ of clear, nitrogen-balanced water is achieved, slowly acclimate your fish to the temperature by floating their bag for 20 minutes before release.
How to Integrate Vinyl Lattice Panels into Modern Landscaping for Architectural Interest
[IMAGE_10]
Why we love this
Modern design is all about clean lines and unexpected textures. We love using vinyl lattice as an architectural element rather than just a fence. When painted in a bold charcoal or left in a crisp, high-gloss white, the geometric grid creates a stunning shadow play on the ground as the sun moves. It’s a sophisticated way to hide bulky AC units or trash bins while adding a layer of structural pattern that feels like a high-end art installation in your own backyard.
Essential Elements:
- Black or dark gray vinyl lattice panels.
- Aluminum U-channel frames for a sleek border.
- Heavy-duty landscape staples or stand-off brackets.
- Minimalist uplighting (LED spotlights).
- Decorative gravel or river stones.
How to make it
- Design a ‘floating’ screen by using stand-off brackets to mount the lattice panels 2 inches away from an existing wall. This creates a deep shadow line that emphasizes the geometric pattern.
- Encase the edges of the vinyl lattice in aluminum U-channels. This hides the ‘raw’ edges and gives the panel a finished, industrial-modern look that is much more durable than standard wood framing.
- Paint the lattice a dark, matte color like ‘Iron Ore’ or ‘Midnight.’ This makes the greenery of your plants pop and gives the vinyl a high-end, metallic appearance.
- Install a row of LED uplights at the base of the panel. Aim the beam upward at a 15-degree angle; at night, this highlights the texture of the lattice and creates dramatic architectural shadows.
- Finish the base with a clean border of white river stones. The contrast between the dark panel and the bright stones creates a crisp, professional finish that screams modern luxury.
Final Thoughts on Curated Living
Transforming your home isn’t a race; it’s a slow, beautiful evolution. Whether you are adding a privacy screen for your morning yoga or styling a desk that makes you feel like a CEO, remember that the goal is to create a space that reflects *you*. Every texture, scent, and color you choose is a building block for the life you want to lead. So take your time, enjoy the process, and let your home become the masterpiece it was always meant to be.