
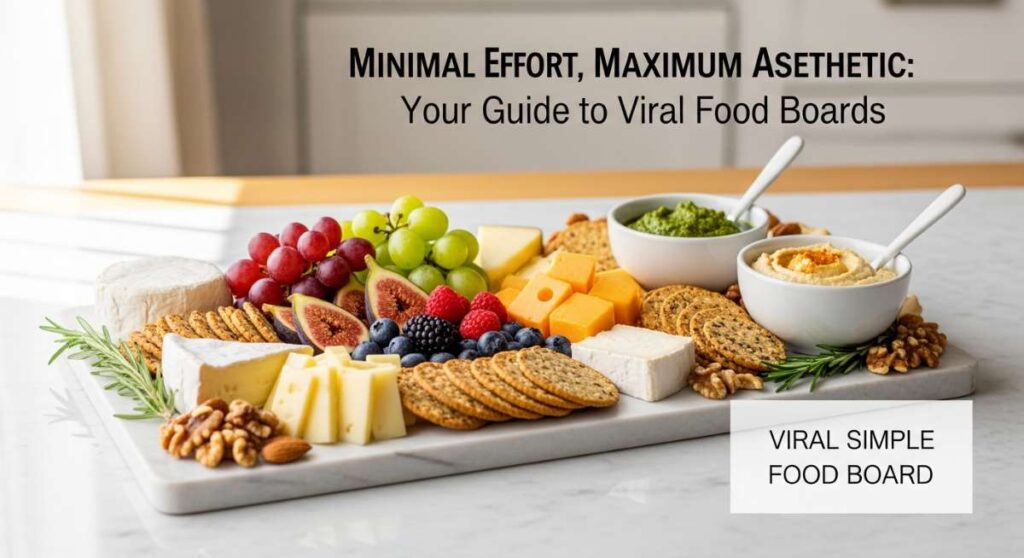
Minimal Effort, Maximum Aesthetic: Your Guide to Viral Food Boards
There is something inherently magical about a gathering where the food looks like a masterpiece but feels like a warm hug. We’ve all scrolled through those mesmerizing social media feeds filled with colorful, overflowing grazing boards that seem impossible to recreate. But here’s the secret: the most viral boards aren’t about expensive delicacies or complex techniques; they are about the rustic, golden glow of perfectly roasted vegetables, arranged with intention and heart.
In my kitchen, the most successful dinner parties always start with a massive board of charred greens, honey-gluttonous roots, and a steaming bowl of velvet-smooth soup. It’s about taking the humblest ingredients from your crisper drawer and transforming them into a sensory experience that invites guests to lean in, share stories, and double-tap every photo. Today, I’m showing you exactly how to build that viral aesthetic using the power of the oven.
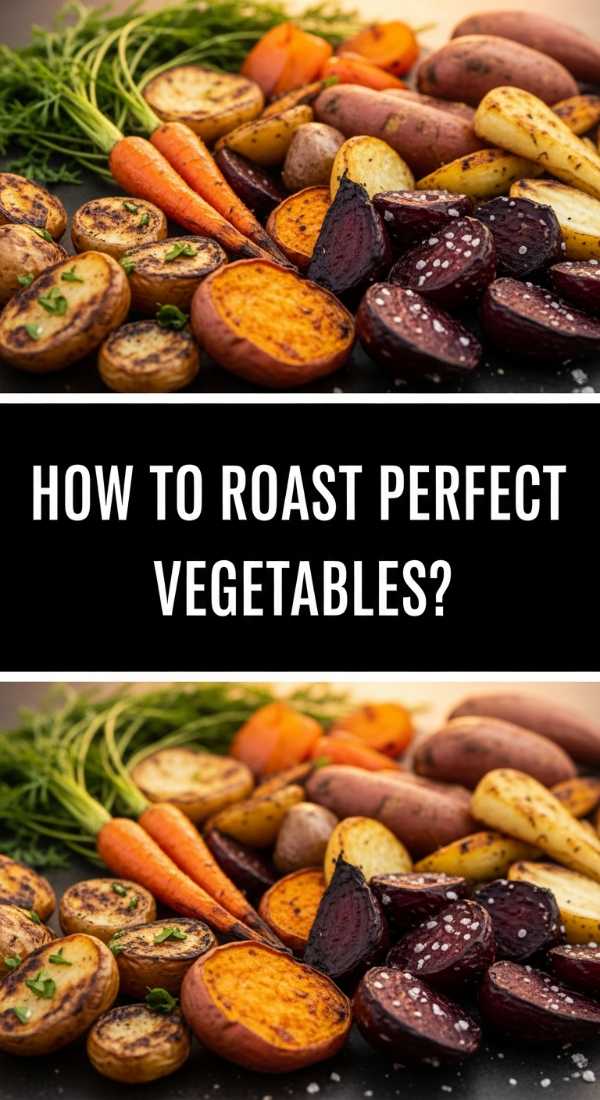
How to make the best roasted vegetables
Why we love this
The best roasted vegetables are a symphony of textures—crispy, caramelized skins giving way to interiors that melt like butter on the tongue. As the heat of the oven works its magic, the natural sugars within the produce concentrate, releasing an earthy, sweet aroma that fills the entire home with warmth. There is a deep, rustic satisfaction in seeing a rainbow of colors charred to perfection, creating a visual depth that makes any food board look professionally styled and incredibly appetizing.
Ingredients
- 2 lbs mixed root vegetables (potatoes, carrots, parsnips)
- 3 tbsp high-quality extra virgin olive oil
- 1 tsp flaky sea salt
- 1/2 tsp freshly cracked black pepper
- 2 sprigs fresh rosemary, roughly chopped
- 4 cloves garlic, smashed
How to make it
- Preheat your oven to 425°F (220°C). This high temperature is crucial for achieving that golden-brown caramelization without overcooking the inside into mush.
- Wash and dry your vegetables thoroughly. Any excess moisture will cause the vegetables to steam rather than roast, preventing that sought-after crispiness.
- Cut the vegetables into uniform pieces, roughly 1-inch chunks, to ensure they all finish cooking at the same time.
- In a large mixing bowl, toss the vegetables with olive oil, salt, pepper, rosemary, and smashed garlic. Ensure every surface is glistening with oil; this acts as the heat conductor for browning.
- Spread the vegetables onto a large, rimmed baking sheet in a single layer. Crucially, do not overcrowd the pan. If the pieces are touching, they will trap steam. Use two pans if necessary.
- Roast for 30–40 minutes. Halfway through, use a wide spatula to flip and toss the vegetables. This ensures even browning on all sides.
- The vegetables are done when they are fork-tender and possess dark, caramelized edges. Serve immediately while the skins are still tight and crisp.
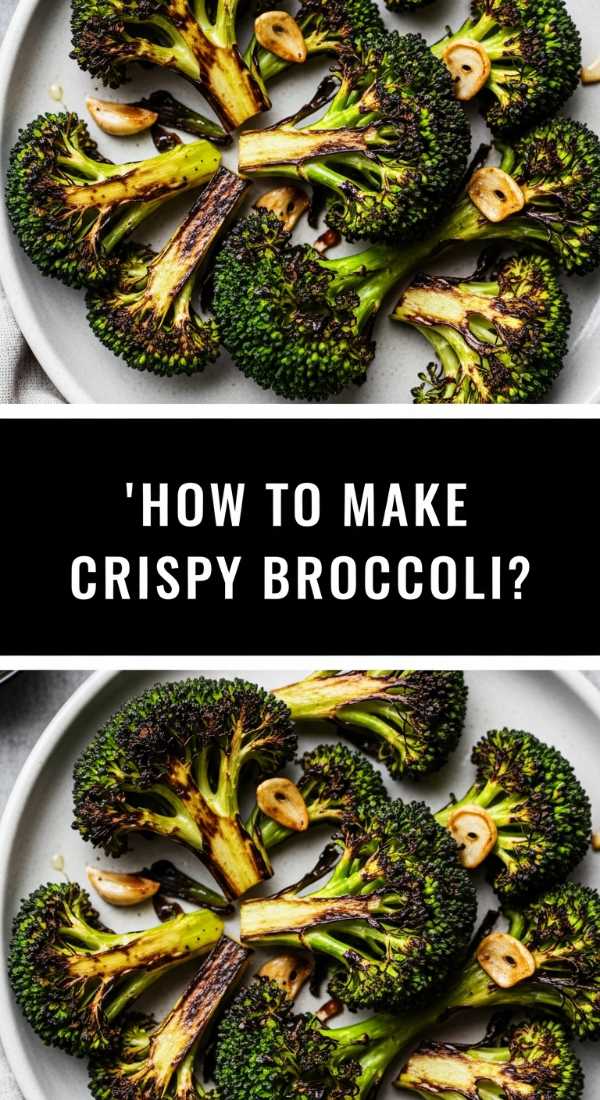
How to get crispy roasted broccoli every time
Why we love this
Crispy roasted broccoli is a revelation; the tiny florets act like sponges for flavor, turning into delicate, nutty “frizzled” bits that crunch delightfully with every bite. The aroma is reminiscent of toasted popcorn and savory greens, providing a complex bitterness that balances out the sweeter elements of a food board. It’s the kind of dish that disappears in seconds because the texture is so addictive—part snack, part gourmet side dish, and entirely beautiful to look at.
Ingredients
- 2 large heads of broccoli, cut into bite-sized florets
- 2 tbsp avocado oil (high smoke point)
- 1/2 tsp garlic powder
- 1/4 tsp red pepper flakes
- Fresh lemon wedges for serving
- 1/4 cup finely grated Parmesan cheese
How to make it
- Adjust your oven rack to the lower-middle position and preheat to 450°F (230°C). Broccoli needs intense heat to crisp up before it turns too soft.
- Ensure the broccoli florets are bone-dry. After washing, I recommend using a salad spinner or patting them down with a lint-free kitchen towel.
- Toss the florets in a bowl with the avocado oil, garlic powder, and red pepper flakes. Use your hands to massage the oil into the crannies of the florets.
- Place the broccoli on a pre-heated baking sheet (leave it in the oven for 5 minutes before adding food) to get an immediate sear on the bottom.
- Arrange the florets cut-side down. This maximum surface area contact with the hot metal creates the best char.
- Roast for 15–20 minutes. Do not open the oven door frequently, as you want to maintain that high heat.
- Once the edges are dark brown and the stems are tender, remove from the oven. Immediately zest a lemon over the top and sprinkle with Parmesan while the oil is still bubbling.
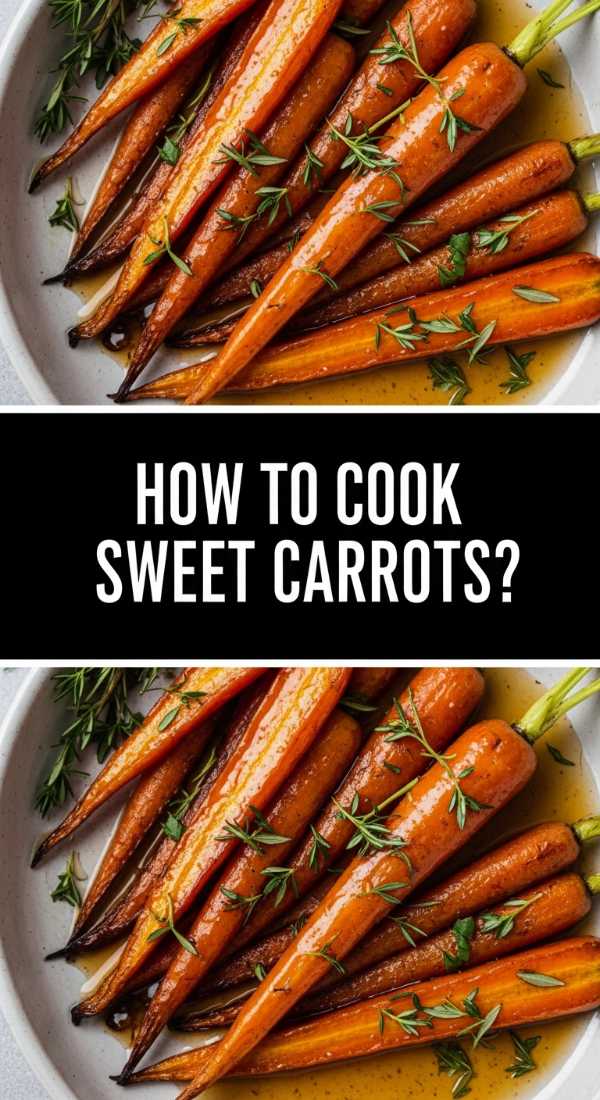
How to roast sweet and tender carrots
Why we love this
Roasted carrots are the crown jewels of a viral food board, offering a vibrant pop of orange and a candy-like sweetness that feels indulgent yet healthy. When roasted properly, they take on a supple, tender texture that feels elegant on the palate, perfectly complemented by their slightly smoky, charred tips. The scent of roasting carrots is nostalgic and sweet, evocative of harvest dinners and cozy afternoons spent by the stove.
Ingredients
- 1 lb slender bunch carrots (with tops if possible)
- 1.5 tbsp olive oil
- 1 tbsp maple syrup
- 1/2 tsp kosher salt
- 1 tsp fresh thyme leaves
How to make it
- Preheat your oven to 400°F (200°C). A slightly lower temp than broccoli helps the carrots soften throughout without burning the sugars too quickly.
- Scrub the carrots clean but leave the skins on for a rustic look and extra nutrients. Trim the green tops to about an inch for a beautiful presentation.
- If the carrots are thick, slice them in half lengthwise. If they are slender, leave them whole to maintain that iconic “viral” aesthetic.
- Whisk the oil, maple syrup, salt, and thyme together in a small bowl, then drizzle over the carrots on a parchment-lined baking sheet.
- Roll the carrots around to ensure they are fully coated in the glaze.
- Roast for 20–25 minutes. Test for doneness by piercing the thickest part of a carrot with a paring knife; it should slide in with zero resistance.
- For an extra aesthetic touch, broil on high for the last 2 minutes to get those “beauty marks” of dark char on the skin.
How to create creamy roasted vegetable soup

Why we love this
A bowl of creamy roasted vegetable soup is the ultimate anchor for a lifestyle food board, providing a silky, luxurious contrast to the crunchy roasted bits. It tastes like the essence of the garden concentrated into a liquid gold, with layers of umami and a smooth, comforting mouthfeel that coats the tongue. The steam rising from the bowl carries the scent of roasted garlic and onions, instantly signaling to your guests that they are in for a soulful, homemade treat.
Ingredients
- 4 cups roasted vegetables (butternut squash, carrots, onions)
- 3 cups vegetable or chicken stock
- 1/2 cup heavy cream or full-fat coconut milk
- 1 tbsp white miso paste (optional, for depth)
- Salt and white pepper to taste
How to make it
- Start by roasting your chosen vegetables until they are very soft and slightly charred. Using pre-roasted veg is the secret to a deep, smokey flavor profile.
- In a large pot, bring your stock to a gentle simmer over medium heat.
- Add the roasted vegetables to the pot. Let them simmer together for about 10 minutes to allow the flavors to marry and the vegetables to hydrate slightly.
- Stir in the miso paste, ensuring it dissolves completely. This adds a salty, savory backbone to the soup.
- Using a high-speed blender or an immersion blender, process the mixture until it is completely smooth. If using a standard blender, work in batches and never fill more than halfway to avoid steam explosions.
- Return the blended soup to the pot and stir in the cream or coconut milk. Heat through but do not boil, as boiling can break the emulsion of the cream.
- Taste and adjust seasoning. Use white pepper to keep the aesthetic clean and bright. Serve in shallow bowls with a drizzle of olive oil on top.
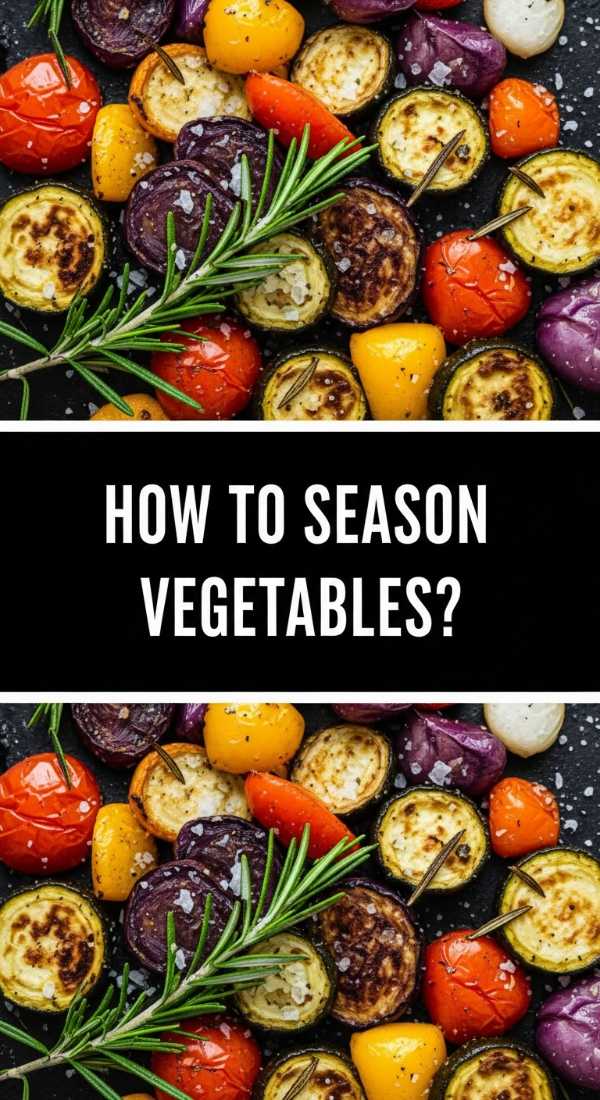
How to season your roasted vegetables properly
Why we love this
Proper seasoning is the difference between a bland side dish and a viral-worthy sensation. It’s about building layers of flavor that hit every part of the taste buds—salt for brightness, pepper for a hint of heat, and herbs for an aromatic finish. When seasoned correctly, the vegetables shouldn’t just taste like produce; they should taste like a complex, savory event that lingers pleasantly on the palate, making you reach for “just one more” piece.
Ingredients
- Kosher salt (for better control)
- Freshly cracked black pepper
- Smoked paprika
- Garlic powder
- Finely chopped fresh parsley or chives
How to make it
- Always season in stages. The first stage happens before the vegetables hit the heat. Toss them with oil and salt; the salt draws out moisture and allows the oil to penetrate.
- Add your dry spices (like paprika or garlic powder) before roasting. Be careful with dried herbs as they can burn and turn bitter in a 400°F oven; it’s often better to add them in the last 10 minutes.
- Apply seasonings from a height (about 12 inches above the bowl). This “rain” technique ensures an even distribution so you don’t end up with one salty potato and one bland one.
- Once the vegetables come out of the oven, do a “finish seasoning.” This is when you add fresh, delicate herbs and perhaps a final sprinkle of flaky sea salt.
- Taste a piece! If it tastes flat, it usually needs a touch more salt or a squeeze of acid (like lemon or vinegar) to wake the flavors up.
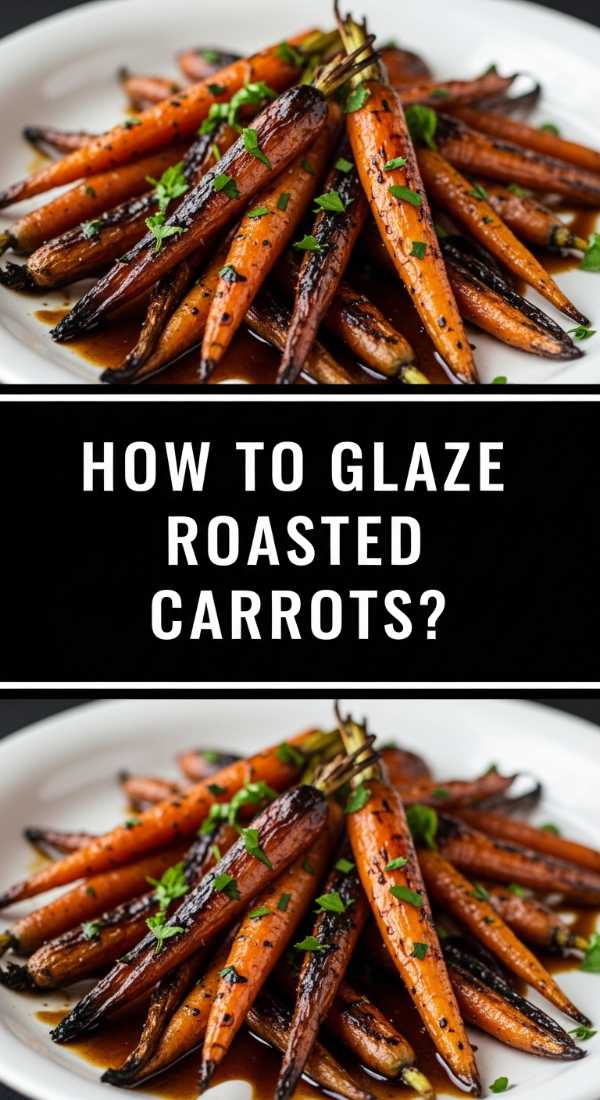
How to glaze honey roasted carrots
Why we love this
Honey-glazed carrots are the epitome of aesthetic comfort food, with a glossy, jewel-like sheen that catches the light beautifully on camera. The sticky-sweet glaze caramelizes into the crevices of the carrot, creating a chewy, candy-like exterior that contrasts with the tender heart of the vegetable. The aroma of warm honey and toasted carrots is undeniably inviting, turning a simple root vegetable into a sophisticated treat that feels fancy without the effort.
Ingredients
- 1 lb carrots, peeled and trimmed
- 2 tbsp honey
- 1 tbsp unsalted butter, melted
- 1 tsp apple cider vinegar
- Pinch of cinnamon
How to make it
- Whisk the honey, melted butter, apple cider vinegar, and cinnamon in a small bowl until fully combined. The vinegar is the secret—it cuts through the sugar so the dish isn’t cloying.
- Toss the carrots in half of the honey mixture and spread them on a parchment-lined baking sheet.
- Roast at 400°F (200°C) for 15 minutes. At this point, the carrots will be partially cooked and ready to absorb more flavor.
- Remove the pan from the oven and brush the remaining glaze over the carrots. This double-glazing technique ensures a thick, glossy coat.
- Return to the oven for another 10–15 minutes. Watch closely! Honey has a high sugar content and can go from caramelized to burnt in a matter of 60 seconds.
- Look for a bubbling glaze and dark, sticky edges. Remove and let rest for 2 minutes; the glaze will thicken as it cools, creating that viral glossy look.
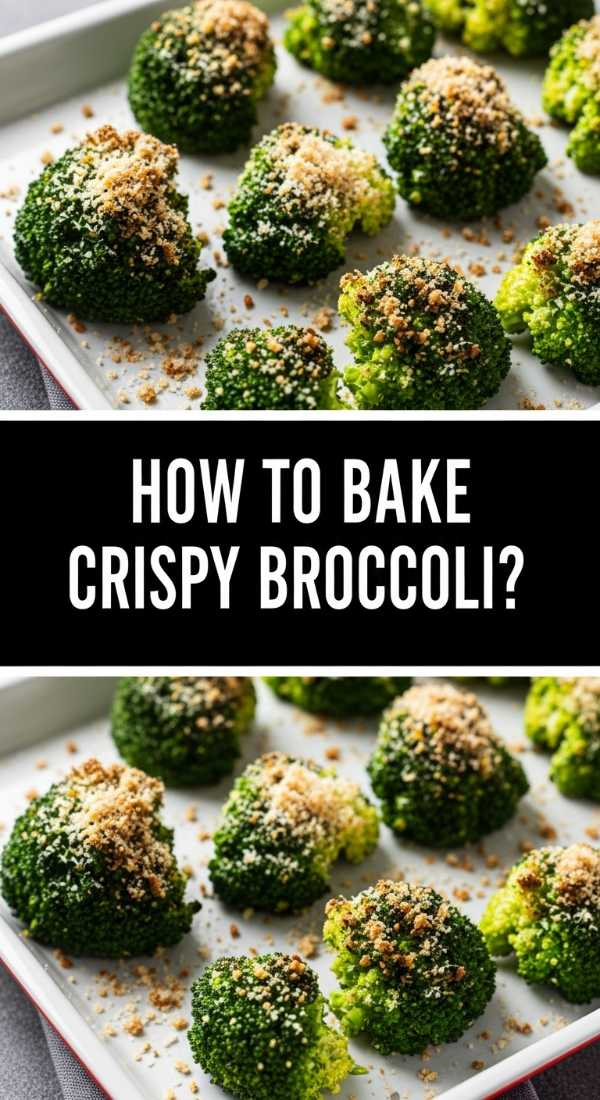
How to bake crispy roasted broccoli
Why we love this
Baking broccoli to a crisp is an art form that rewards you with a vegetable that tastes like it was deep-fried, but with all the light, fresh notes of a healthy roast. The edges become paper-thin and crunchy, while the stems remain succulent and sweet. It’s a texture-lover’s dream, providing a satisfying “snap” that makes it a perfect finger food for a grazing board, especially when paired with a cool yogurt dip.
Ingredients
- 1 lb broccoli florets
- 3 tbsp extra virgin olive oil
- 1/2 tsp sea salt
- 1/4 cup panko breadcrumbs
- 1 tbsp nutritional yeast (optional, for cheesiness)
How to make it
- Preheat your oven to a staggering 450°F (230°C). High heat is the only way to get true crispiness before the broccoli turns to mush.
- In a large bowl, toss the broccoli florets with olive oil and salt until every nook and cranny is coated.
- In a separate small bowl, mix panko breadcrumbs and nutritional yeast. Sprinkle this over the oiled broccoli and toss again. The oil acts as the glue for the crumbs.
- Spread onto a dark-colored baking sheet. Dark pans absorb more heat and will result in a crispier bottom than shiny aluminum pans.
- Bake for 15 minutes without disturbing. After 15 minutes, give the pan a quick shake.
- Continue baking for 5–7 more minutes until the panko is golden brown and the broccoli florets are charred at the tips.
- Serve immediately; the crispiness is at its peak right out of the oven!
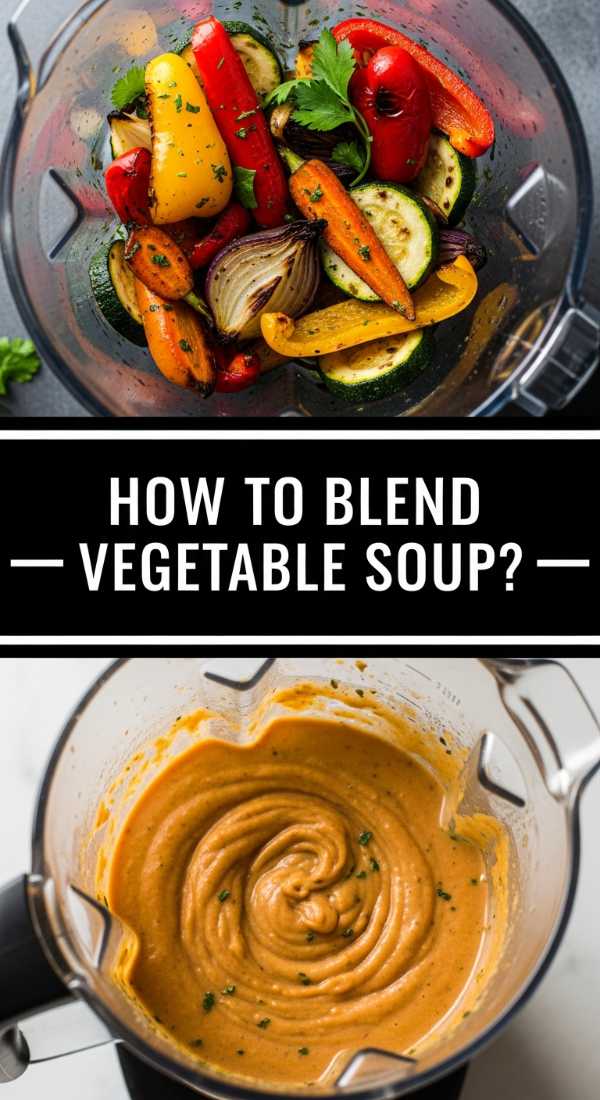
How to blend the perfect vegetable soup
Why we love this
A perfectly blended soup is pure luxury in a bowl—completely smooth, without a single lump, feeling like silk against the palate. Blending roasted vegetables aerates the mixture slightly, giving it a lighter, fluffier texture than a standard simmered soup. The visual of a perfectly smooth, vibrant purée poured into a bowl is the cornerstone of food styling, providing a clean, minimalist backdrop for garnishes like microgreens or toasted seeds.
Ingredients
- Roasted vegetable base (as prepared in section 3)
- 1 cup warm broth (extra for thinning)
- 1 tbsp cold butter or olive oil (for the finish)
- Salt to taste
How to make it
- Ensure your roasted vegetables are still warm. Cold vegetables don’t emulsify as well as warm ones.
- Transfer the vegetables to a high-speed blender. Add half of your broth. Do not overfill.
- Start the blender on the lowest speed and gradually increase to the highest. This prevents the “splash-up” that happens when you start on high.
- Blend for a full 60–90 seconds. Most people stop too early. You want to see a vortex form in the middle, which indicates the fibers are being completely broken down.
- Check the consistency. If it’s too thick, add broth one tablespoon at a time while the motor is running.
- For the “professional secret,” drop in a tablespoon of cold butter or a stream of olive oil in the last 10 seconds of blending. This creates a glossy emulsion and a richer mouthfeel.
- For the ultimate viral aesthetic, pour the soup through a fine-mesh sieve (chinois) into your serving bowl to remove any remaining tiny particles.
How to char roasted vegetables for flavor
Why we love this
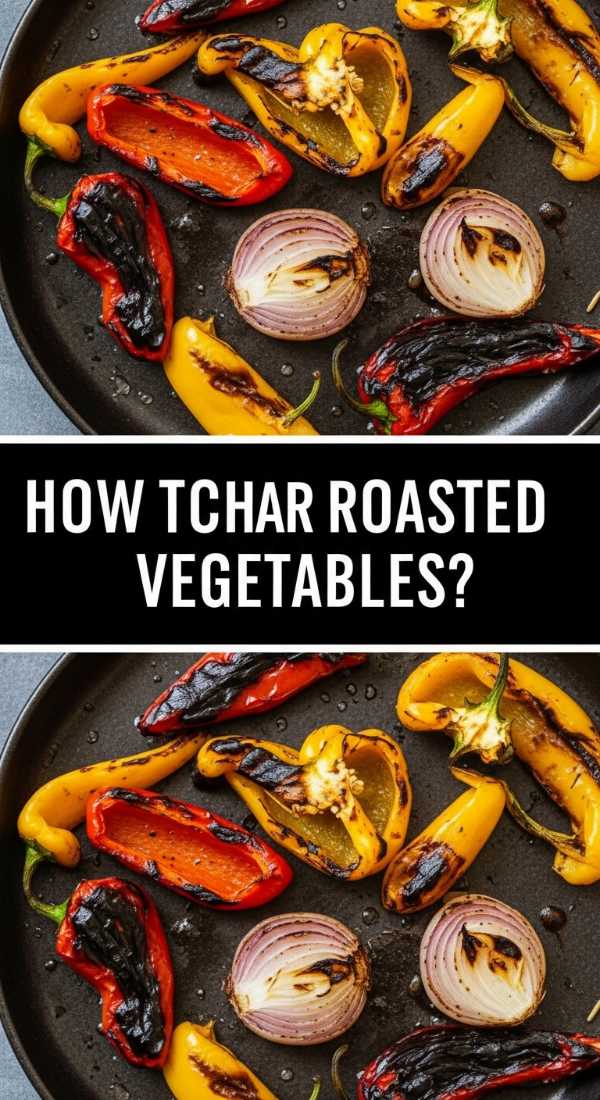
Char is flavor. That blackened, fire-kissed edge on a vegetable provides a smoky depth that mimics the taste of an outdoor grill. It adds a sophisticated bitterness that cuts through the natural sweetness of the veg, creating a balanced and complex profile. Visually, the contrast between the bright colors of the produce and the dark, charred spots adds an “expensive” look to your food board, making it look rustic and authentic.
Ingredients
- Bell peppers, onions, or zucchini
- 1 tbsp oil with a high smoke point (grapeseed or canola)
- A heavy-duty baking sheet
How to make it
- Set your oven to the Broil setting (high) and move the top oven rack to the highest position, about 4–6 inches from the heating element.
- Slice your vegetables into large, flat pieces. The more surface area facing the heat, the more char you get.
- Lightly coat the vegetables in oil. Do not use too much; excess oil can smoke excessively under the broiler.
- Place the vegetables on the baking sheet and slide it under the broiler.
- Stay right there! Charring happens in seconds. Watch through the oven window until the skins start to blister and turn black in spots.
- Remove the pan, flip the vegetables with tongs, and char the other side for 1–2 minutes.
- Once charred, remove and immediately cover with a lid or foil for 5 minutes. The steam will soften the flesh while keeping that smoky char flavor on the outside.
How to prepare the best roasted broccoli
Why we love this
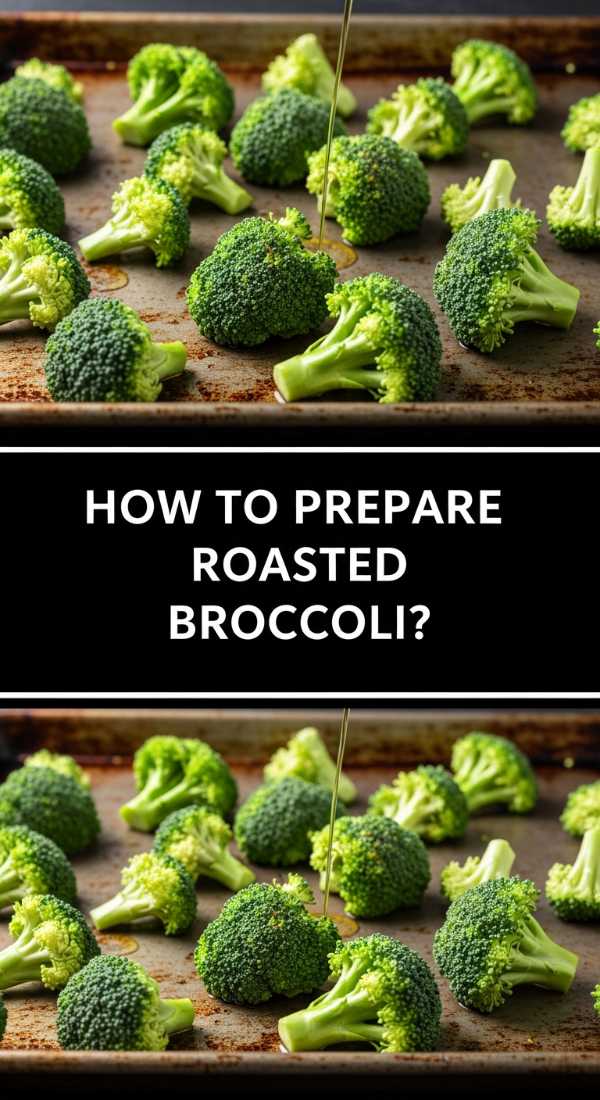
This is the gold standard of vegetable prep. When you treat broccoli with respect—cutting it into long, elegant spears and seasoning it simply—it becomes the star of the show. The stems become tender and sweet, almost like asparagus, while the heads provide that signature roasted crunch. It’s the perfect balance of health and indulgence, and its vibrant green color keeps your food board looking fresh and alive.
Ingredients
- 2 heads of broccoli
- 2 tbsp olive oil
- 3 cloves garlic, thinly sliced
- Red pepper flakes
- Lemon juice
How to make it
- Instead of cutting the broccoli into small florets, cut the head into large, vertical “steaks” or long spears. This keeps the stem attached, which has incredible flavor and a beautiful silhouette.
- Toss the spears in a bowl with olive oil, salt, and the sliced garlic. The thin garlic slices will toast in the oven and become crispy chips.
- Preheat the oven to 425°F (220°C).
- Lay the spears flat on a baking sheet, ensuring the flat cut side is in direct contact with the pan.
- Roast for 20 minutes. The side touching the pan should be deep golden brown.
- Flip the spears over and roast for an additional 5 minutes.
- Immediately upon removing from the oven, hit them with a squeeze of fresh lemon juice. The acid reacts with the heat to brighten the green color and make the flavors pop.
Conclusion
Building a viral food board isn’t about perfection; it’s about the abundance of simple, well-prepared ingredients. By mastering these roasting techniques, you’ve turned basic vegetables into a feast for the senses. Arrange your golden carrots next to your charred broccoli, place that silky soup in the center, and watch as your guests (and your followers) marvel at the aesthetic you’ve created with minimal effort. Happy hosting!